How you can Match Pores and skin Tones in Photoshop

Pure gentle and even studio lighting can generally be uneven in group photographs. There are occasions when it is helpful to match pores and skin tones between two or extra individuals in a photograph, particularly for household portraits. There are additionally variations in pores and skin tones, which might additional widen the hole between exposures on any face.
Fortuitously, this is not a giant deal and you’ll tweak this in post-processing with Adobe Photoshop. Learn on as we present you a simple approach to modify pores and skin tones in Photoshop.
Want to regulate pores and skin tones in photographs?

The brief and easy reply to this query isn’t any.
Nonetheless, when working with group and household portraits, matching pores and skin tones can imply the distinction between a mediocre portrait and an amazing one. An excellent portrait would ideally be one by which nobody stands out or is disregarded attributable to uneven lighting, technical points, and even somebody whose pores and skin has develop into extra tanned or tanned from publicity to the solar.
For this tutorial, we’ll assume that matching pores and skin tones is fascinating. We’ll show a way for adjusting pores and skin tones in Photoshop utilizing fundamental instruments like curves, the eyedropper software, and the comb and lasso instruments. We’ll additionally use some property sheets to fine-tune the pores and skin tones’ RGB values.
We break the method down into three levels to make it simpler so that you can observe. The one caveat to remember is that adjusting pores and skin tones is all about creating concord in a photograph. Radically totally different pores and skin tones wouldn’t should be adjusted, however might most likely get by with the adjusted brightness ranges.
Section 1: Arrange each photos in Photoshop
Though we’re matching two separate photographs on this information, you may simply apply this to a number of individuals in the identical picture.
If you wish to participate, you may obtain each photos from Pexels right here and right here. Now let’s begin.
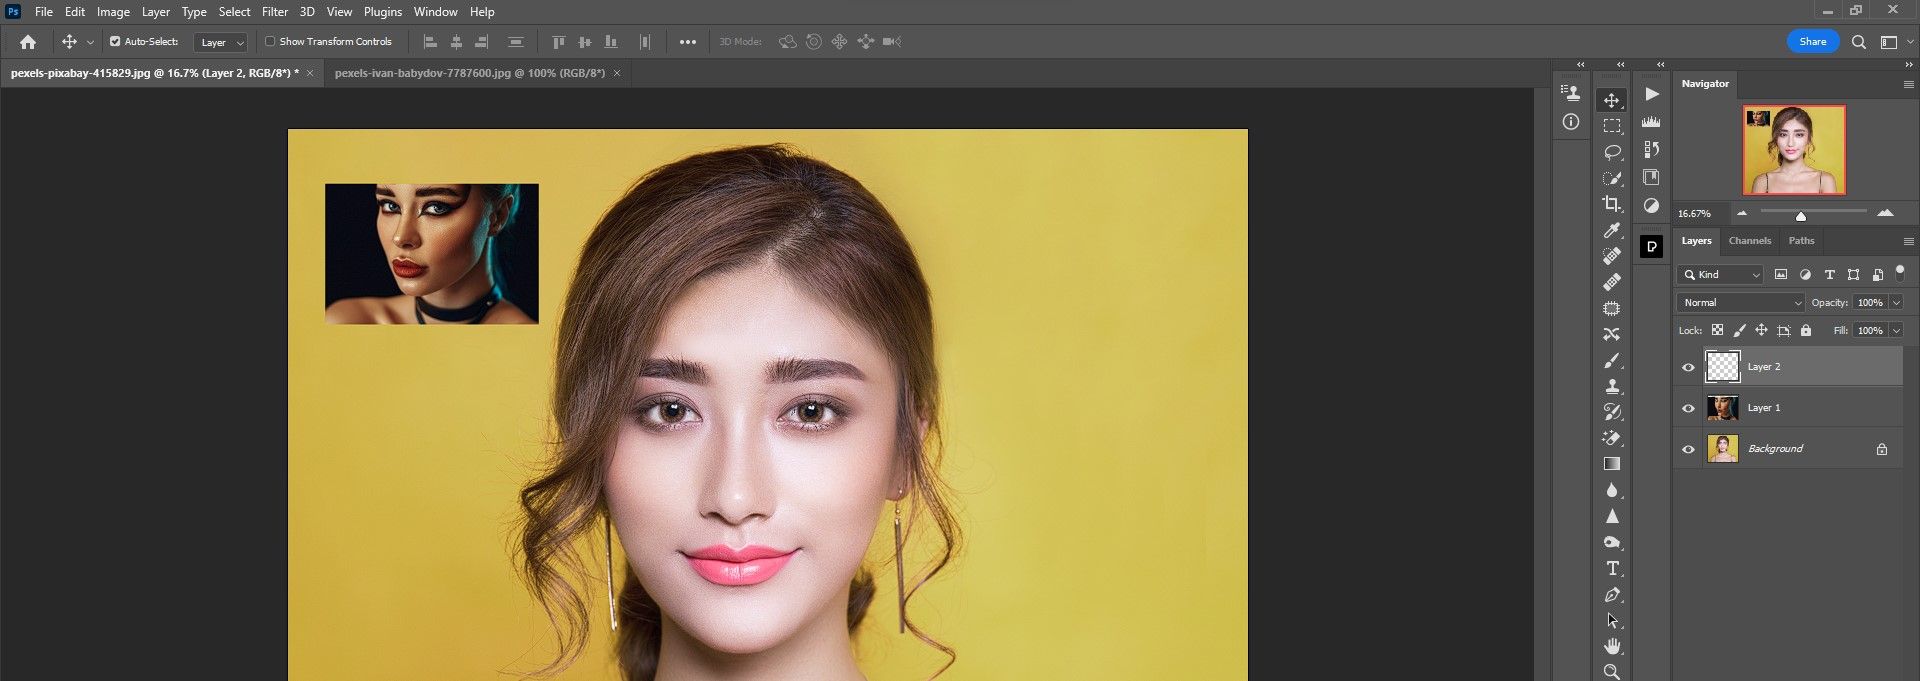
- Open the primary picture in Adobe Photoshop. Then choose the transfer (by urgent v) and drag and drop the second picture onto the primary.
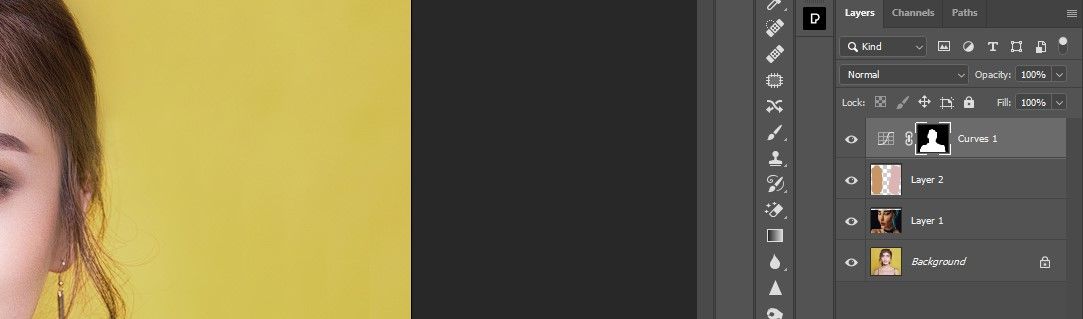
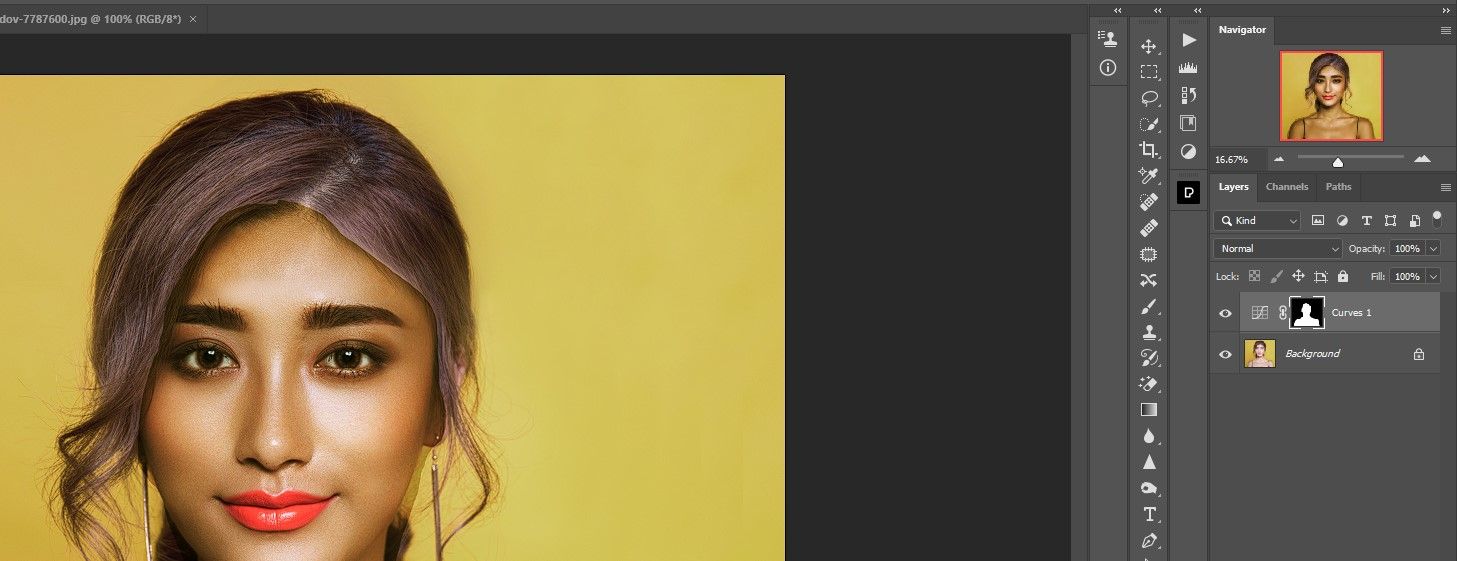
- Click on on that Create a brand new layer (+) icon within the lower-right nook of the Photoshop window. It is proper subsequent to that Rubbish can Image. When you click on on it, a brand new empty layer ought to seem in the fitting pane as proven.
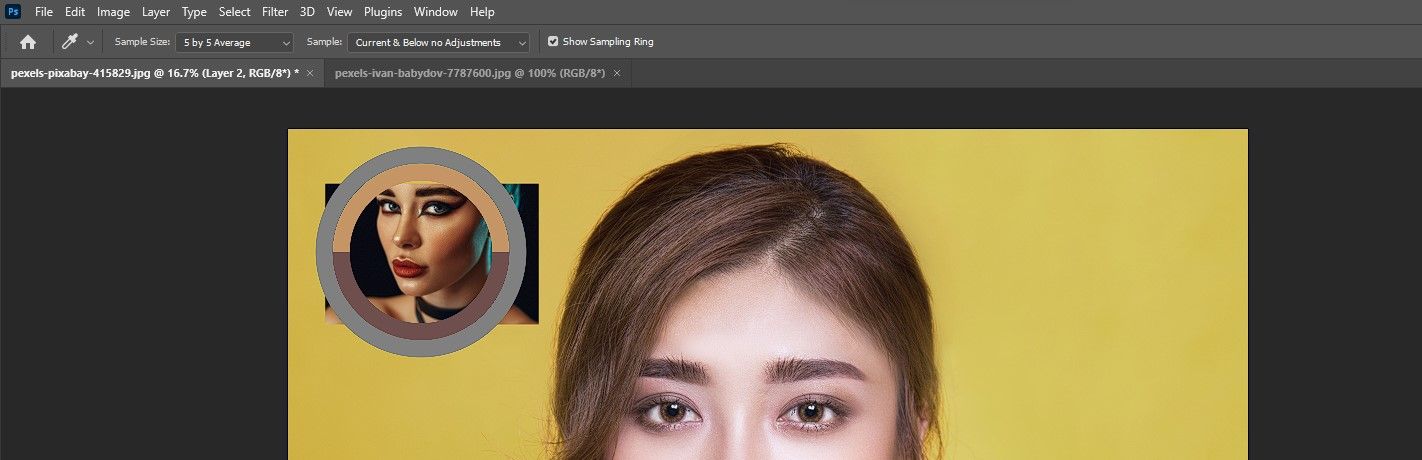
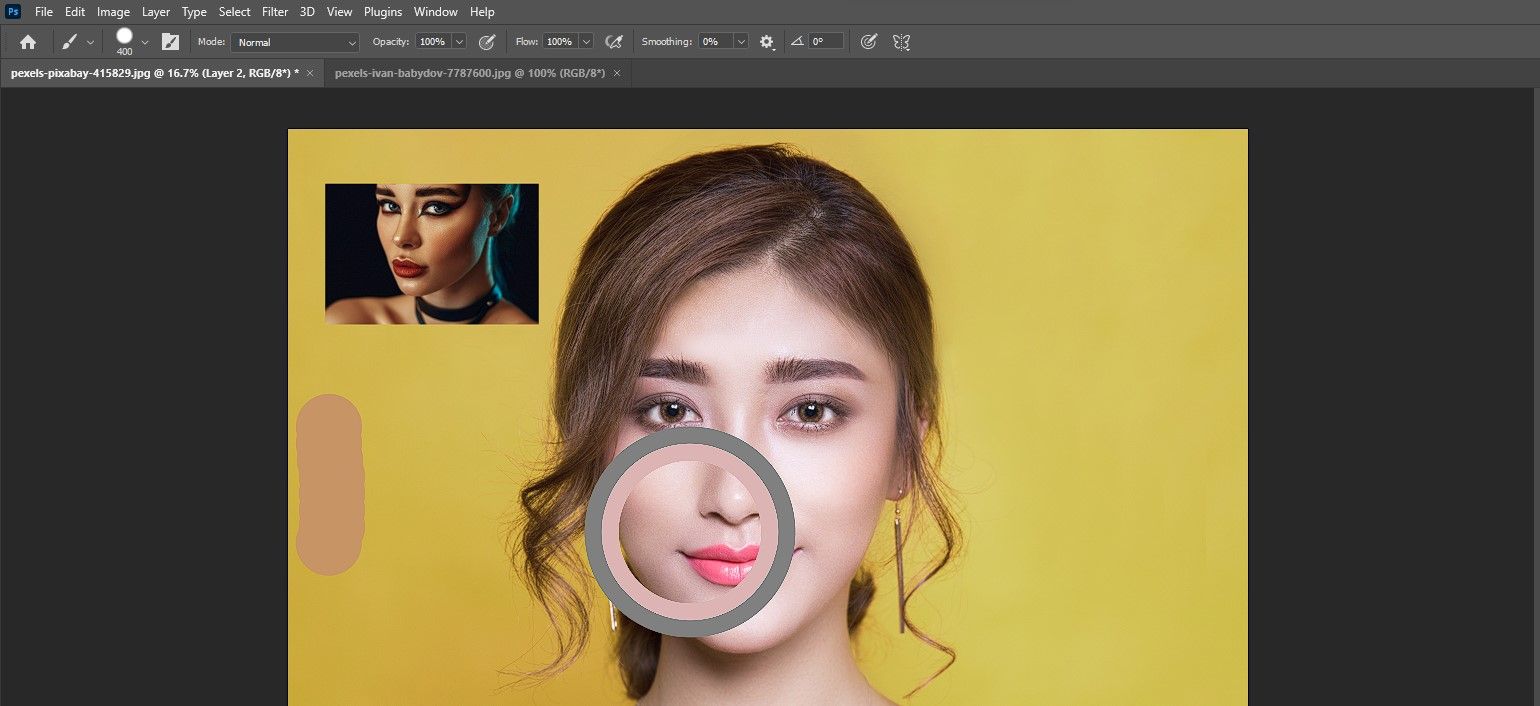
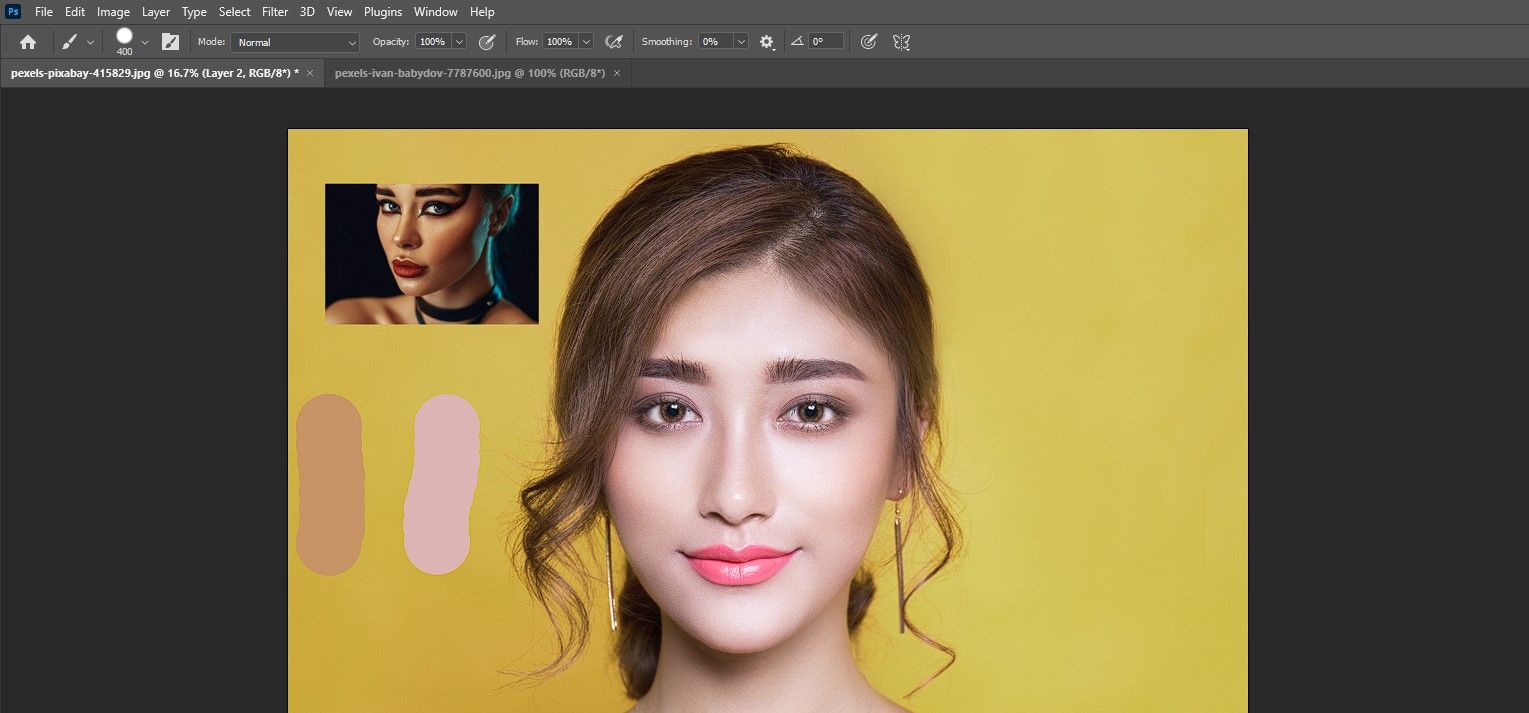
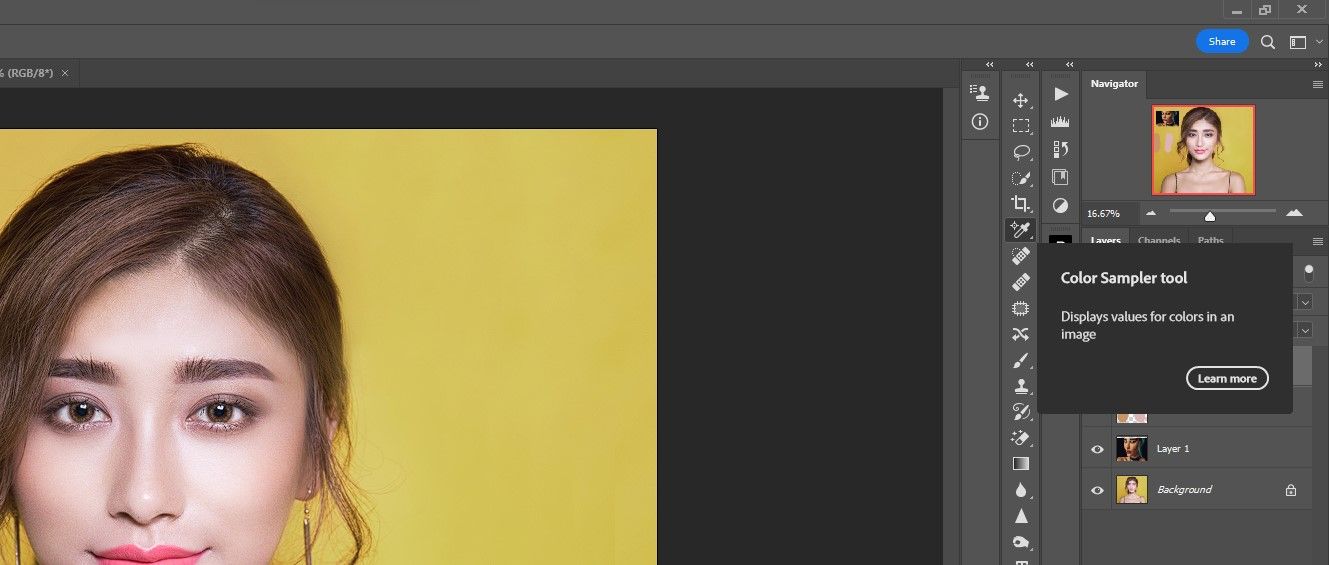
- Click on on that pipette software (by urgent I) and alter the pattern measurement to 5 occasions 5 common Use the drop down menu below the menu bar.
- Use of pipette with the Midtones software (keep away from highlights and shadows) of the pores and skin from the supply picture on the left.
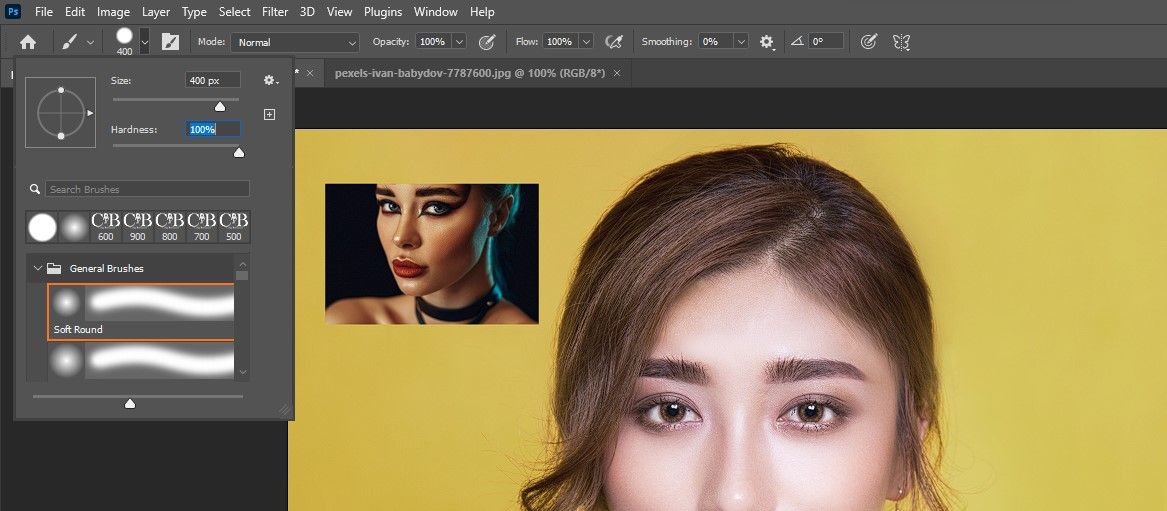
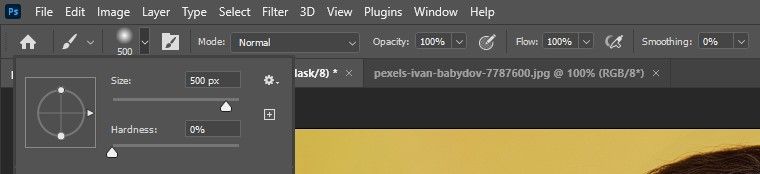
- Select brush software (by urgent B). Open the Brush Properties drop-down menu and ensure hardness is about to 100%.
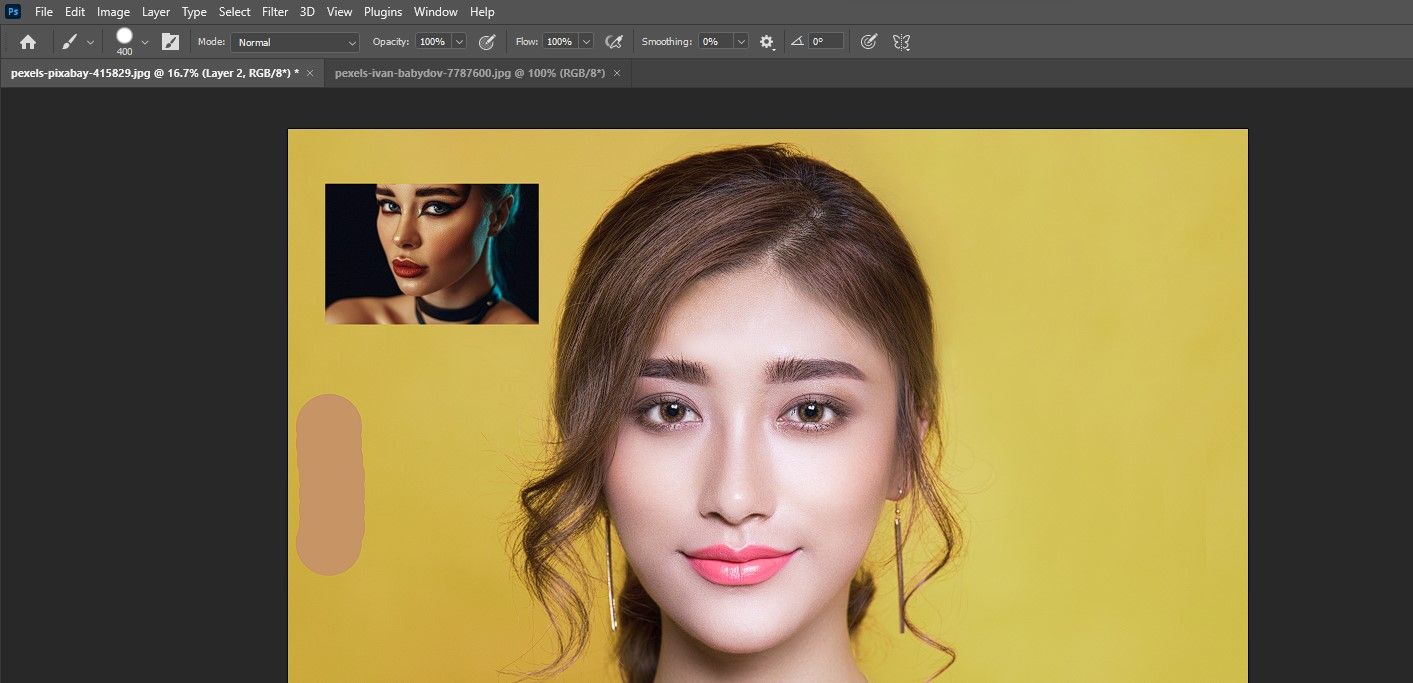
- Brush the colour on the clean layer as proven.
- Click on and maintain Outdated Eyedropper software button and pattern the pores and skin midtones from the goal picture.
- Free that Outdated Key and paint the colour subsequent to the earlier sample as proven.
- Press L for the lasso software and hint the face and pores and skin of the goal picture on the fitting.
- A… create curves Adjustment Layer from the underside menu in Photoshop.


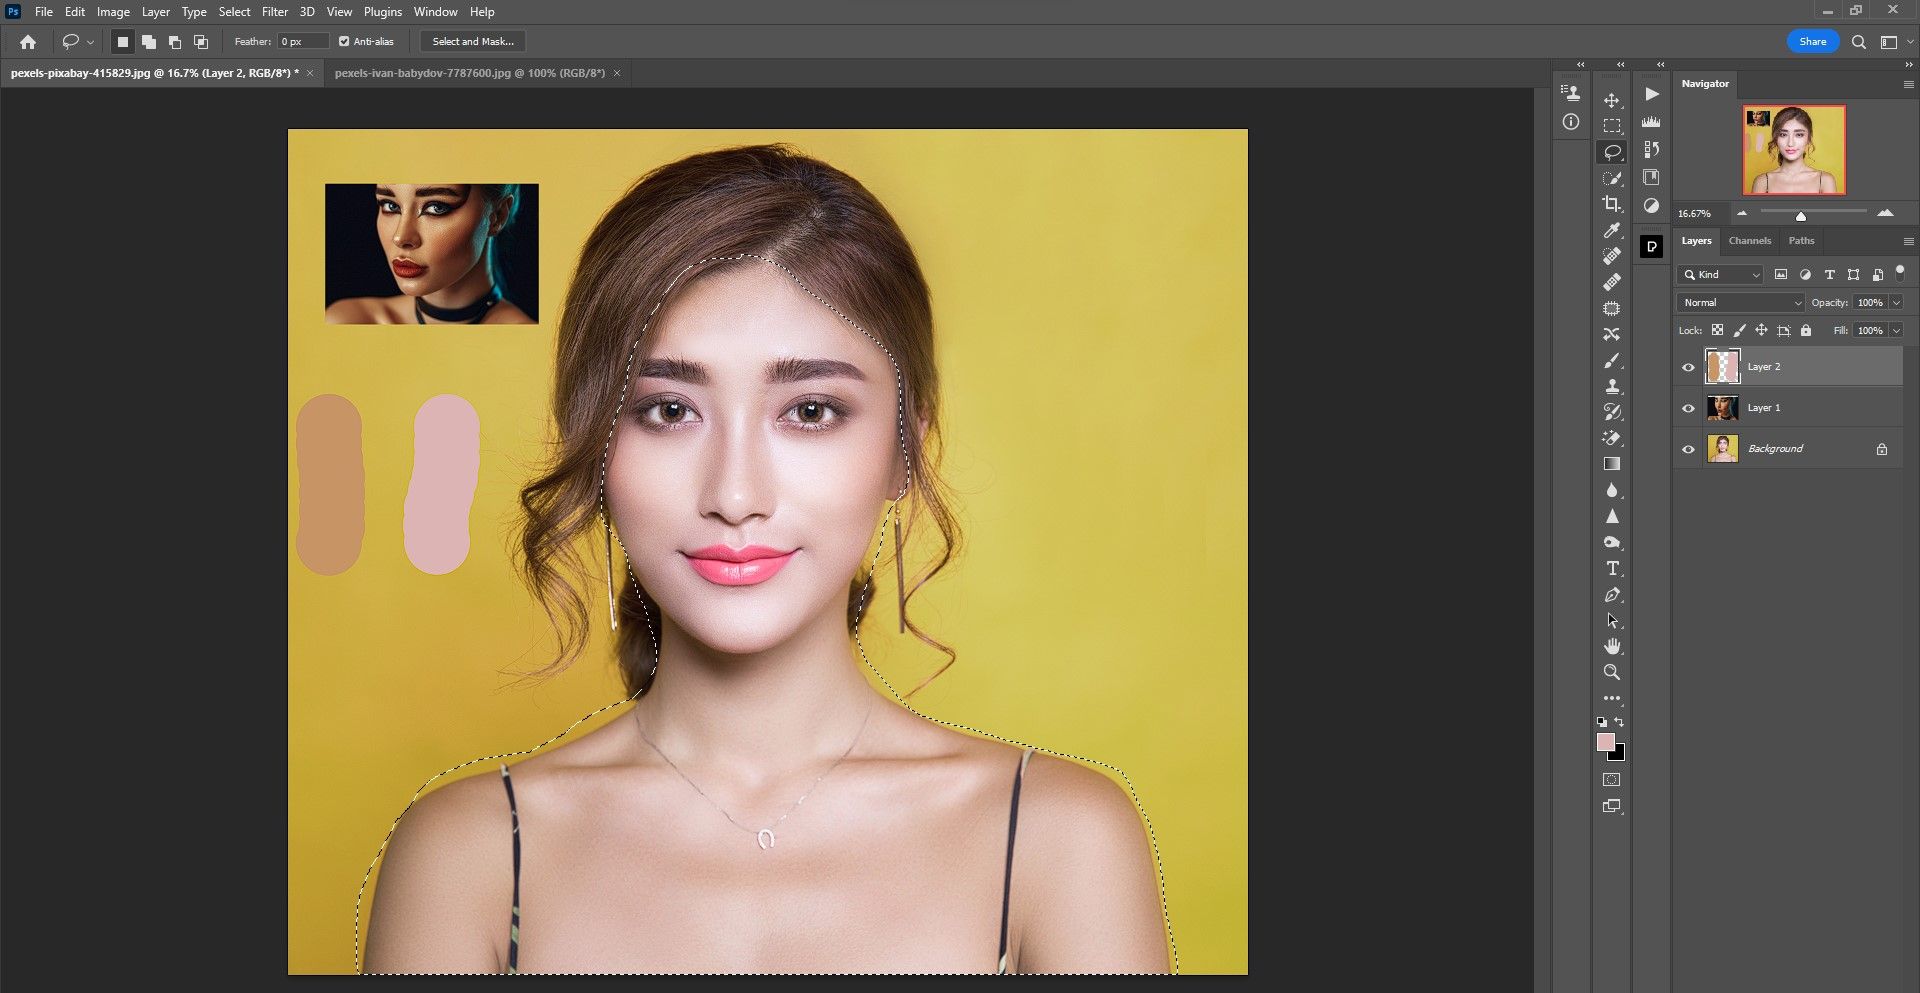
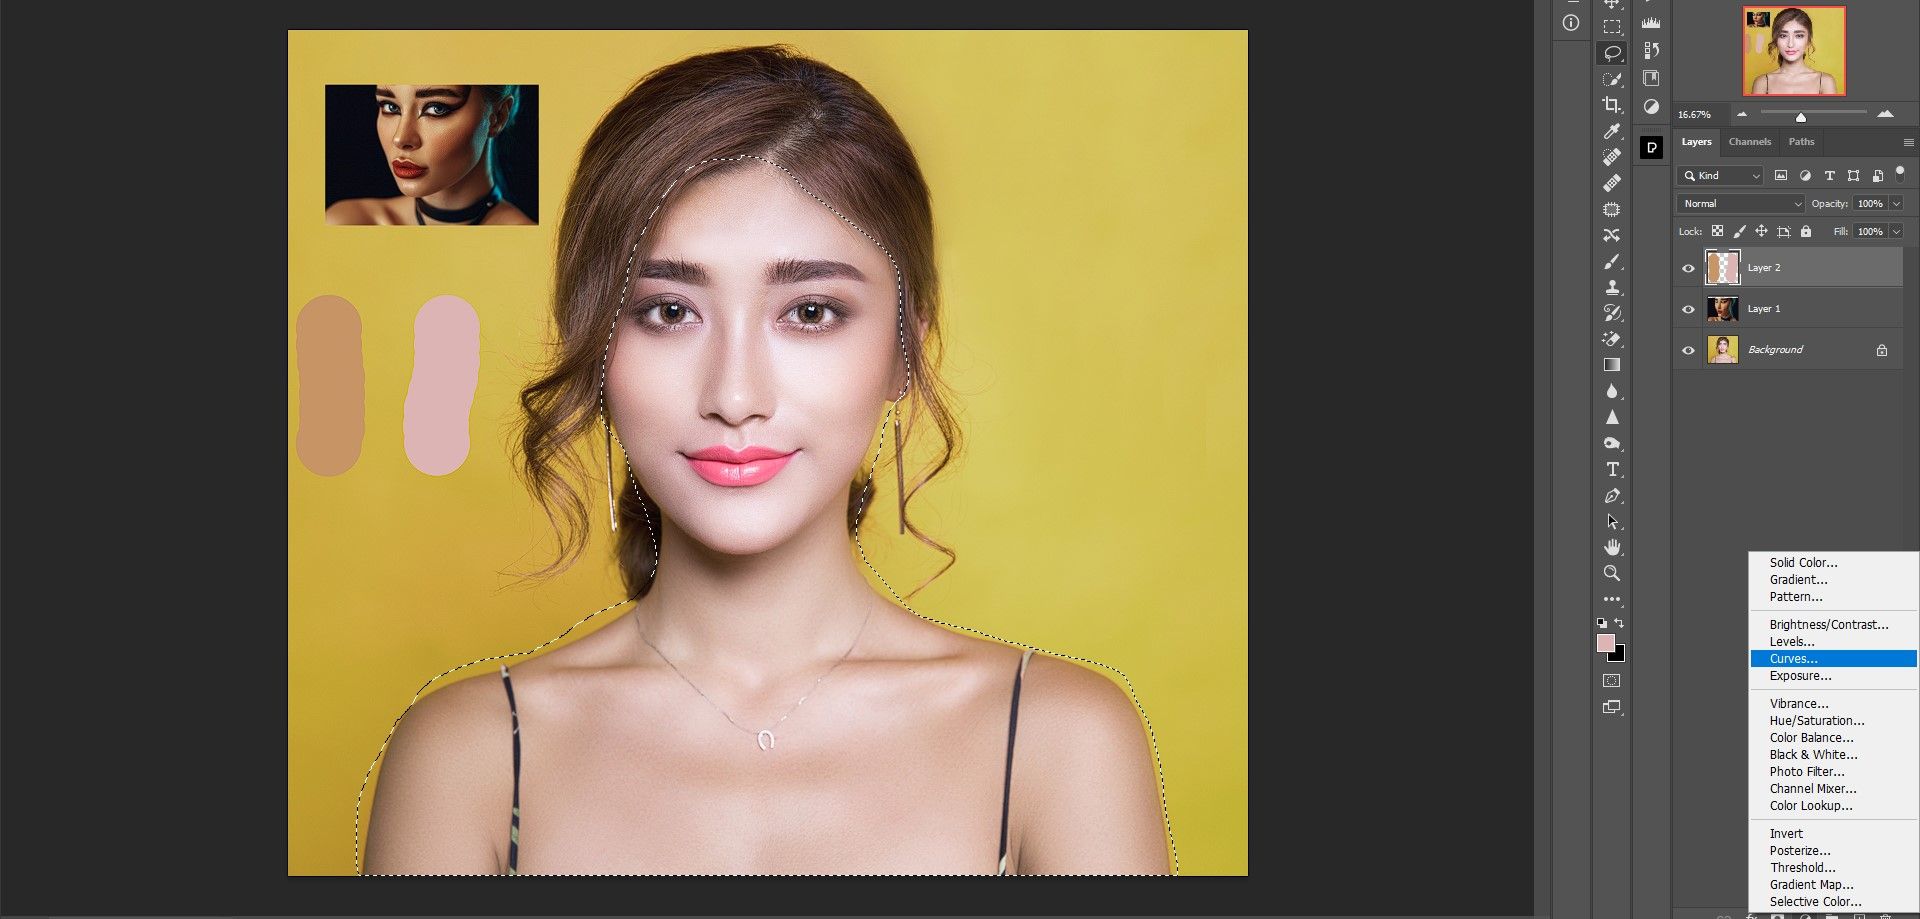
What we must be left with are 4 ranges in the fitting pane as indicated beneath.
If you happen to need assistance with the comb software, try our newbie’s information to the Photoshop brush software.
Section 2: Regulate pores and skin tones in Photoshop
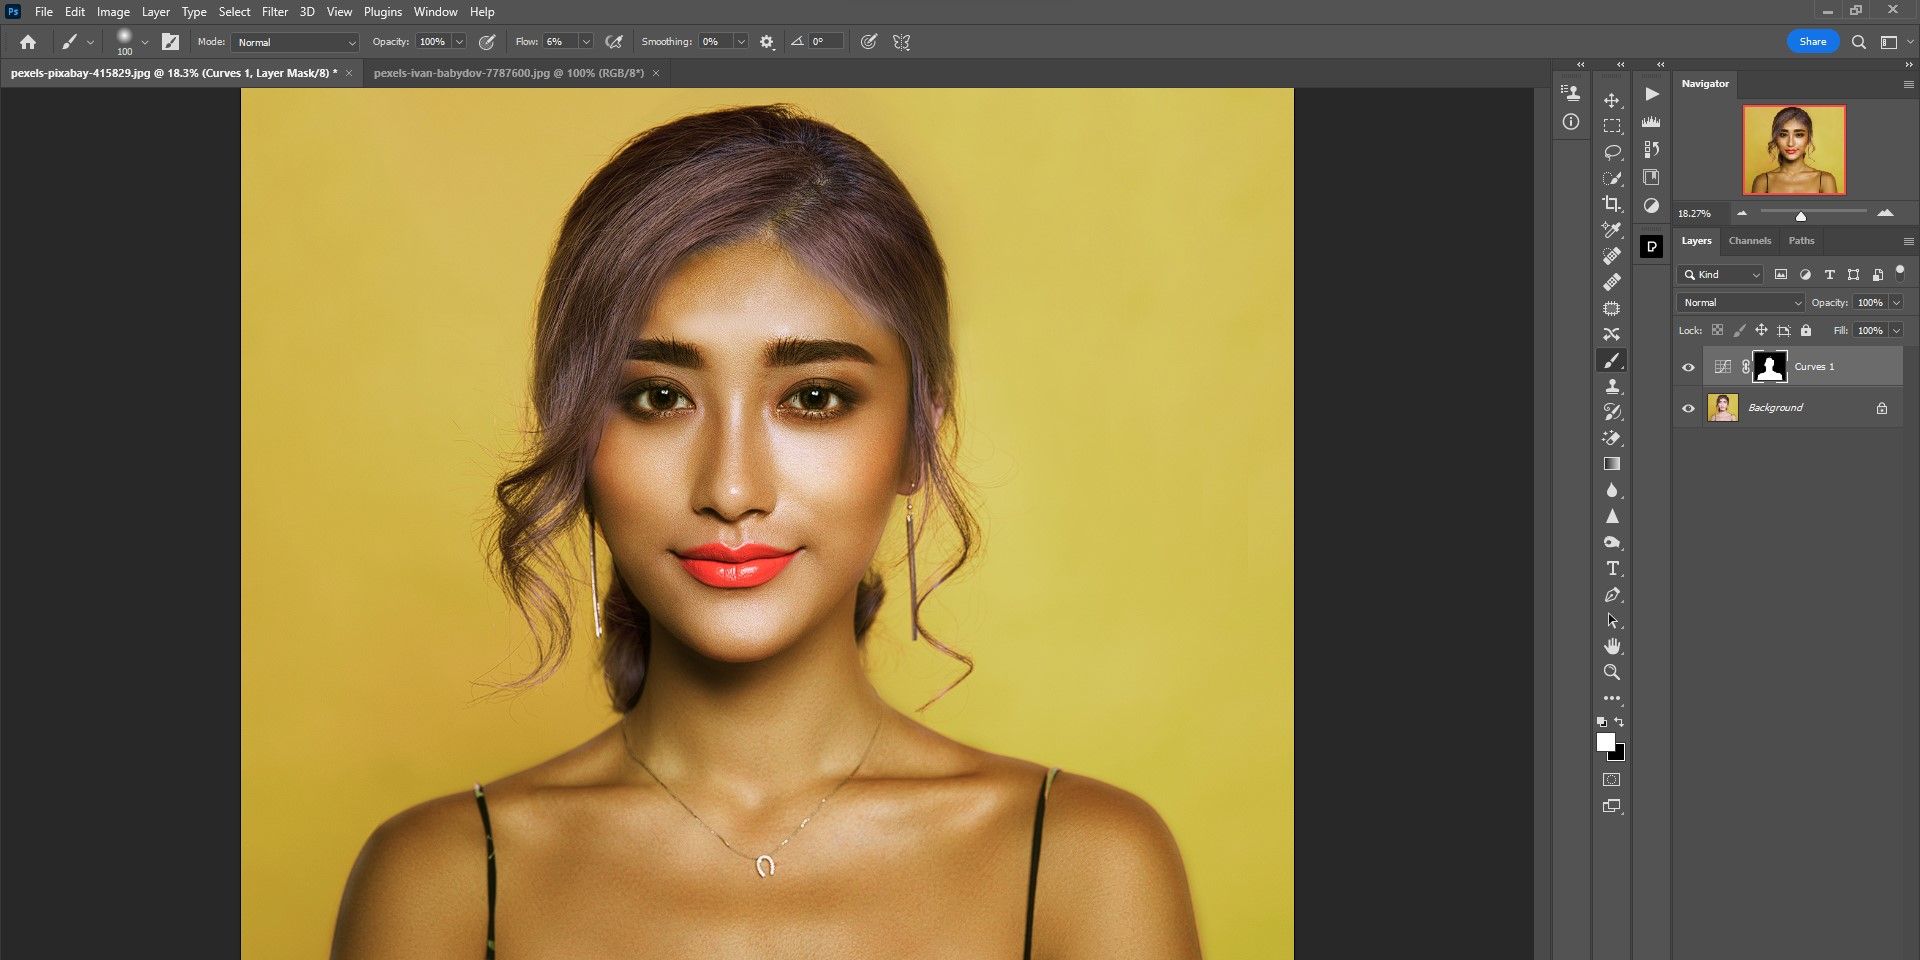
Now that we now have each photos and pores and skin tone areas in a single place, our objective is to match the pores and skin tones. To do that, we’ll extract the RGB values of the darker pores and skin tone and paint them onto our principal topic on the fitting. Comply with this step-by-step information fastidiously:
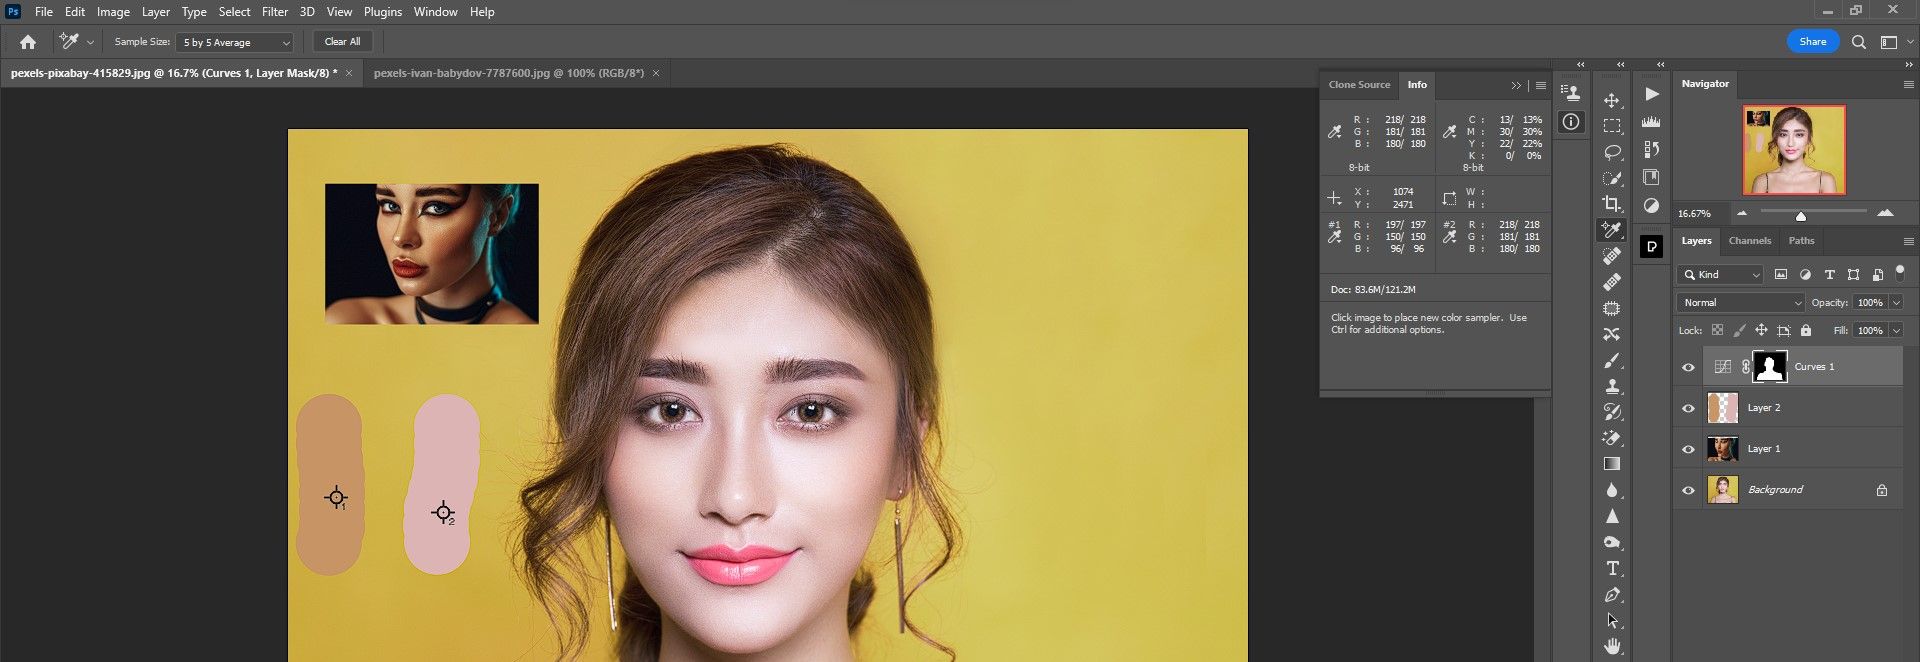
- Select coloration sample Software.
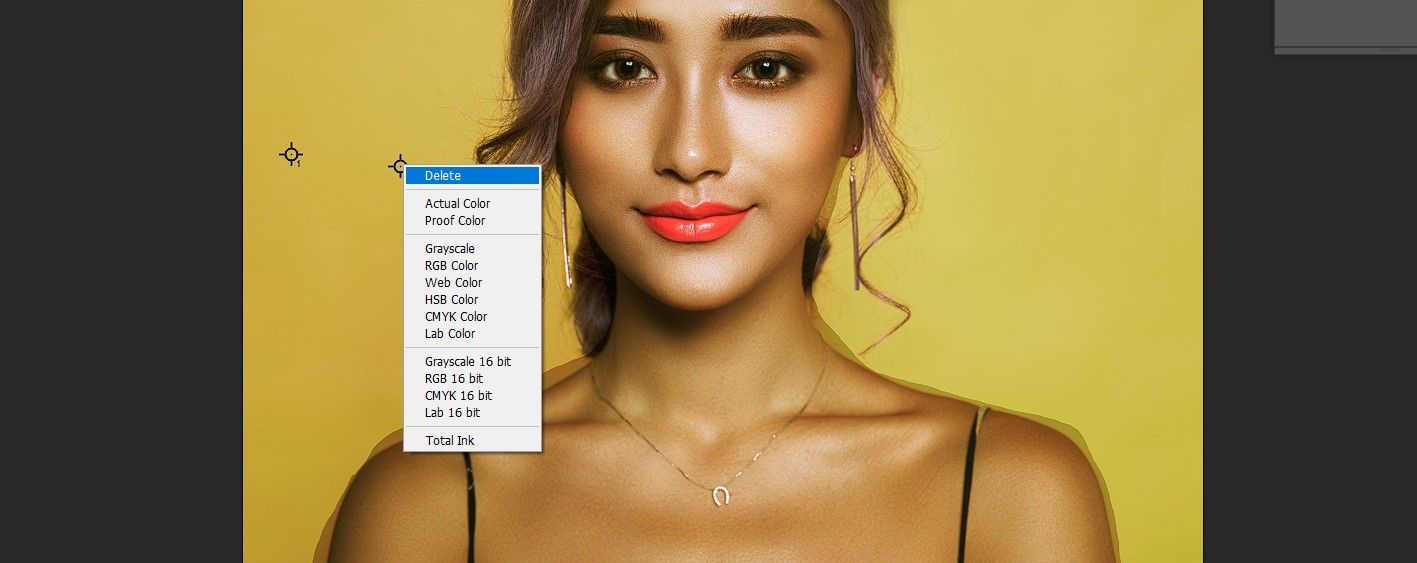
- Click on on the primary swatch on the left. A #1 is positioned above the colour. Additionally the The data Panel ought to seem with the colour’s RGB values.
- Then click on on the second swatch. A #2 is positioned above the colour, once more with the suitable RGB values famous within the The data Blackboard.
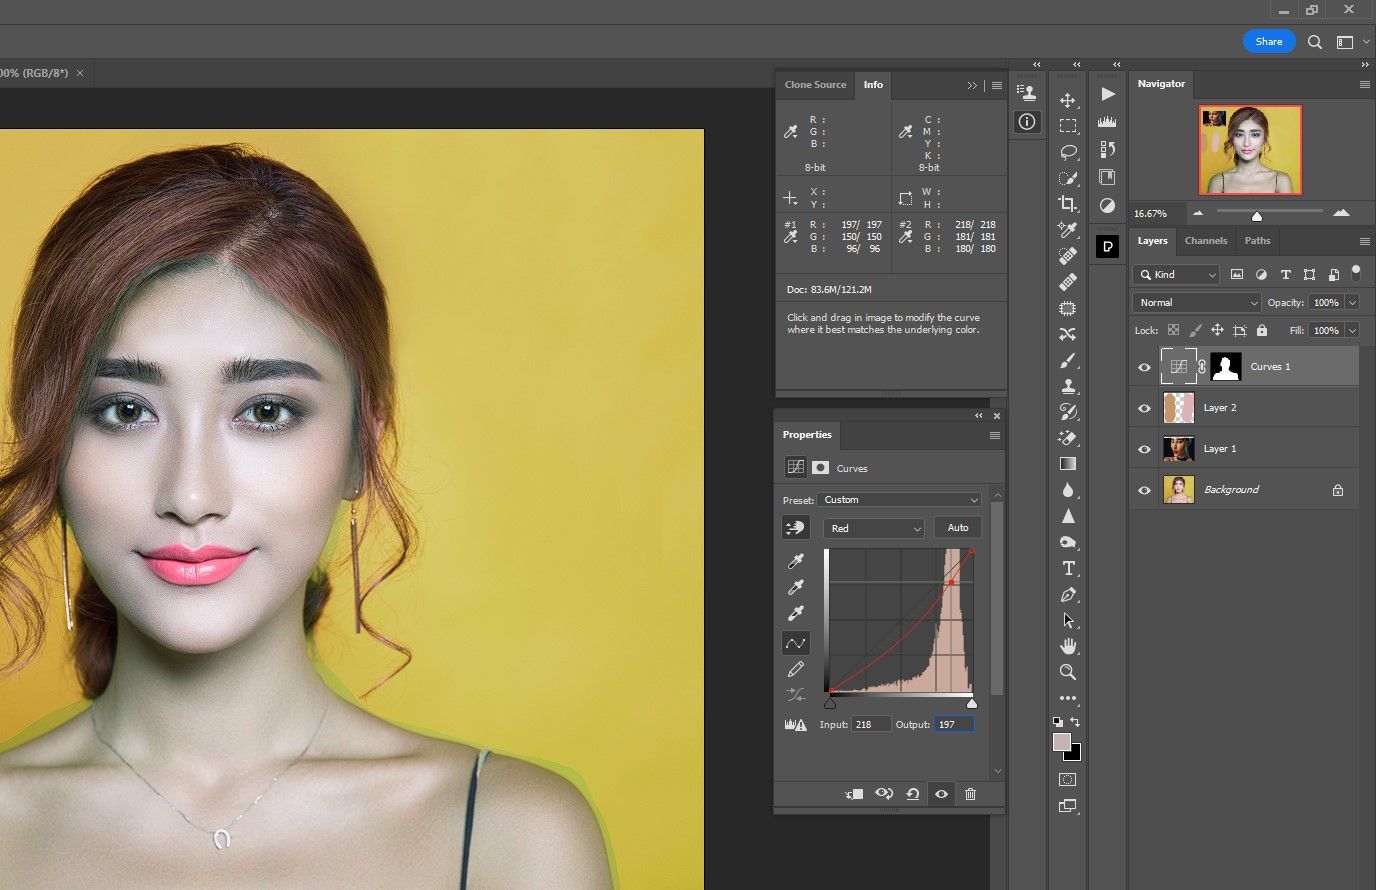
- Double-click the curves layer (not the layer masks). within the Traits activate the On Picture Adjustment software (the hand icon).
- press and maintain ctrl+layer after which click on the second swatch. This locations a degree on the curves panel in Crimson, Inexperiencedand Blue Channels.
- within the Crimson channel, change the output worth to 197 (from RGB values #1 within the Data panel). Press Enter.
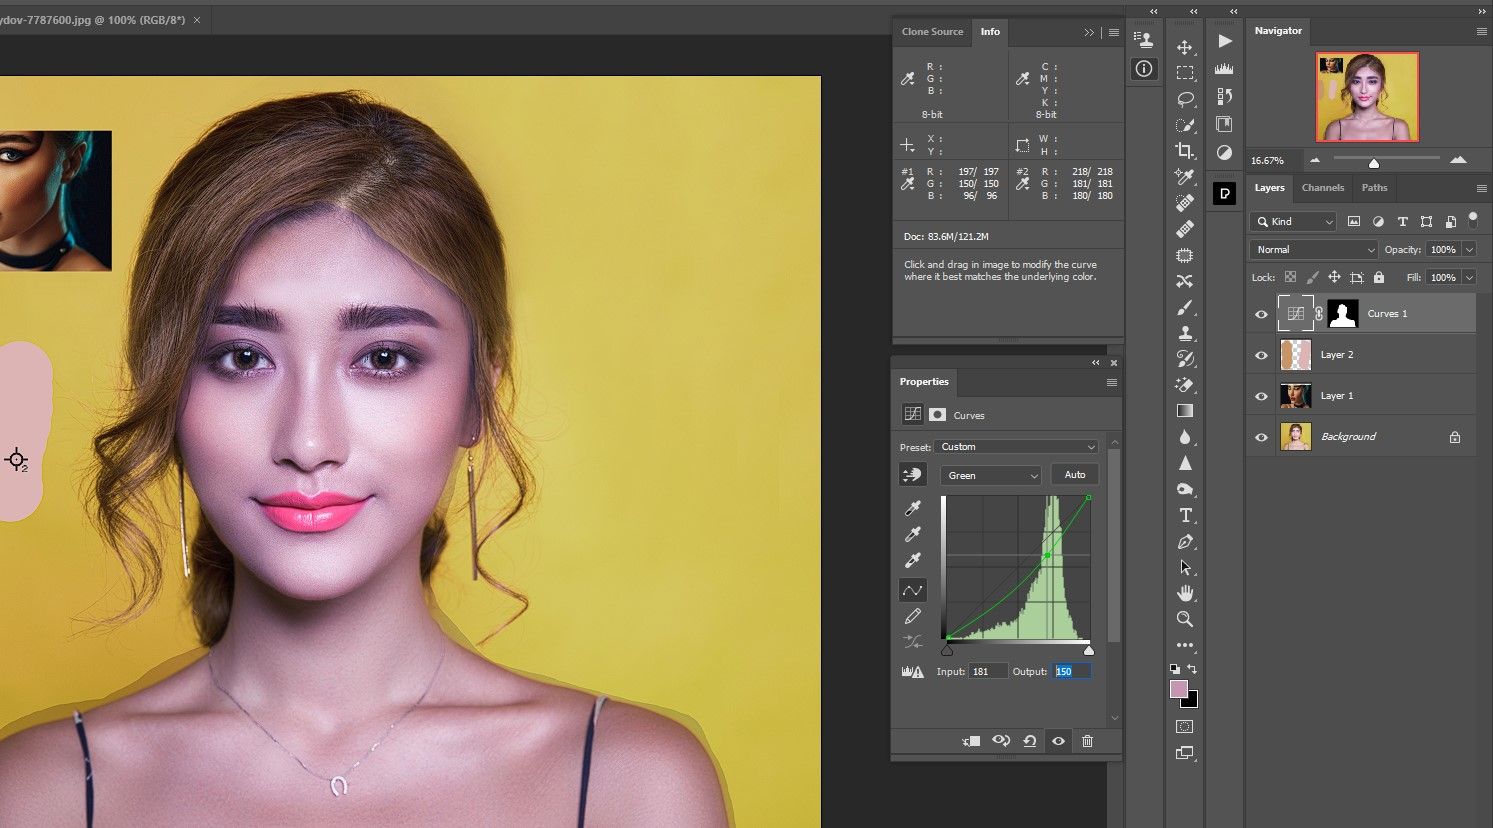
- within the Inexperienced channel, change the output worth to 150 (from RGB values #1 within the Data panel). Press Enter.
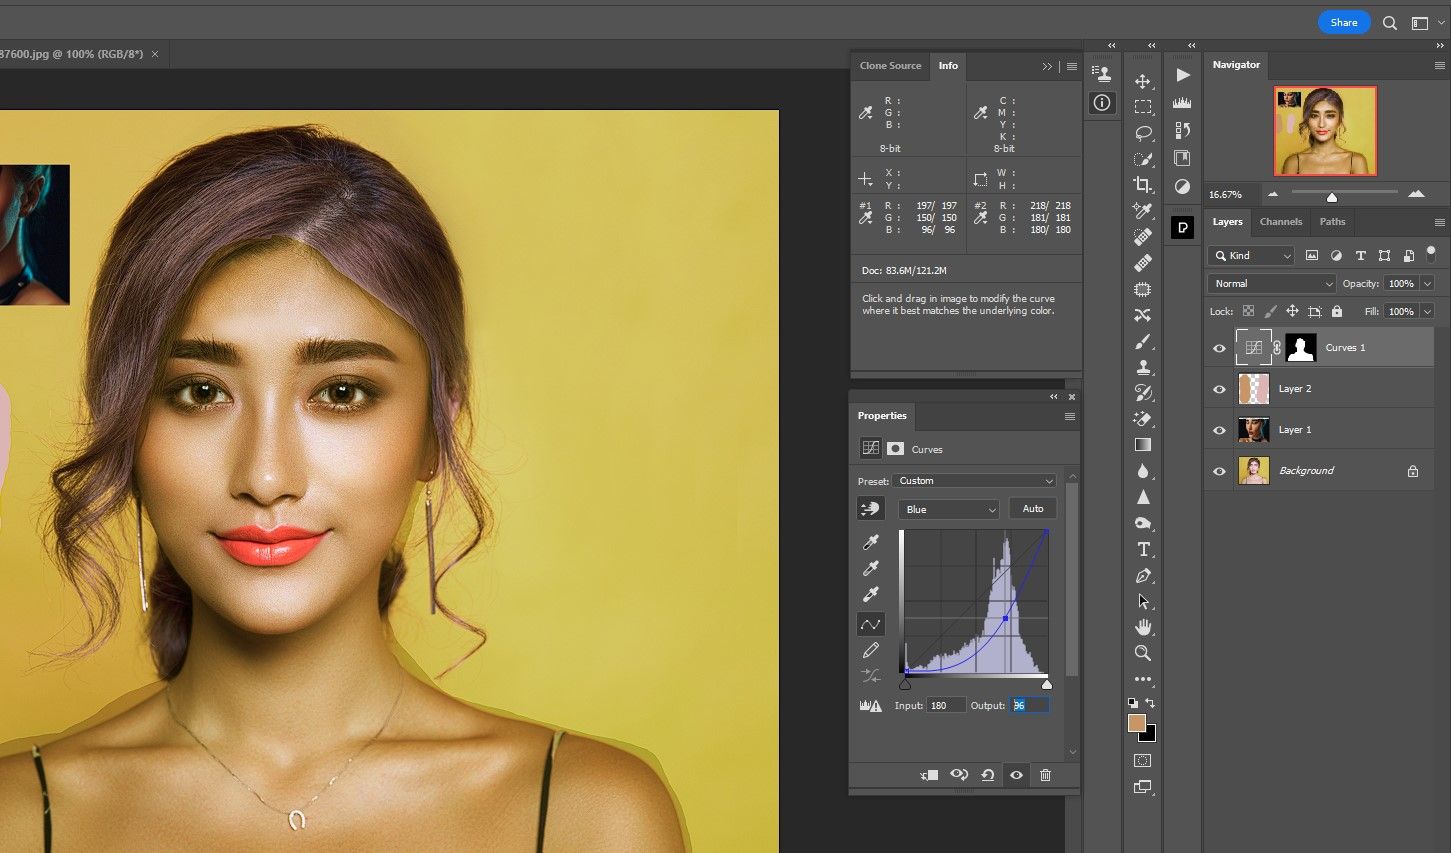
- within the Blue channel, change the output worth to 96 (from RGB values #1 within the Data panel). Press Enter. The pores and skin tones on our topic ought to now look much like the primary swatch.
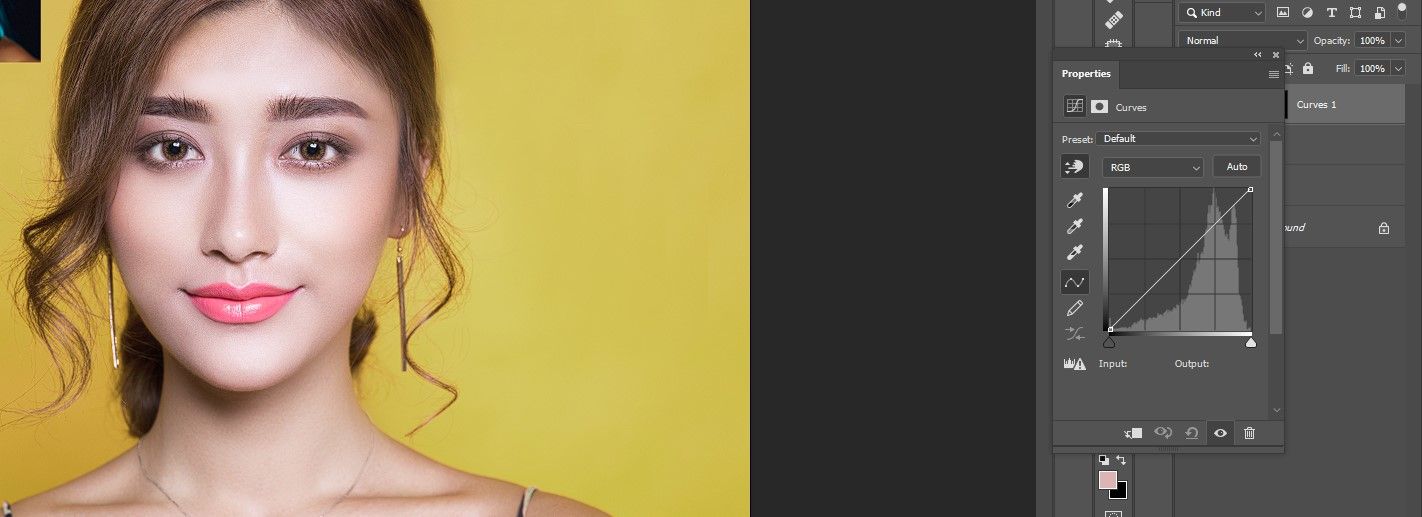
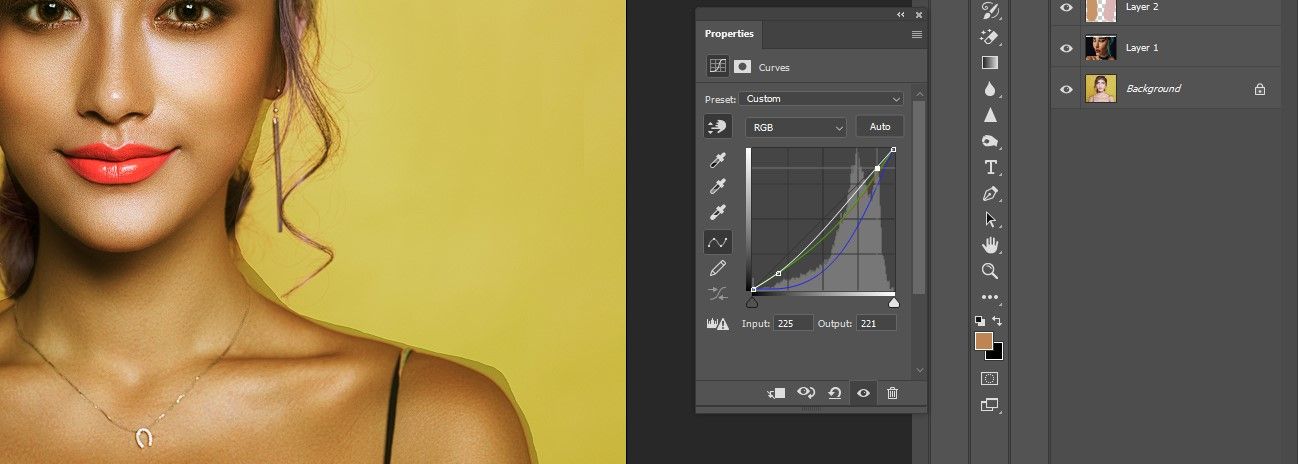
- within the RGB Channel, modify the brightness of the pores and skin by making a S Curve with two dots as proven. For extra data on curves, try our full information to curves in Photoshop.
- Now delete the second picture and coloration swatch layers by dragging them to the trash beneath. You can too shut the Properties and About panels.


It’s possible you’ll be left with the 2 dots that have been there after we added the colour sampler dots. If you happen to export to JPEG, these will not seem in your closing picture, however you may delete them by deciding on the colour collector and hovering over every dot, right-clicking to pick out and clicking to toggle to delete.
Now we’re prepared for the ultimate steps.
Section 3: Paint on the brand new pores and skin tones
These closing steps are the best and most enjoyable. We apply the brand new pores and skin tones to our principal topic utilizing the comb software and easy masking. This may care for the imperfect choice we at present have.
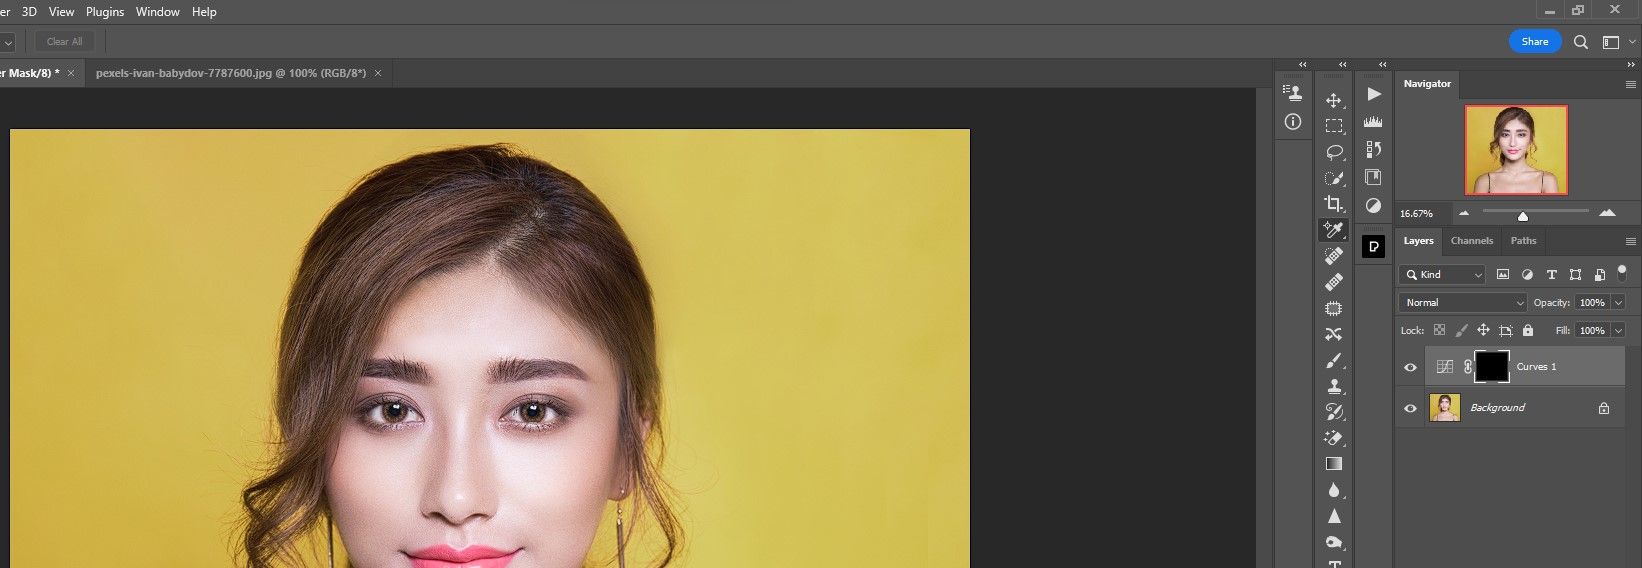
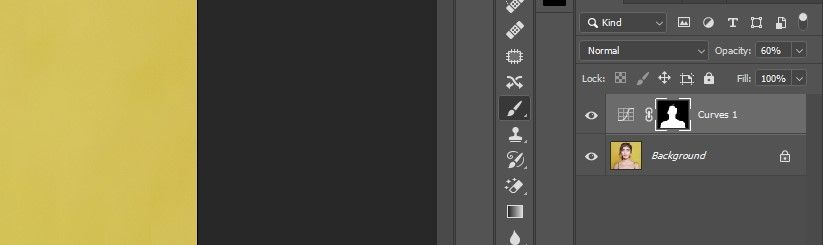
- Click on on that curves layer masks. When the foreground coloration is about to BlackPress ctrl+backspace to fill the masks with all black.
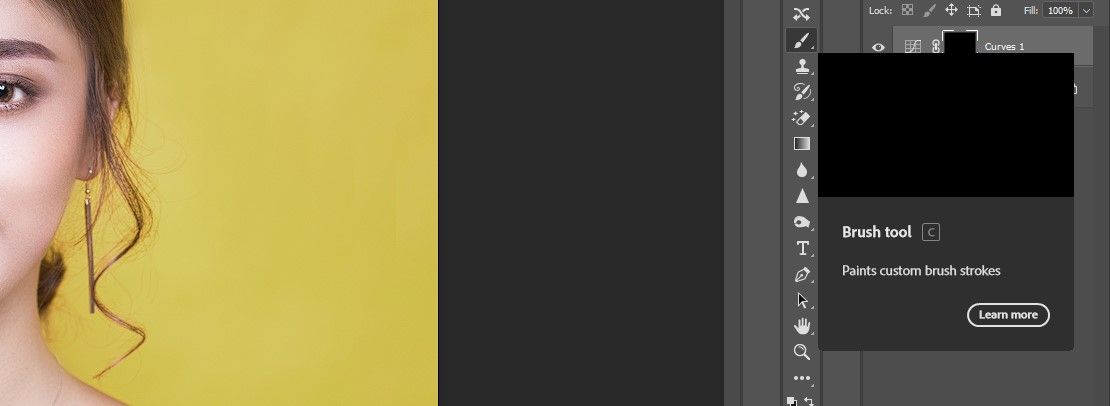
- Press B for the brush Software.
- Set the foreground coloration to White. Press D after which change between them D and X key if mandatory
- Press B for the brush software once more. change that hardness of the comb 0%.
- Subsequent, take the time to softly brush the brand new coloration onto the topic’s pores and skin. If you happen to make a mistake and go over the fallacious space, change foreground coloration too Black delete after which change once more White hold portray. Alternatively, you may brush off the perimeters within the masks if it is much less work.
- Whenever you’re performed, have a look at the image. If the impact is simply too sturdy, cut back it opacity of curves Layer. For our instance we diminished it to 60%.

At this level you may do extra work to optimize the picture utilizing coloration stability Adjustment software and numerous Photoshop filters.
Adjusting pores and skin tones in Photoshop will not be difficult
We confirmed you the right way to match two individuals’s pores and skin tones on this tutorial and as you may see it isn’t very troublesome in any respect. Keep in mind that this technique additionally applies to group portraits. We hope you adopted us and discovered one thing new that you should use in your individual work. Be happy to repeat these steps in your photos to see what the outcomes are like and attempt to get a deal with on the method.
