The right way to Retouch Pores and skin Utilizing Frequency Separation in Photoshop

Frequency Separation is a Photoshop method for retouching pores and skin. In the event you’ve all the time needed to be taught this method and apply it to your photographs, you are in luck. On this tutorial, we’ll present you how one can arrange the layers to carry out frequency separation in Photoshop. Let’s begin.
What’s Frequency Separation?
Frequency Separation is a retouching course of that splits a picture into two layers; high and low frequencies. The low frequency represents the colour data, whereas the excessive frequency represents principally the feel element, though in some circumstances you will note some coloration there as properly.
The concept is that when utilizing frequency separation you’re engaged on every degree independently. On this approach, the processing is extra localized and serves to take away blemishes, pores and skin discoloration, luggage beneath the eyes, and many others. extra successfully.
Frequency separation is an older retouching technique, previously utilized by skilled retouchers however has since been largely marginalized in favor of different, extra trendy methods. Nonetheless, many photographers nonetheless use frequency separation as a result of it is a comparatively fast and simple technique to retouch pores and skin with out having to depend on third-party plugins or skilled retouchers.
8-bit vs. 16-bit frequency separation
Two frequent setups are utilized in frequency separation, one for 8-bit and one for 16-bit photographs. The standard technique to decide which to make use of is to easily go by how your picture was rendered. Most telephones and DSLRs include 8-bit mode by default, however many superior programs even have 14- and even 16-bit choices.
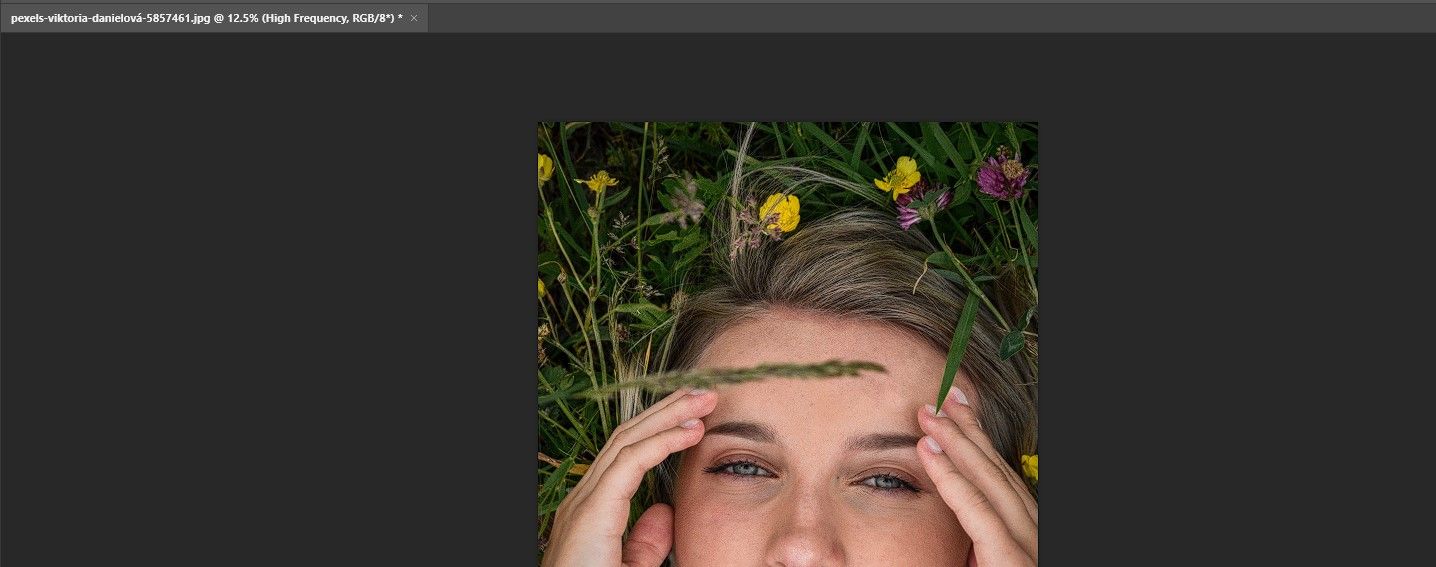
You possibly can see which your picture is by checking the picture tab on the prime of Photoshop, which incorporates the filename. On the finish of the identify you will note both RGB/8 for 8 bit or RGB/16 for 16 bit. In case your picture is 14-bit or larger, it’s best to use 16-bit frequency separation.
It is price noting that some Photoshop customers over time have discovered that when making side-by-side comparisons, whatever the variety of bits, they could not inform any distinction between utilizing one technique or the opposite. That being mentioned, we’ll embody each strategies in our tutorial.
Step 1: The right way to arrange frequency separation
There are a number of variations of this setup. We selected one of many fundamental strategies of frequency separation that makes use of as few layers as attainable to get the most effective outcomes shortly.
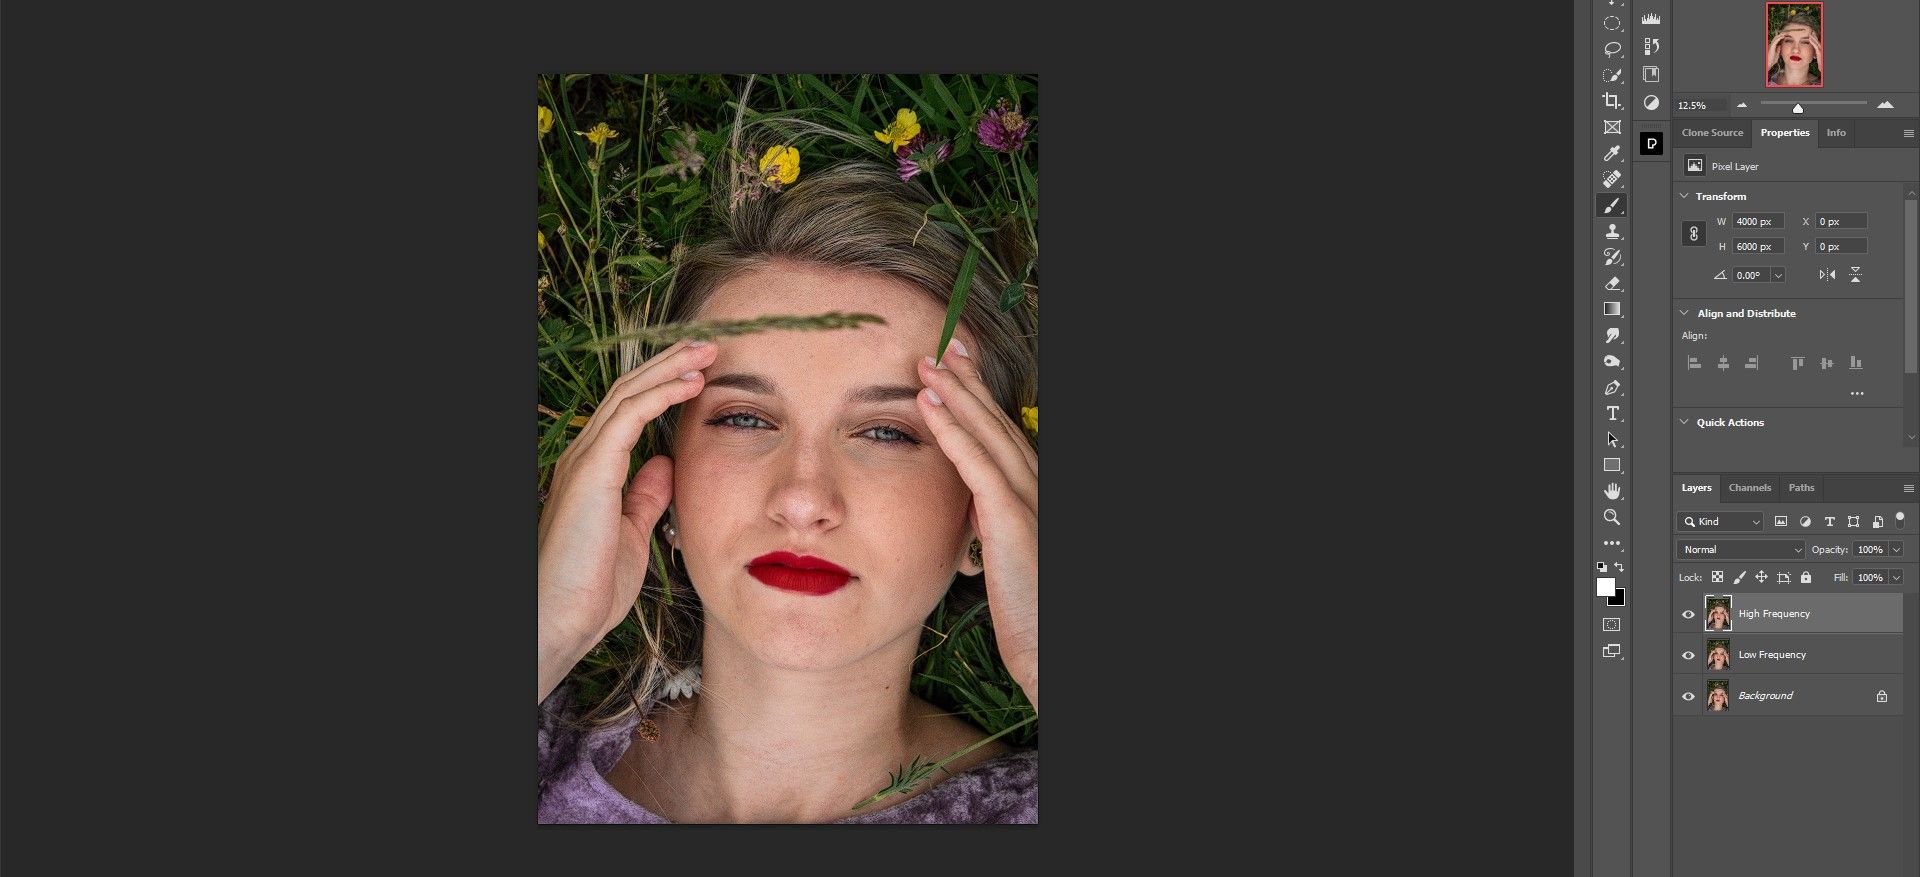
We’ll present you how one can create two separate background copy layers that symbolize the high and low frequencies. We identify each appropriately and apply a blur to the low frequency and use an apply picture rendering to the excessive frequency.
With a couple of different minor tweaks, it is on no account a fancy setup, however one which could possibly be automated by making a Photoshop motion for it. Lastly, we group these layers collectively for organizational causes in order that further edits might be made if wanted.
If you wish to comply with us, you may obtain the pattern picture from Pexels.
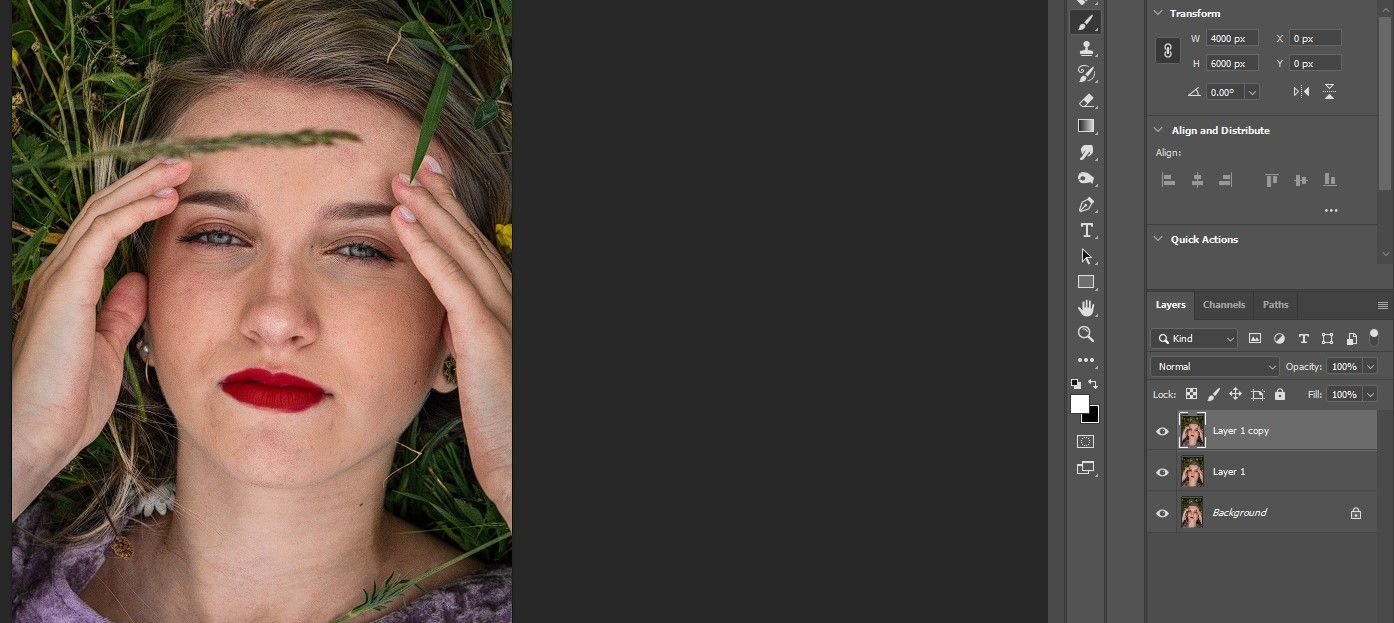
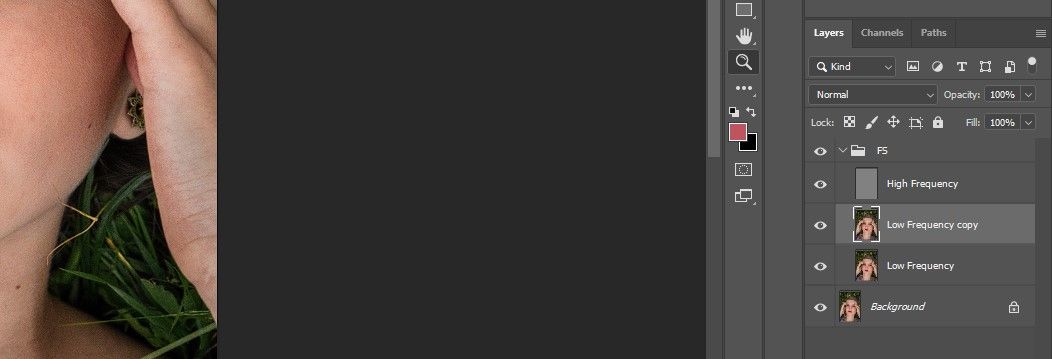
- Press ctrl + J twice to create two copies of the background layer.
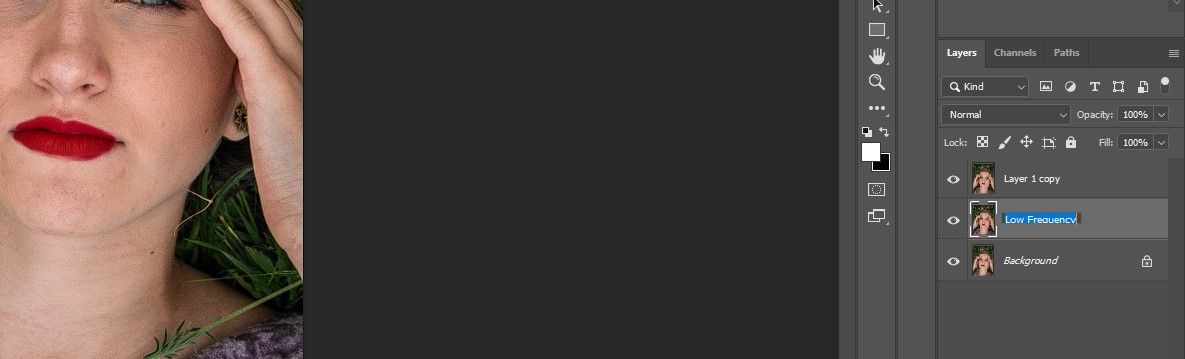
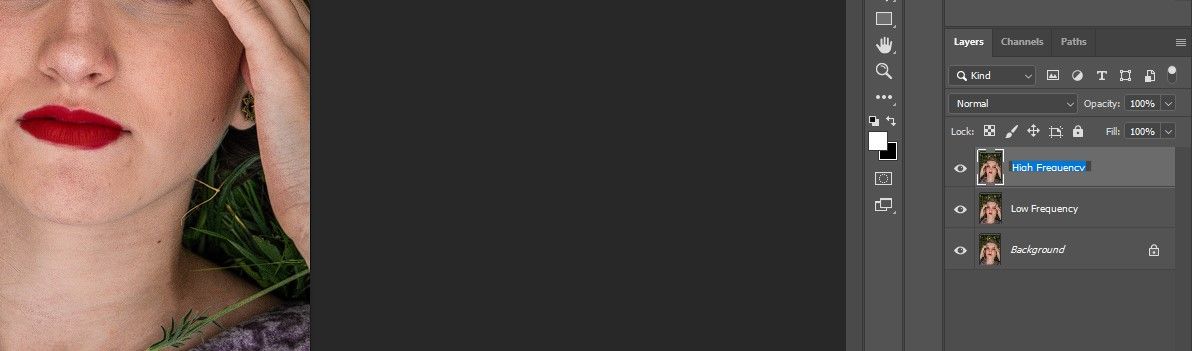
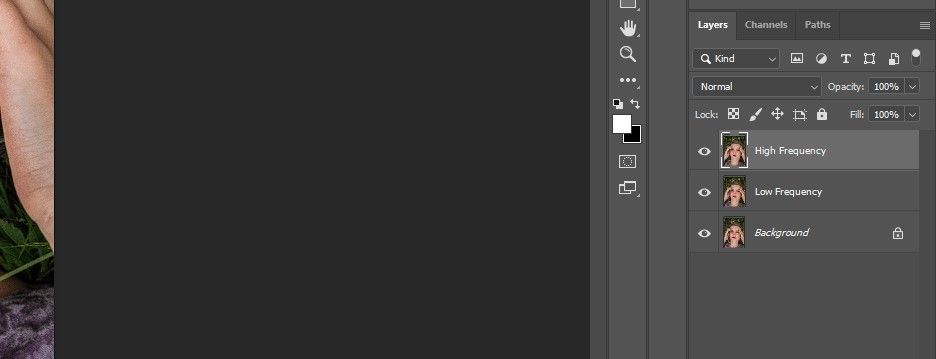
- Double-click the primary copy and identify it “Low Frequency”.
- Double-click the second copy and identify it “Excessive Frequency”.
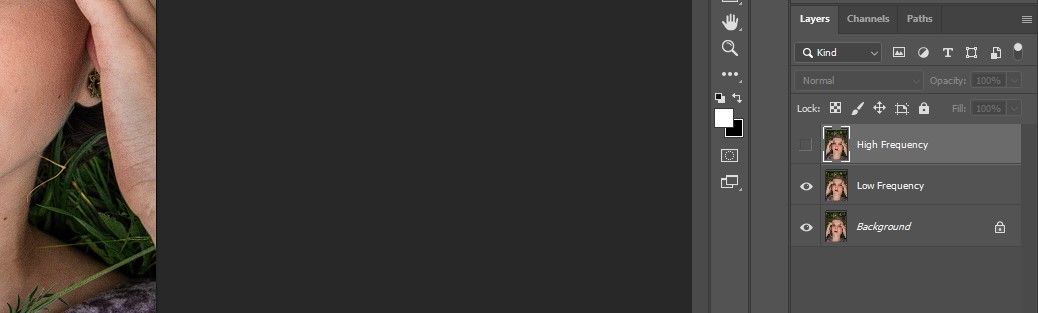
- Uncheck the field of excessive frequency Layer.
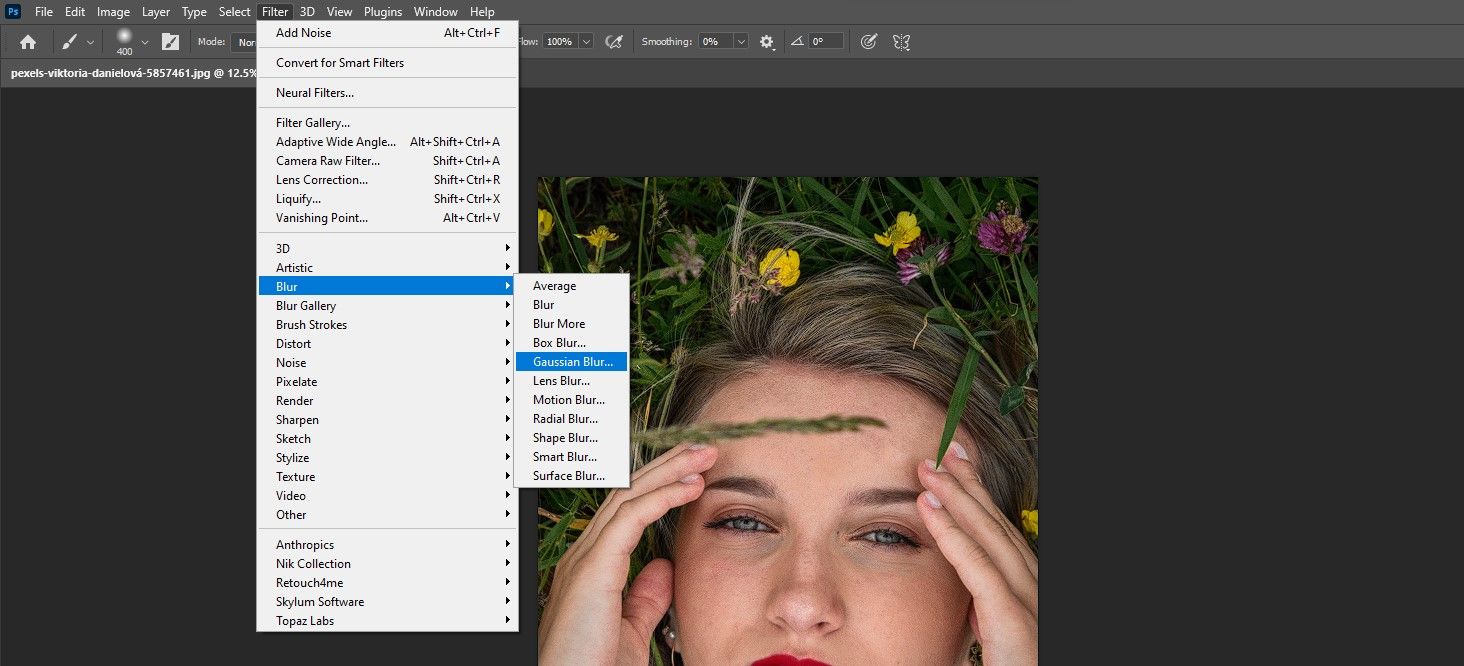
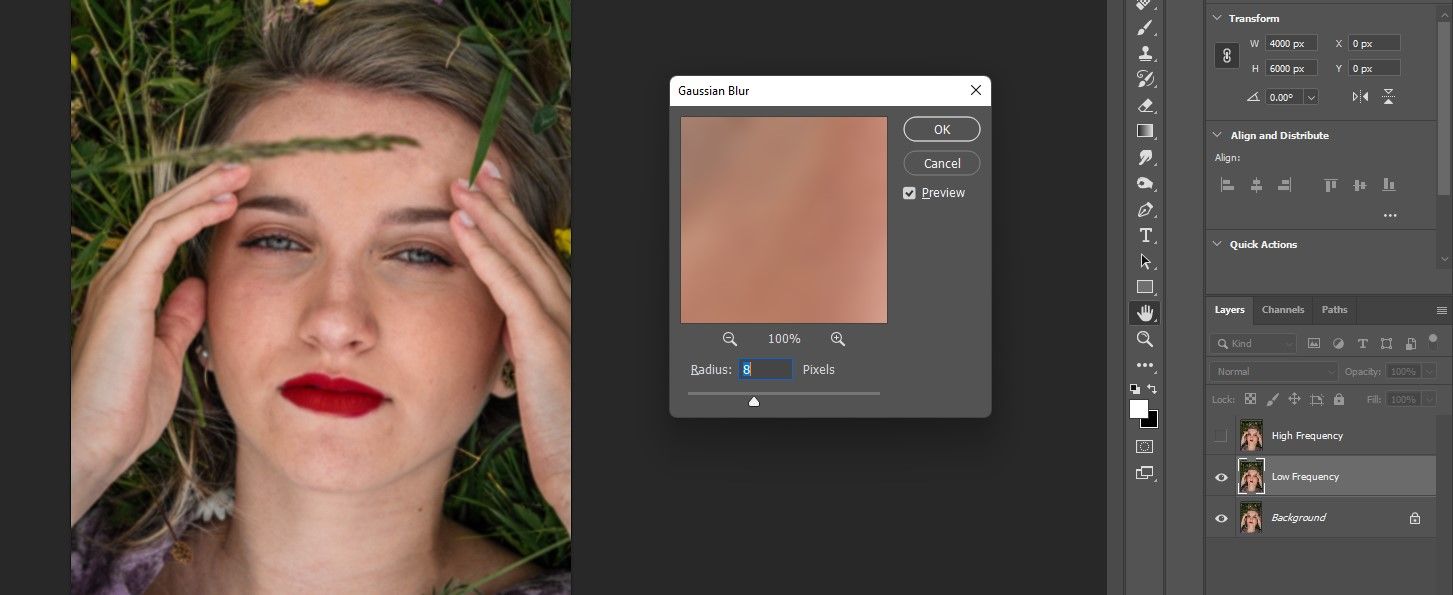
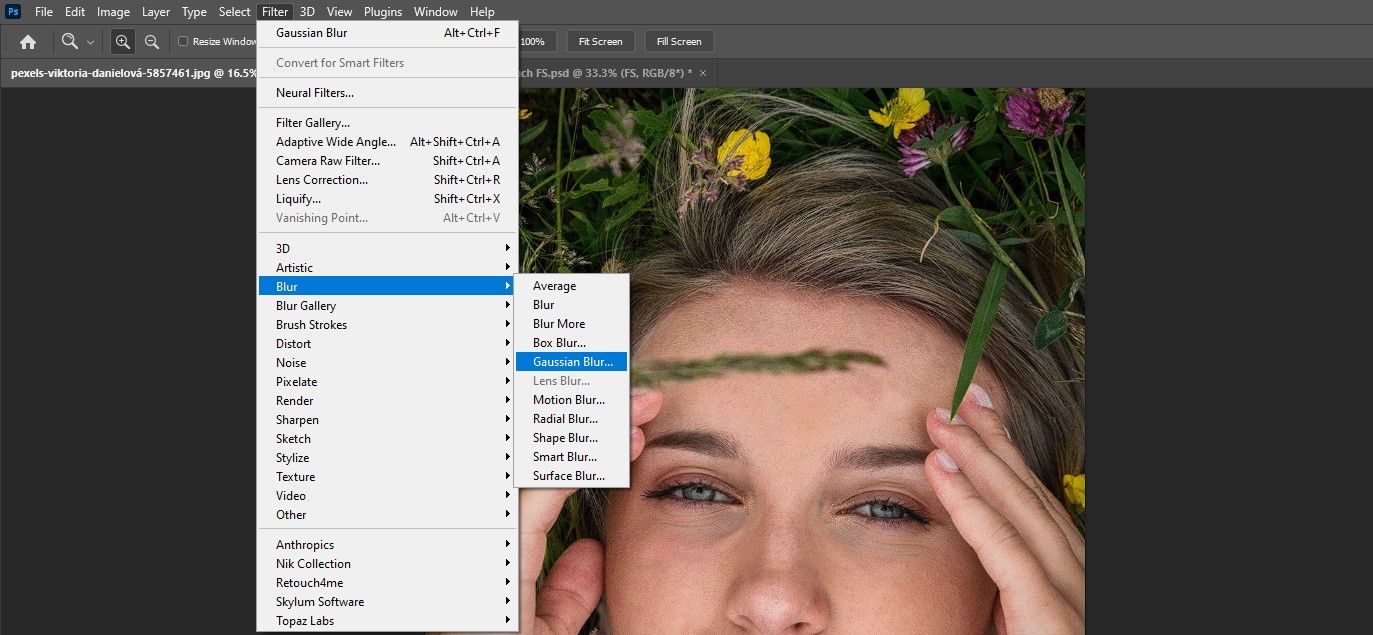
- Select low frequency Layer. Go to filter > Blur > Gauss Blur.
- change that radius to a pixel measurement appropriate for the picture. This can differ, however it’s best to regulate it in order that the feel particulars begin to fade. We selected this image eighth. Then click on OK.
- Test the field of excessive frequency Stage, after which choose the extent.
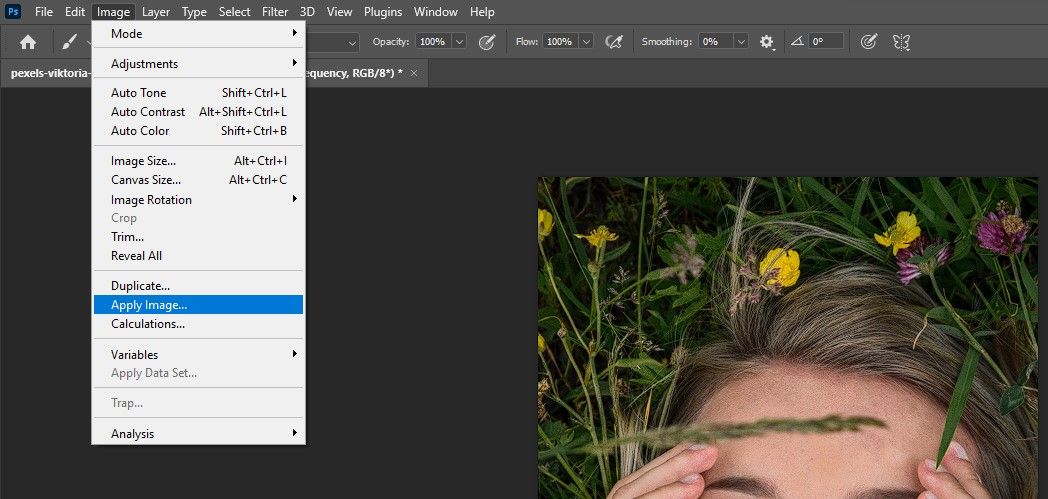
- Go to image > Apply image.
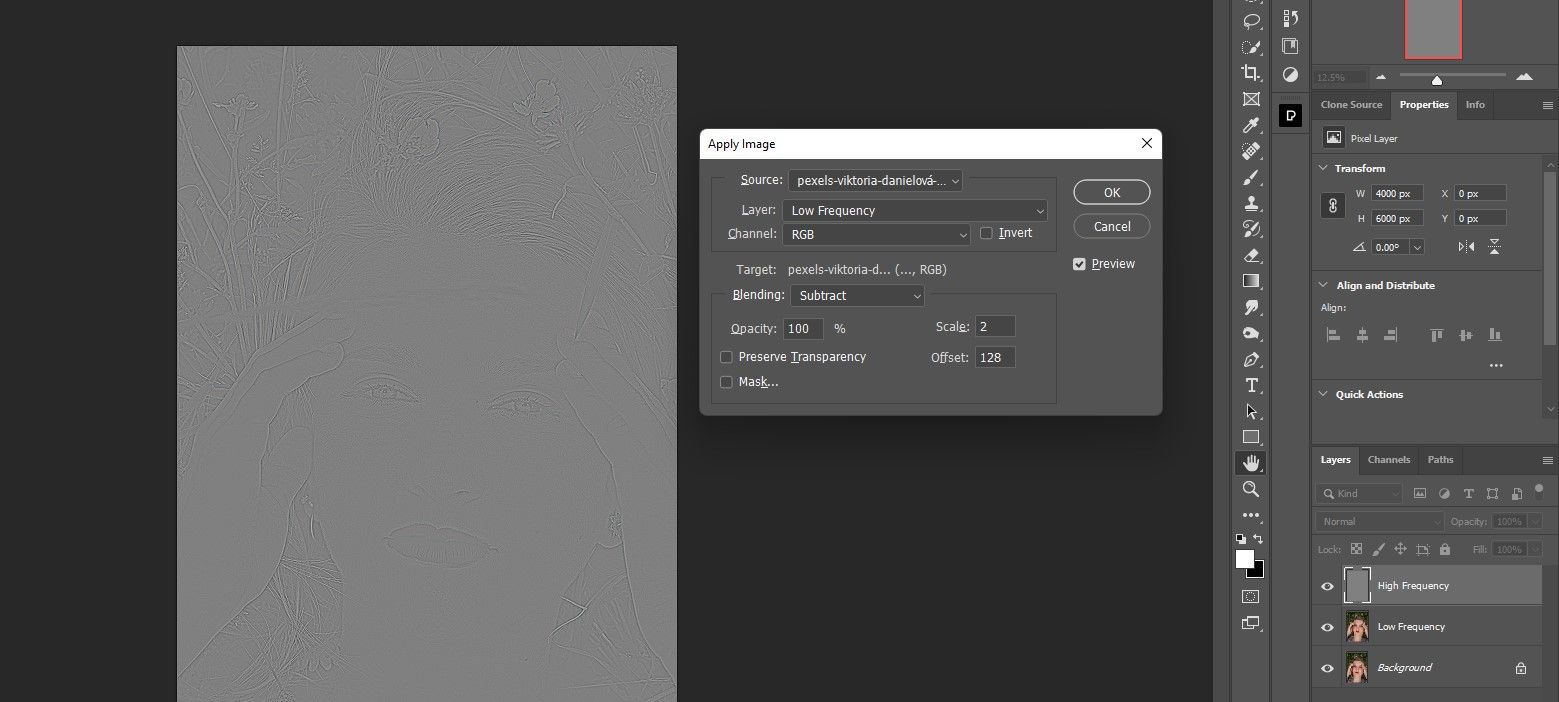
- The right way to change settings for 8-bit photographs. From the Apply Picture menu, change the Layer to low frequency (or the copy of the primary layer), change the mix up Subtractdisable these Turning again change the dimensions to 2and offset to 128.
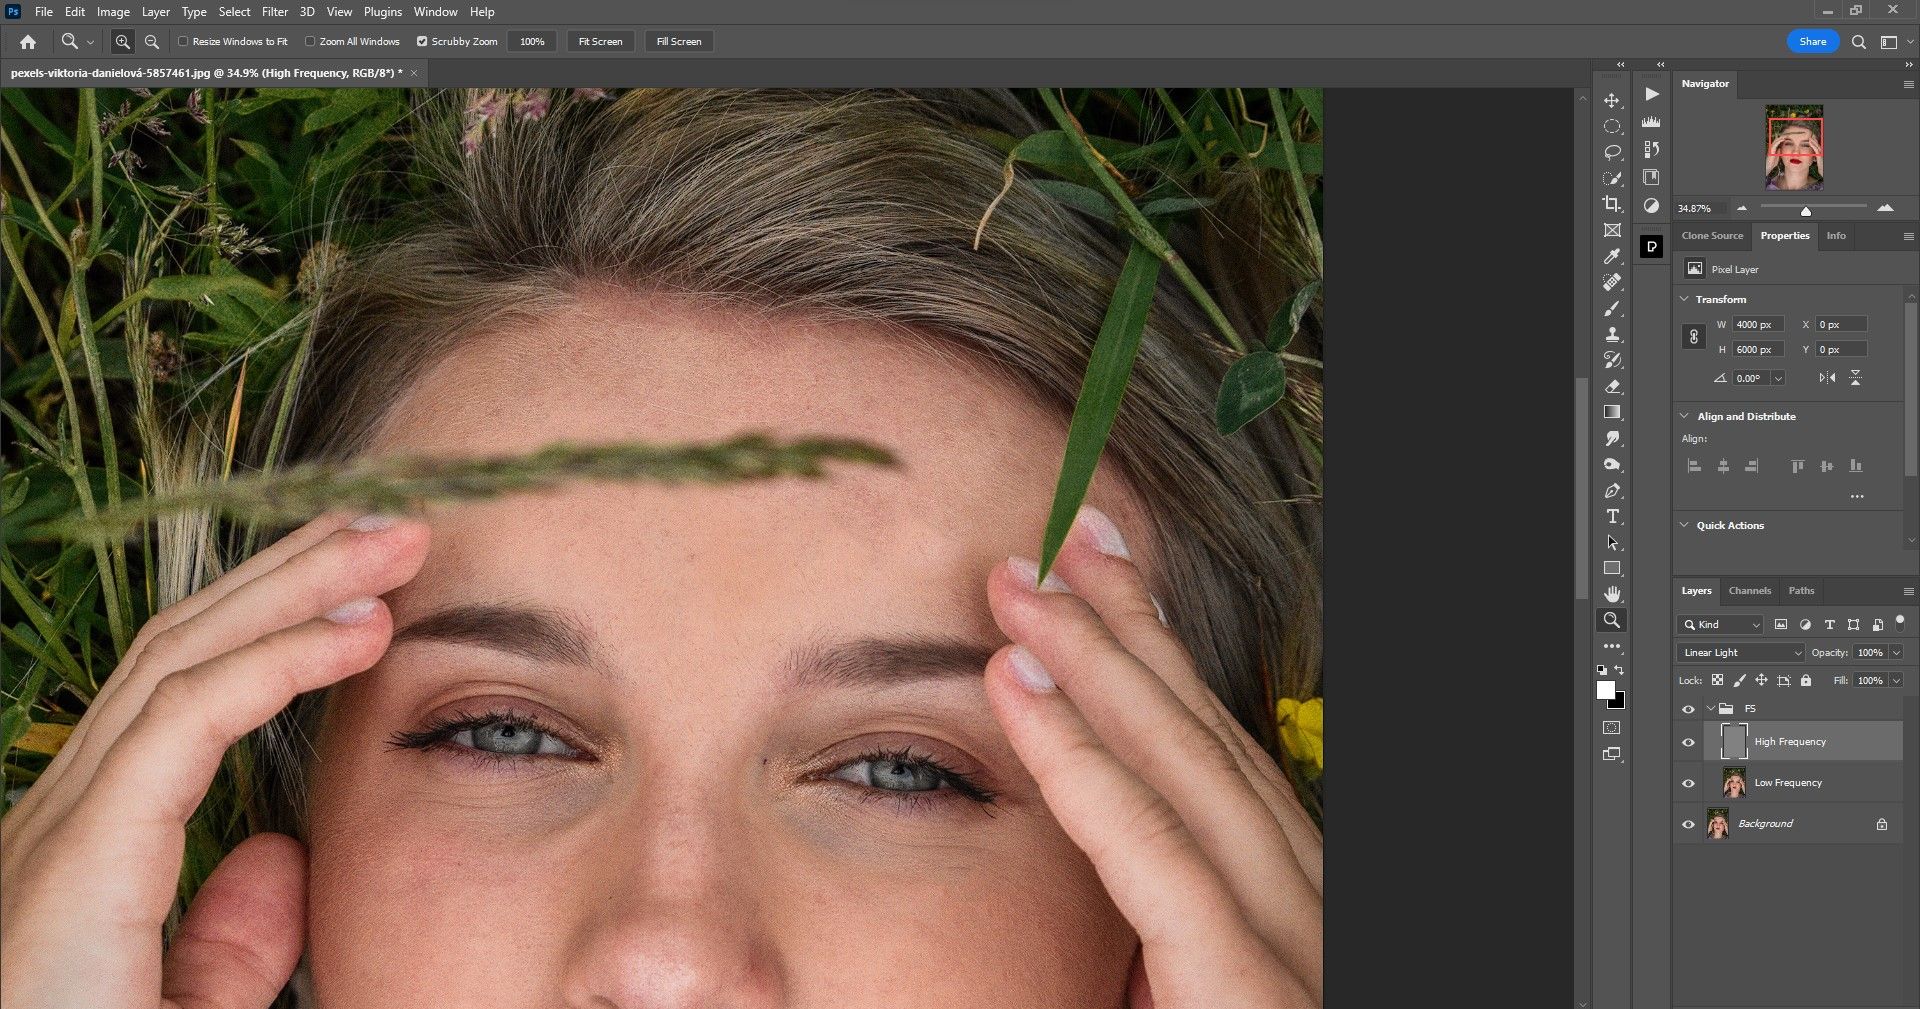
- To the 16-bit photographschange the extent LowTest the Turning again area, change the fade to Add toand scale up 2. Depart Offset as is 0.
- Change the Mixing Mode to linear mild.
- Click on on that excessive frequency layer and change + click on on the low frequency Layer to pick out each layers.
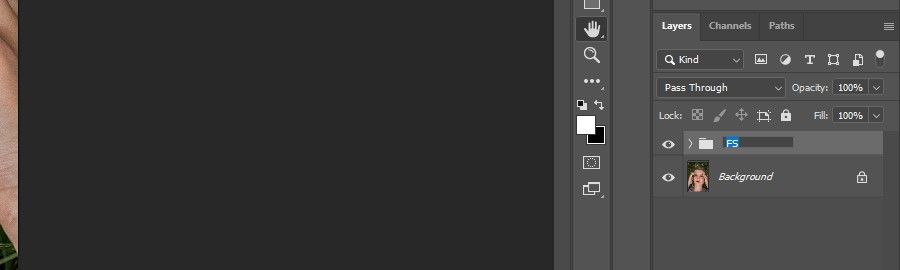
- Press ctrl + G to group the layers.
- Title the group “FS” for the frequency separation.

In the event you’re a fan of third-party plugins to streamline your picture modifying workflow, we’ll present you how one can use PortraitPro to remodel your portraits.
Step 2: Edit the excessive frequency layer
Now that we have ready the frequency separation layers in Photoshop, we will retouch this picture. We’ll begin with the excessive frequency layer, the place we’ll use that clone stamp Instrument (S) for eradicating blemishes, stray hairs and different small troubled areas.
For many work, it’s best to go for a laborious spherical Brush, with stream set to 100%. Ensure that Pattern is ready to Present degree.
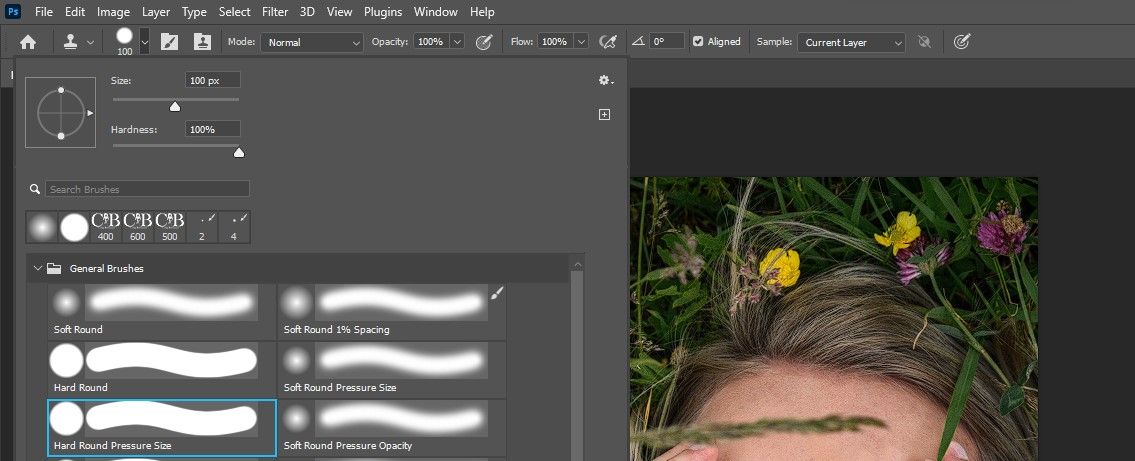
First zoom in by urgent Z Key. Transfer the mouse left or proper to enlarge the picture to full display. Begin with the highest of the face. Establish the areas that want retouching, such because the strand of hair on the brow, the black spot on the lady’s proper eye, and the small patches of tough pores and skin.
We’ll cowl how one can use the Clone Stamp software intimately should you want a refresher.
Then proceed with the picture, eliminating any blemishes and tough spots. If it is advisable to use the clone stamp software close to traces and borders between completely different pixels, you may swap to a delicate spherical Brush to keep away from laborious edges inflicting pixel distortion.
Not every thing must be good on the primary run. Even should you transfer on to the subsequent step, you might want to return to the excessive frequency degree to get extra work executed.
There could also be sure factors that could possibly be higher solved with different instruments like that remedy and Job remedy Instrument. In the event you’re a newbie, experiment to see what different instruments be just right for you.
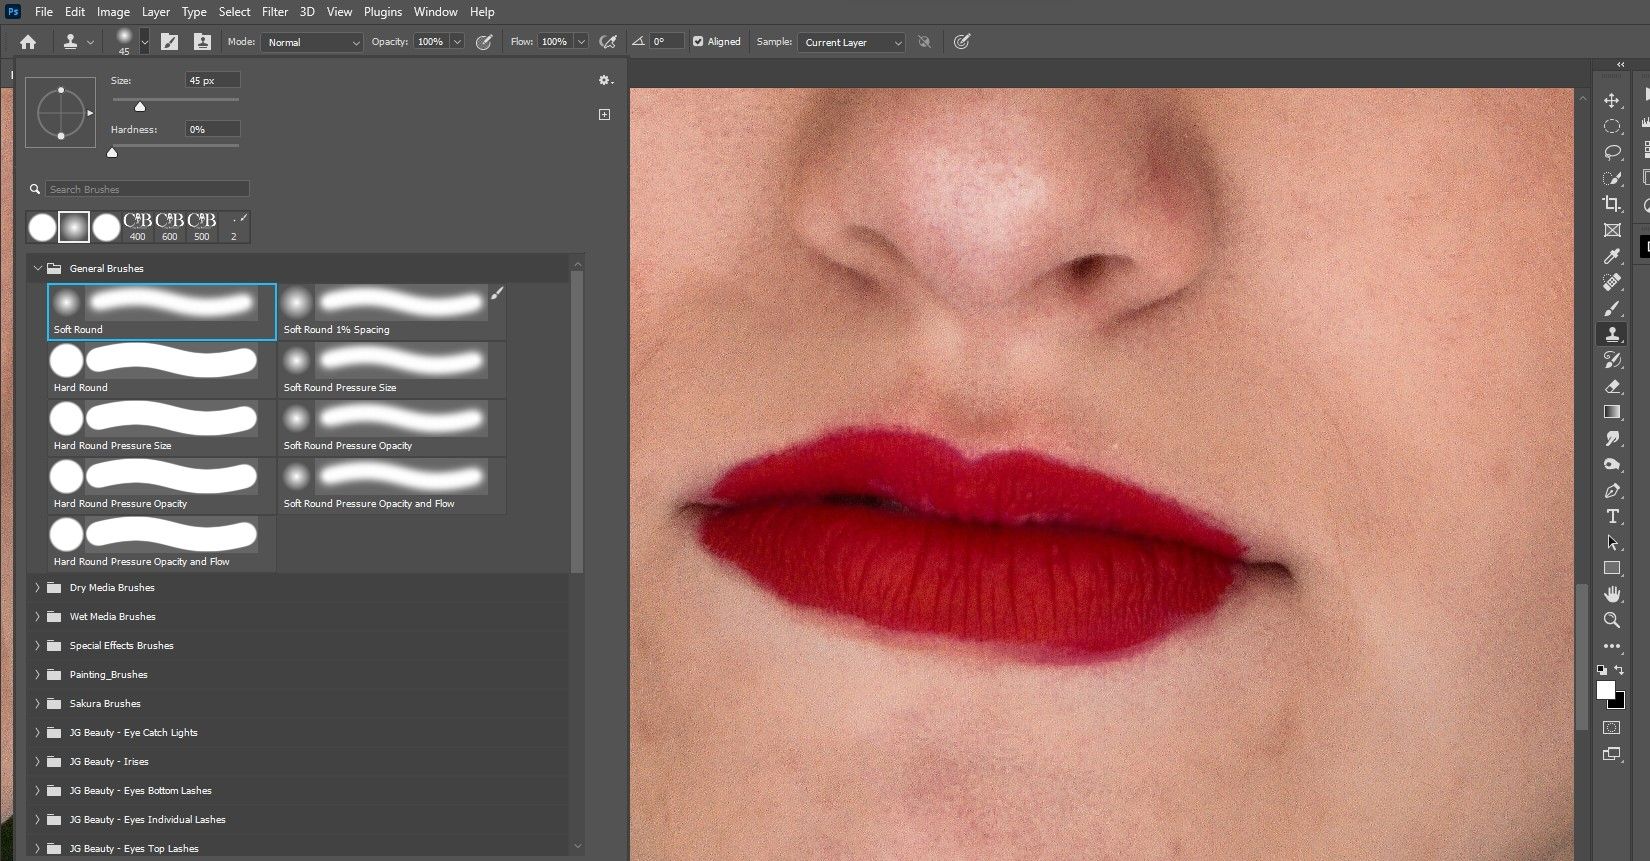
Step 3: Edit the low frequency layer
A lot of the coloration data is discovered within the low-frequency aircraft. Right here we easy transitions between colours to provide knowledgeable look.
There are a couple of methods to easy out uneven areas. A technique is to work with the immediately on the low frequency degree lasso software and utility Gaussian blur with each choice.
Nonetheless, if you wish to work non-destructively to right errors later, you may create a further layer on prime of the low-frequency layer and switch it into one sensible object.
Listed here are the steps:
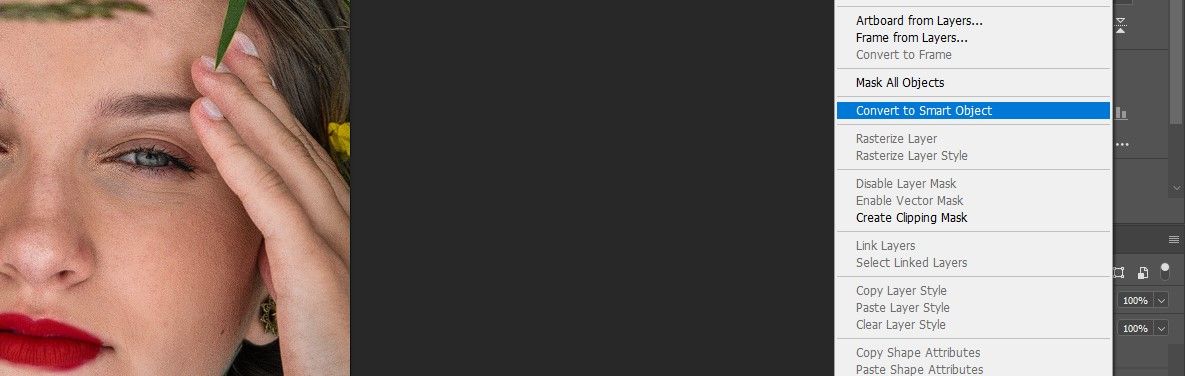
- Select low frequency Layer. Press ctrl + J to duplicate it.
- Proper click on on the brand new layer and choose it Convert to sensible object.
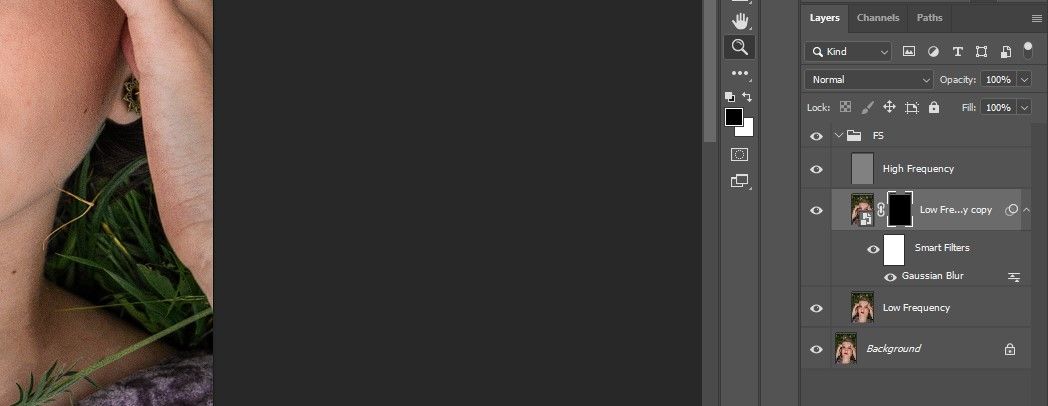
- Go to filter > Blur > Gaussian blur.
- Once more select a worth the place the feel has light. Now we have chosen 18 for this image. Press OK.
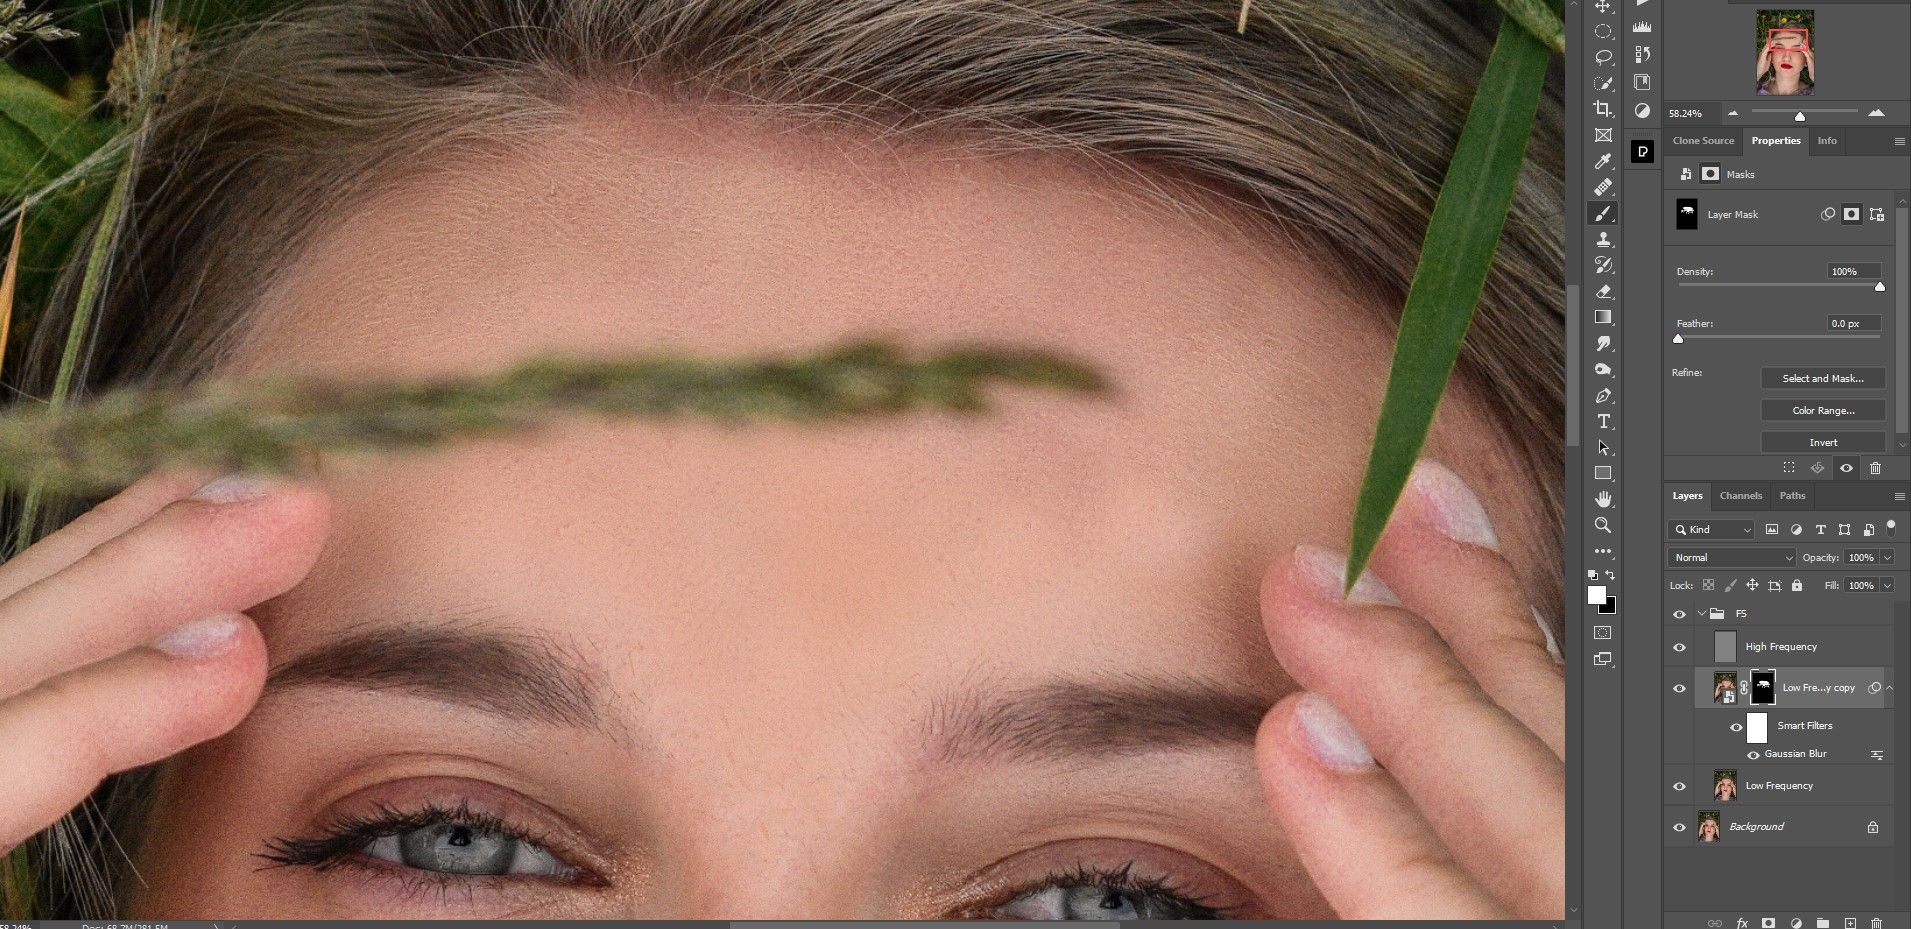
- Maintain and press the Previous key and the masks Icon to create a detrimental masks (black).

Then with A delicate spherical Brush at a decrease stream fee, e.g 50%, begin brushing the impact the place a easy impact could be helpful. Keep away from brushing over the sides as this could seemingly break the dimensionality and make the picture look flat.
In the event you want a refresher, try our information to utilizing the comb software in Photoshop.
Right here is our picture earlier than working with the low frequency layer transformed to a wise object:

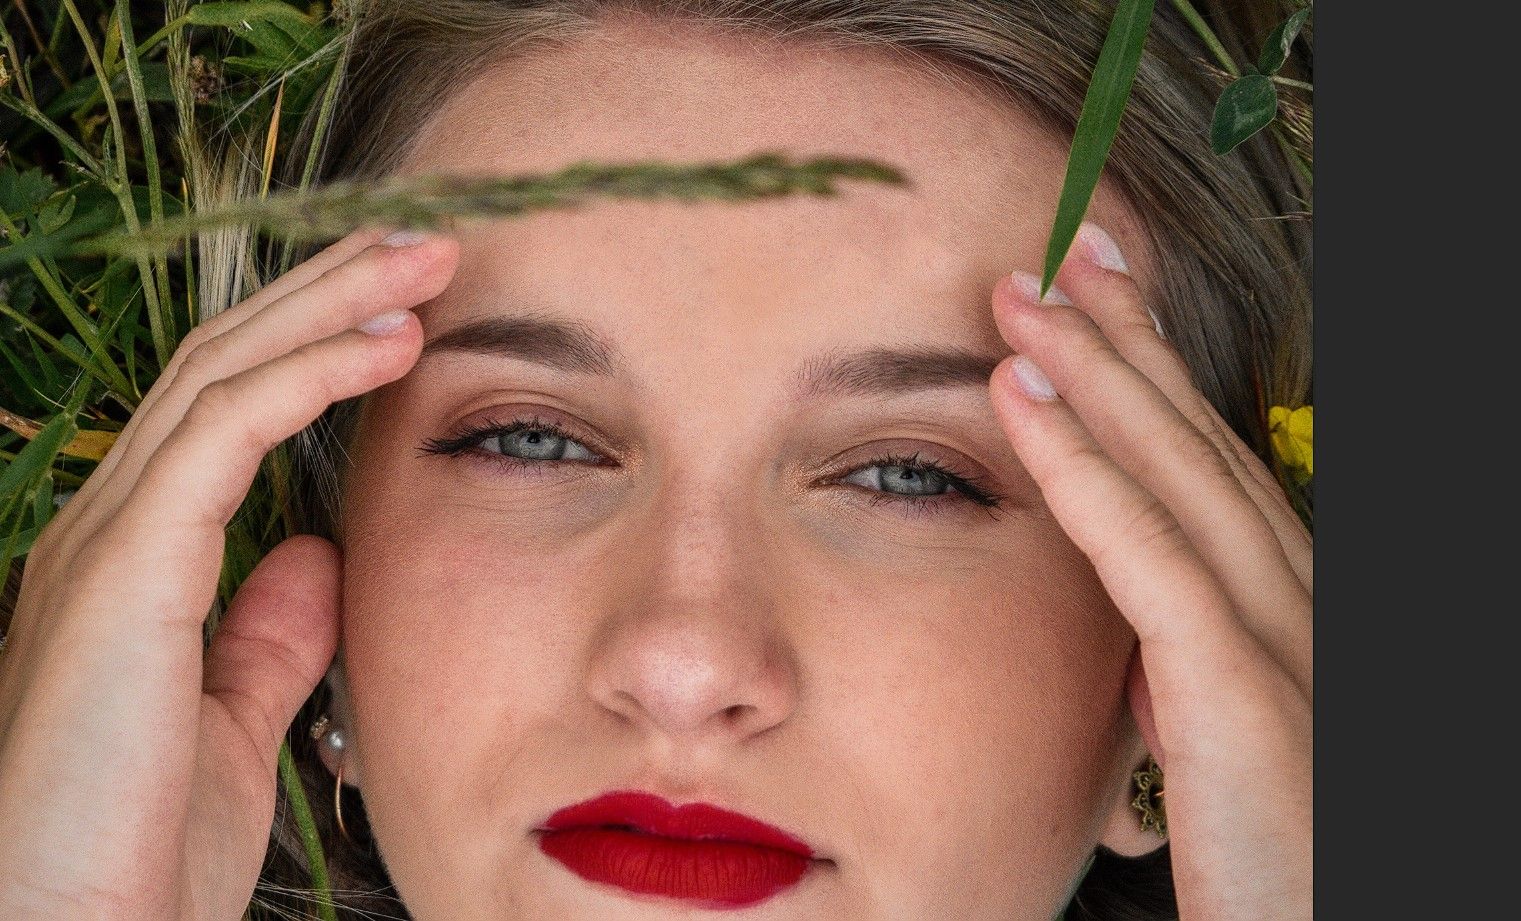
Right here is our completed image:
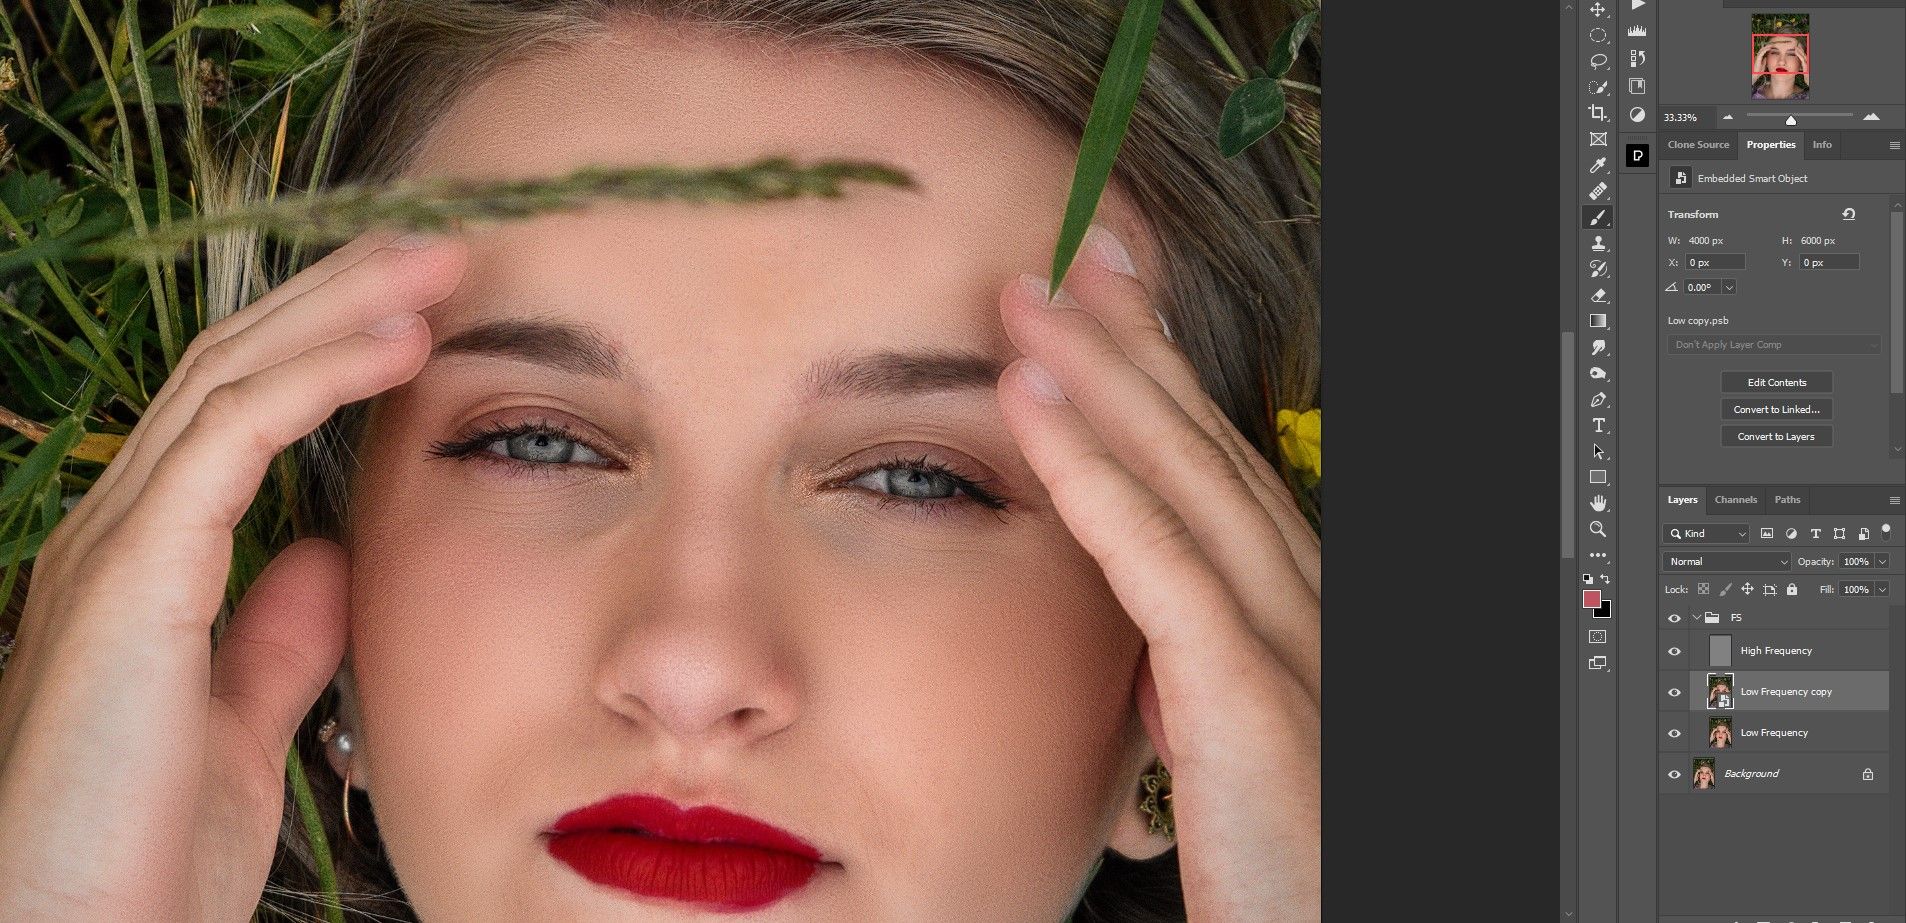
As well as, you may scale back the opacity the layer if you wish to scale back the results. We lowered it to 75%.

Frequency separation is a photographer’s greatest buddy
If you wish to retouch your photographs however do not need to spend numerous hours doing it, Frequency Separation in Photoshop is an ideal selection for photographers who need to get their work executed shortly and successfully.
A method like frequency separation not solely saves you time, however it additionally saves you from having to ship your photographs to knowledgeable retoucher.
