Easy methods to Make Your Photographs Look Like Work in Photoshop

No, you do not have to attract something manually.
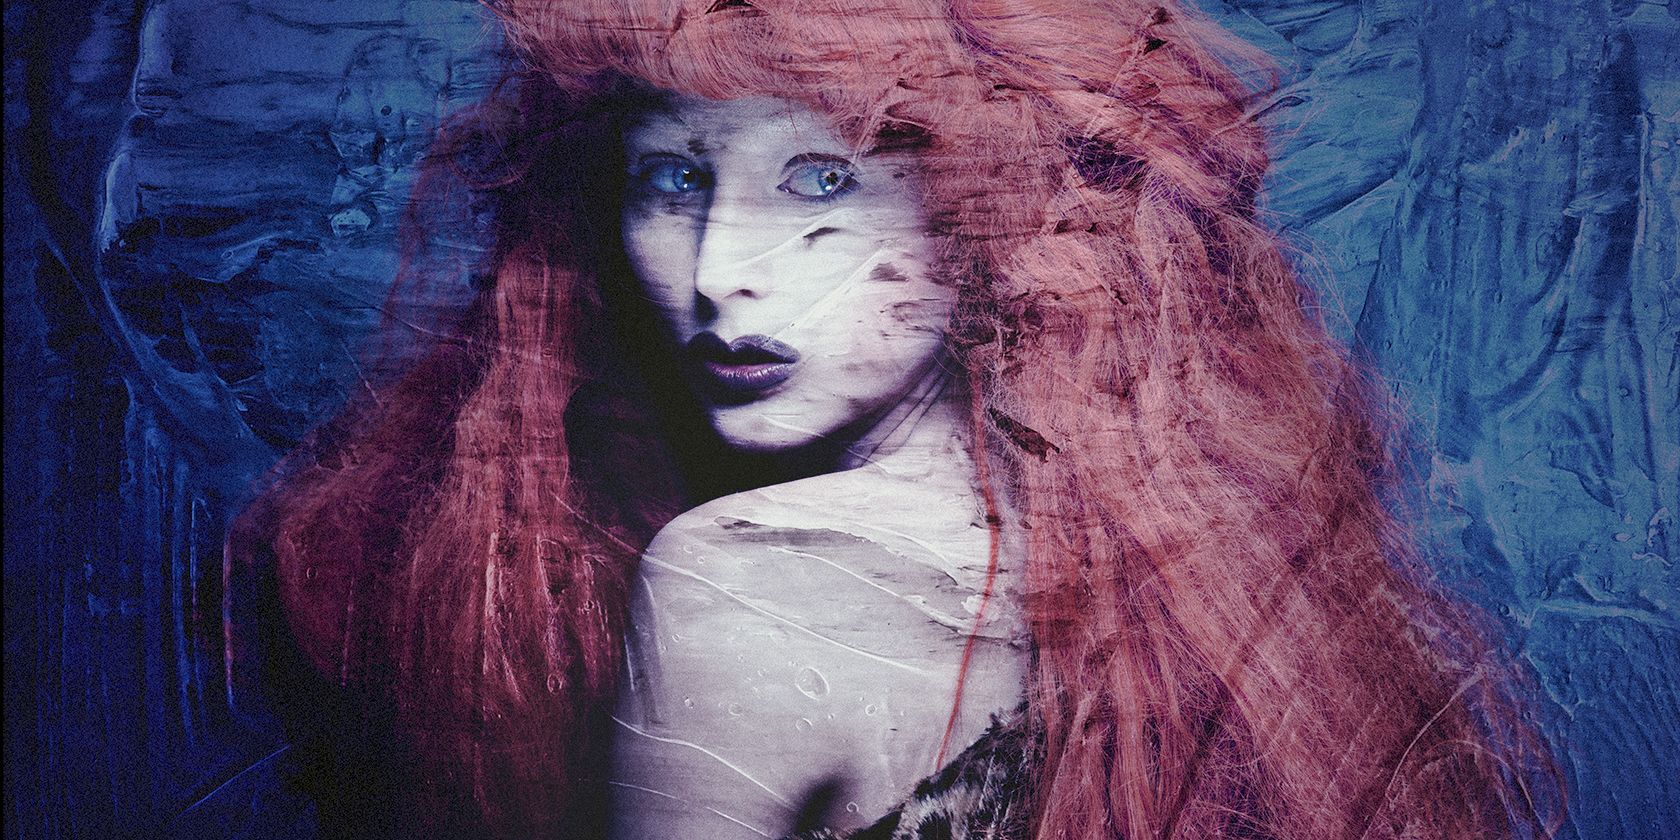
Ever wished considered one of your images to seem like a portray? On this tutorial, we’ll present you easy methods to add texture to your photograph after which rework it in Photoshop to seem like a portray. It is simple and enjoyable. Let’s begin.
Which textures work finest?
Magnificence is within the eye of the beholder, because the previous saying goes. However relating to textures, it is best to perform a little planning if you wish to create a portray from considered one of your images.
If you need your photograph to seem like a portray, your finest wager is to search for a texture that already seems like one. Ideally you need an uncolored texture, otherwise you’ll have to do that easy activity in Photoshop.
You need to use multiple texture. You may get as detailed as you need with particular textures that match completely different components of the photograph. The place you will get textures, you may obtain them at no cost from websites like Unsplash and Pexels. Or you should purchase them from creators.
When you see how simple it’s to show your images into work, you’ll higher plan your workflow. You too can use free plugins from the NIK Assortment so as to add colour and texture results.
Obtain the fabric to transform images into work
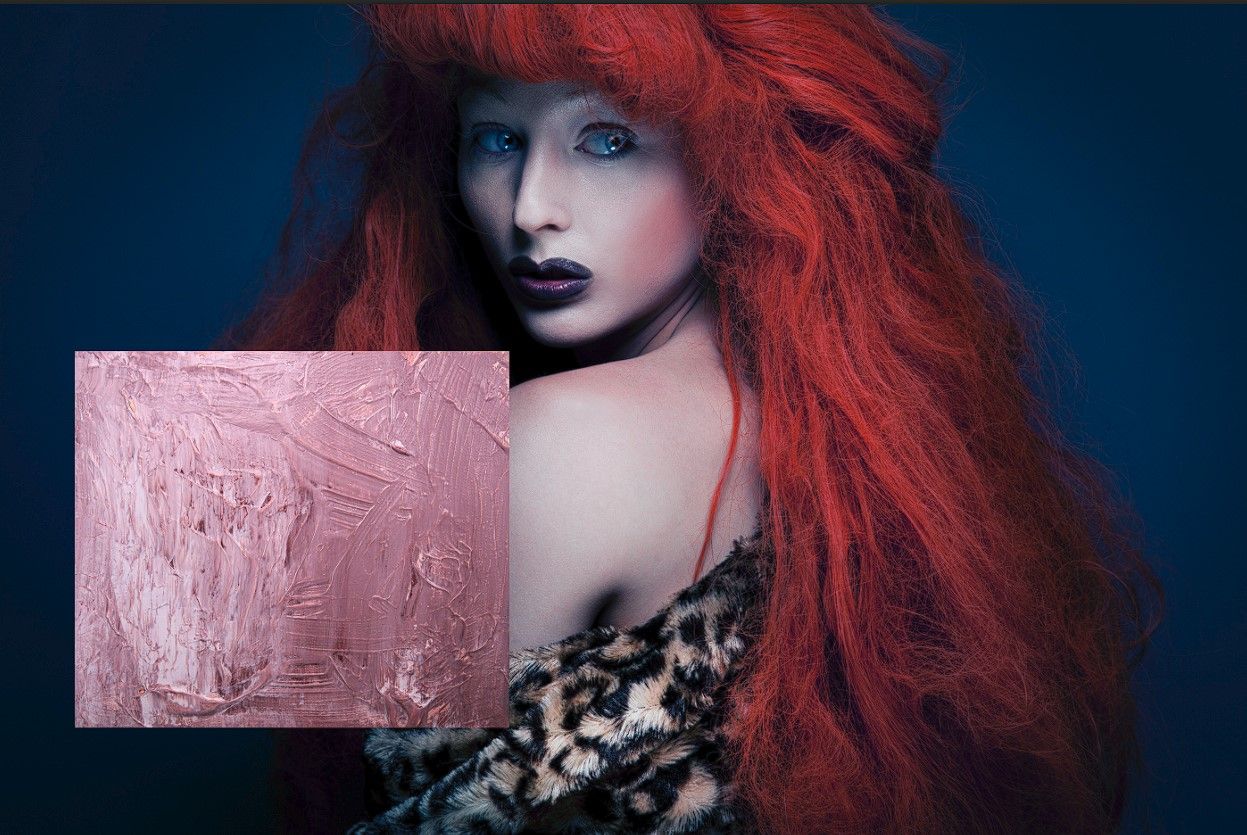
One of the simplest ways to learn to flip your photograph right into a portray is by following our tutorial. We have already performed the onerous work of discovering an excellent texture and theme. You’ll be able to obtain all of them at no cost at Pexels.
Easy methods to add texture to a topic in Photoshop
The primary a part of our tutorial is so as to add the feel after which mix it with our primary topic picture utilizing some mixing modes. We’re additionally going to desaturate the colour so solely the feel comes by way of. The aim is to maintain all the colour of the unique picture and apply solely pure texture.
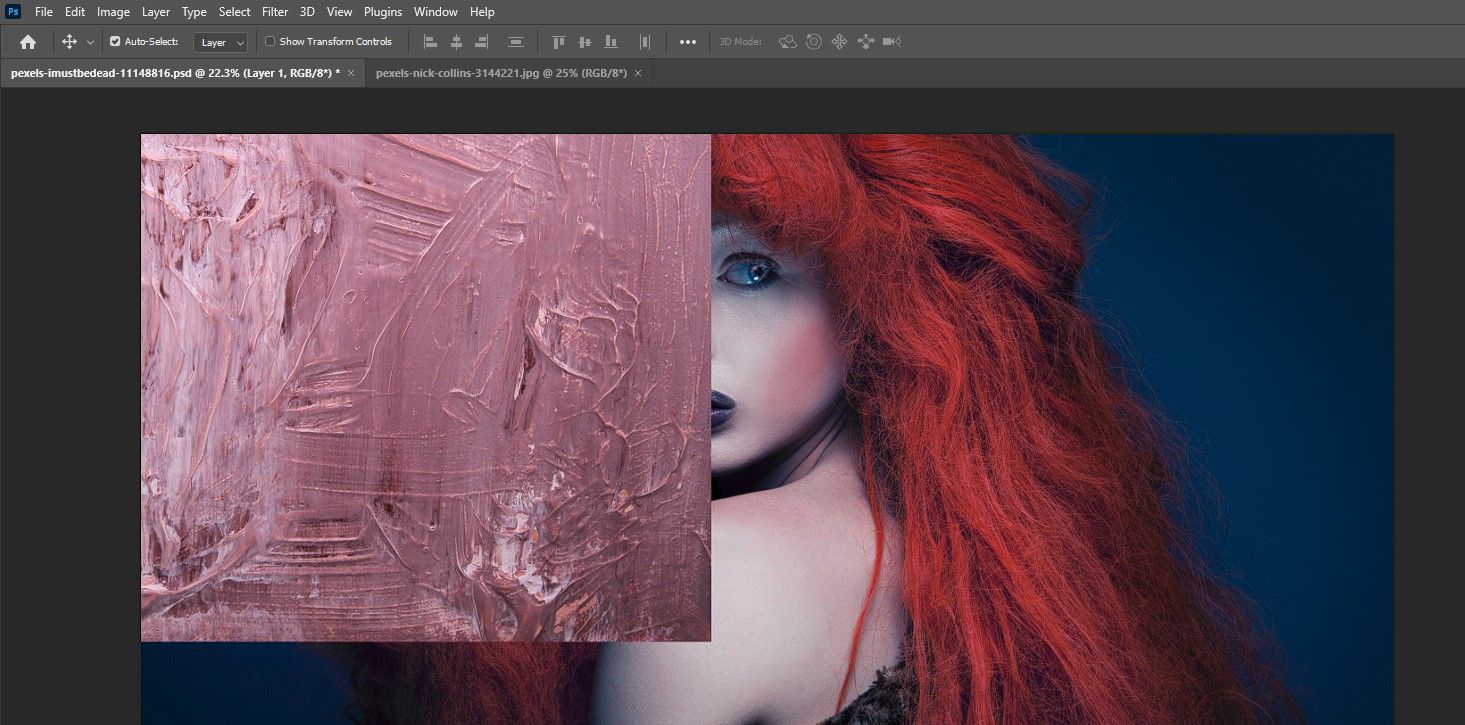
- With each photos loaded into Photoshop, we transfer the feel onto our primary picture. Press v for the Transfer device and easily drag the picture onto the lady’s photograph as proven.
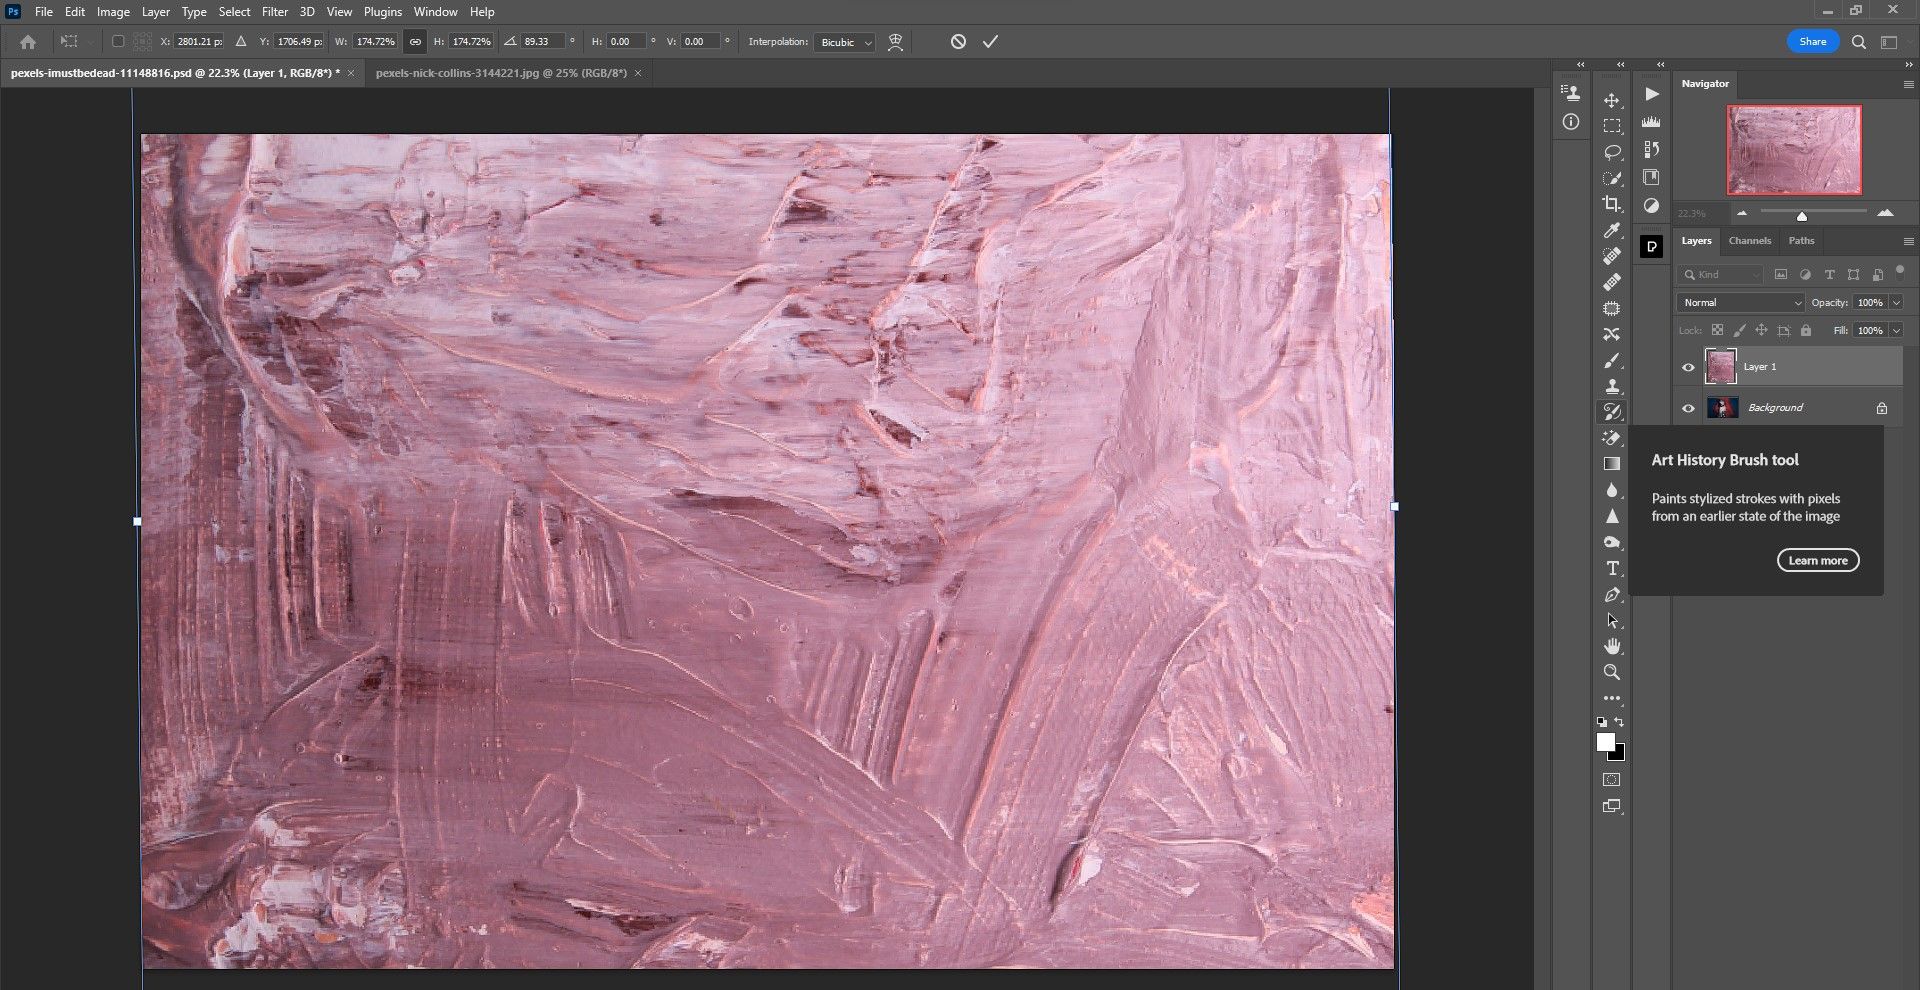
- With layer 1 lively, press ctrl + T for the rework Software. Then transfer the feel in order that it covers the complete picture. Use the handles to rotate and place the feel to get the perfect look. Then click on the checkmark or press Enter to simply accept the adjustments.
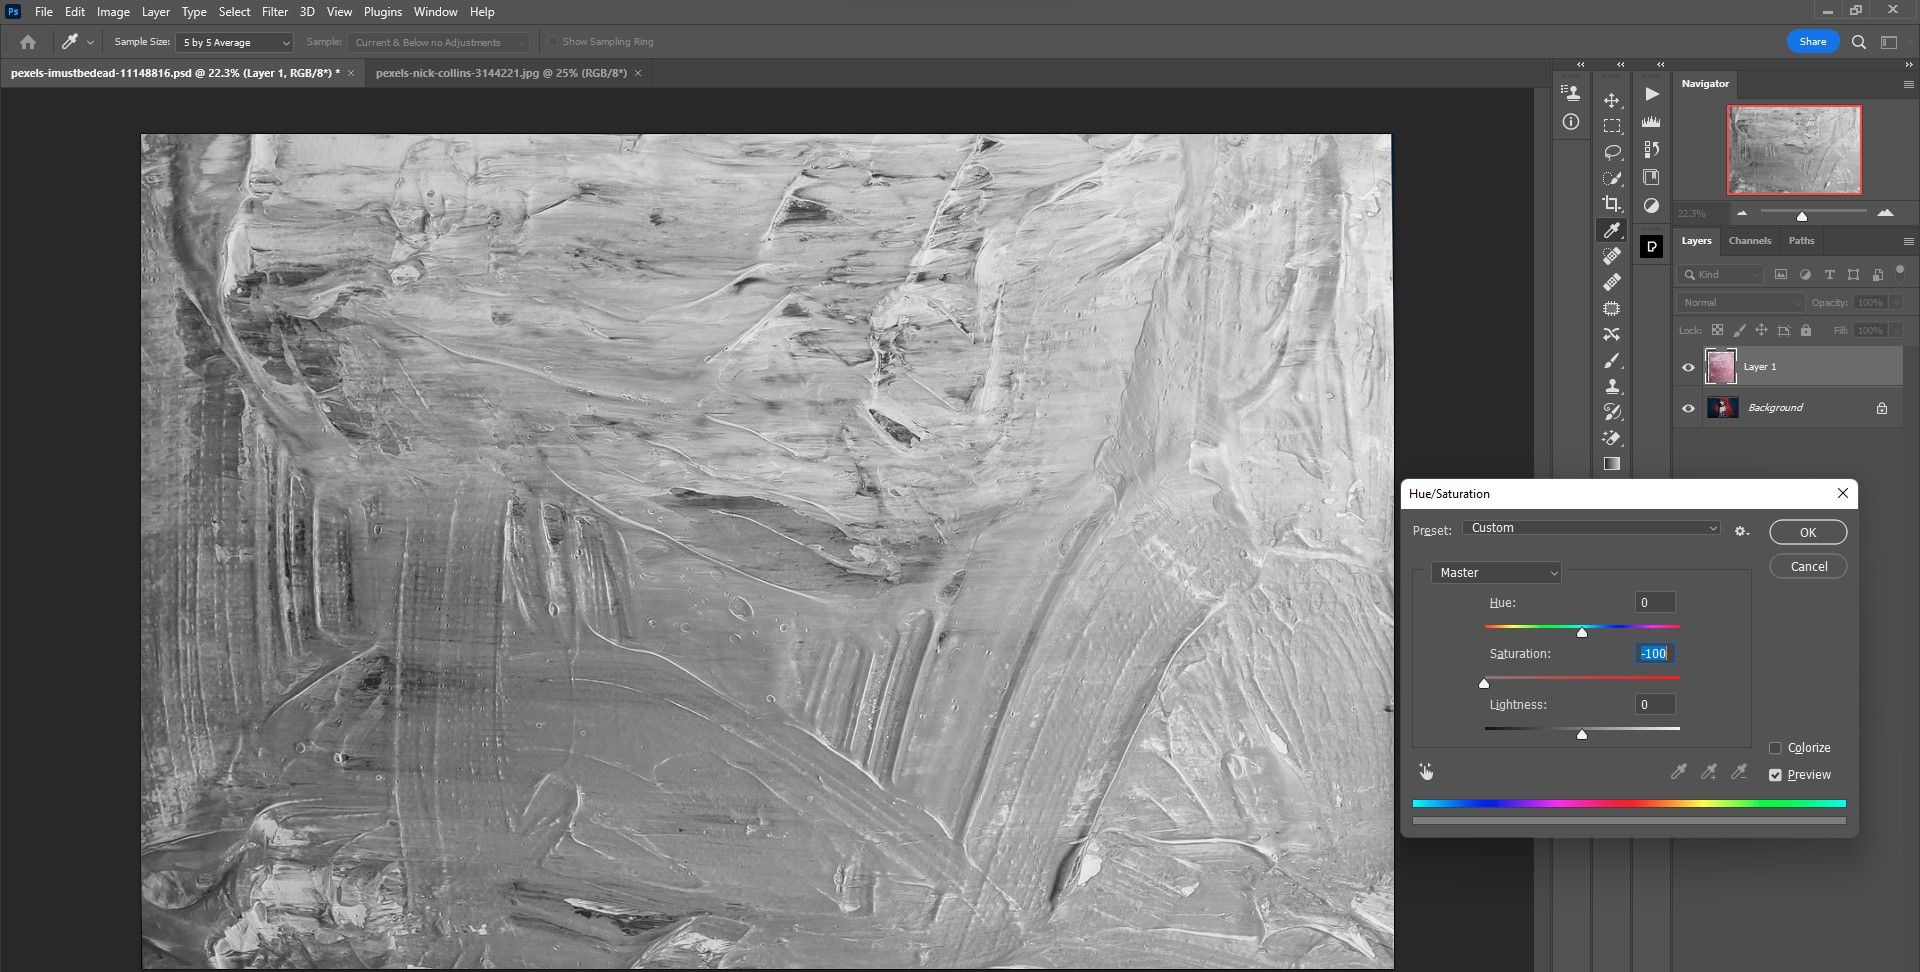
- Press ctrl + u to convey up Hue/Saturation Software. transfer the saturation Slider all the way in which to the left, after which press OK.
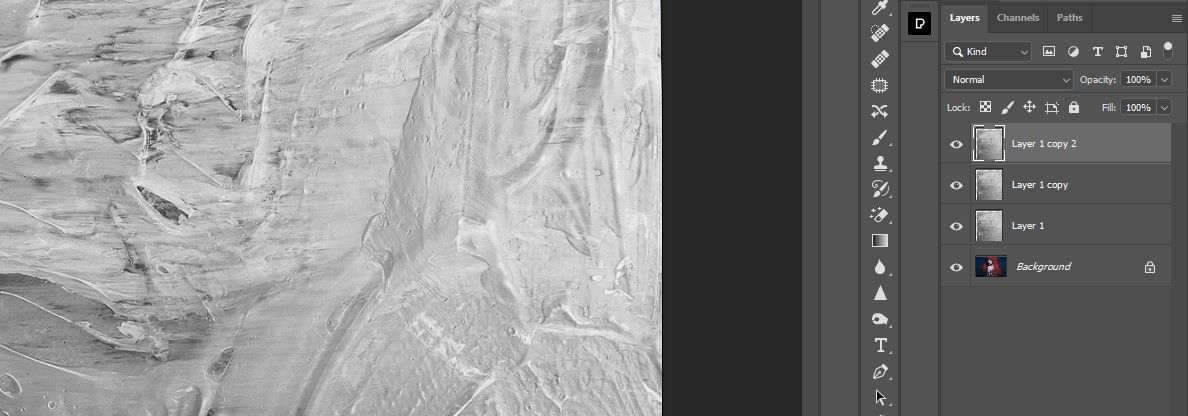
- Press ctrl + J twice to make two copies of the feel layer.
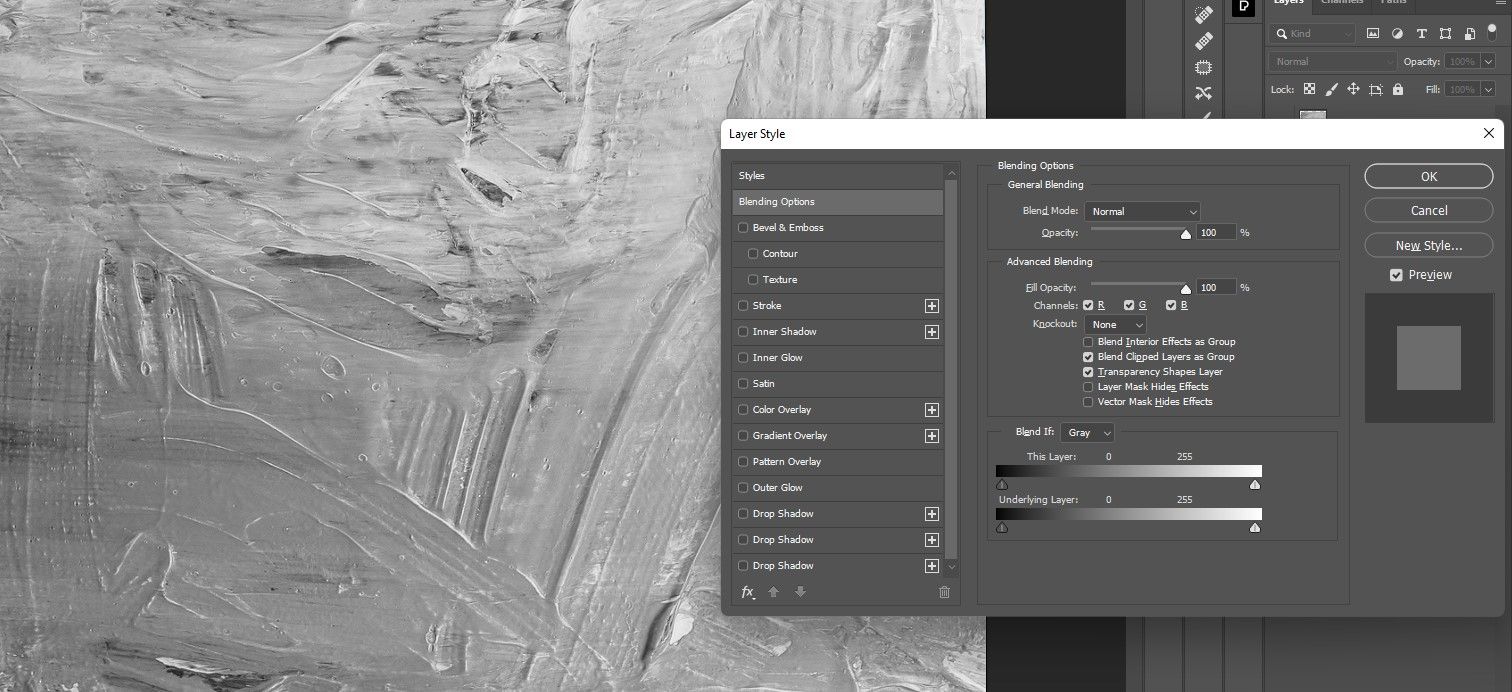
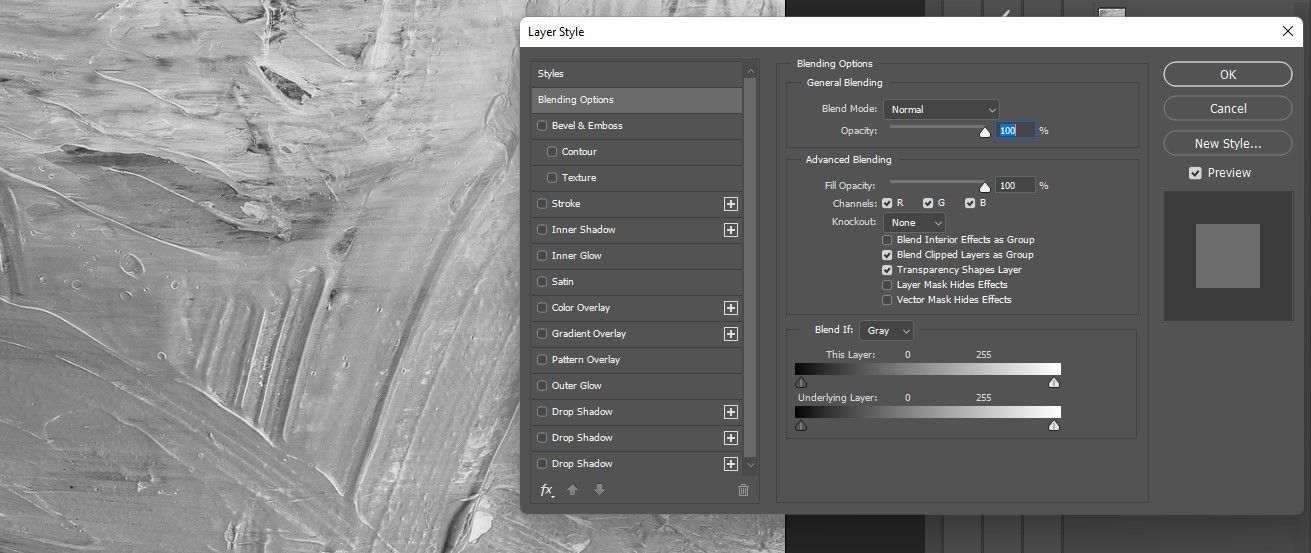
- Make layer 1 lively. Then double click on on the correct aspect of degree 1 to summon the layer type Menu.
- Through which combine if slider within the Underlying layerclick on on the decrease proper white deal with and press Outdated + Left click on to separate it into two handles as proven. Then transfer the left deal with all the way in which to the left the place the black deal with is. We won’t present the top consequence as a result of the white deal with could be hidden. You want to transfer the slider to the black deal with. Then press OK.
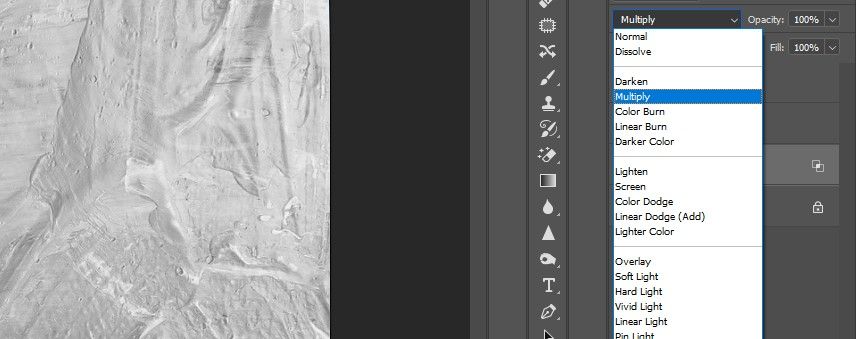
- With layer 1 nonetheless lively, change the mixing mode to Multiply.
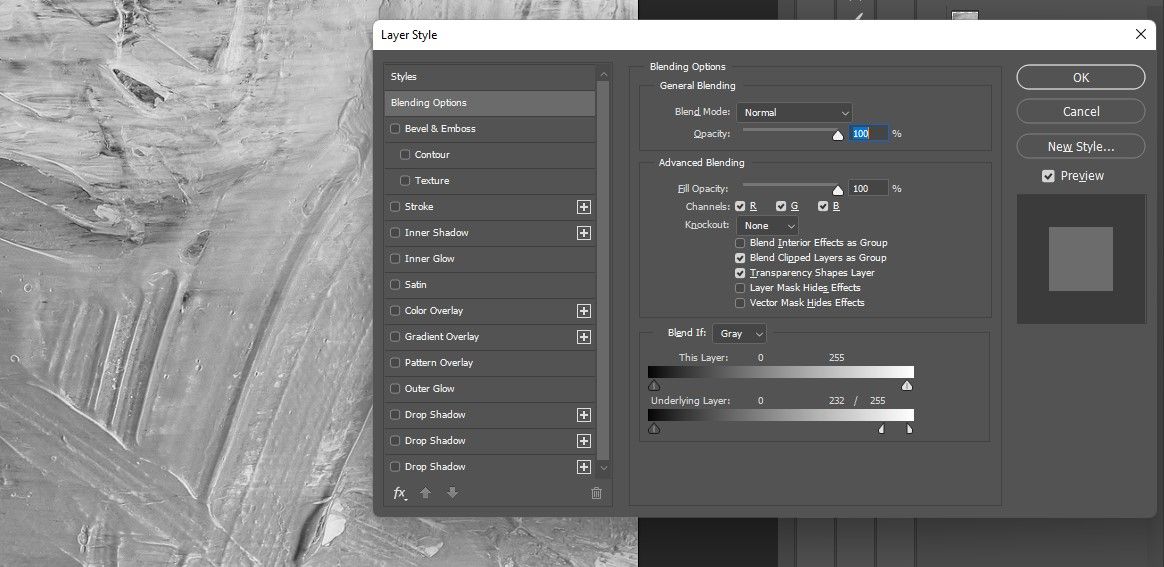
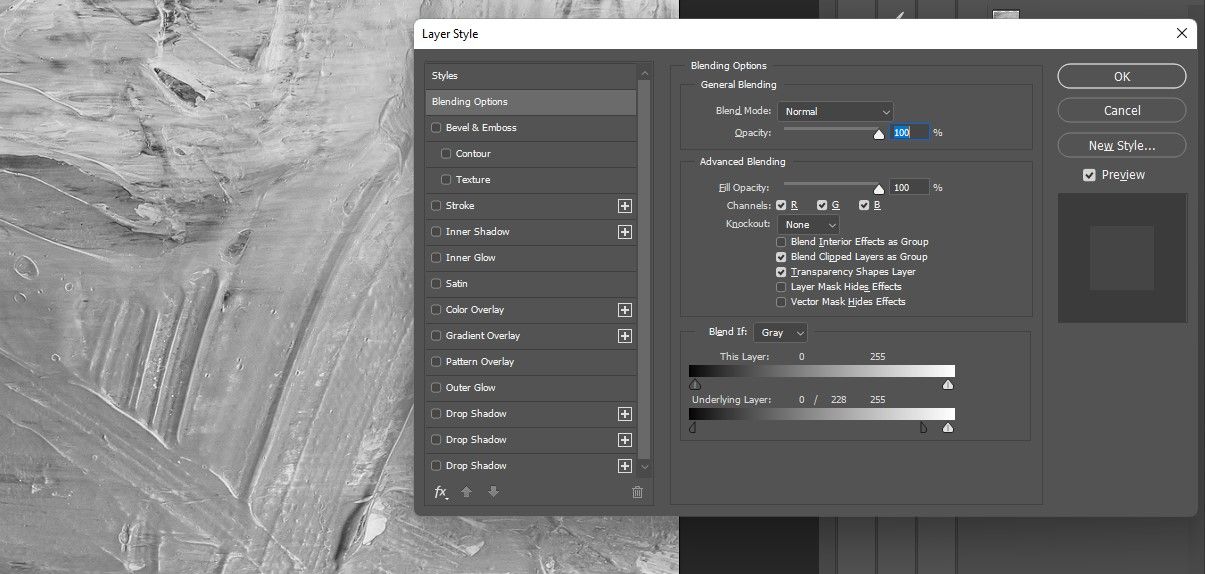
- Make Copy degree 1 lively. Then double click on on the correct aspect of Layer 1 Copy to summon the layer type menu as earlier than.
- Through which combine if slider within the Underlying layerclick on on the black deal with within the decrease left nook and press Outdated + Left click on to separate it into two handles as proven. Transfer the slider as earlier than, however in the other way, as much as the white deal with. Then press OK.
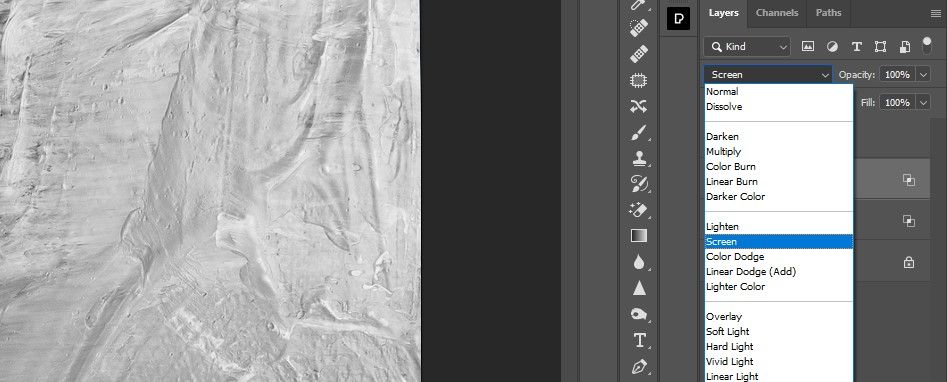
- With Copy degree 1 nonetheless lively, change the mixing mode to Display screen.
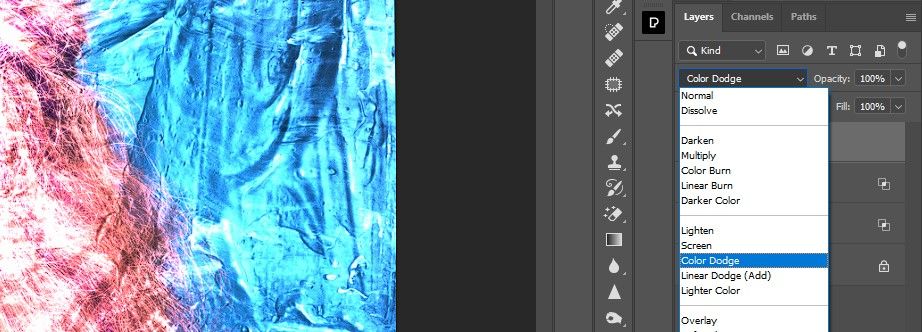
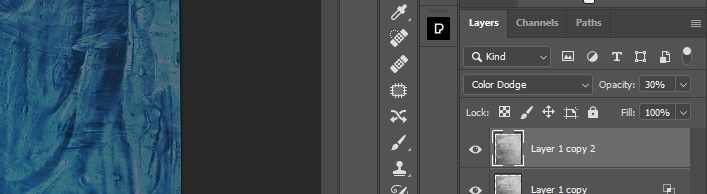
- Make Stage 1 copy 2 lively. Change the Mixing Mode to dodge colour.
- change that opacity to 30 p.c.
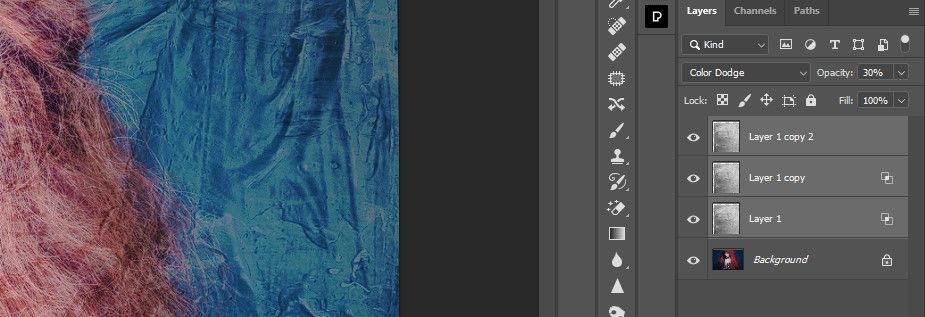
- With Stage 1 copy 2 nonetheless lively, press change + click on to focus on the feel layers as proven.
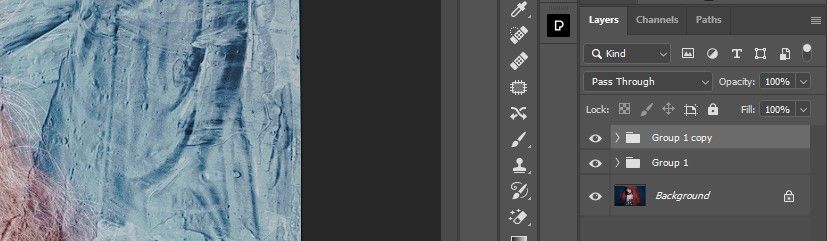
- Press ctrl + G to group the feel layers into one folder.
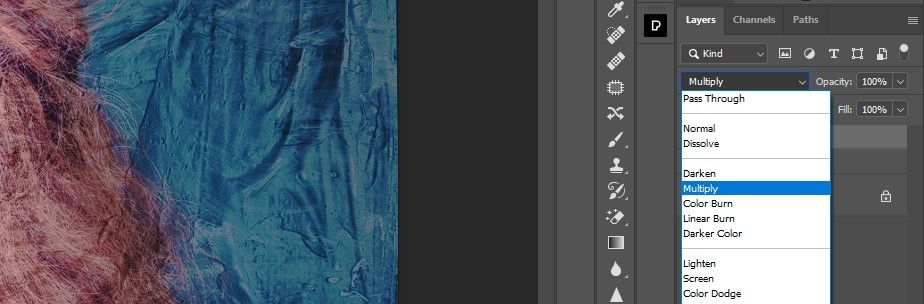
- Press ctrl + J to duplicate the Group 1 layer.
- Change the Mixing Mode to Multiply.
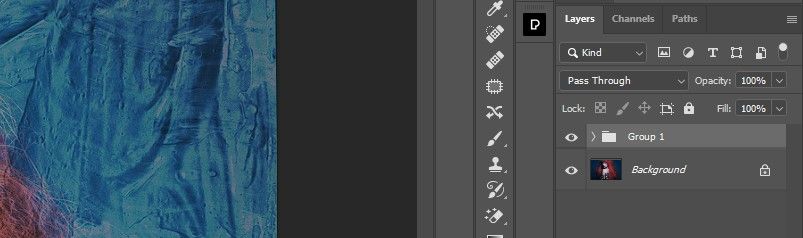
We simply efficiently blended the unique texture layer with the lady’s portrait.
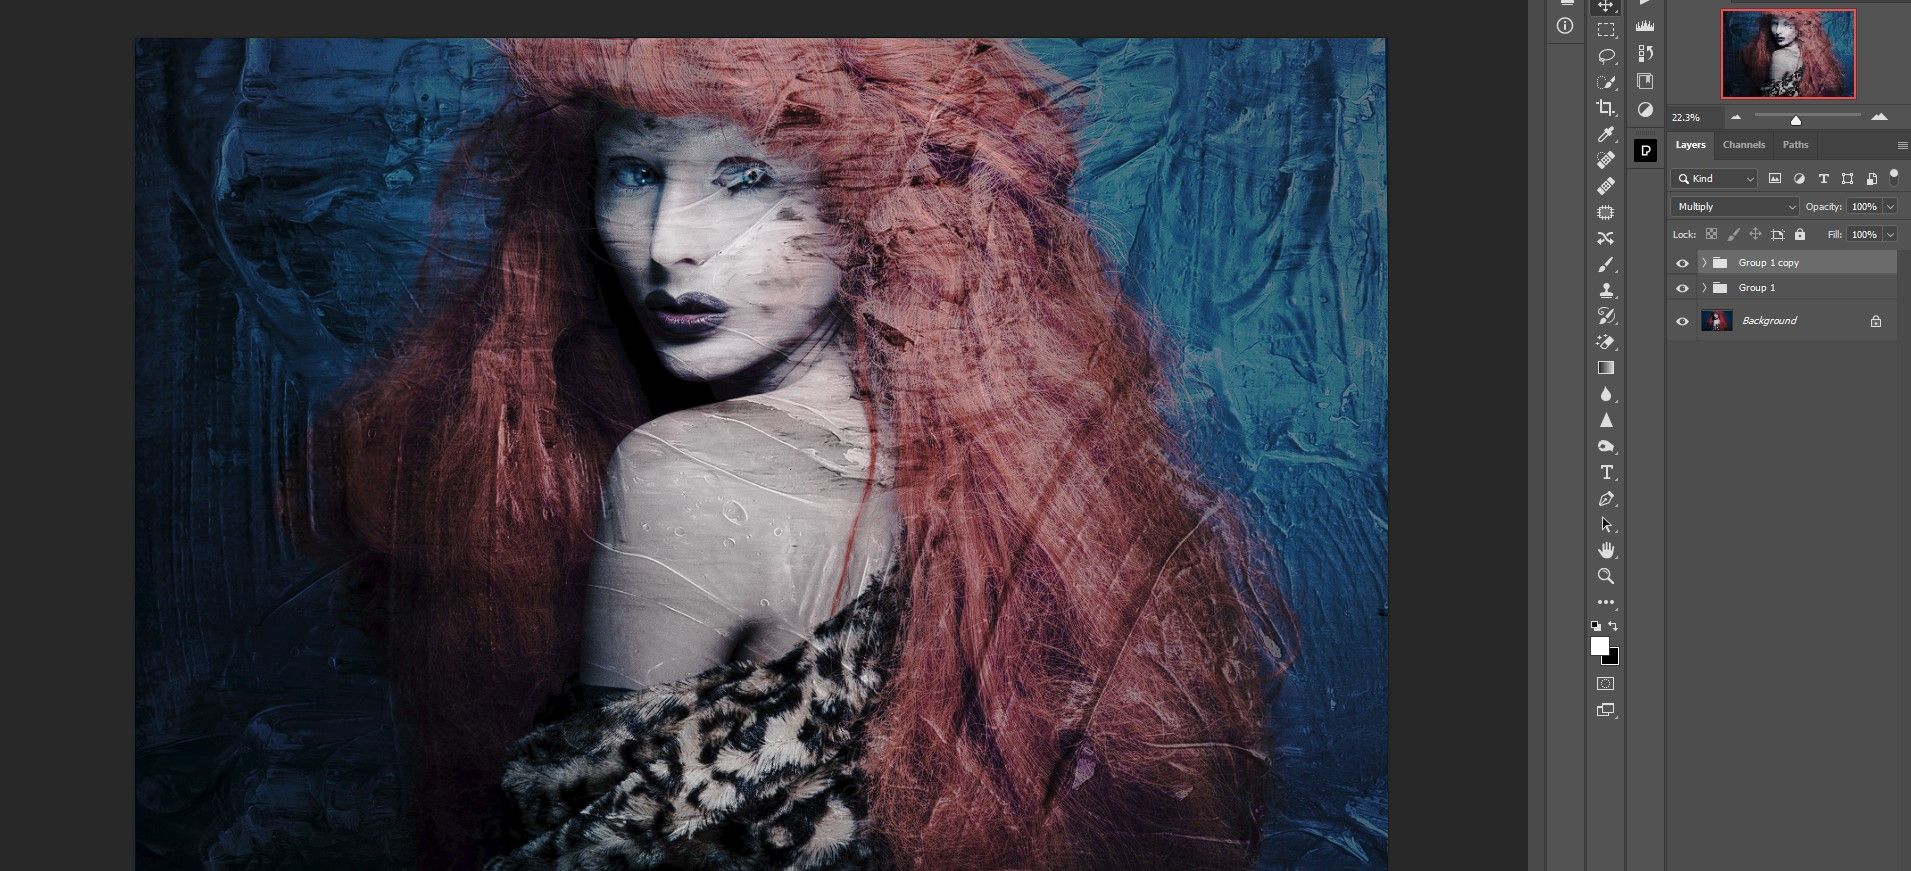
However we’re not performed but. The image continues to be too darkish in some locations and the lady may stand out extra. We’ll add the ending touches creatively within the subsequent part.
Apply the ending touches
The ultimate contact is totally subjective and rests with the creator. For the needs of this tutorial, we’re simply going to lighten some spots and do some primary colour corrections to make the picture look extra like a portray. A helpful tip to remember is that hardly ever is any a part of an actual portray pure white or pure black.
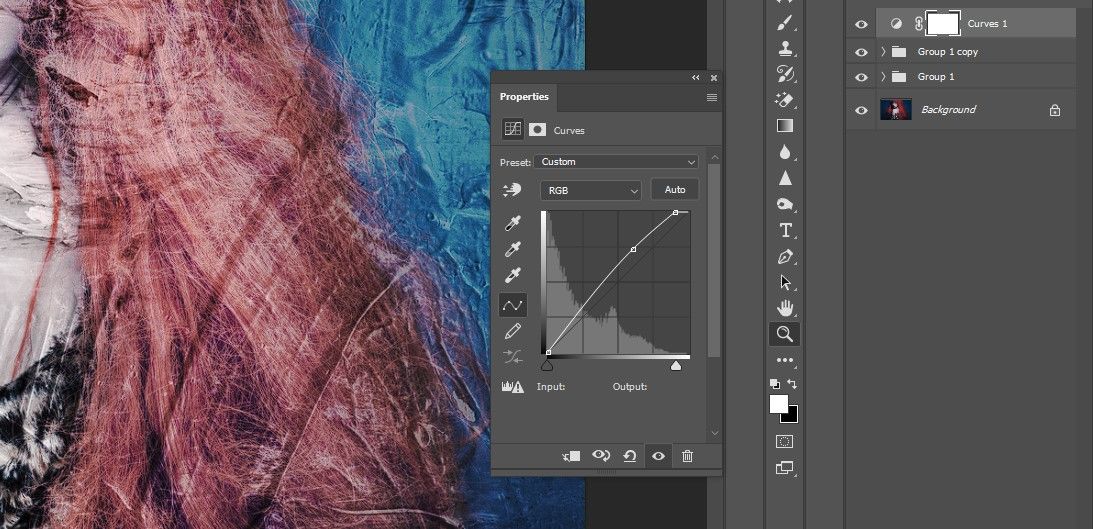
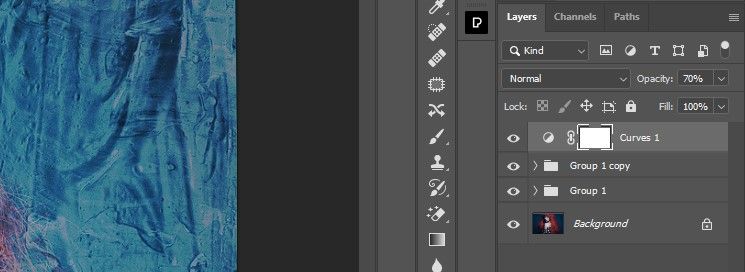
- Add an curves adjustment layer. click on vehicle.
- change that opacity to 70 p.c.
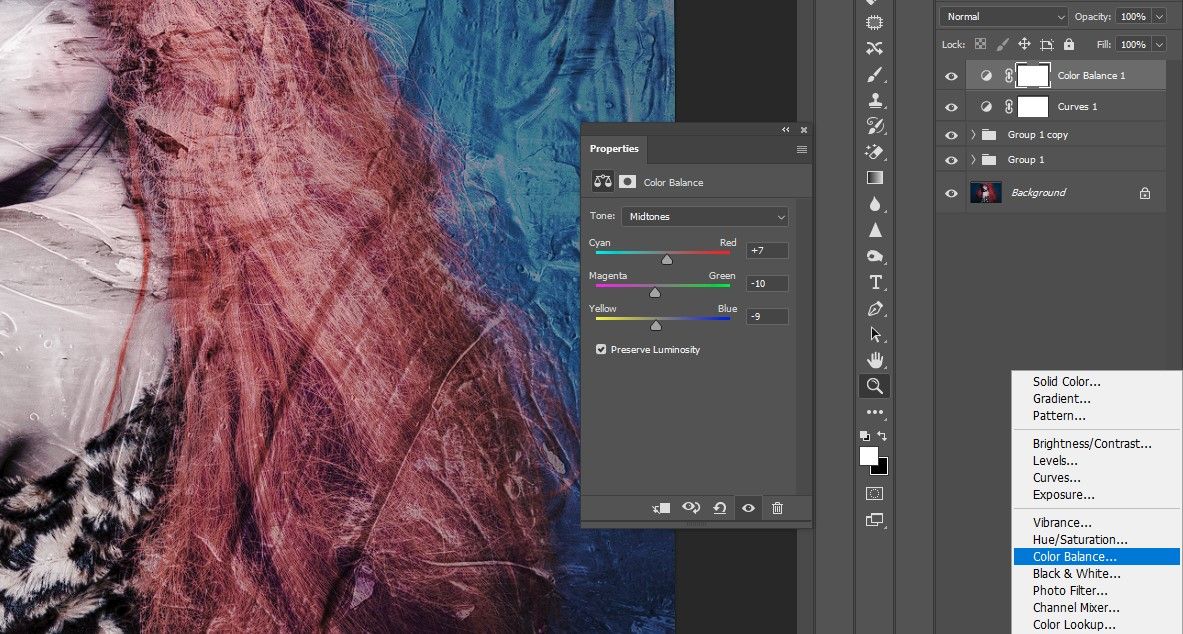
- Add an colour stability Adjustment layer and alter the midtones slider to the next values.
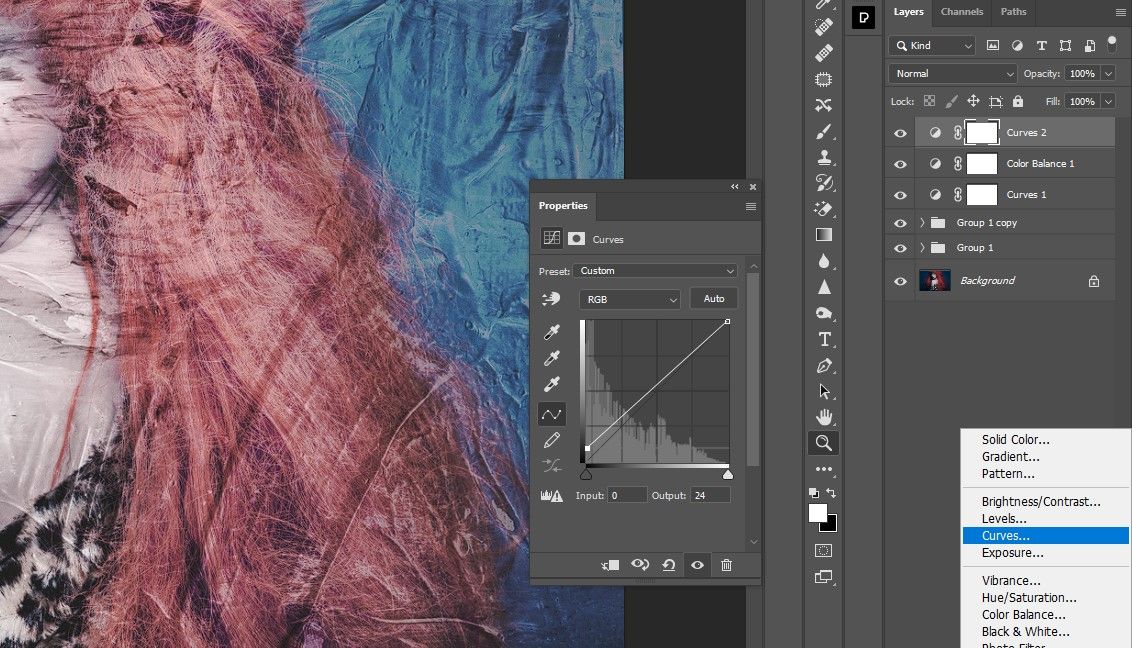
- Add one other Curves adjustment layer and lift the underside left level within the diagram as proven. This offers the picture a extra matte look and eliminates pure black.
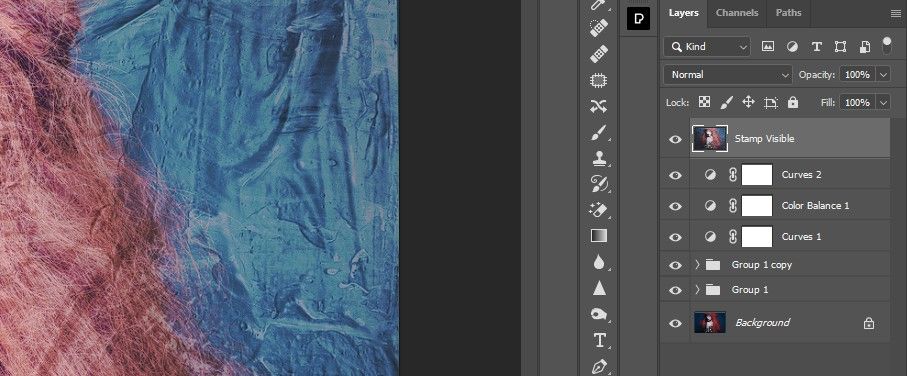
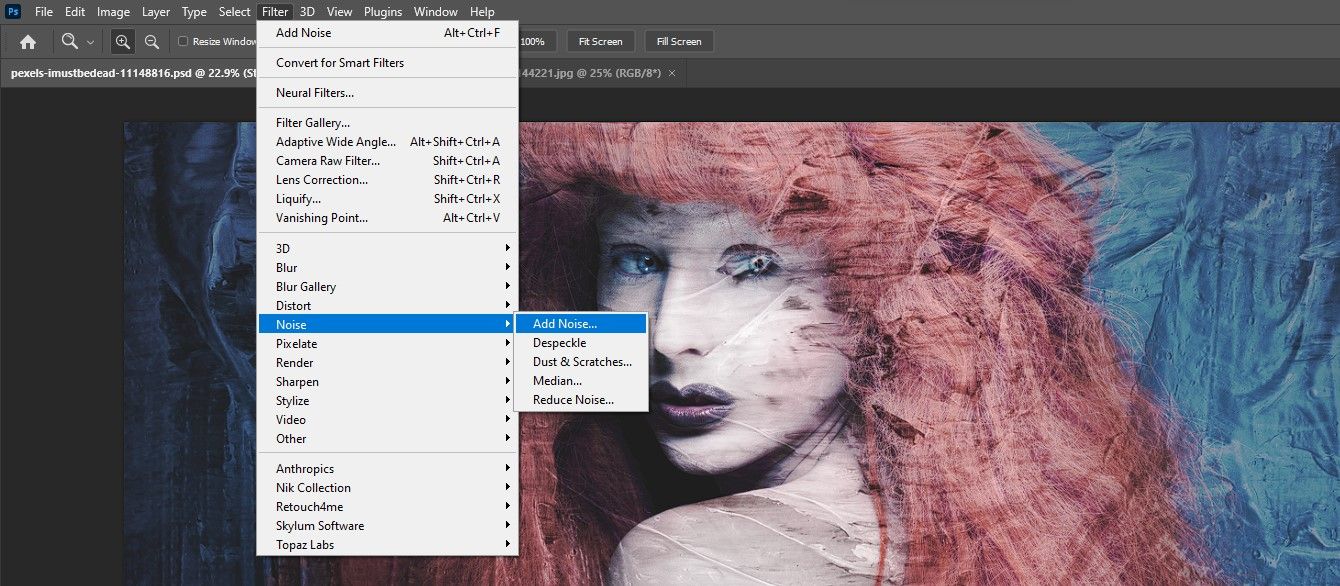
- Subsequent we’ll add some noise to the picture to mix all the consequences cohesively. press and maintain change + ctrl + Outdated + E to create one Stamp seen Layer.
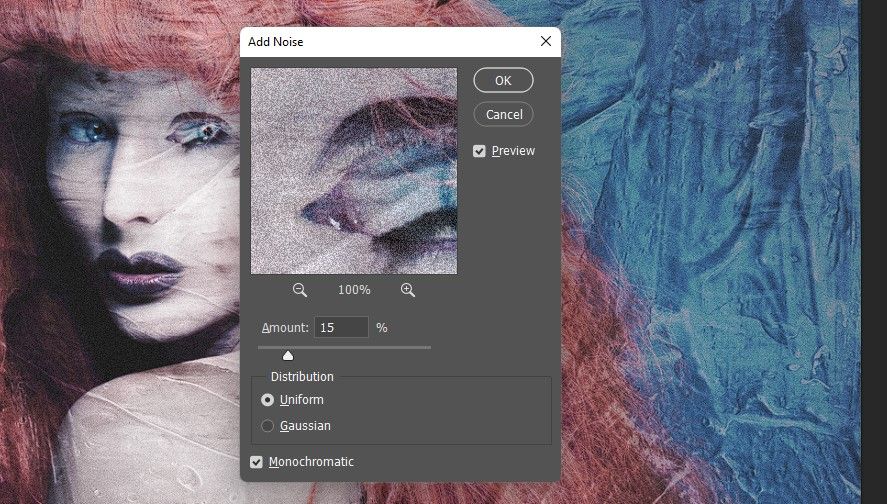
- Go to filter > Noise > add noise.
- change that Quantity slider to 15 p.c. Test uniform and examine Monochrome as proven. Press OK.
backside line

The enjoyable does not have to finish right here. If you happen to’re snug with Photoshop, you may proceed to make inventive changes. When you have third-party plugins like Anthropic’s Sensible Photograph Editor, there are various filters and results you should utilize to shine up your photos.
Making a photograph seem like a portray has by no means been simpler
Let’s face the truth that there are not any shortcuts to creating your images seem like work. We confirmed you a technique to simply add texture to your picture in Photoshop. Hopefully you’ve adopted and can develop the strategies right here to create stunning work out of your images by including a single texture.
