Learn how to Take away Glare From Glasses in Photoshop

Does the shine in somebody’s glasses wreck your portrait shot? Here is a fast repair to eliminate it.

Have you ever ever snapped the right photograph of somebody however felt prefer it was ruined by the cruel gentle from their glasses? On this tutorial, we’ll stroll you thru just a few easy steps on the right way to take away glare in glasses utilizing Photoshop.
Step 1: Analyze the glare
One of the necessary steps is the glare evaluation. Every image will likely be completely different and current completely different challenges. Determine what this may be and make a plan earlier than you begin enhancing.
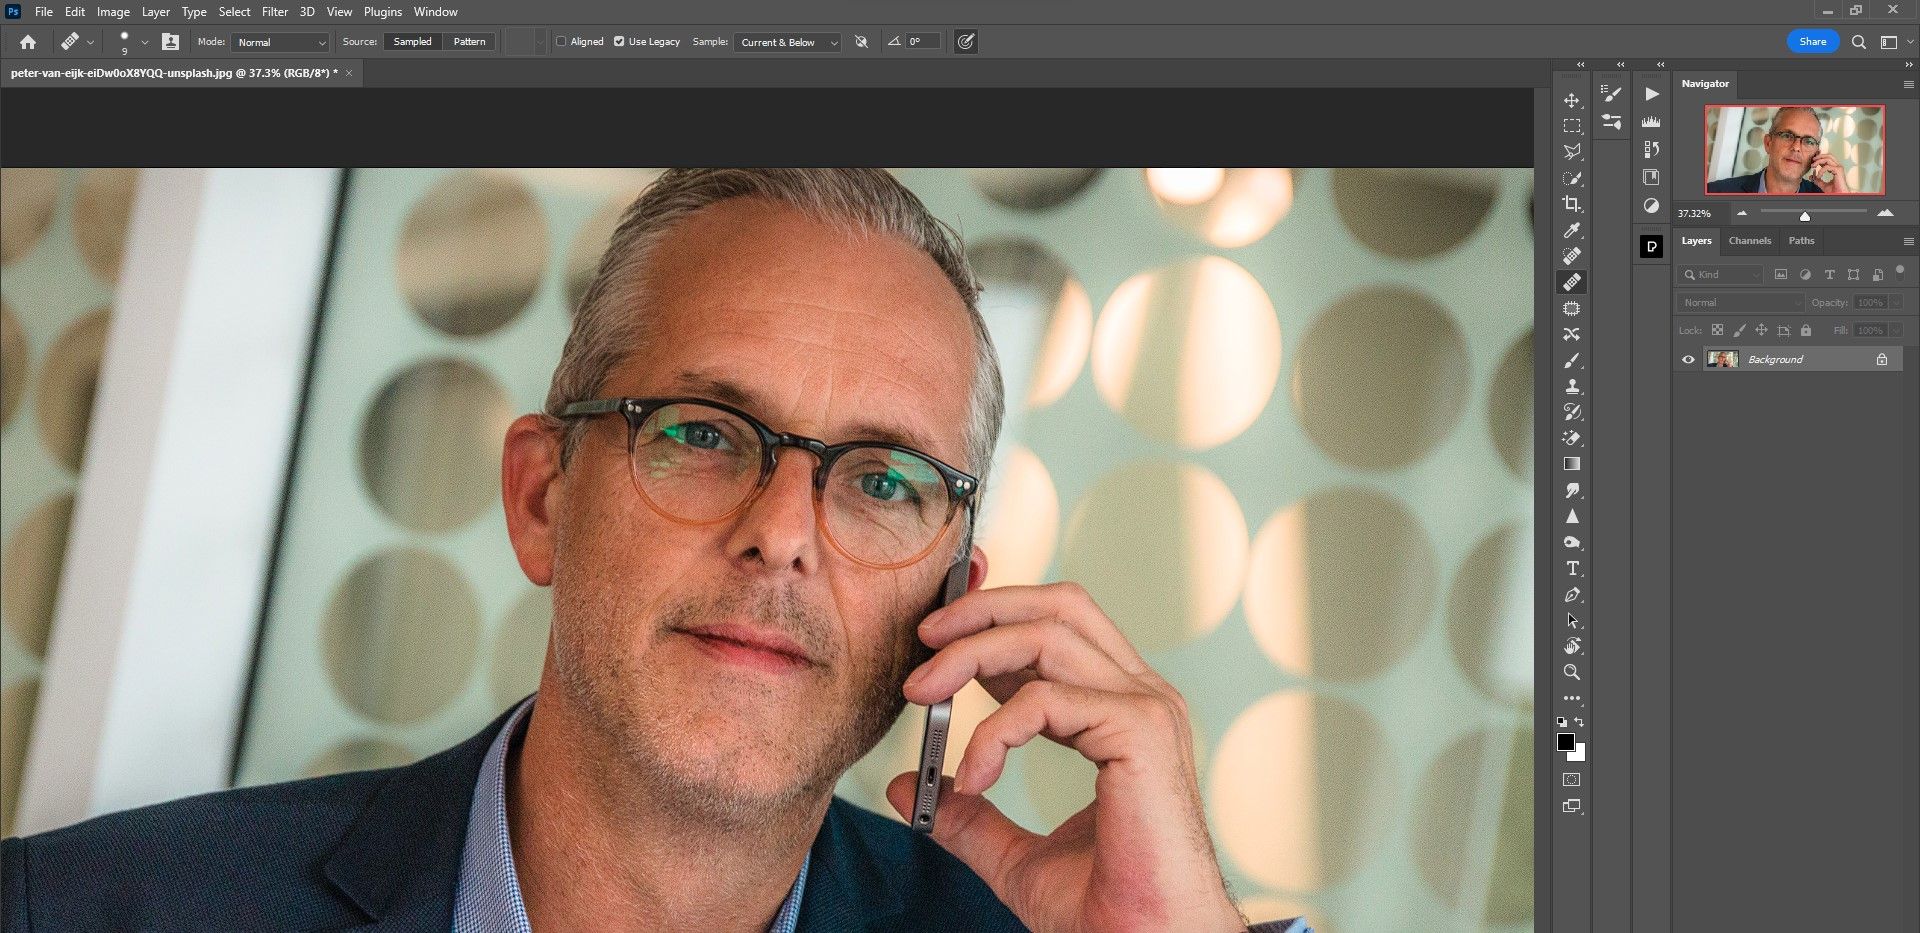
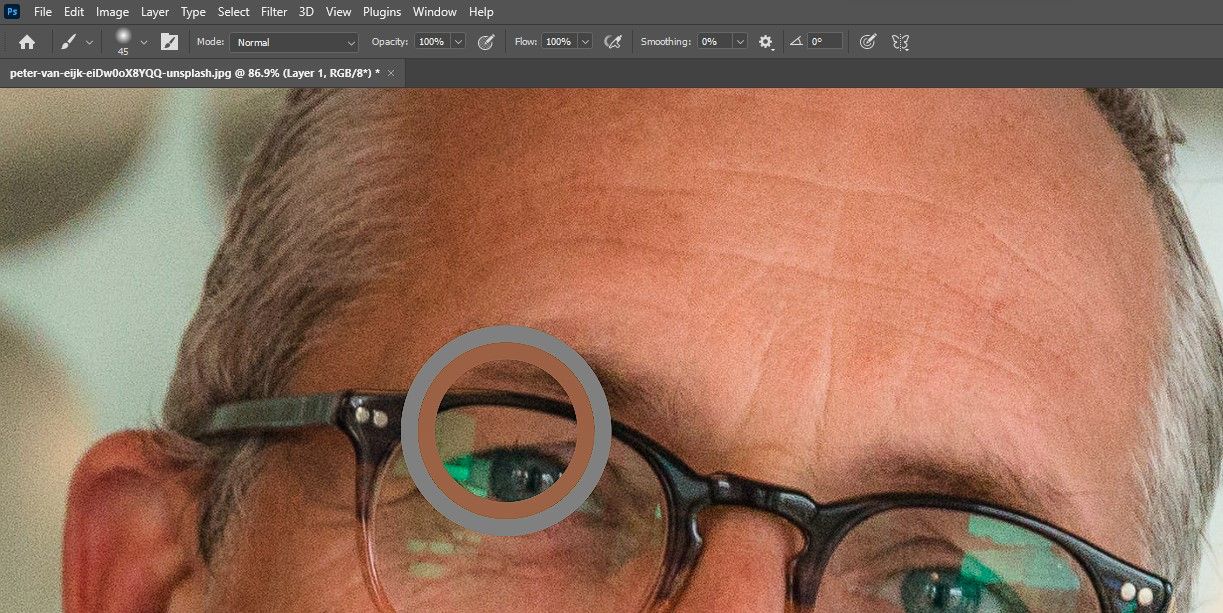
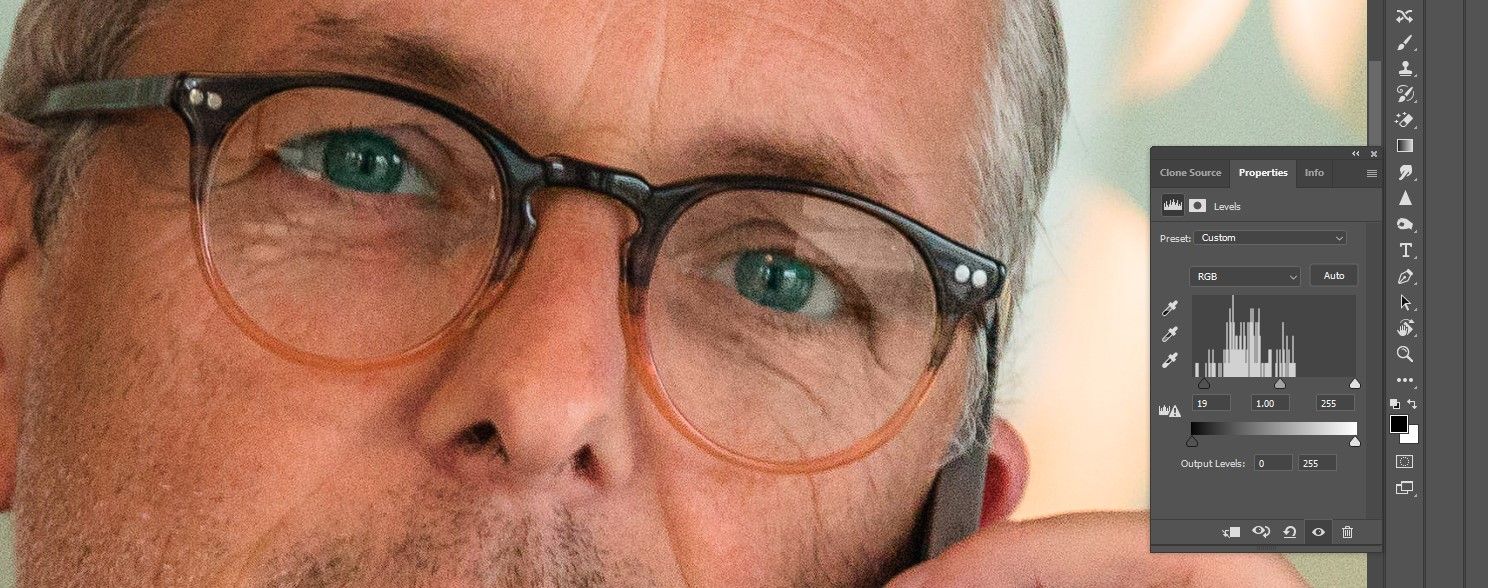
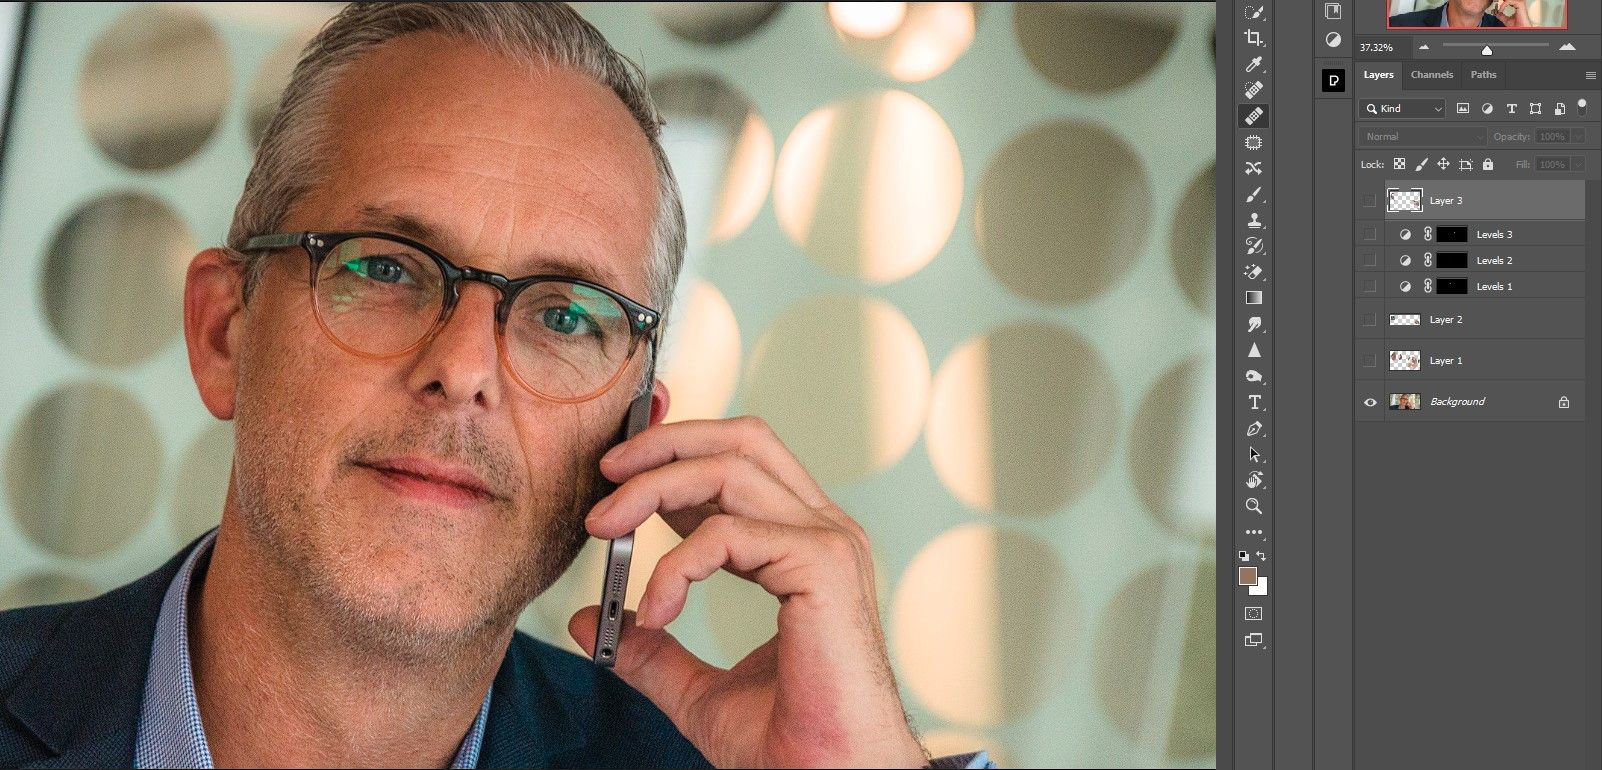
For instance, on this picture of the person with glasses, you’ll discover that there’s a robust inexperienced shade forged in some areas. Additionally, you will discover that the glare is current in two predominant areas on the left eye and one space on the best eye.
Then there’s the glare itself. These pixels must be darkened to match the ambient publicity ranges. One other widespread drawback is that one eye could be lighter than the opposite in addition to extra saturated in color.
Let’s get to work now. If you wish to take part, you’ll be able to obtain this pattern picture without spending a dime from Unsplash.
Step 2: Take away the colour forged from the glasses
The colour forged should first be eliminated in order that the next steps don’t additional distort these pixels.
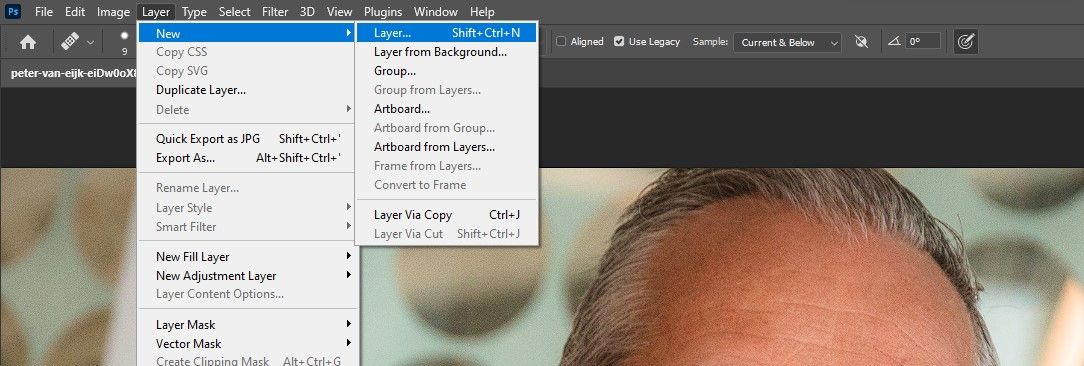
- To create a brand new layer go to layer > New > layer and press OK. The keyboard shortcut is change + ctrl + N.
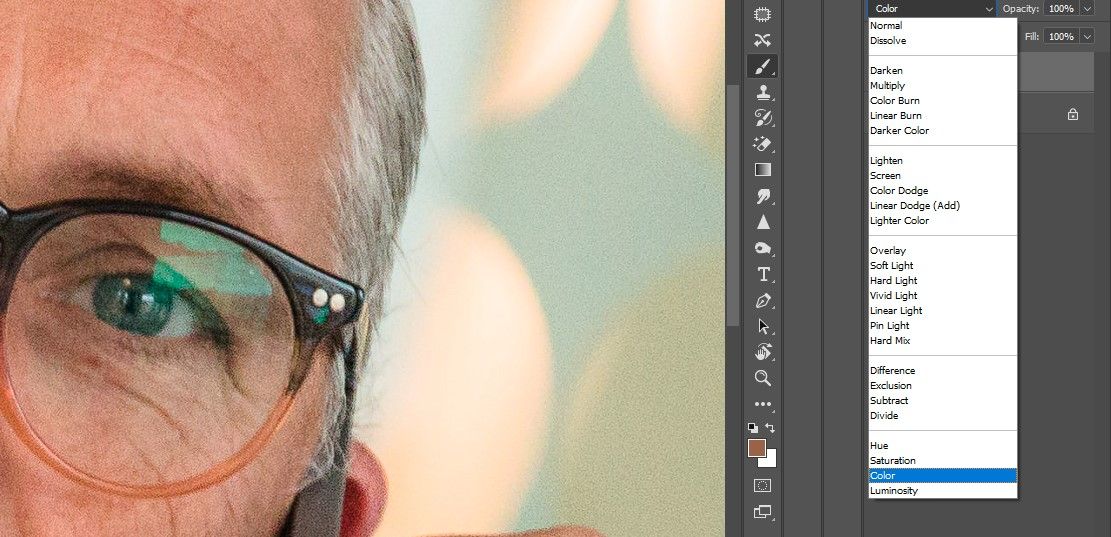
- change that mix mode to color.
- Press B for the brush software.
- Select delicate spherical Brush.
- Maintain down the Previous button to pattern the colours across the shade forged and brush them onto the colour forged. You’ll want to pattern from the highlights, midtones, and shadows to get an correct pattern. Do that for either side of the glasses.
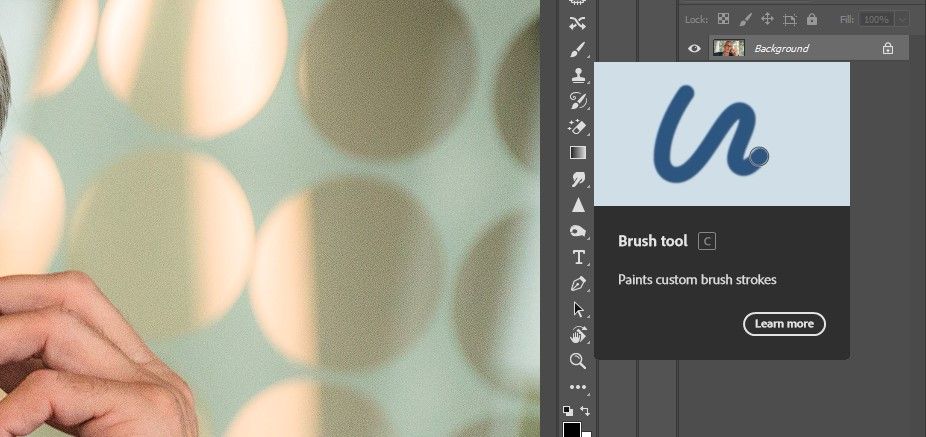

When you need assistance with the comb software, try our newbie’s information to the comb software in Photoshop.
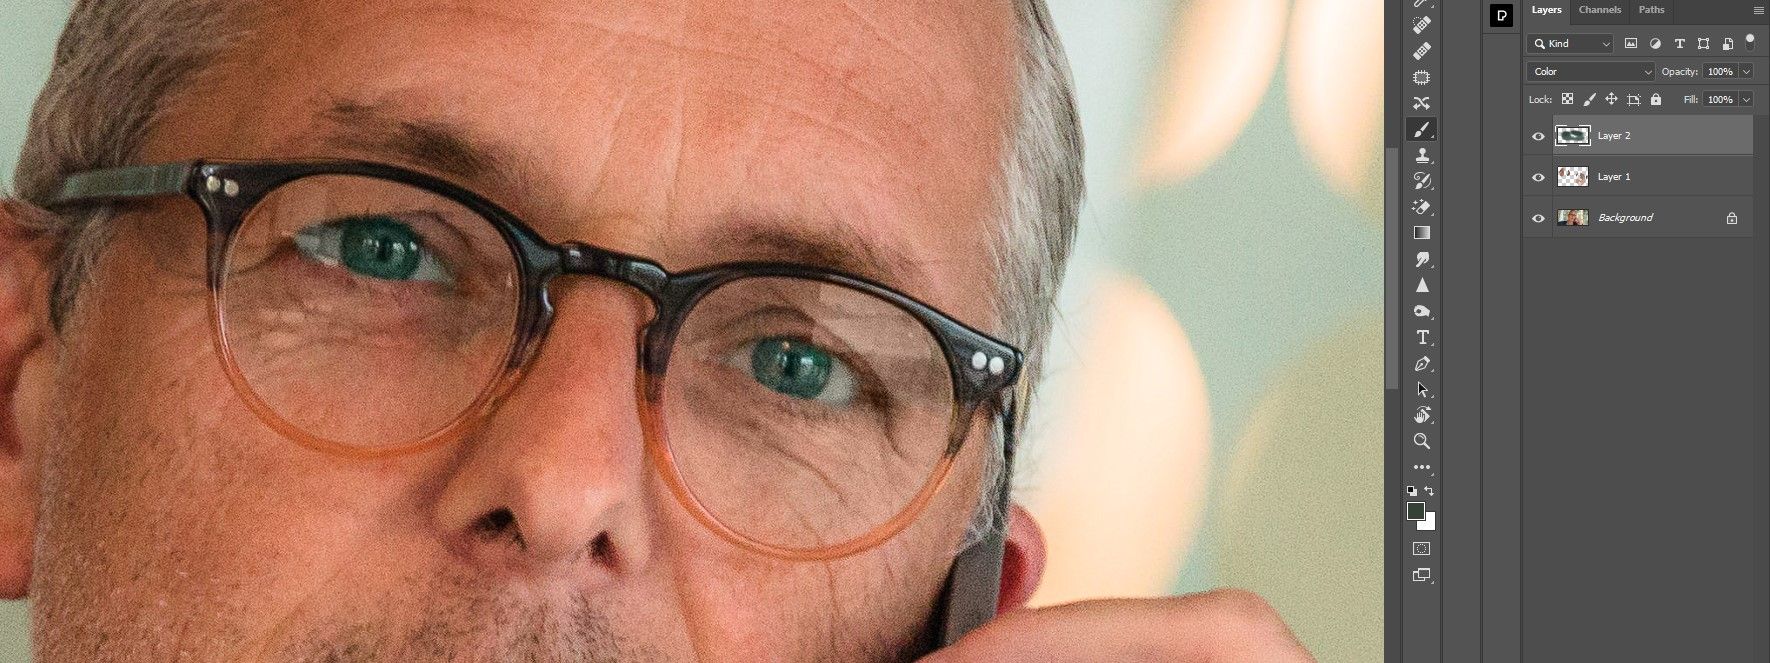
Step 3: Match the attention shade
Glare in glasses could make eyes seem like completely different colours. Let’s match them.
- Create one other new layer.
- change that mix mode to color.
- For this picture, we took the lighter colours immediately from the best eye and utilized them to the left eye. Use the once more Previous key to the pattern and the brush software to dye. Attempt brushing on related areas of the attention so the impact seems life like.
You’ll be able to additional improve the eyes and face in Photoshop with third-party plugins like PortraitPro.
Step 4: Modify publicity values
Within the earlier steps we eliminated the colour forged and adjusted the eyes. Now we’ll handle the glare within the glasses.
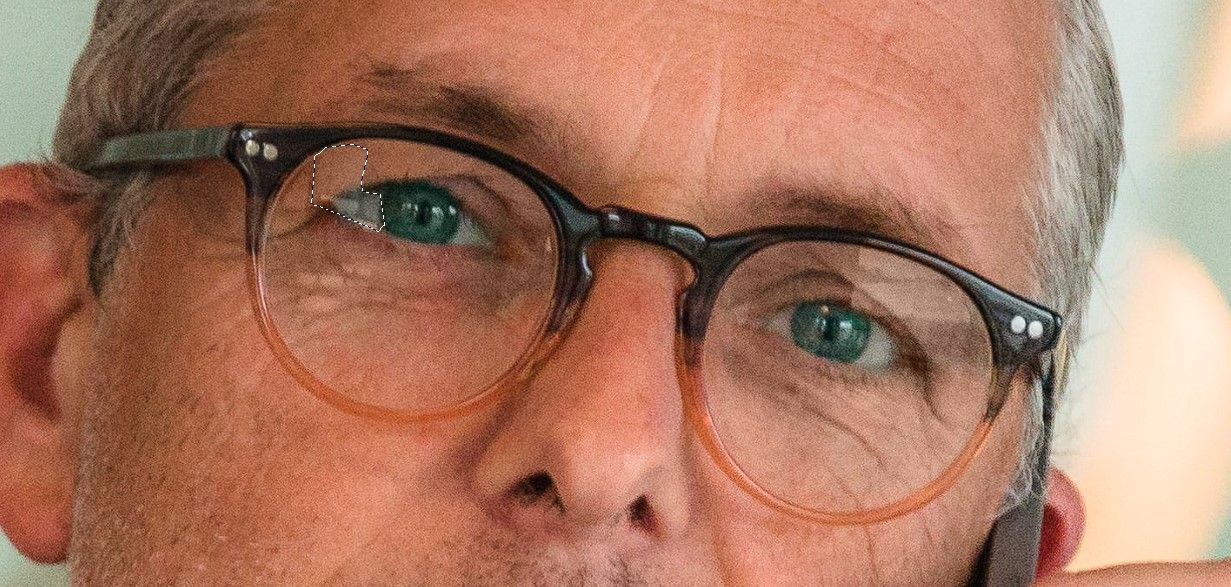
- Select Polygonal lasso Device.
- Choose across the first flare. You’ll want to shut the selector for the marching ants to seem.
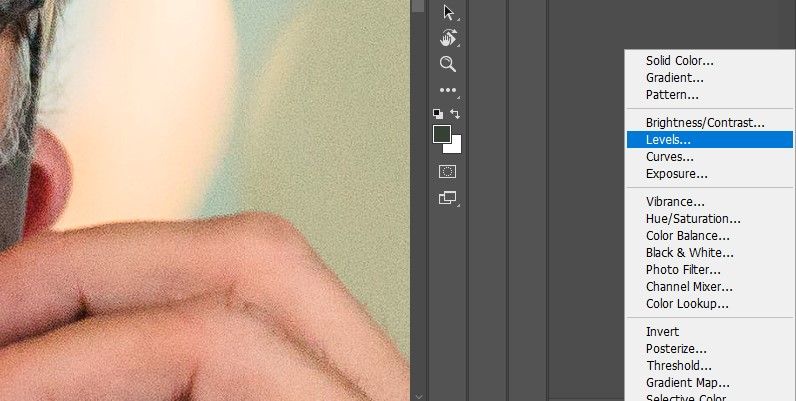
- With the choice lively, create one ranges adjustment layer.
- Modify the three handles (shadows, midtones, and highlights) till the publicity values match the encircling pixels. Do that for either side of the glasses. Be careful for flares that also want consideration.
Chances are you’ll need to return and tweak the extent adjustment layers as soon as you have accomplished these steps. As a result of we’re working non-destructively, it is simple to return to the layer stack and make modifications.
Step 5: Take away the strains
For the ultimate steps, we’ll take away the strains that fashioned across the edges of the glare. This step is unavoidable if you wish to remove glare utterly.
- Create a brand new degree.
- Select remedy brush software.
- As with the comb software, maintain down Previous to pattern pixels and brush away the strains.
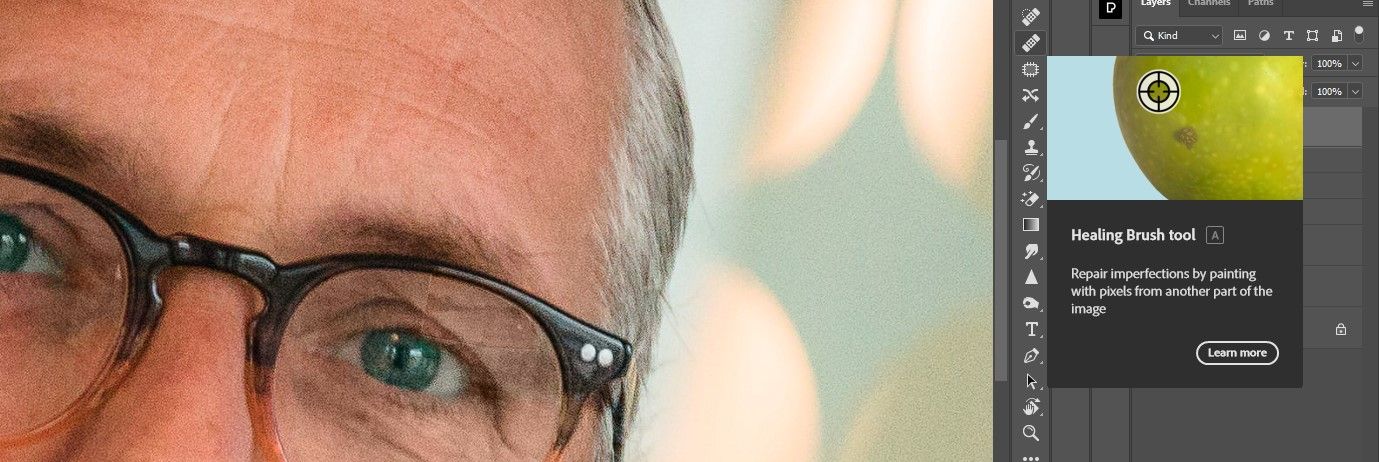
Relying on the kind of picture you are working with, you could discover that the Therapeutic Brush software could not produce the very best outcomes. Do not be afraid to strive it Spot Therapeutic Brush or the Clone Stamp Device as an alternative of this. When you need assistance, try this information on utilizing the clone stamp software in Photoshop.
Earlier than:
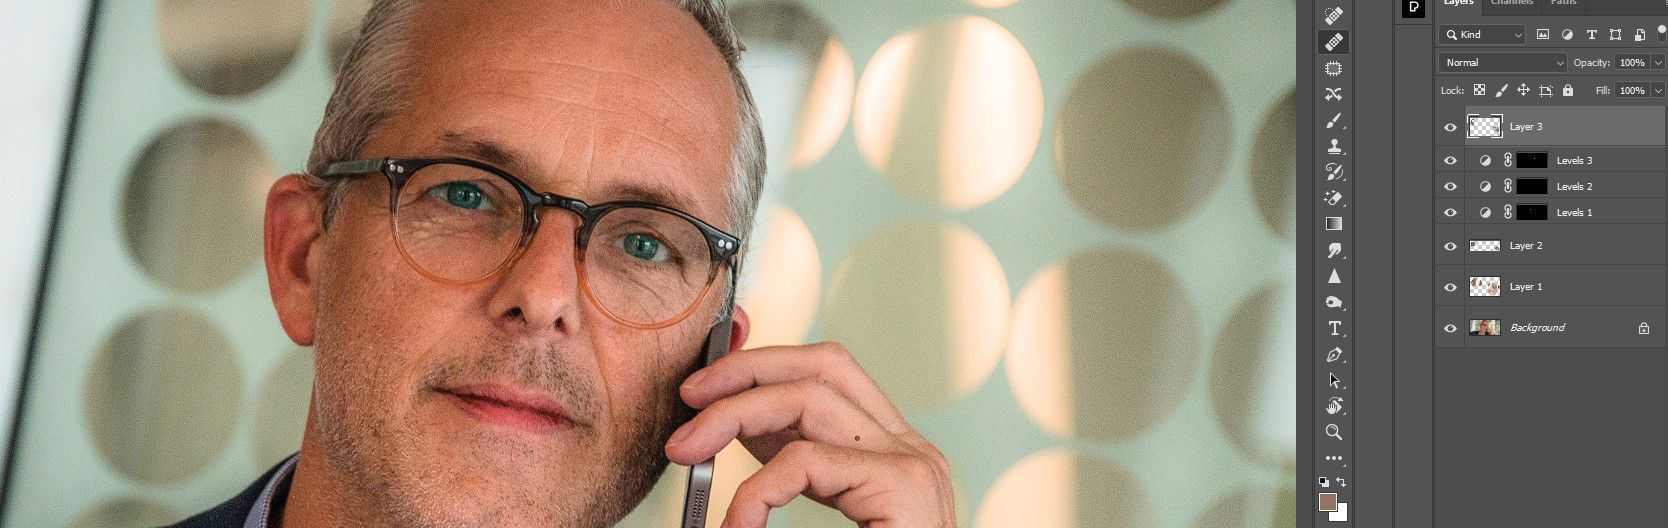
To:
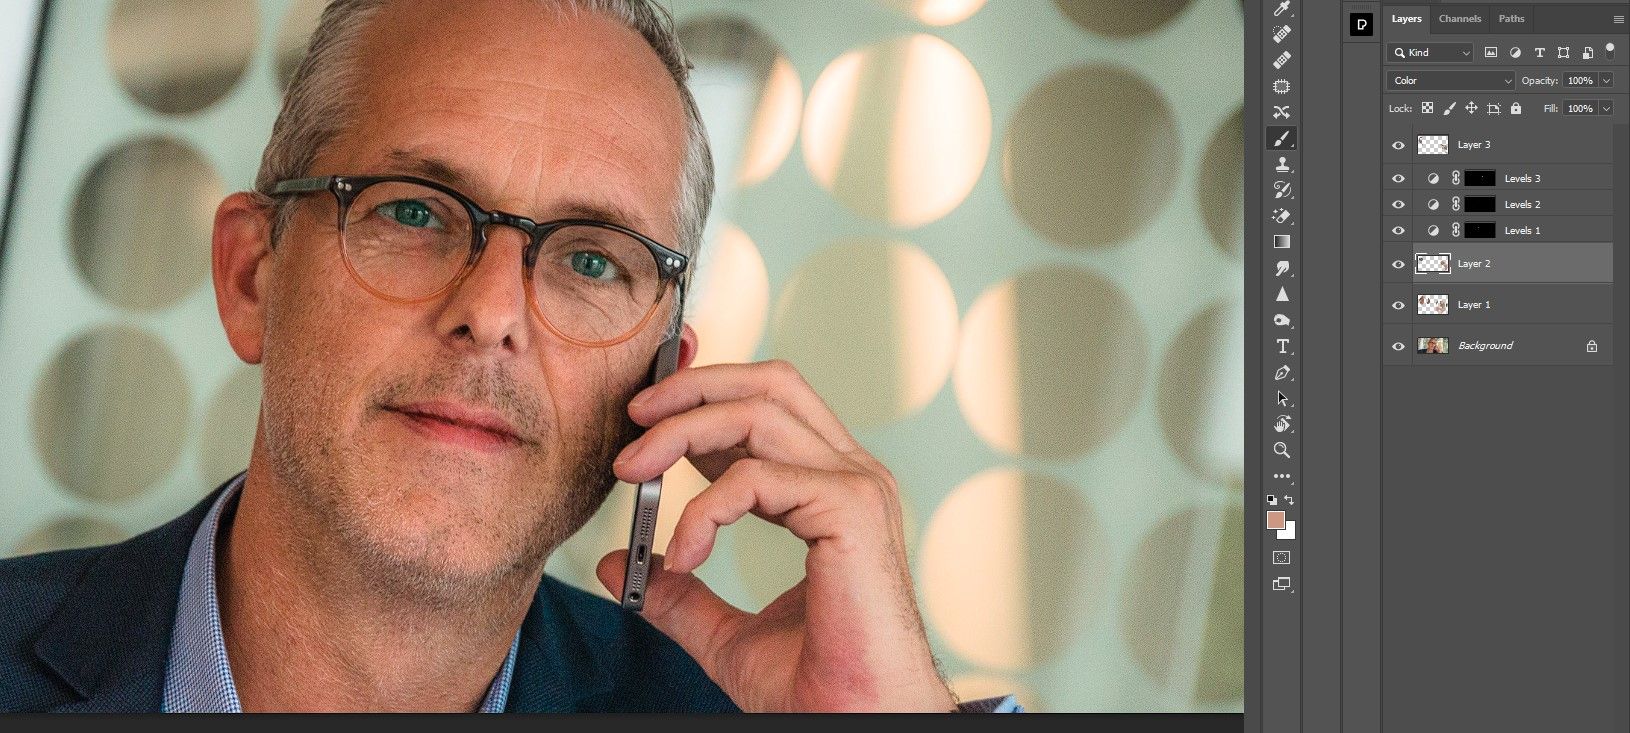
The shine is gone!
Eliminating glare in glasses is straightforward with Photoshop
When you had been following us, you now know the right way to take away glare from glasses in Photoshop. You may by no means have to fret about such a standard drawback ruining your portraits ever once more.
