How one can Make Photographs Black and White Aside from One Colour in Photoshop
Making your photographs black and white apart from one colour creates a reasonably cool look, and it’s extremely simple to do in Photoshop.
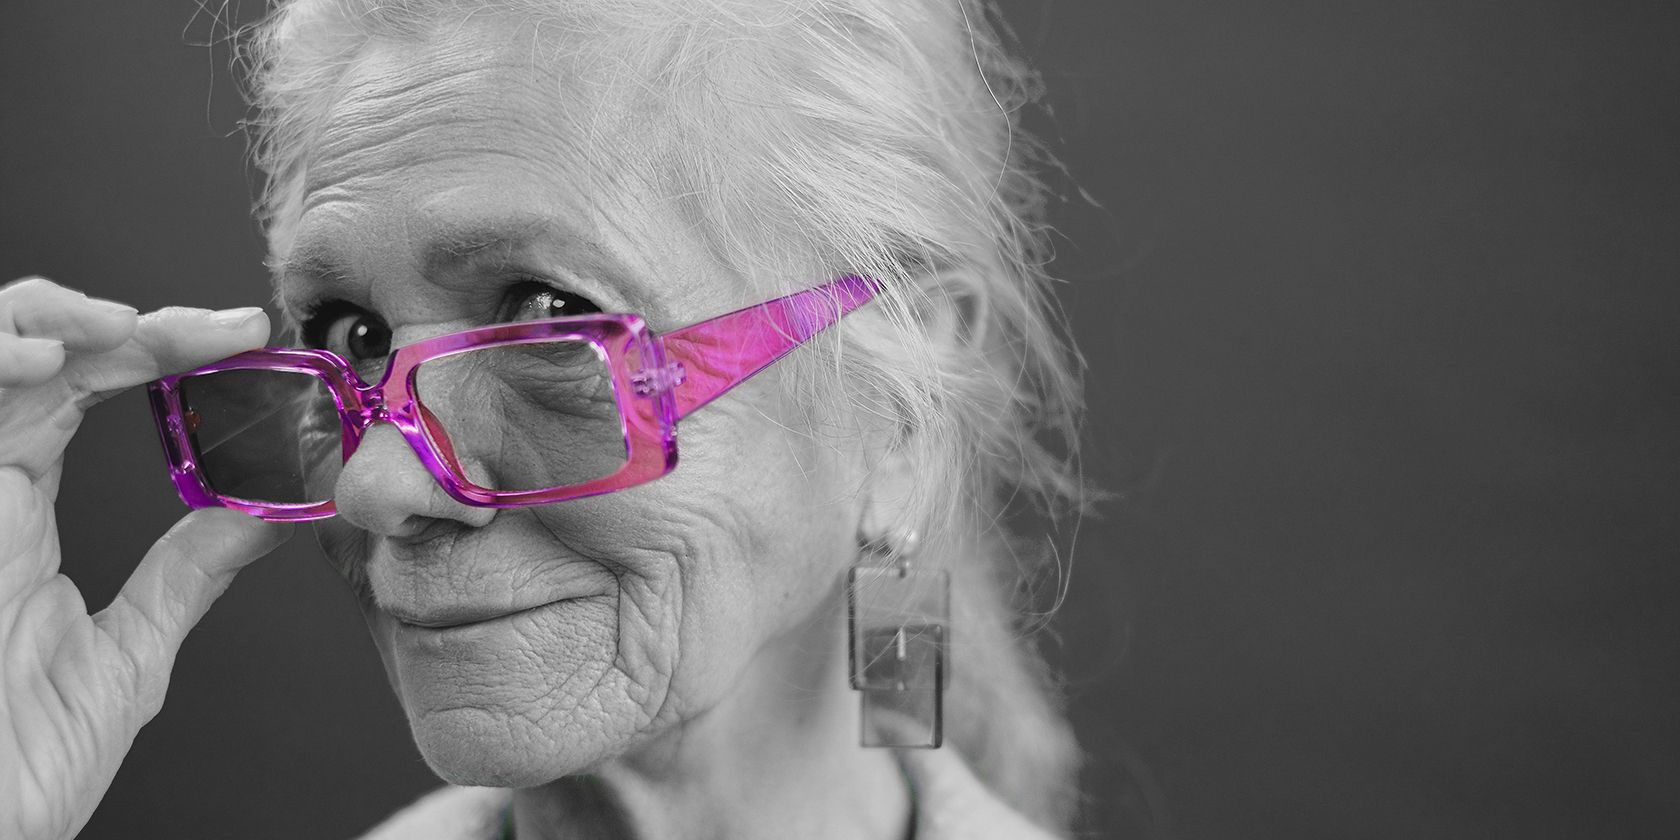
Have you ever ever considered what it could appear like to create a picture that’s all black and white apart from one colour? It is simple to do in Photoshop.
On this tutorial we’ll present you tips on how to make all the pieces black apart from one colour. We’ll additionally present you tips on how to use a layer masks to regulate how a lot of a colour reveals, and tips on how to simply break up a colour into two colours.
Let’s begin.
Step 1: Decide a colour and switch all the pieces else to black and white
Earlier than you leap in and discover out for your self how simple it’s, you possibly can obtain the pattern picture from Pexels and take part.
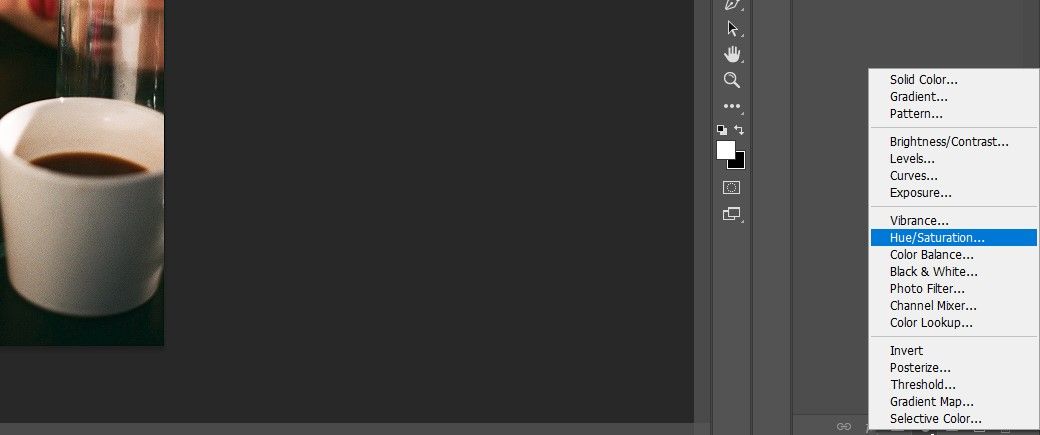
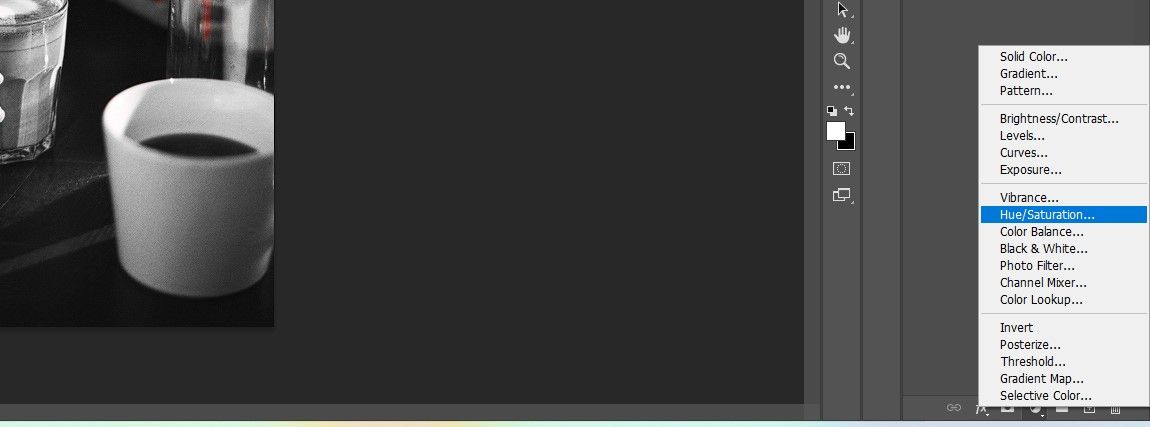
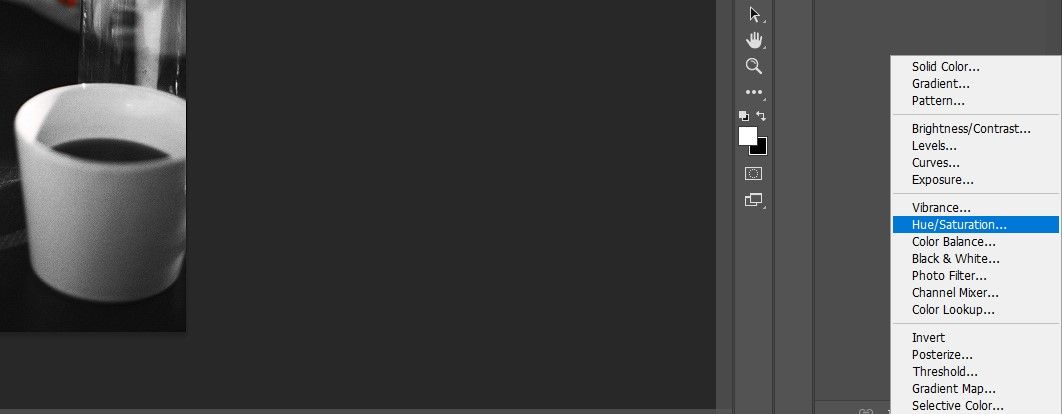
This technique can be utilized for nearly any picture you wish to make black and white, apart from one colour. All you want is a Hue/Saturation layer and some changes within the Properties panel.
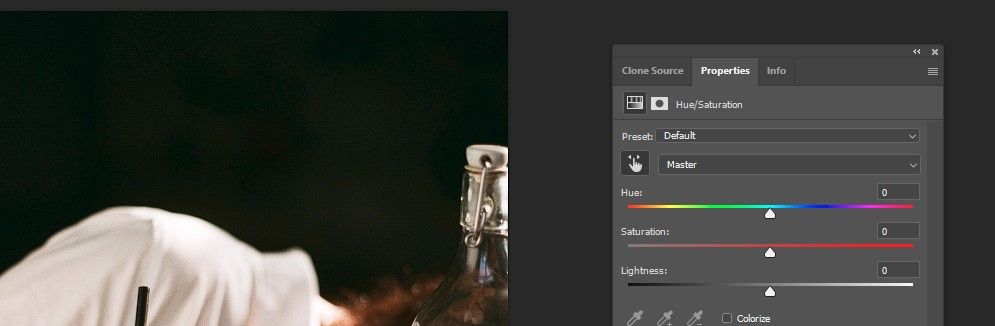
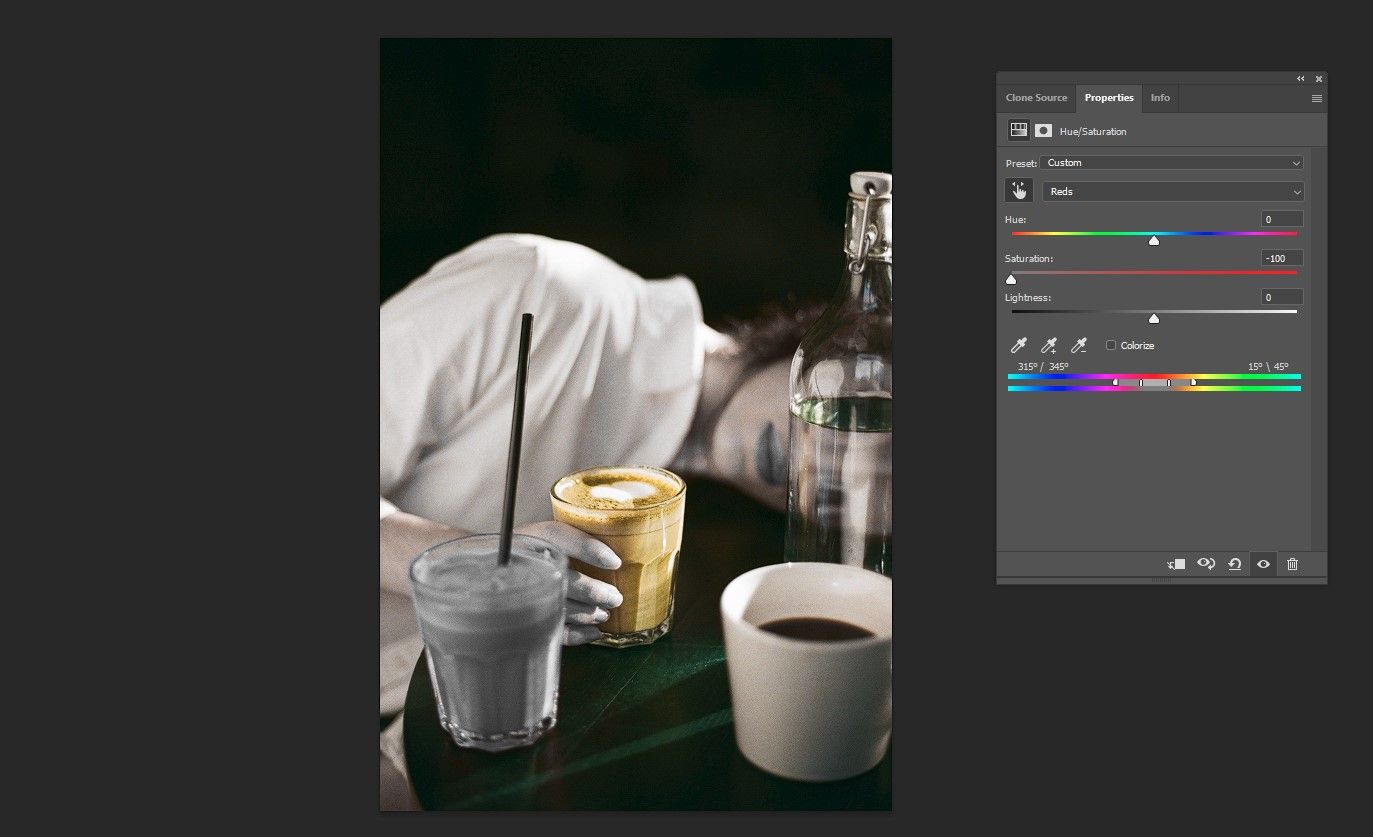
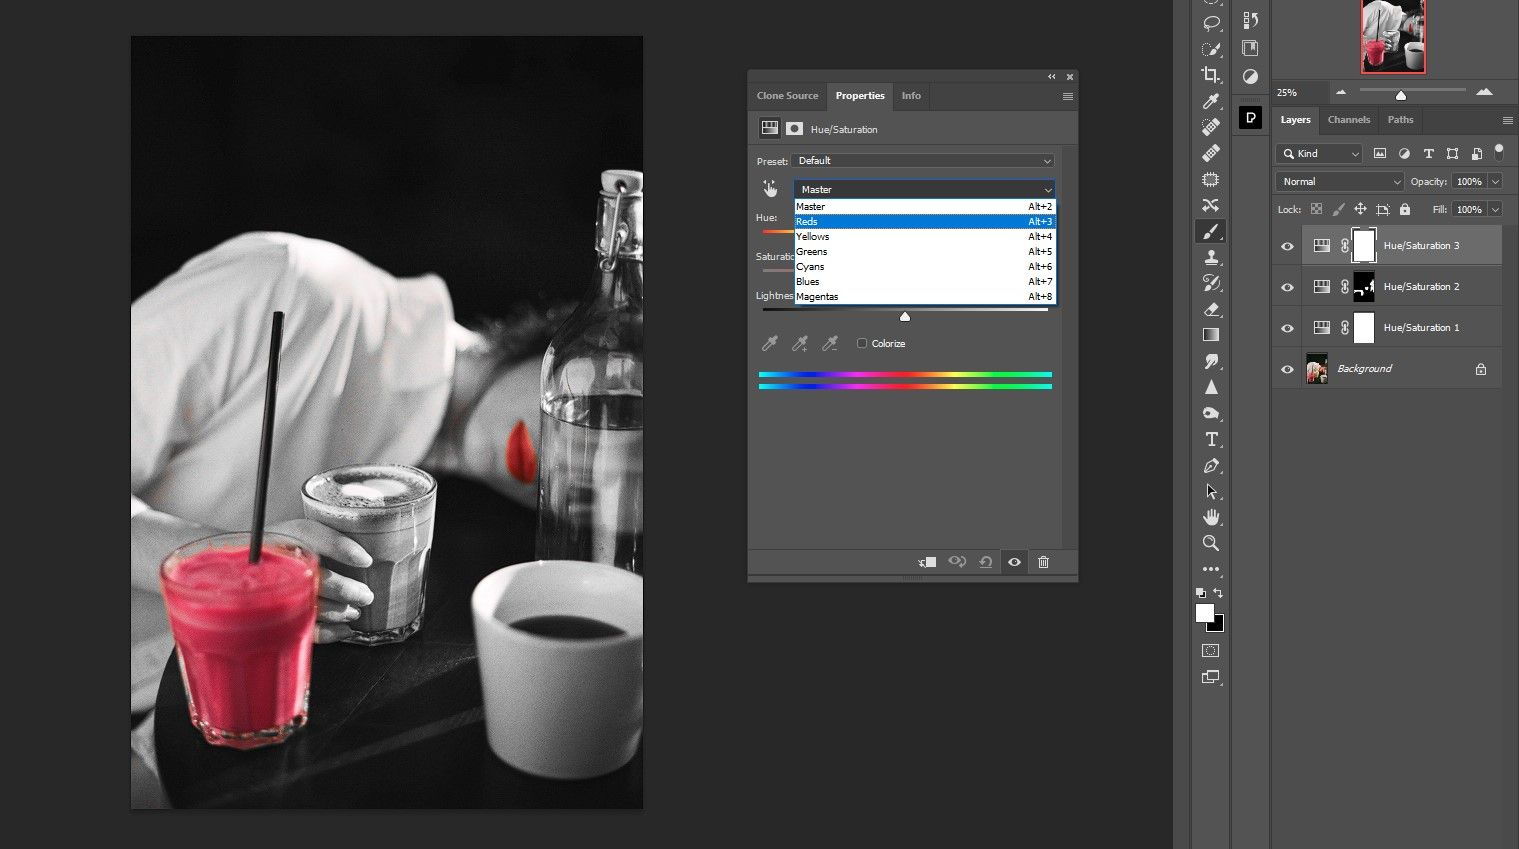
- A… create Hue/Saturation adjustment layer.
- During which Traits panel, click on on the colour picker Instrument.
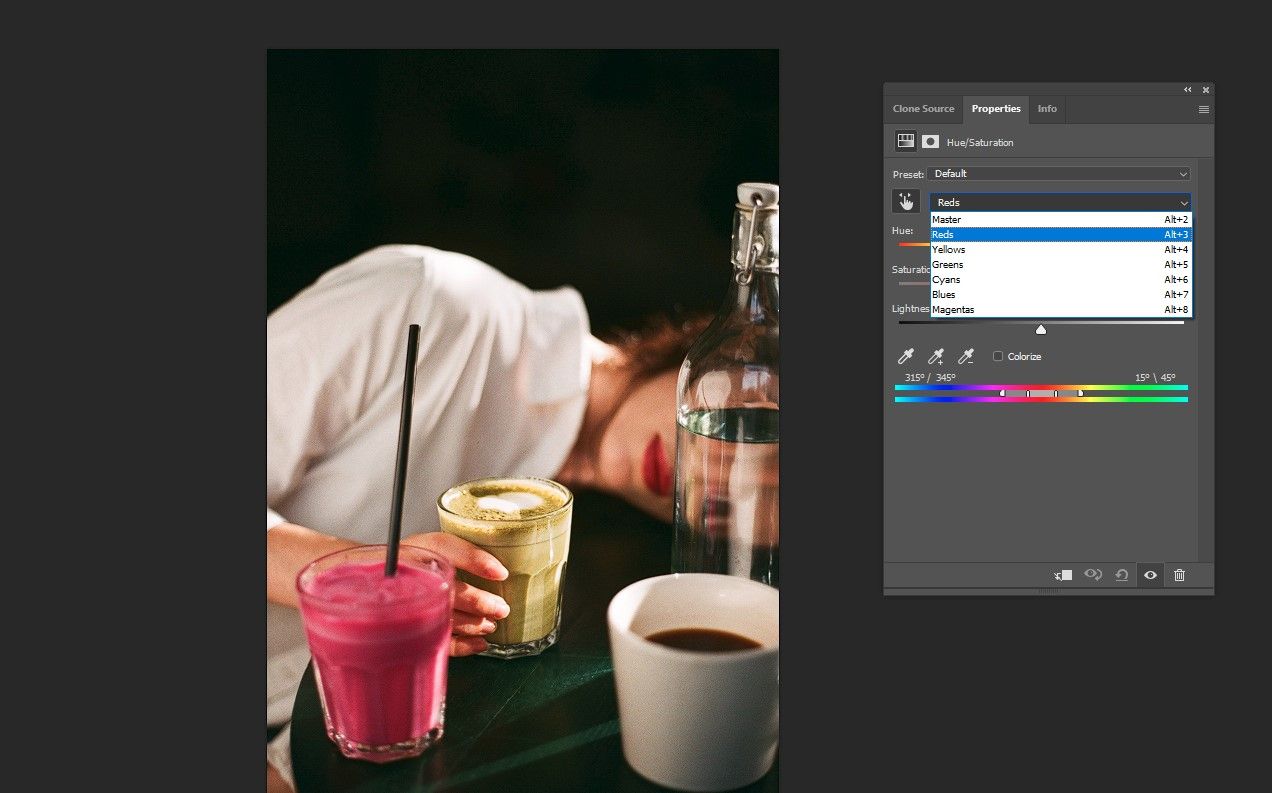
- Click on on the colour you wish to choose. On this instance we select the pink glass. Alternatively, you possibly can choose Pink from the drop down menu.
- pull that saturation Slider all the way in which to the left to take away all pink colour from the picture.
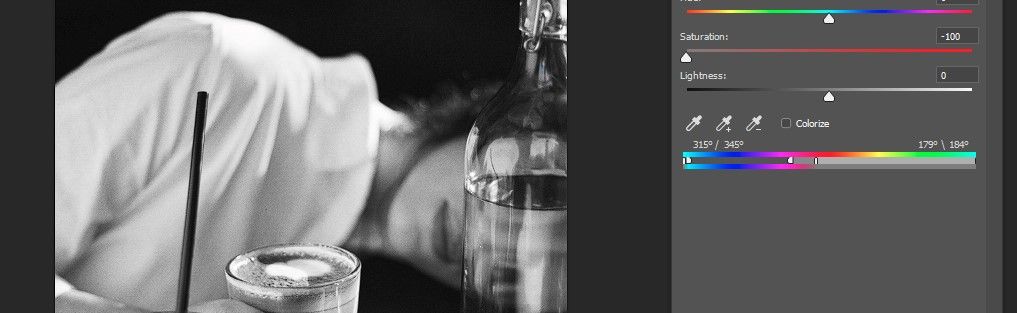
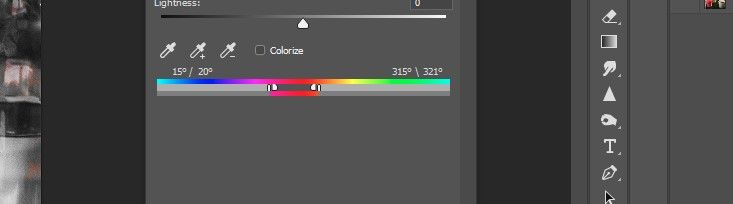
- Drag the center-right deal with all the way in which to the appropriate.
- Transfer the slider to the appropriate 15 levels as proven.
- Transfer the slider on the left to 315 levels as proven.
- Transfer the 2 smaller sliders in every group in order that they’re proper subsequent to one another as proven. This refines the choice in order that pink is the one colour within the picture.
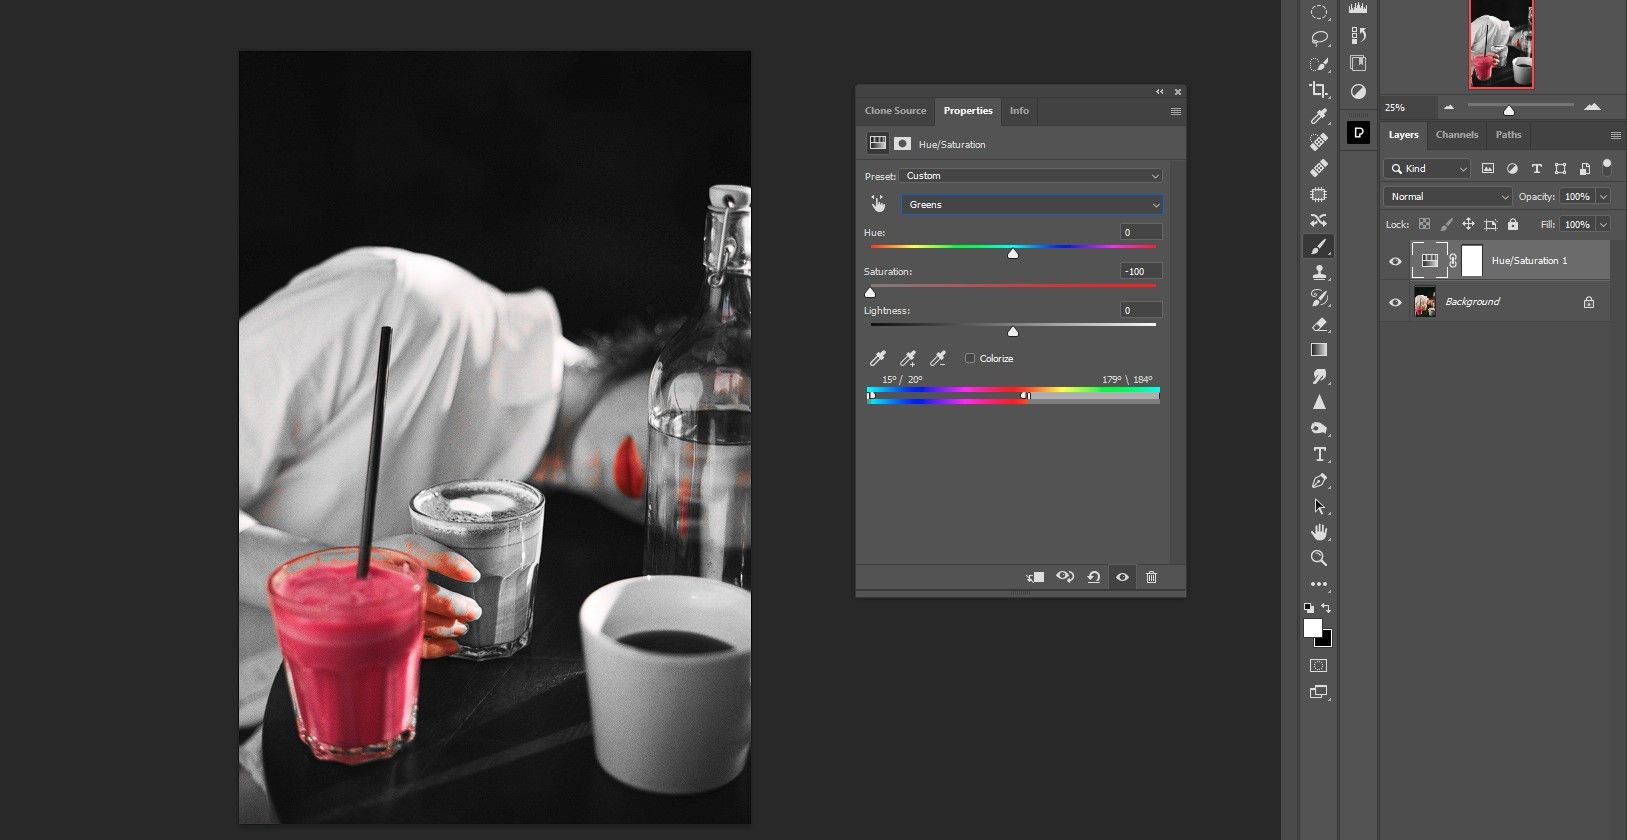
As you possibly can see we eliminated all colours besides pink. However you will discover that there is nonetheless pink that may very well be eliminated if you’d like the picture to make sense. We’ll cowl this within the subsequent step.
We additionally present you tips on how to use different strategies to pick out all the identical colour in Photoshop.
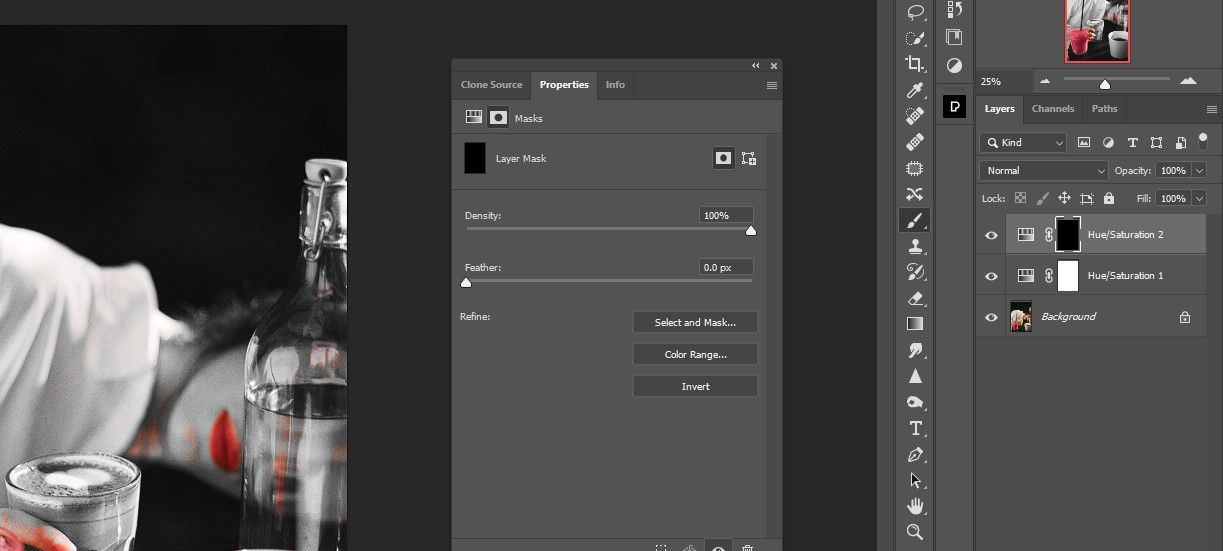
Step 2: Masks the undesirable pink pixels
Subsequent we masks the pink from the fingers, bottle, face and neck. We go away the lips pink as a inventive alternative.
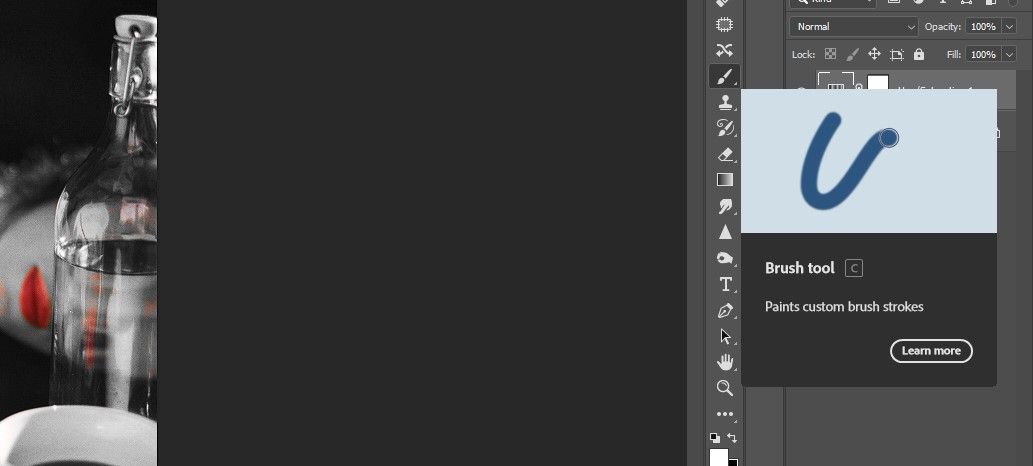
- Press B for the brush or choose it from the toolbar.
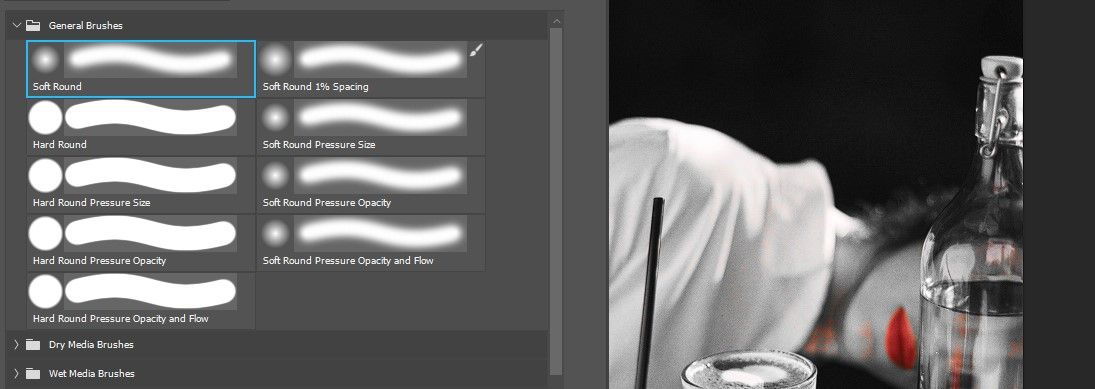
- Select a Mushy Spherical Brush.
- Create one other Hue/Saturation adjustment layer.
- Go to Pink Channel.
- transfer the saturation Slider all the way in which to the left to take away all pink.
- With the highest Hue/Saturation layer masks chosen, press ctrl + I to reverse the masks.
- Press D for the default foreground/background colours. We would like white because the foreground colour.
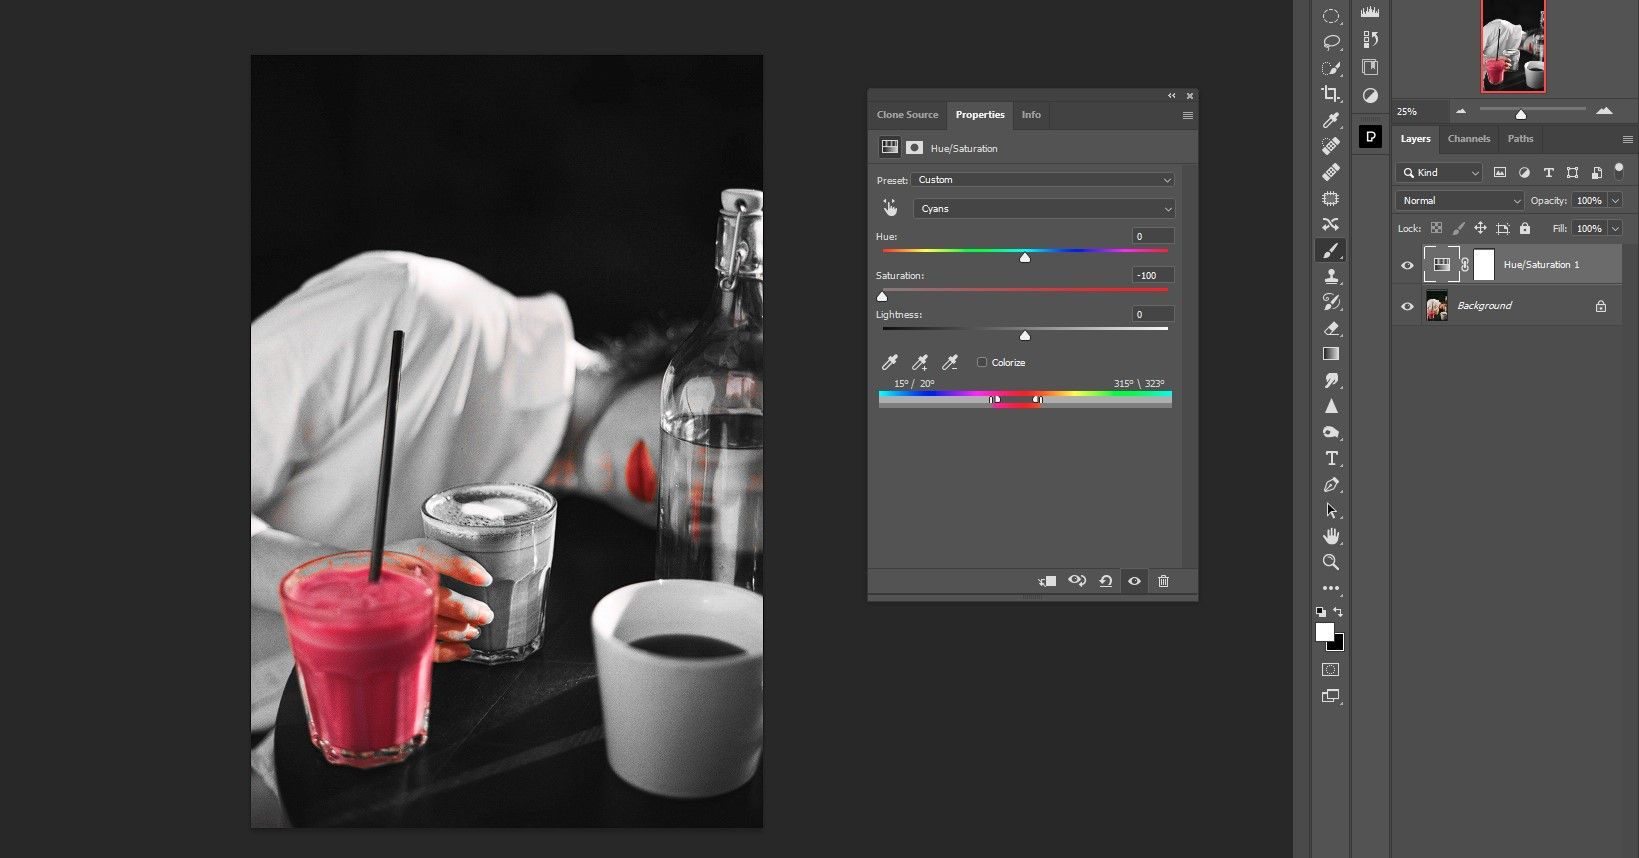
- Brush off the pink in all places besides the glass and lips.


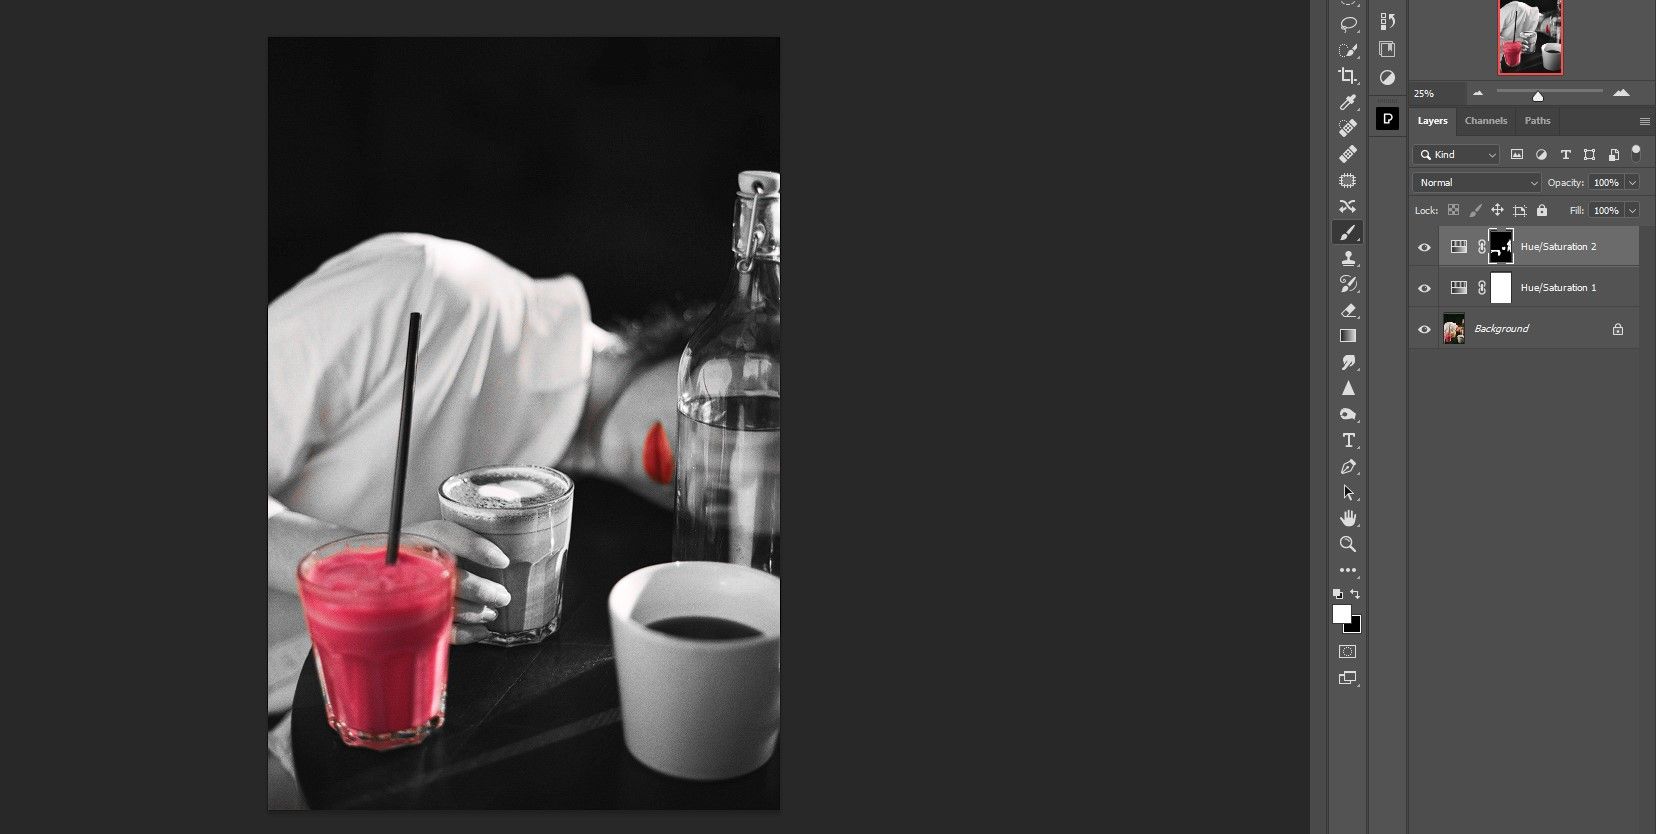
Now we have created the right black and white picture apart from one colour.
For Lightroom customers, we present you many methods to vary the colour of an object.
Step 3: Change the drink to a distinct colour
We confirmed tips on how to change changing a picture to black and white apart from one colour and even how that colour could be masked by undesirable pixels. Now let’s make one other inventive choice and alter the colour of the drink. This solely requires a further adjustment layer for Hue/Saturation and Refinements.
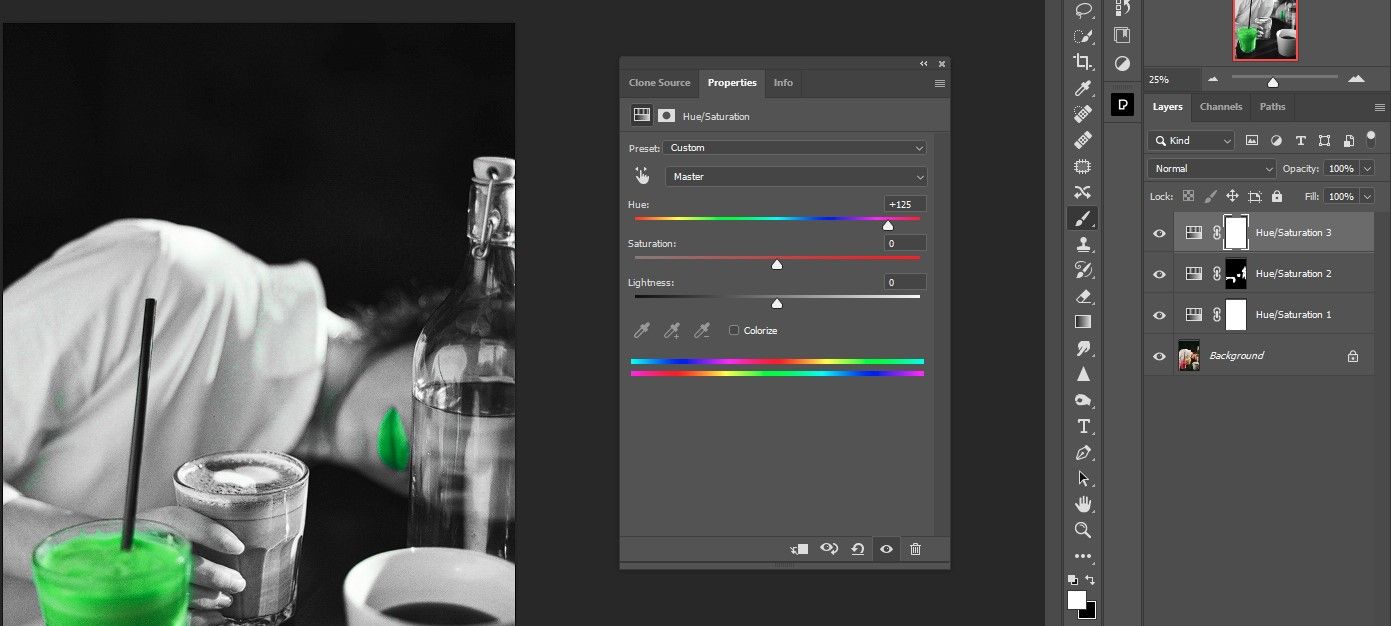
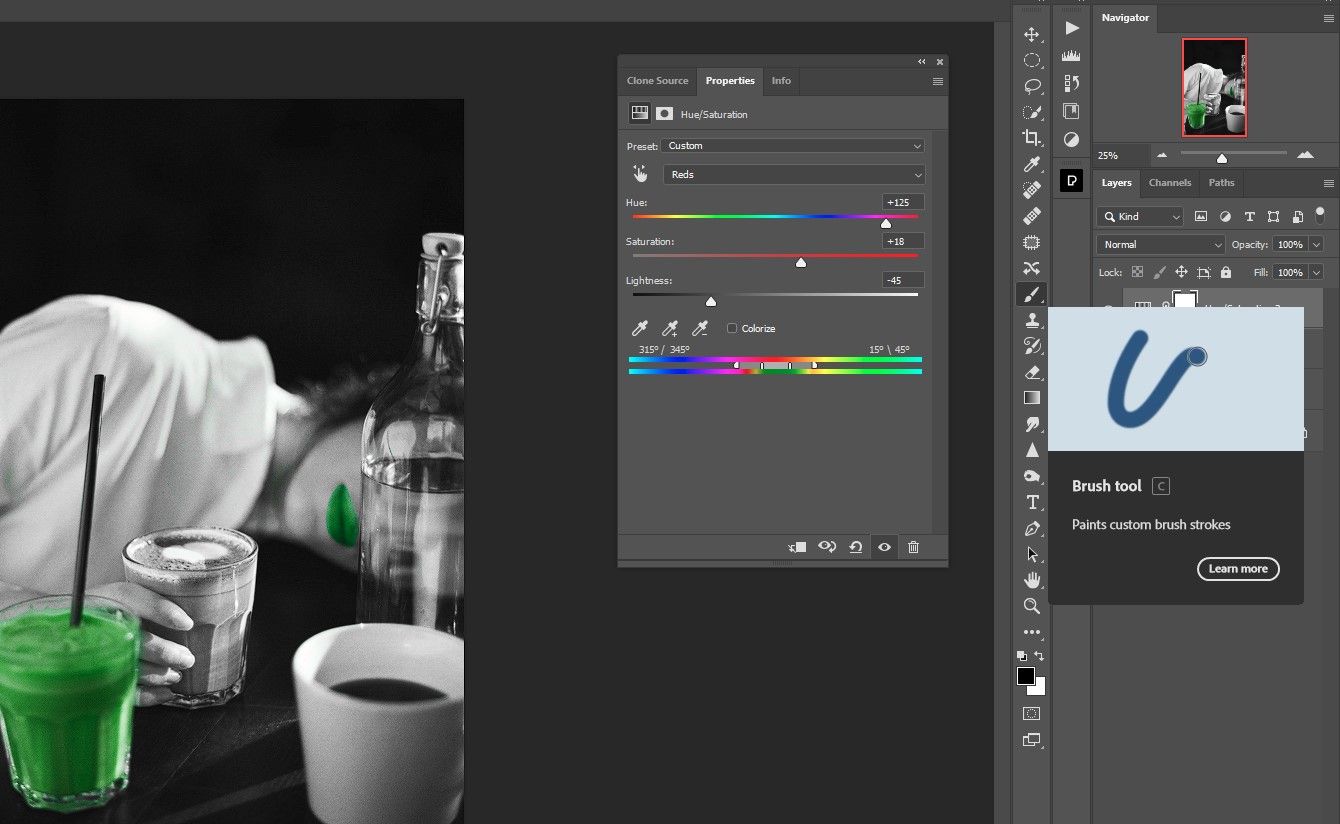
- Create a 3rd Hue/Saturation adjustment layer.
- Choose the Pink Channel.
- transfer the hue slider too +125.
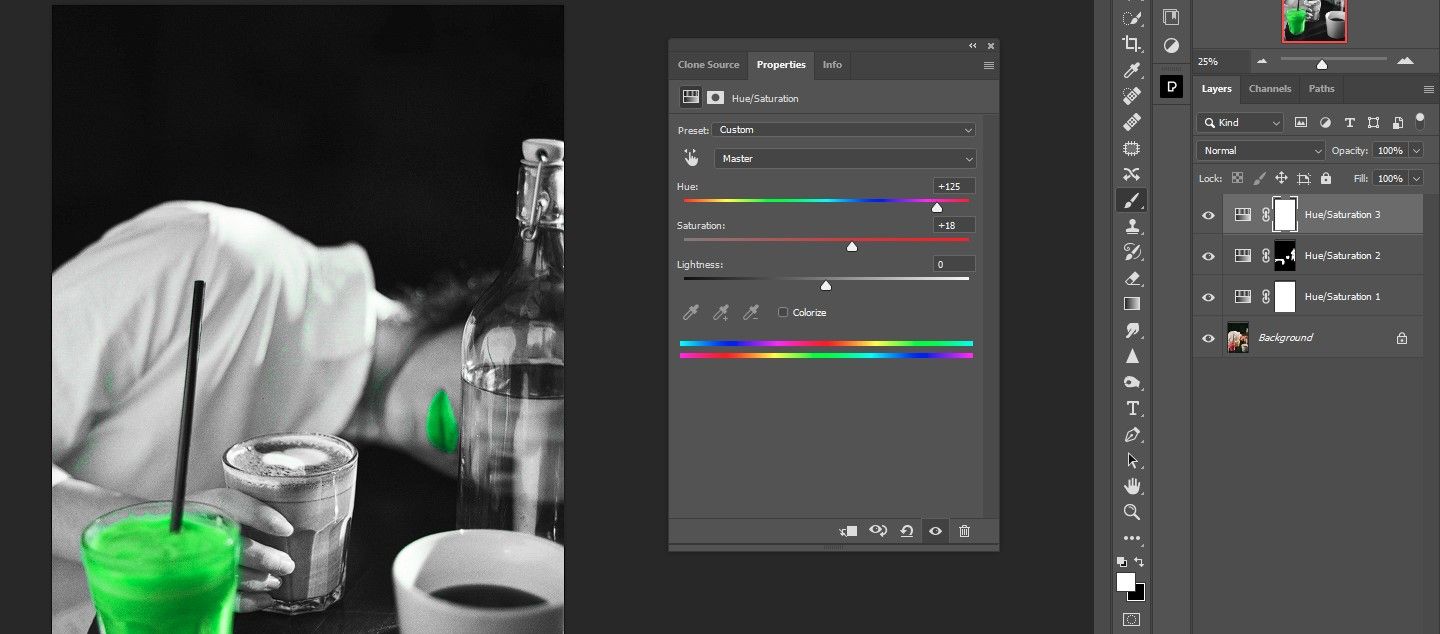
- transfer the saturation slider too +18.
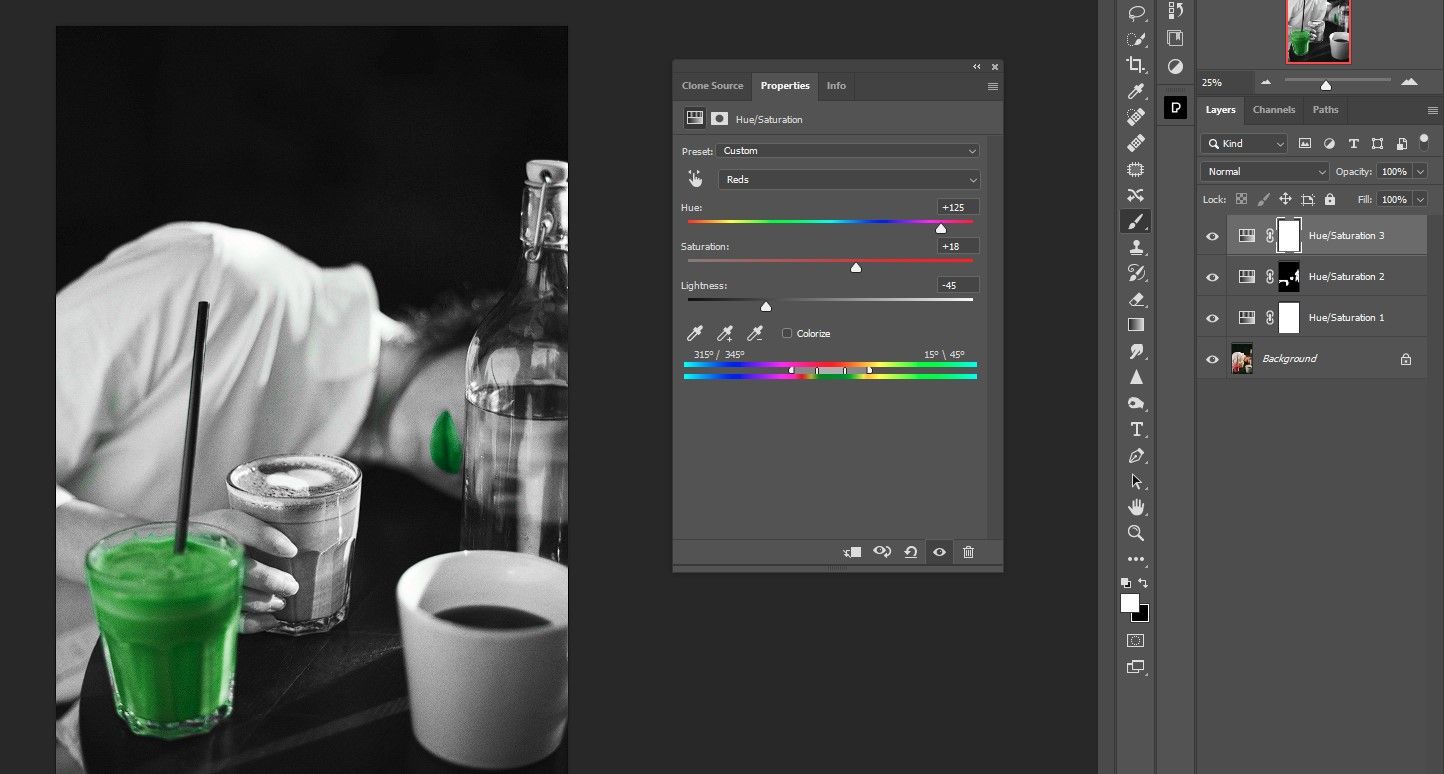
- transfer the ease slider too -45.
- Flip the X button to make the foreground colour Black.
- Press B for the brush Instrument once more if not already lively from earlier use.
- Sweep throughout lips to revive pink colour.

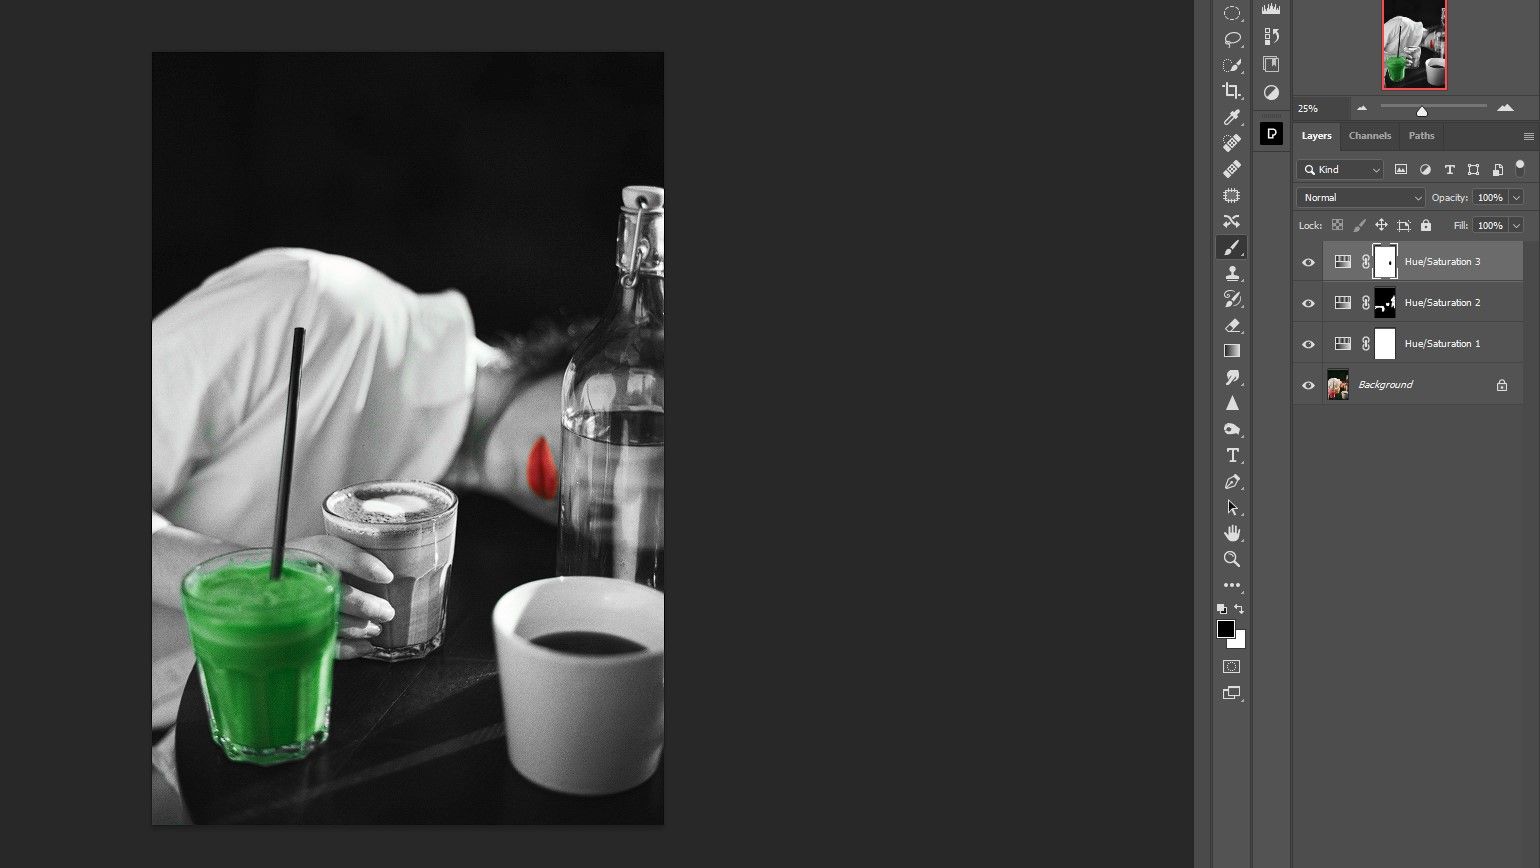
tremendous simple! Simply three layers of adjustment and refinements to utterly remodel a black and white picture whereas preserving one colour, with a further colour change.
It is virtually too simple to take photographs in black and white apart from one colour
In relation to tutorials, it not often will get simpler than right here. With just some small tweaks, now you can make your photographs black and white to 1 colour with out breaking a sweat.
