Tips on how to Create Daring Textual content in Photoshop: 4 Methods

You would possibly assume that creating daring textual content in Photoshop could be simple, however not all fonts assist the native daring function. Generally it’s possible you’ll end up in a scenario the place your downloaded font would not present fonts like daring or italic, so that you want different methods to make your textual content daring in Photoshop.
On this article, we’ll undergo the plain instruments for reaching daring textual content, in addition to some lesser-known strategies that you just may not have come throughout. These embrace utilizing the Font toolbar, Character panel, layer types, and increasing a range. Let’s dive proper in.
The primary technique for daring textual content is the obvious in Photoshop; the Kind instrument or the Character panel. Nonetheless, if you happen to use an unsupported font, e.g. For instance, third-party fonts for macOS could not assist textual content types akin to daring. This system works finest for fonts which can be already put in in your system.
This default daring textual content technique is offered both from the Textual content toolbar that seems when the Textual content instrument is activated, or from the Character panel. To open the character window, go to Window > Signal. You possibly can present or disguise the drawing window at any time by clicking character Icon within the vertical checklist of window choices.
Use the Enter instrument (T) to put in writing textual content in your Photoshop artboard. After typing, select a font and set the dimensions within the Font toolbar or Character panel. You can too use the Paragraph and Character instruments to format the textual content earlier than making it daring.
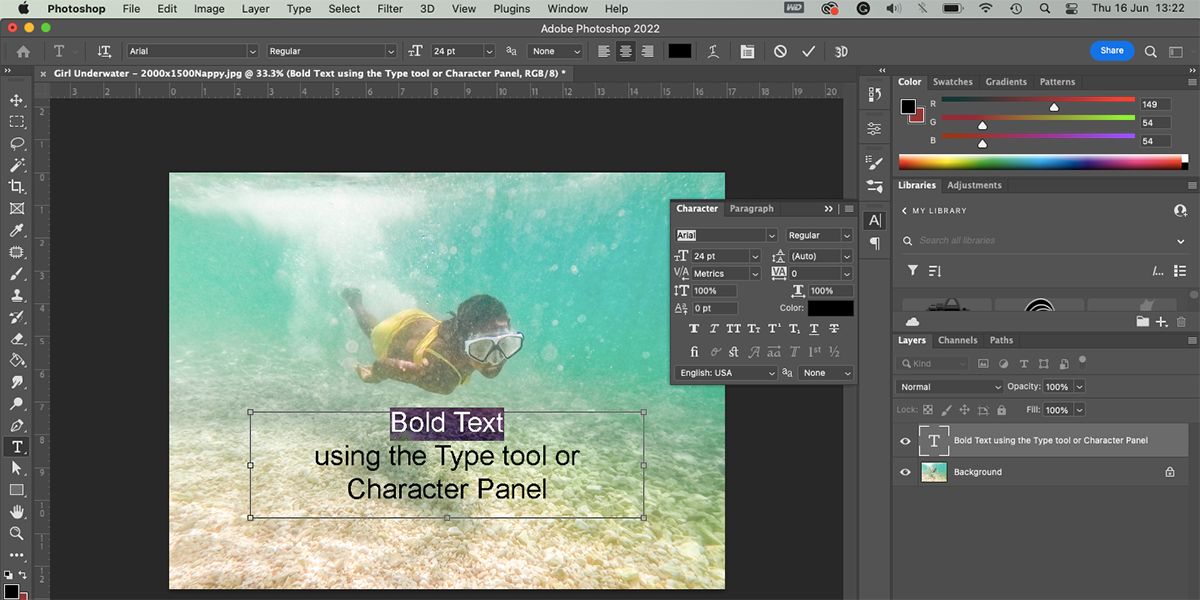
This daring textual content technique can work on single phrases or phrases in addition to your whole textual content. Choose the phrases you need to daring, then use your cursor to focus on them.
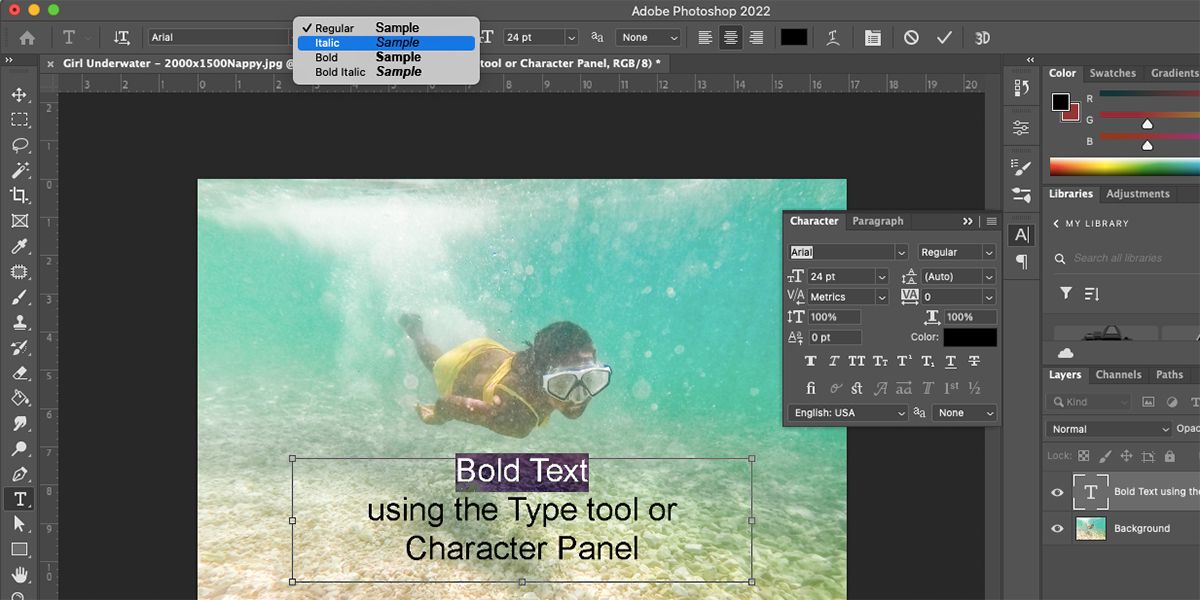
The Font Model drop-down menu is offered within the Font toolbar or the Character panel. The default worth within the dropdown ought to say common, and when you click on on it, it’s best to get choices for various types. Choose the daring Model within the drop-down checklist. This may make all of your highlighted textual content daring, and something that is not highlighted will stay regular.
That is the simplest strategy to make your textual content daring, however if you happen to’ve downloaded a third-party font, it might not have supported font fashion choices like daring or italic. If so, you possibly can strive different strategies.
2. Use the Fake Daring setting within the drawing space
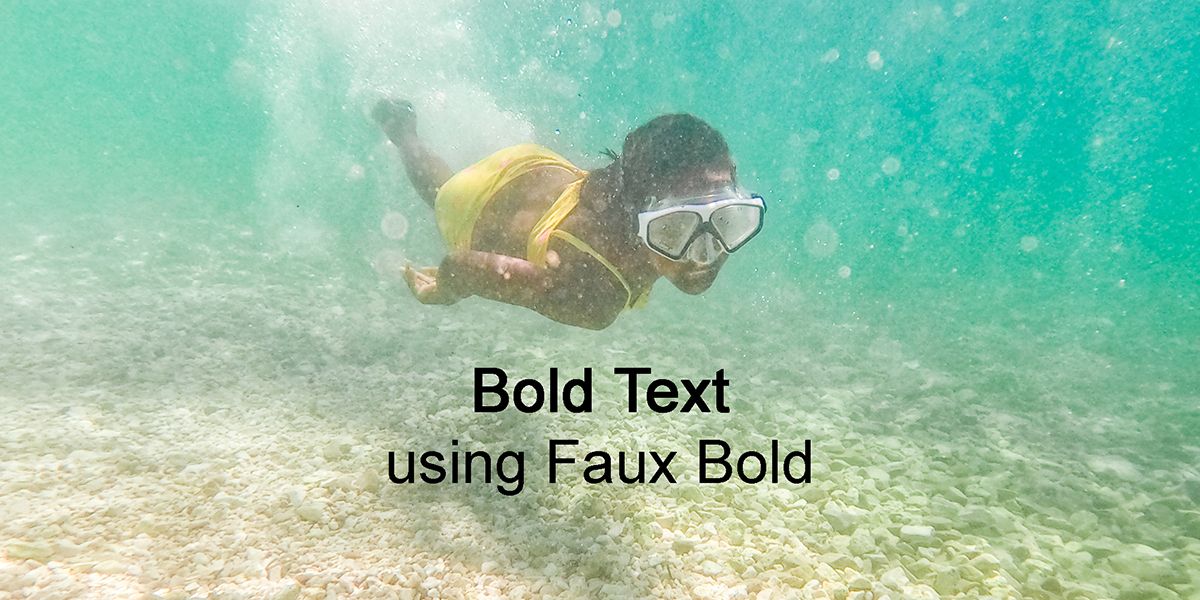
Spotlight any textual content you need to make daring. This technique additionally works for particular person phrases or your complete textual content. Open the character window by going to Window > Signal.
The Character panel reveals a horizontal checklist of T Icons to symbolize totally different textual content types. Click on on the primary to use Fake Daring to your textual content.
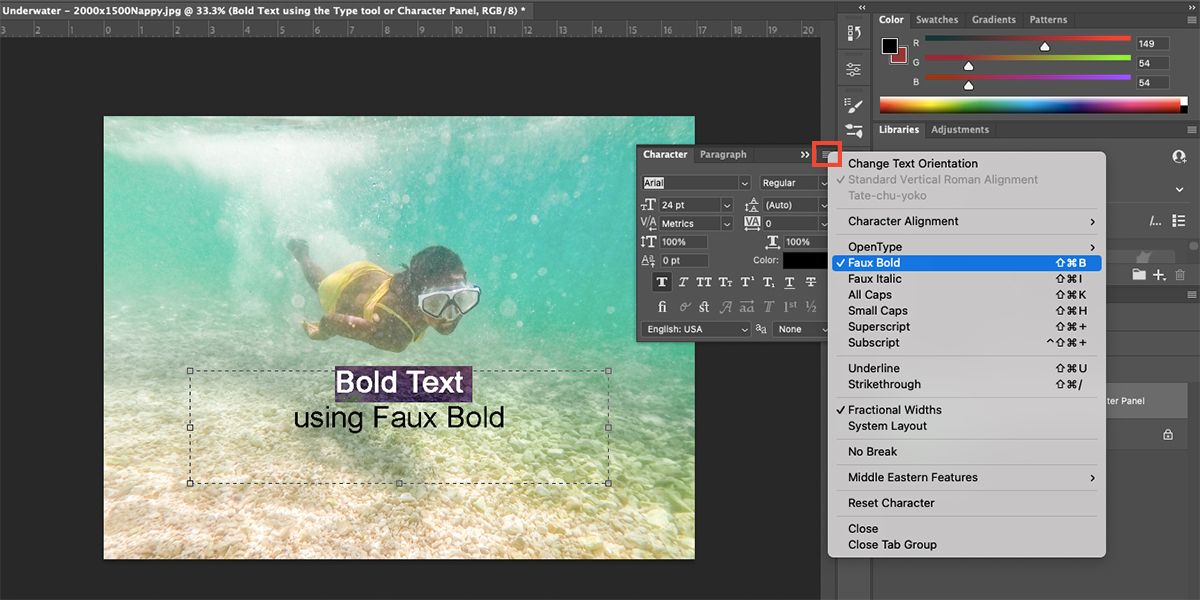
Alternatively, you possibly can click on the menu icon – three horizontal traces – within the Character panel. Select fake fats from the menu choices.
That is a simple strategy to replicate the daring fashion, however in contrast to the usual technique, you must manually flip off Fake Daring once you’re accomplished. In any other case, your subsequent undertaking will default to Fake Daring textual content.
3. Add layer impact for dramatic daring textual content
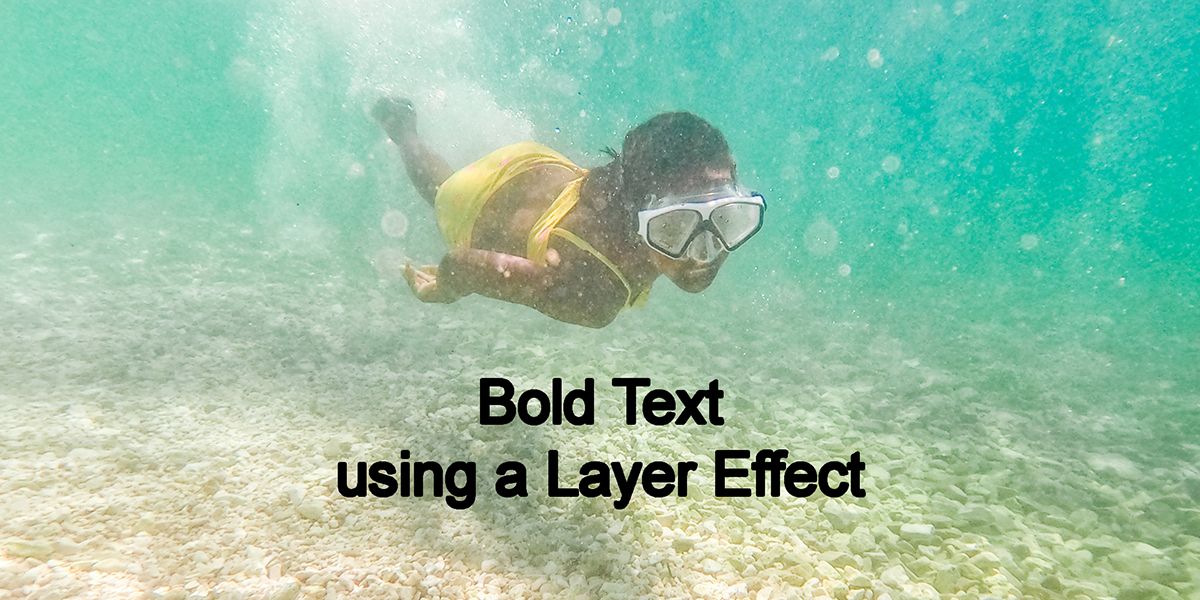
Utilizing a stroke impact can produce a extra dramatic daring textual content outcome if wanted and is assured to work with any font.
Sadly, in contrast to the earlier two strategies, this impact can solely be utilized to your complete textual content layer and to not particular person phrases or phrases. Nonetheless, this method is non-destructive, so you possibly can all the time flip off the fashion within the Layers panel.
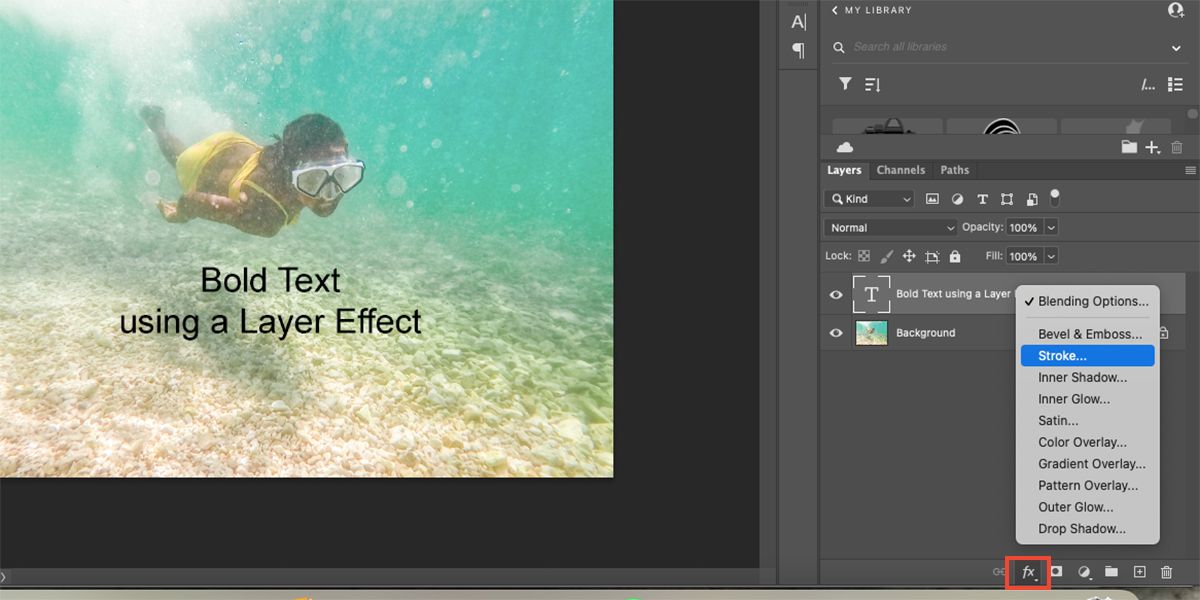
Write your textual content with the Enter instrument (T), after which choose the textual content layer within the Layers panel. On the backside of the Layers panel, click on Add new impact > stroke.
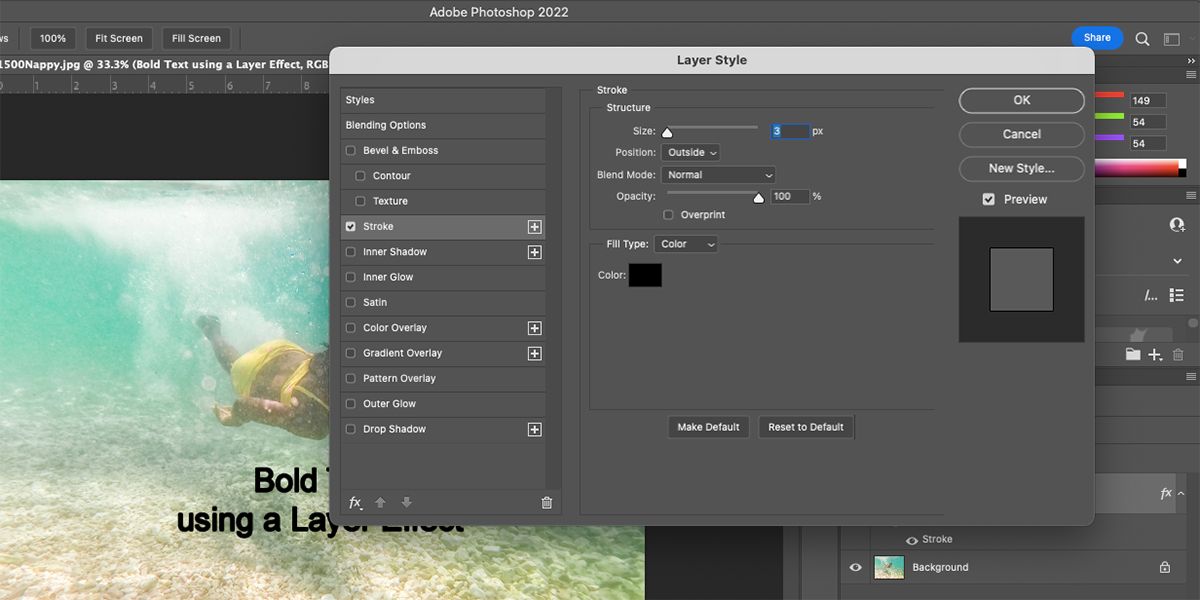
Within the Layer Model window, choose the stroke shade. We suggest utilizing the identical shade as your textual content’s fill for a practical daring impact. Set the opacity to 100% and the place too Outdoors. For a usually daring impact, we suggest setting the Stroke Weight slider to 3px.
Choose the preview field so you possibly can see the impact in your artboard earlier than confirming your choice. Then click on OK in case you are pleased with the outcomes.
The benefit of this daring simulation is you can add as a lot thickness as you need to the stroke.
4. Increase your textual content choice

This final technique ought to ideally solely be used as a final resort. It is a harmful technique, which implies that as soon as utilized, it can’t be eliminated. Nonetheless, if you happen to duplicate your textual content layer, you will all the time have a model to fall again on once you want it.
Write your textual content with the Enter instrument (T) and format it precisely the way you need it to look. Go to the layers panel, proper click on on the textual content layer and choose raster sort. In consequence, your textual content can now not be edited.
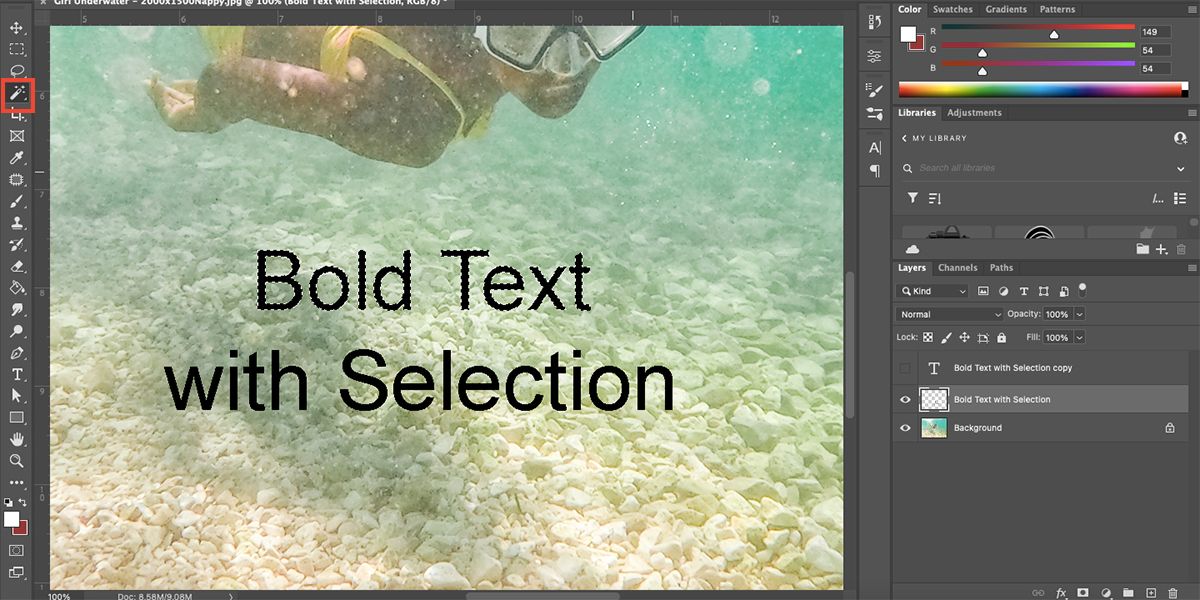
Use the Magic Wand Software (W) and choose the letters you need to daring. Go to Choose > Modify > Increase.
Within the popup, resolve how thick you need the daring impact to be. This relies on your chosen font and its measurement. Sadly there isn’t a preview possibility, however 2 pixels is an efficient alternative. click on OK.

The operating ants round your chosen textual content will present a buffer between the sting of the textual content and the choice itself. Use the paint bucket instrument (G) and fill within the buffer area. Make sure that your fill shade matches your textual content for this to work.

After including the fill, flip off the textual content (CMD + D on Mac or Ctrl + D on Home windows) to see the ultimate outcome. Since your textual content is by itself layer, you possibly can nonetheless transfer it round to suit your design. Nonetheless, you can’t reformat or edit the textual content itself utilizing this technique.
In the event you’d somewhat add and edit textual content elsewhere, see our information to including textual content in Lightroom.
A couple of strategy to create daring textual content in Photoshop
You may need thought you knew all of the methods to create daring textual content in Photoshop, however there are all the time different strategies and workarounds if you happen to want them.
The primary cause for needing an alternate daring simulation is if in case you have used an unsupported font in your design. Now you possibly can keep away from the frustration of not discovering a daring font fashion through the use of any of those strategies.
