The way to Take away Undesirable Coloration Forged From Your Topic in Photoshop

Break up
Photoshop offers you many instruments to take away undesirable issues out of your photographs, together with shade casts on topics.
You now not have to fret about capturing in low mild when you possibly can’t keep away from it. In our tutorial, we’ll present you ways straightforward it’s to take away an undesirable shade forged out of your topic utilizing Photoshop. Let’s begin!
What photographs work for this technique?
Coloration photographs solely work with this technique. It may appear counterintuitive to make use of a colorize perform to take away a shade forged, however as you will see, it really works fantastically.
Merely keep away from black and white photographs and you’ll take away any undesirable shade forged out of your topic.
The way to take away neon mild from an individual
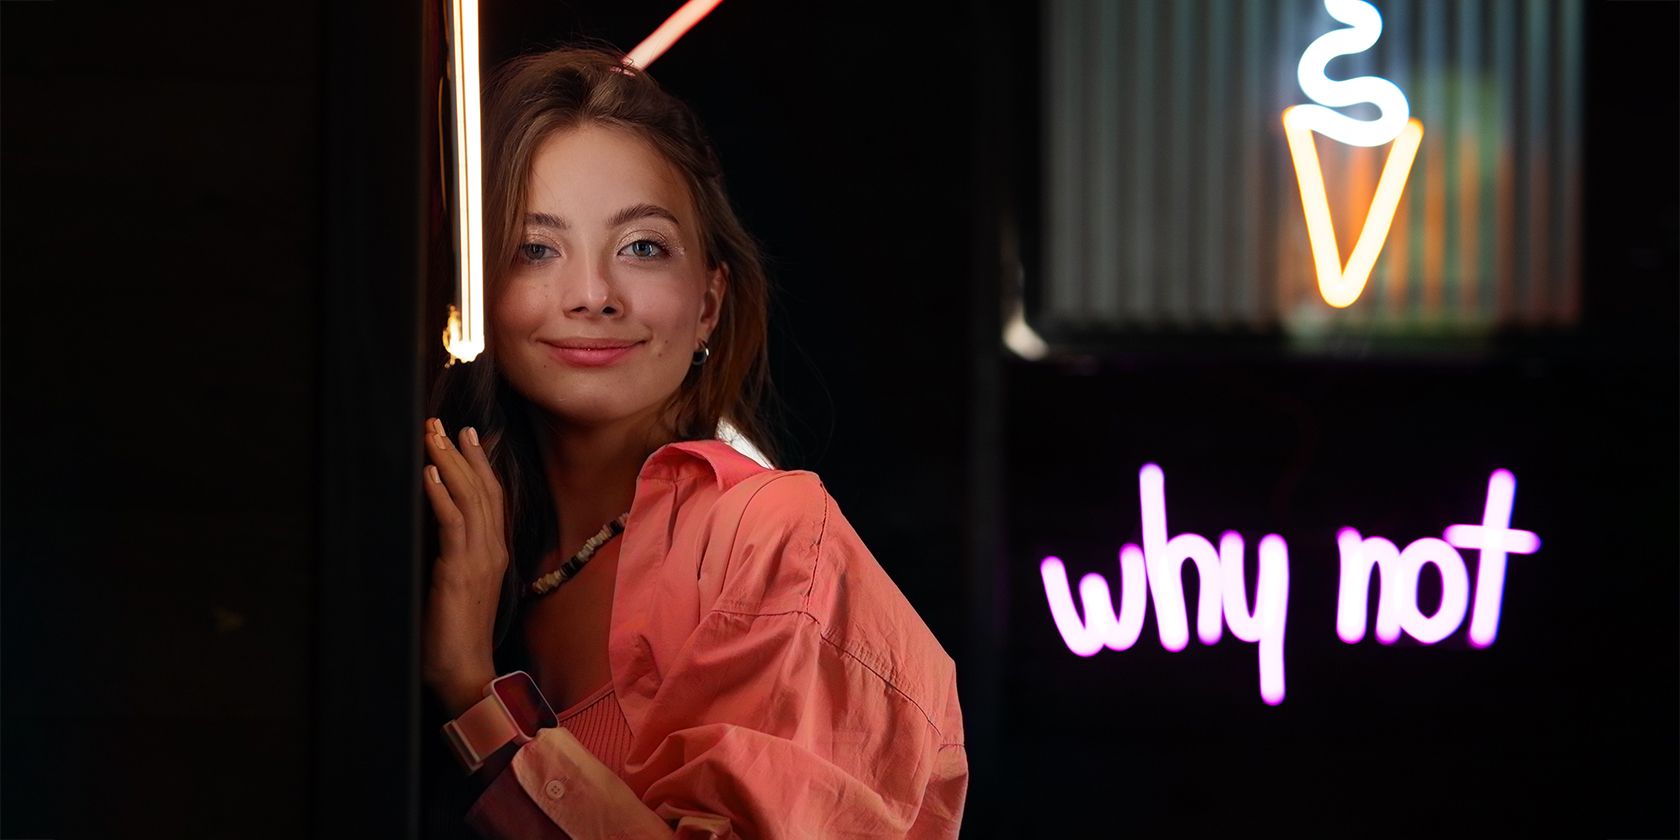
Let’s begin with a portrait taken underneath neon lighting. For this instance we’ll use the Coloration neural filter to take away the colour forged from our topic’s face and clothes. Then we masks the impact to revive the unique neon colours to the remainder of the picture.
If you wish to get entangled, you possibly can obtain the pattern file from Pexels.
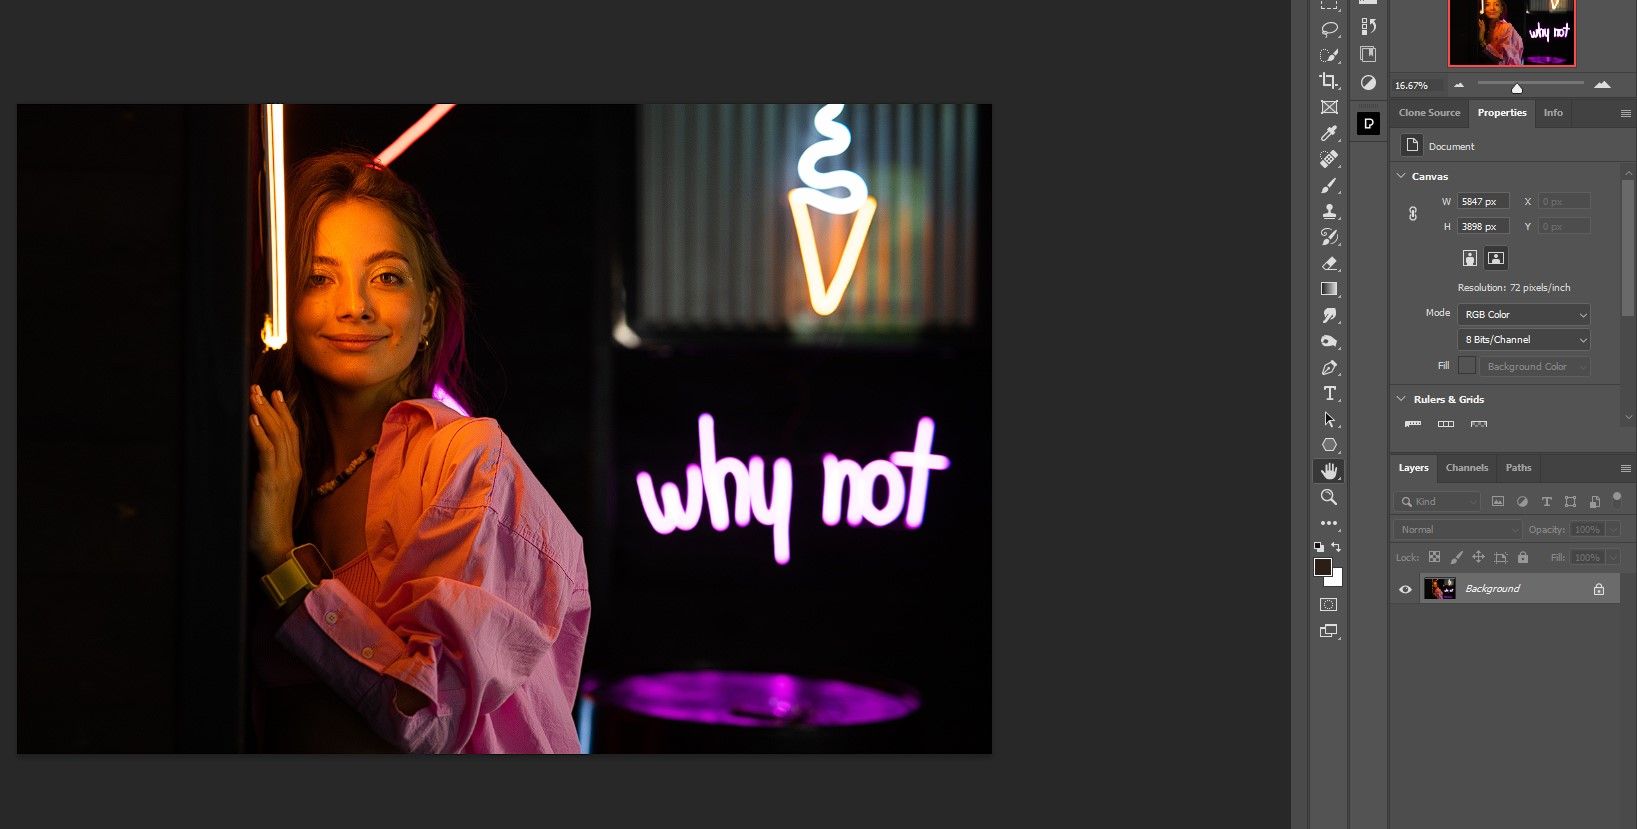
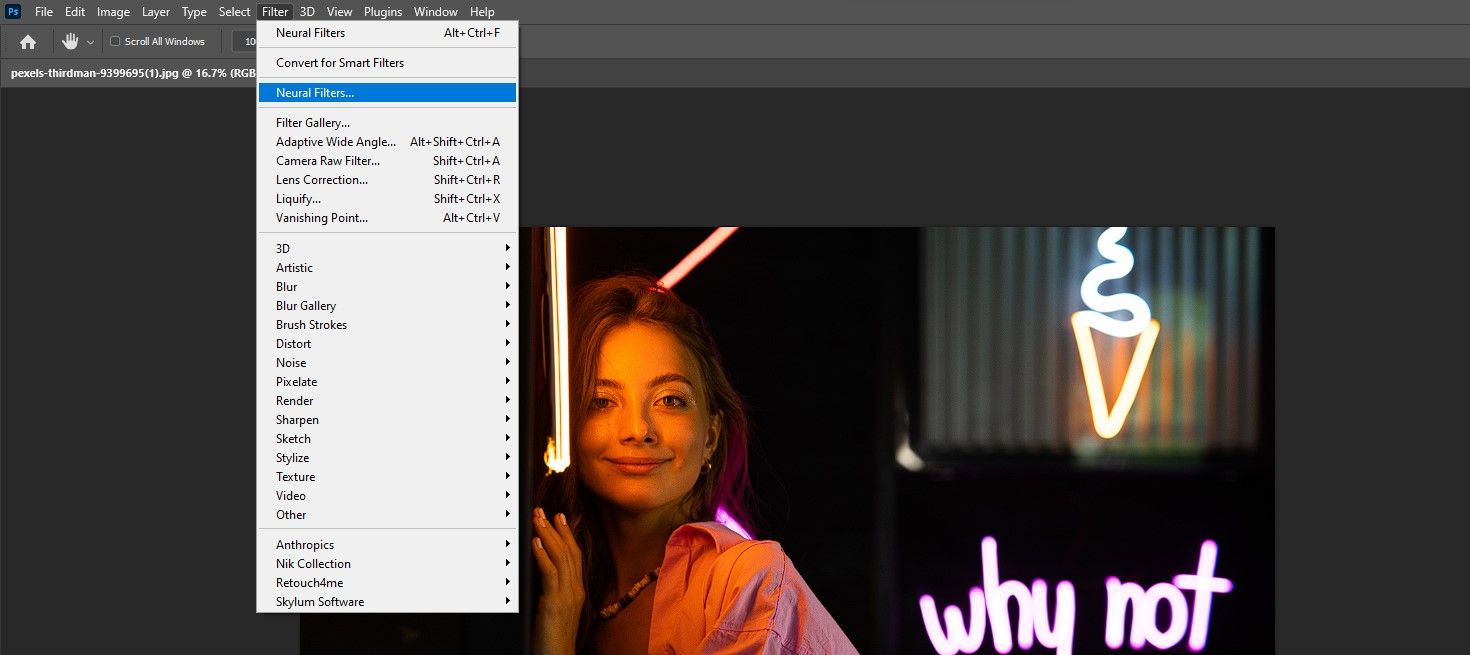
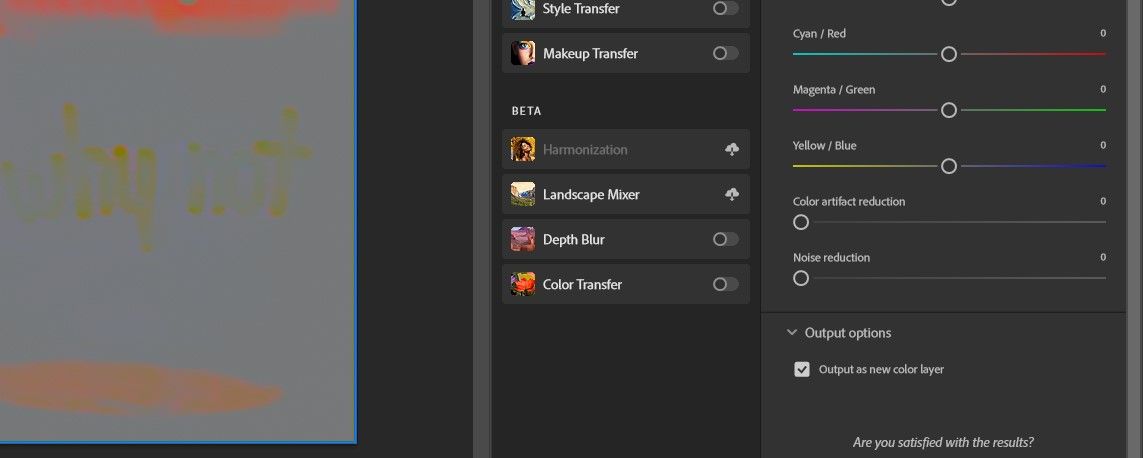
- Go to filter > Neural Filters.
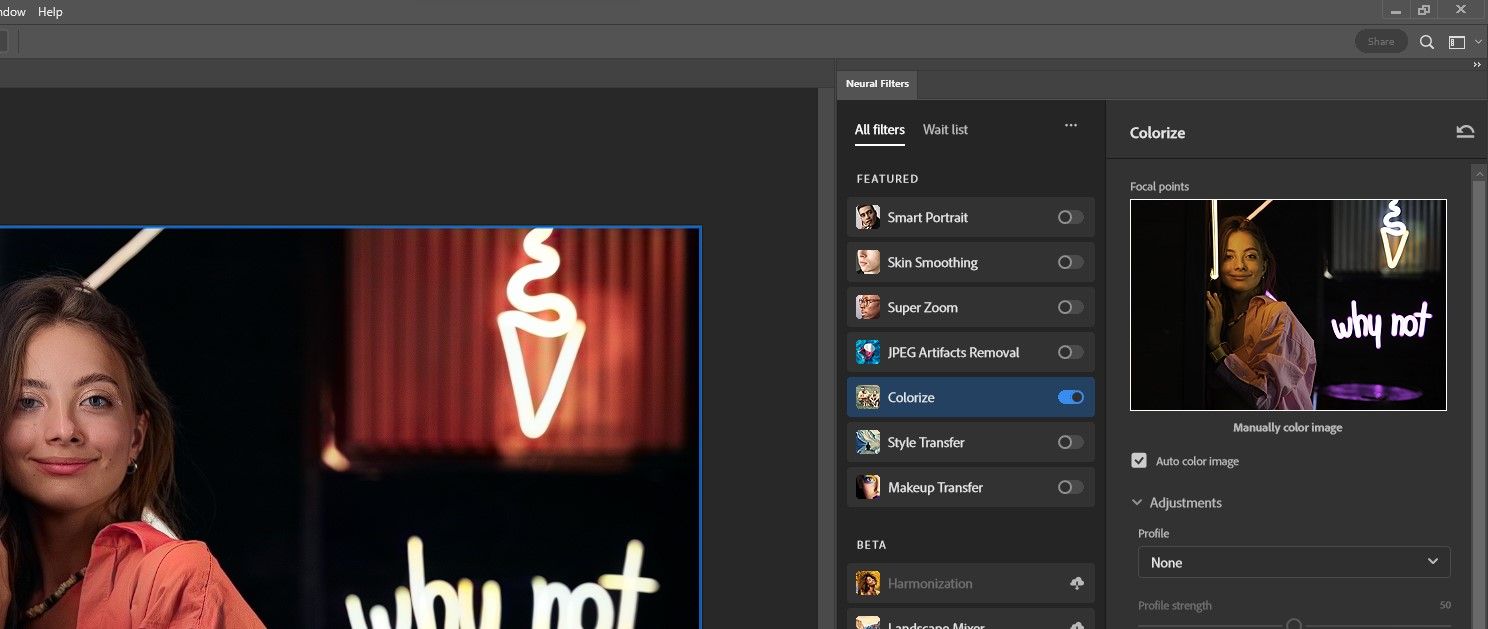
- By which All filters menu, choose the inking Chance.
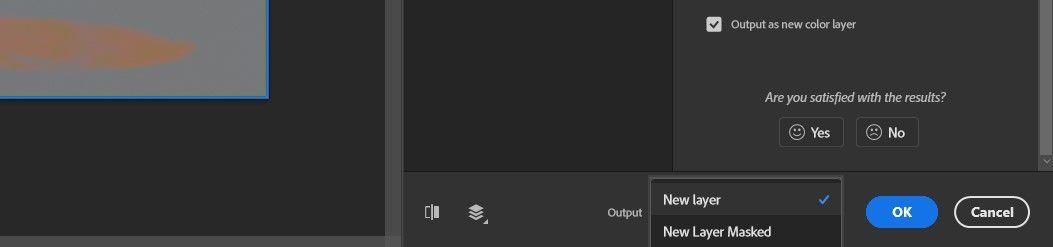
- scroll down Select Output as a brand new shade layer. This quickly distorts the picture.
- within the outputChoose new shift.
- Then press OK.
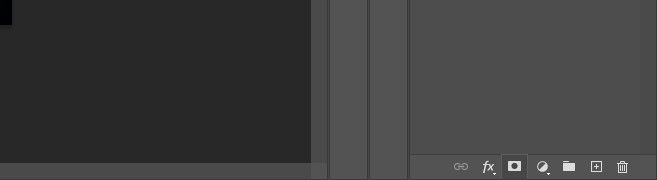
- Click on on that Add vector masks so as to add a layer masks to the brand new layer.
- Press B for the brush device. Set these foreground shade too Black by switching the D and X Key.
- Select a mushy spherical Brush.
- Paint all the authentic neon signal mild again into the picture, however do not paint over the girl’s face and clothes. We’ll cowl utilizing the comb device in the event you want a refresher.

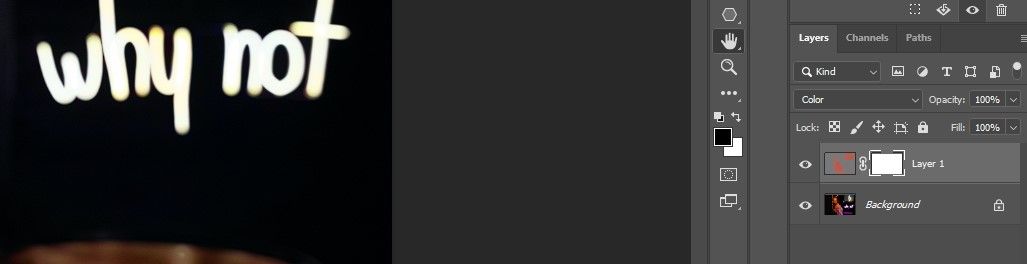

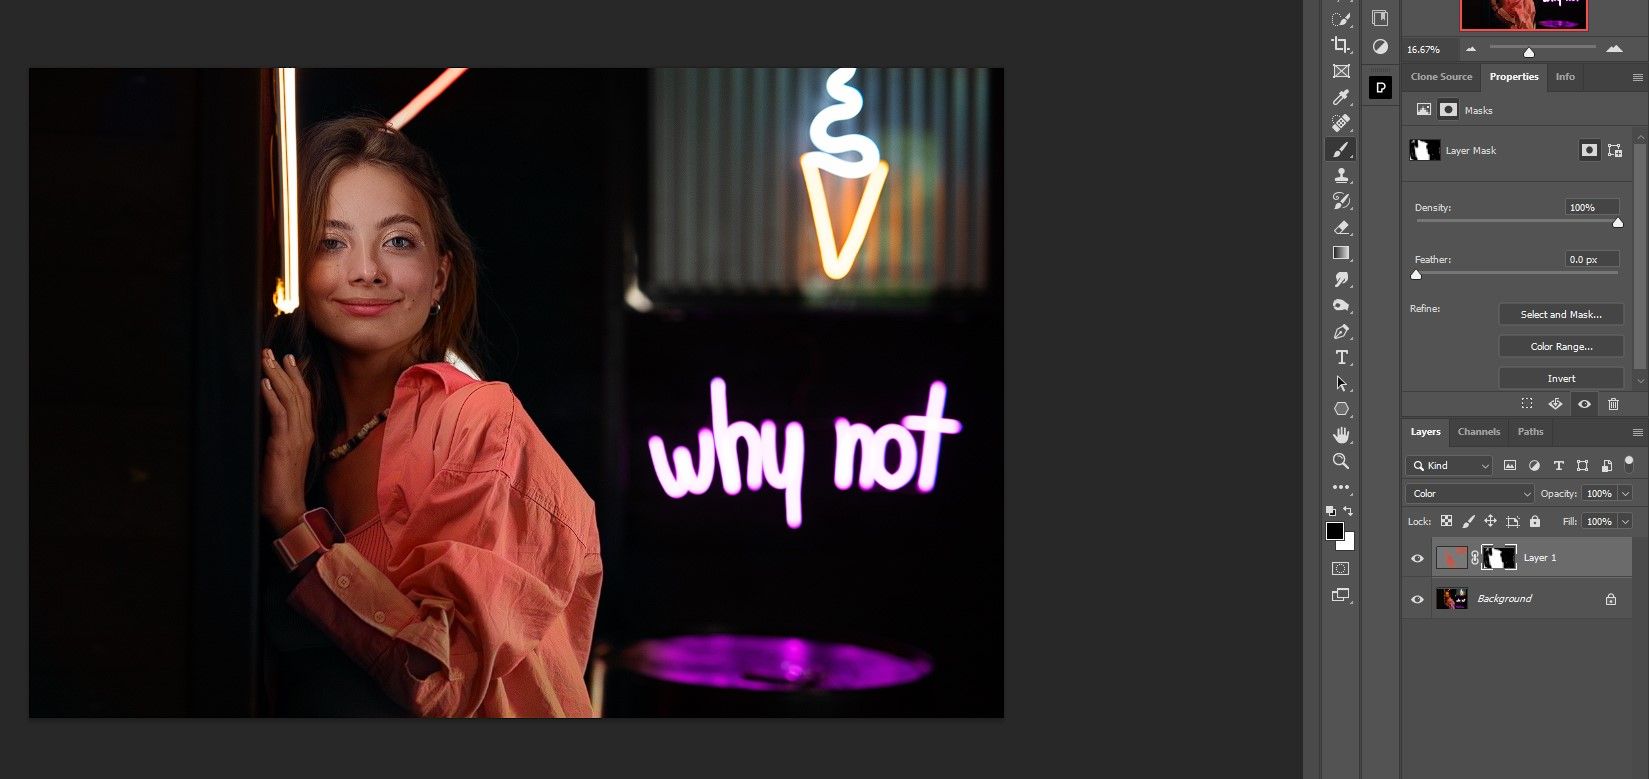
And that is it! The result’s a picture with no neon lights on the girl’s face or clothes.
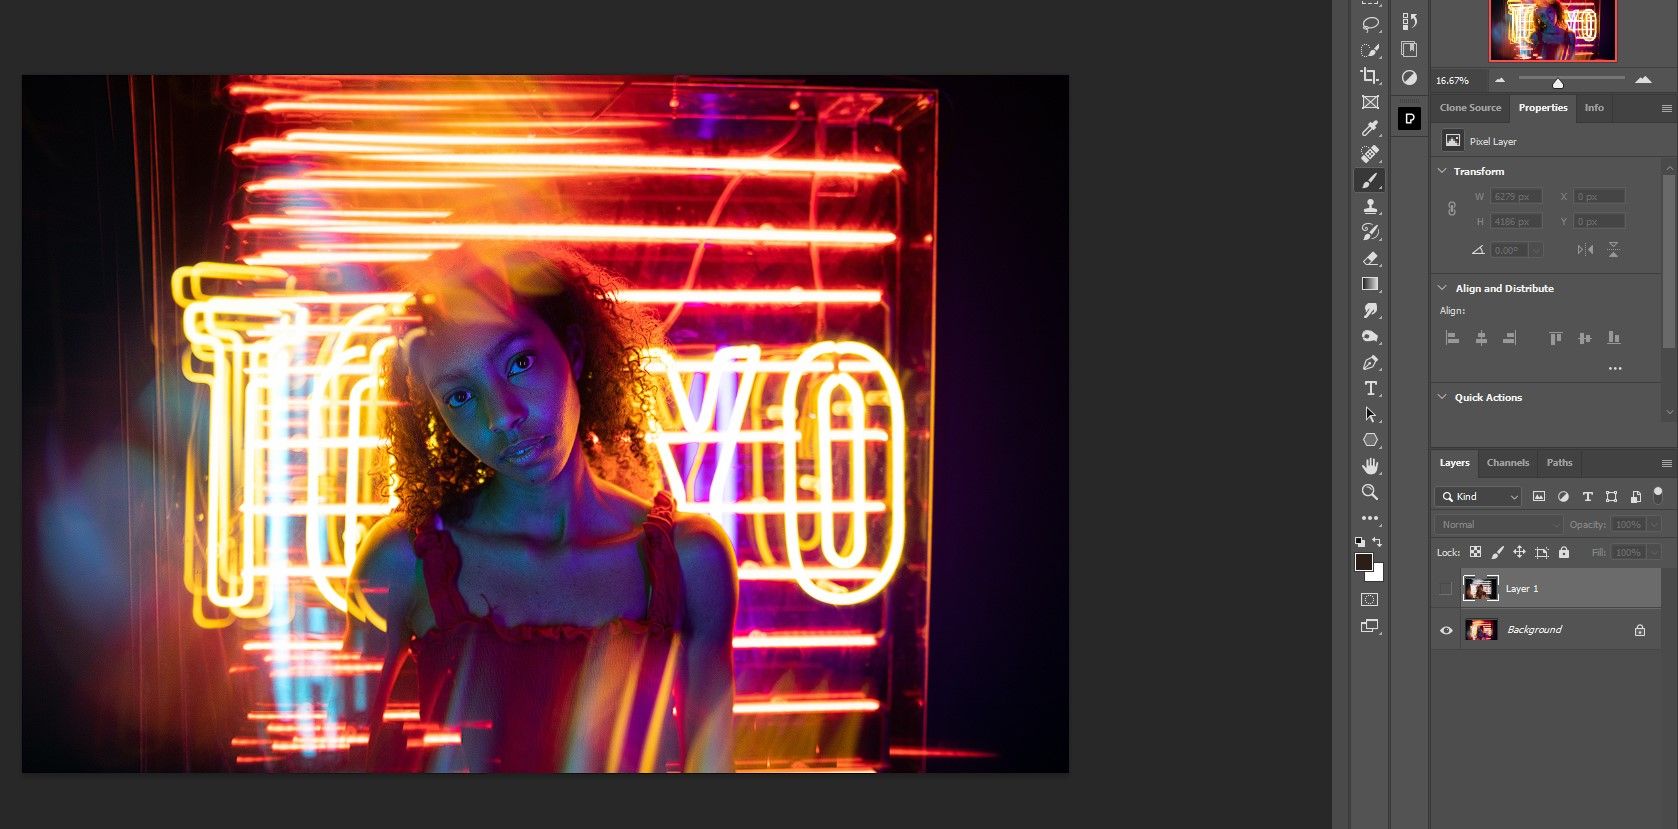
Be aware that for some photographs you might not even have to undergo the masking steps. This is an instance the place the outcomes nonetheless look nice with minimal effort. You’ll be able to obtain the unique picture at Pexels to attempt it.
Earlier than:
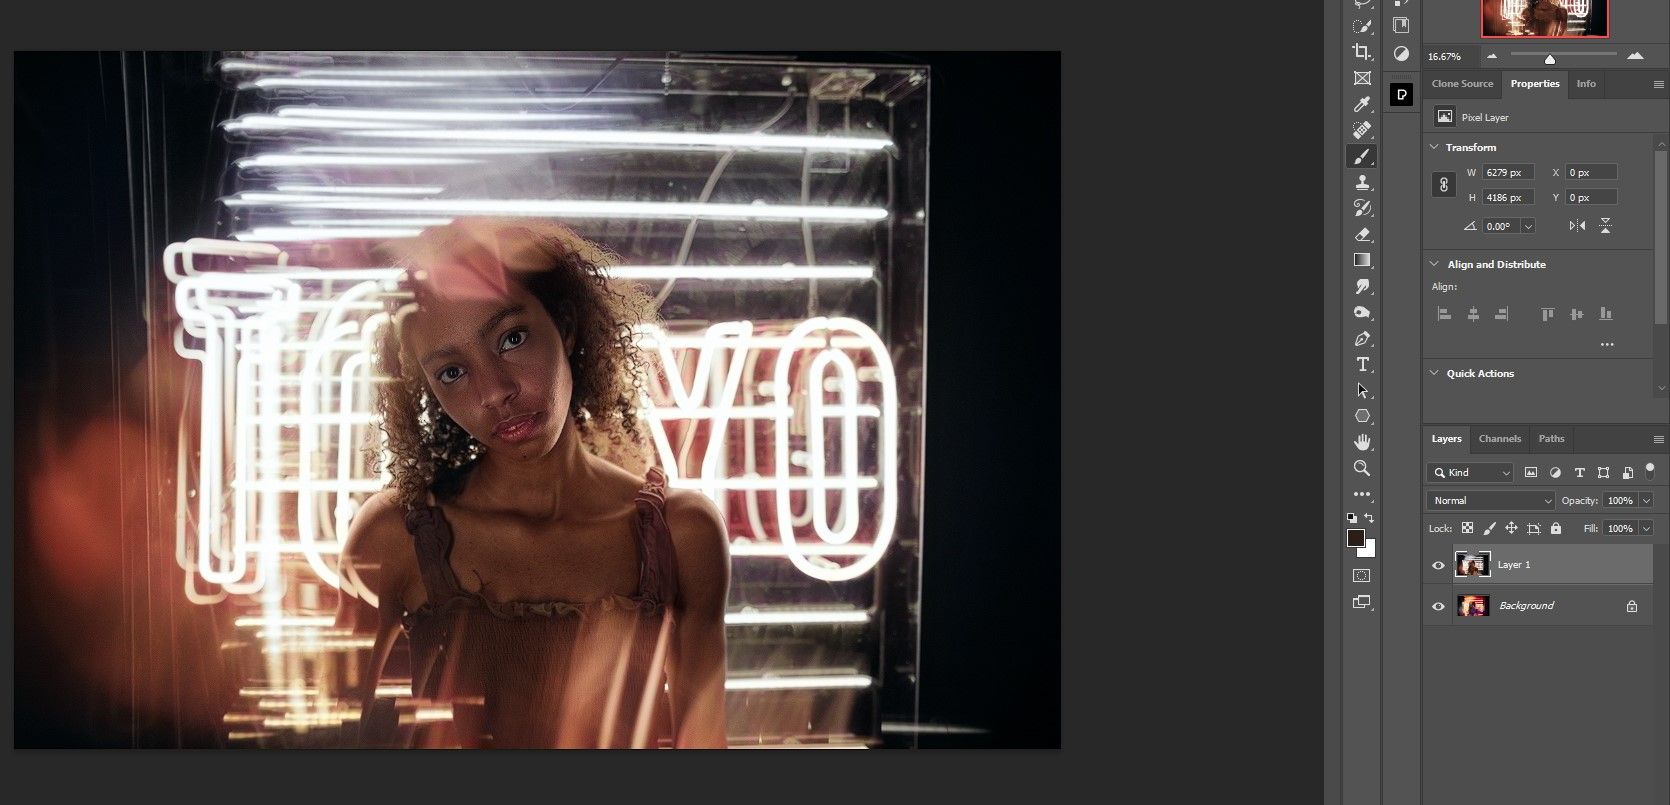
After (with out masking):
If you wish to take this portrait to the following stage, you need to use a retouching plugin like PortraitPro to reinforce the mannequin’s pores and skin.
Extra examples of eradicating undesirable shade casts
Undesirable shade casts are available many types. However the excellent news is that you’d observe the very same steps outlined earlier to take away undesirable shade casts.
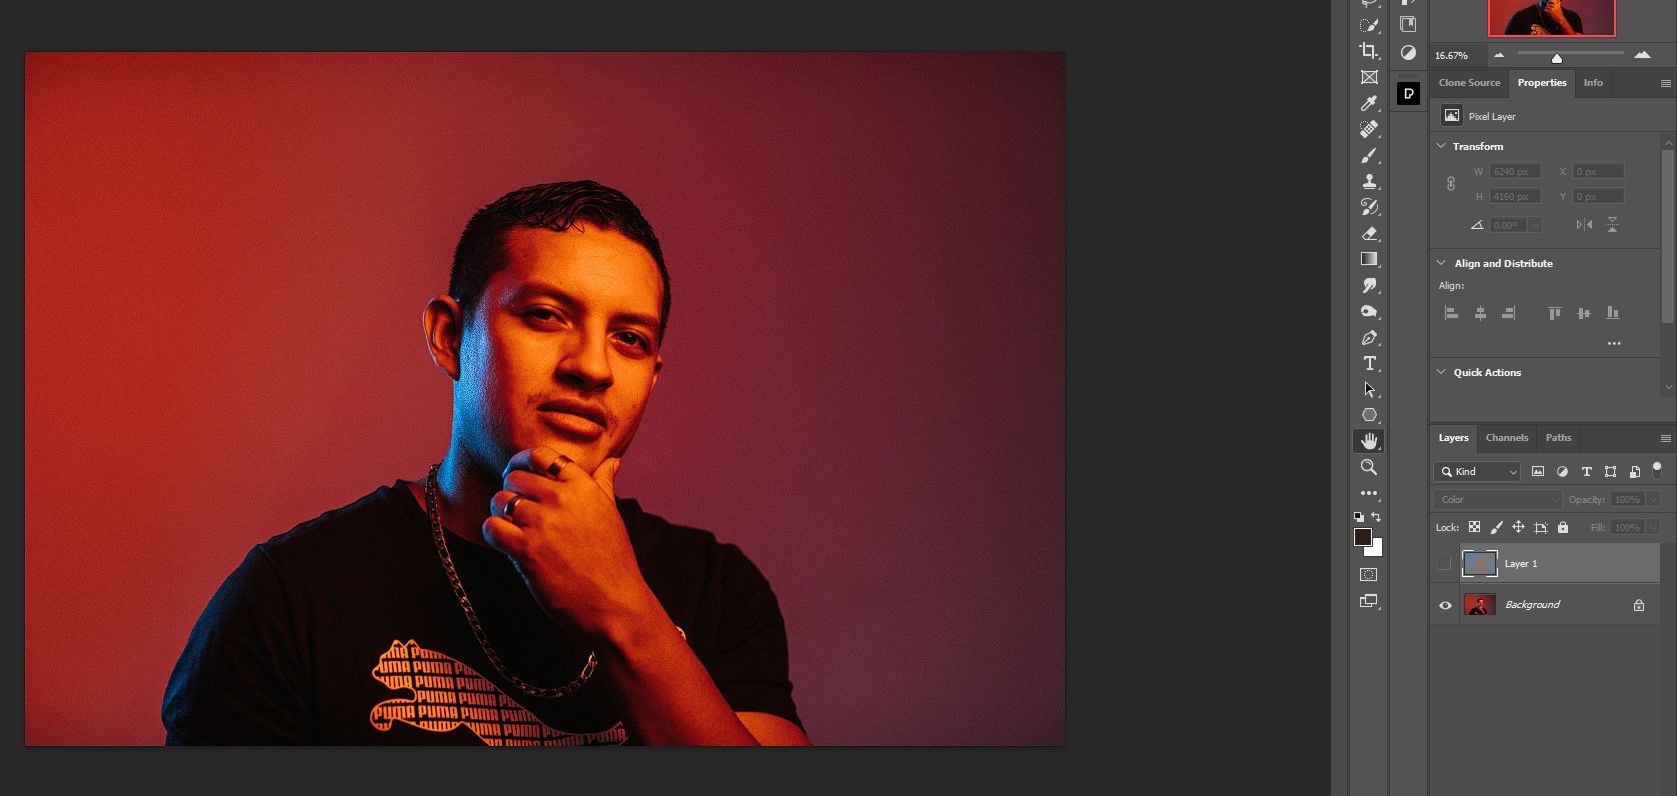
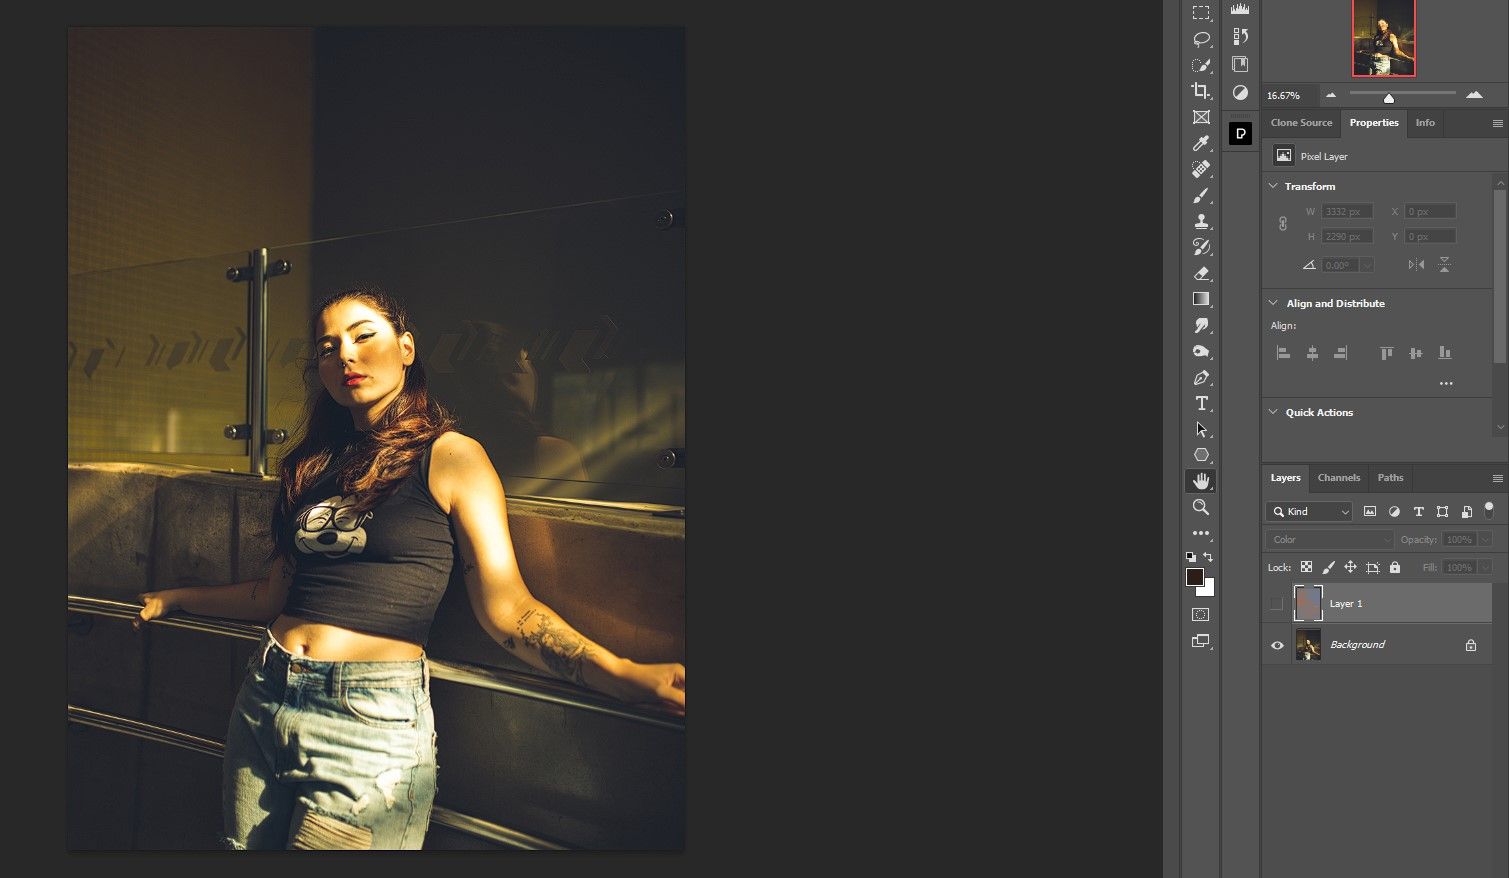
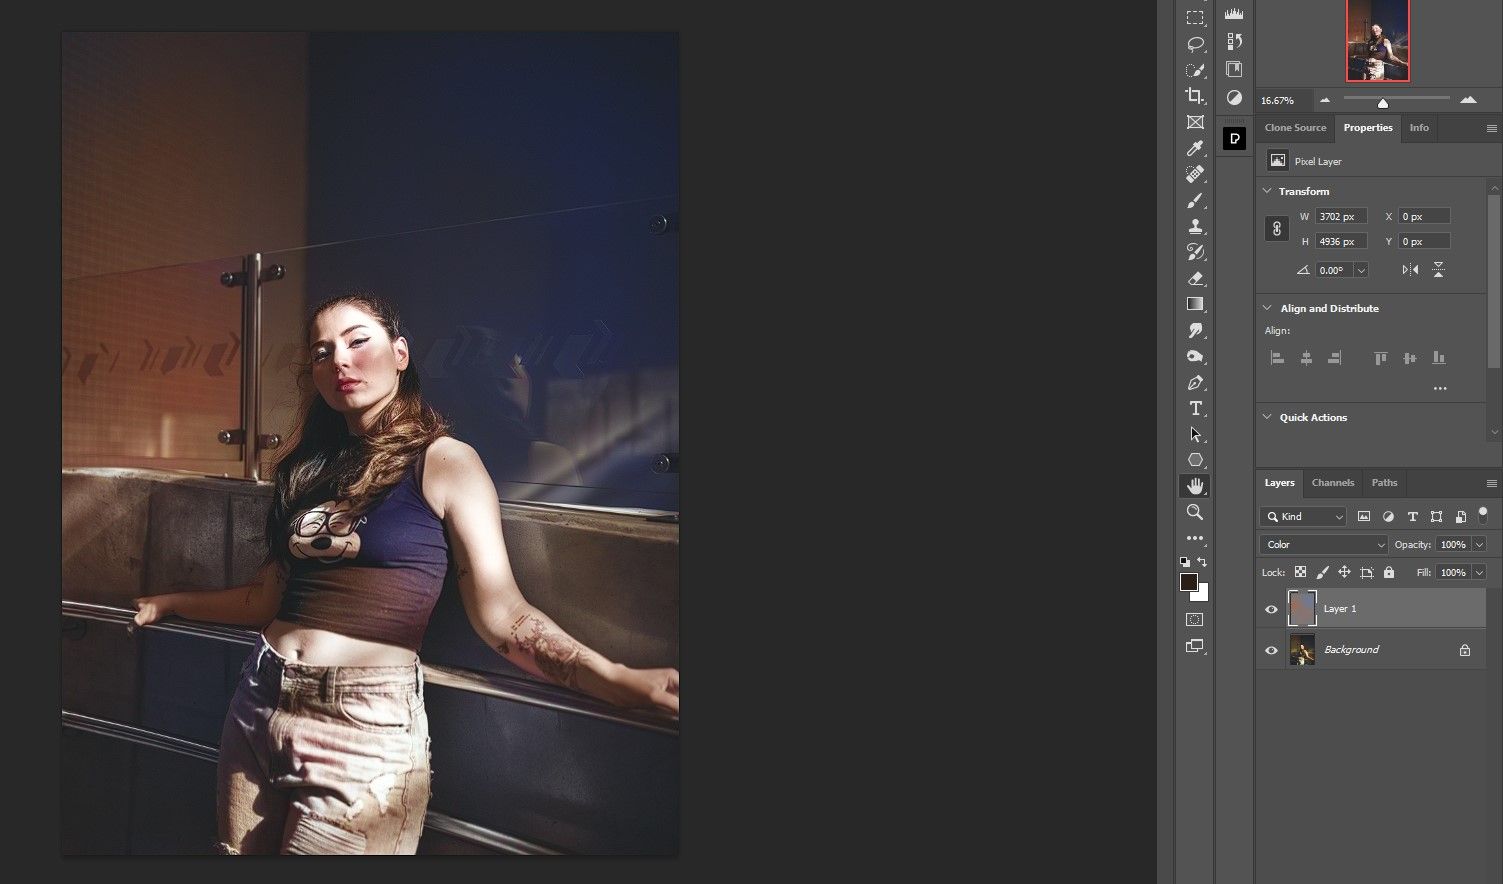
Let’s take a look at an instance of a purple shade forged masking your complete picture. You’ll be able to obtain this picture at Pexels.
Earlier than:
After (no masking):
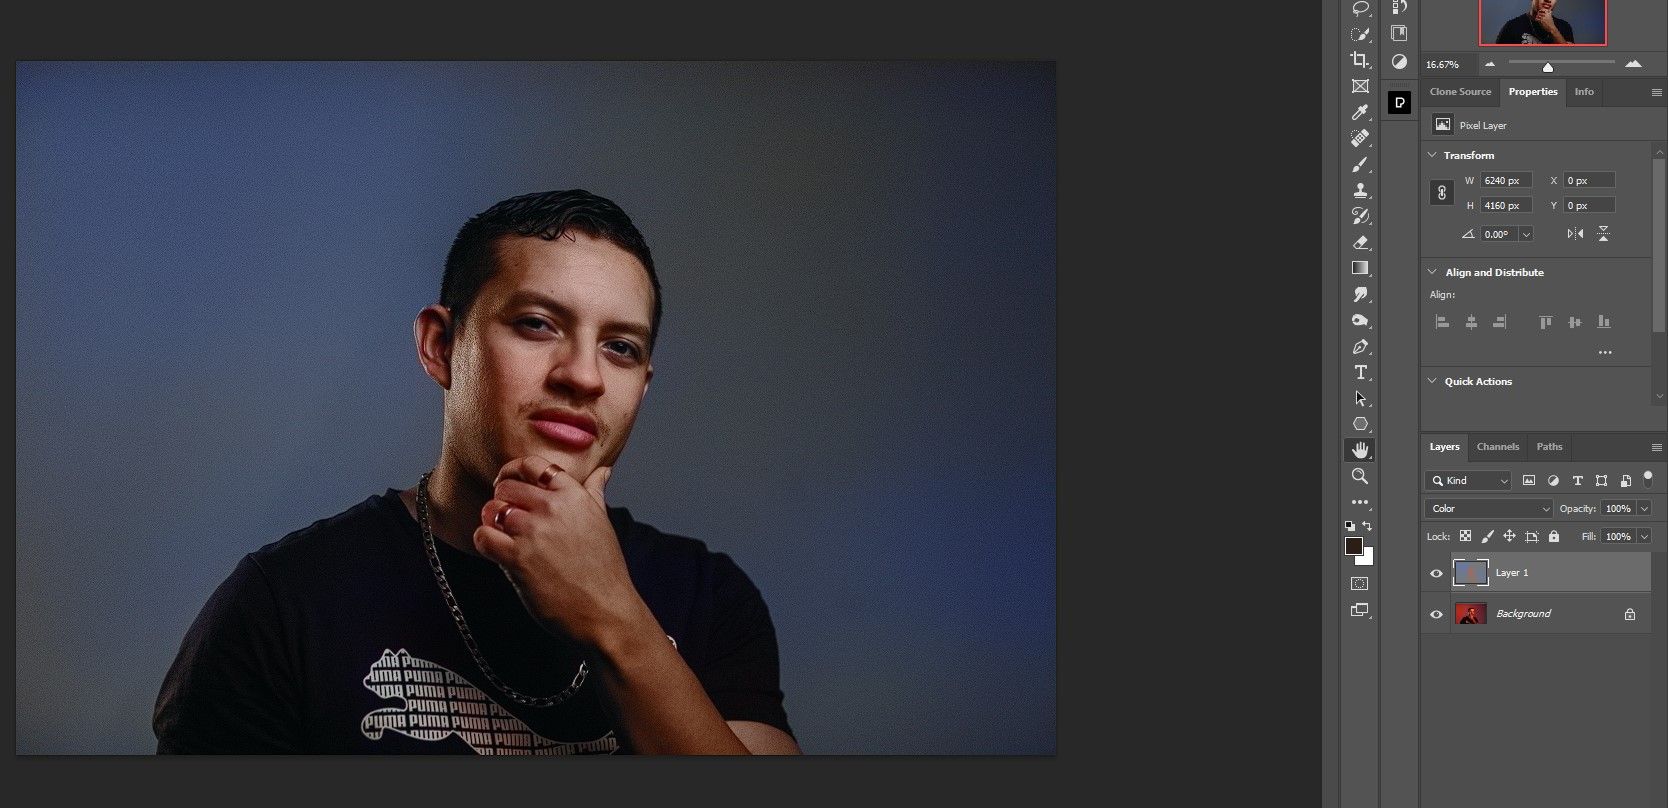
One other frequent undesirable shade forged state of affairs is vivid, evident daylight. This will also be simply eliminated with this method. Obtain the picture at Pexels to attempt it out.
Earlier than:
After (no masking):
Once more, it is tremendous straightforward to take away undesirable shade casts out of your topics with a easy neural filter in Photoshop.
If you wish to give your portrait an aged take care of eradicating the undesirable shade forged, we’ll present you learn how to create a classic look in Photoshop.
Photoshop makes it straightforward to take away undesirable shade casts
Photoshop is approaching one-touch enhancing for a lot of picture enhancing wants. And eradicating an undesirable shade forged simply received fast and straightforward due to Photoshop’s AI know-how. We hope you realized the method and apply it to all of your images which will want it.
