Find out how to Maintain Your Topic’s Present Shadow When Changing the Background in Photoshop

In the event you change the background of a picture, you will lose your topic’s shadow and you will most likely must create a brand new one. No want; There’s a method to get that shadow element. We’ll present you how you can use the prevailing shadow of a topic on a brand new background in Photoshop to create a sensible composition. Let’s begin.
Why it’s best to use your topic’s present shadow
It is pretty widespread to interchange backgrounds in portraits. Typically, a background can have too many distractions or simply not look fairly. However there’s a sacrifice; the shadow. You lose the unique and must create a brand new one that will not look as reasonable.
To take care of a sensible look, it is extraordinarily helpful to make use of the prevailing shadow element solid by your topic within the composite. In our instance, we’ll change the exaggerated yellow background with a daily brick wall. We preserve the shadow particulars to create a really reasonable trying composite.
If you wish to observe our tutorial, you may obtain Pexels predominant portrait picture and obtain Pexels wall alternative background.
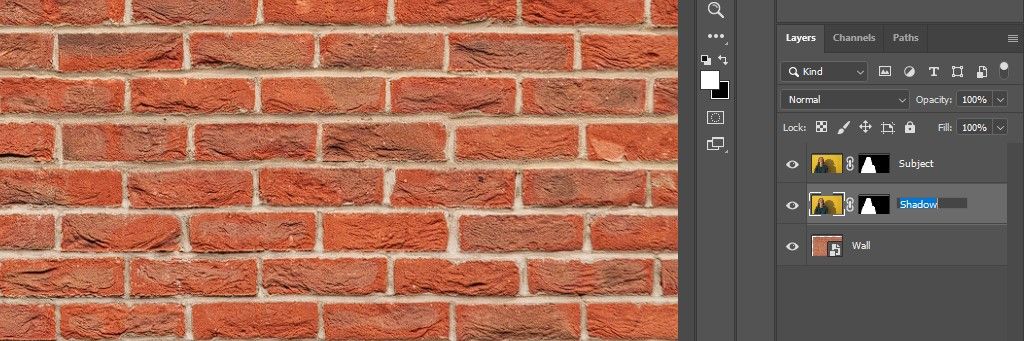
Step 1: Add the brand new background
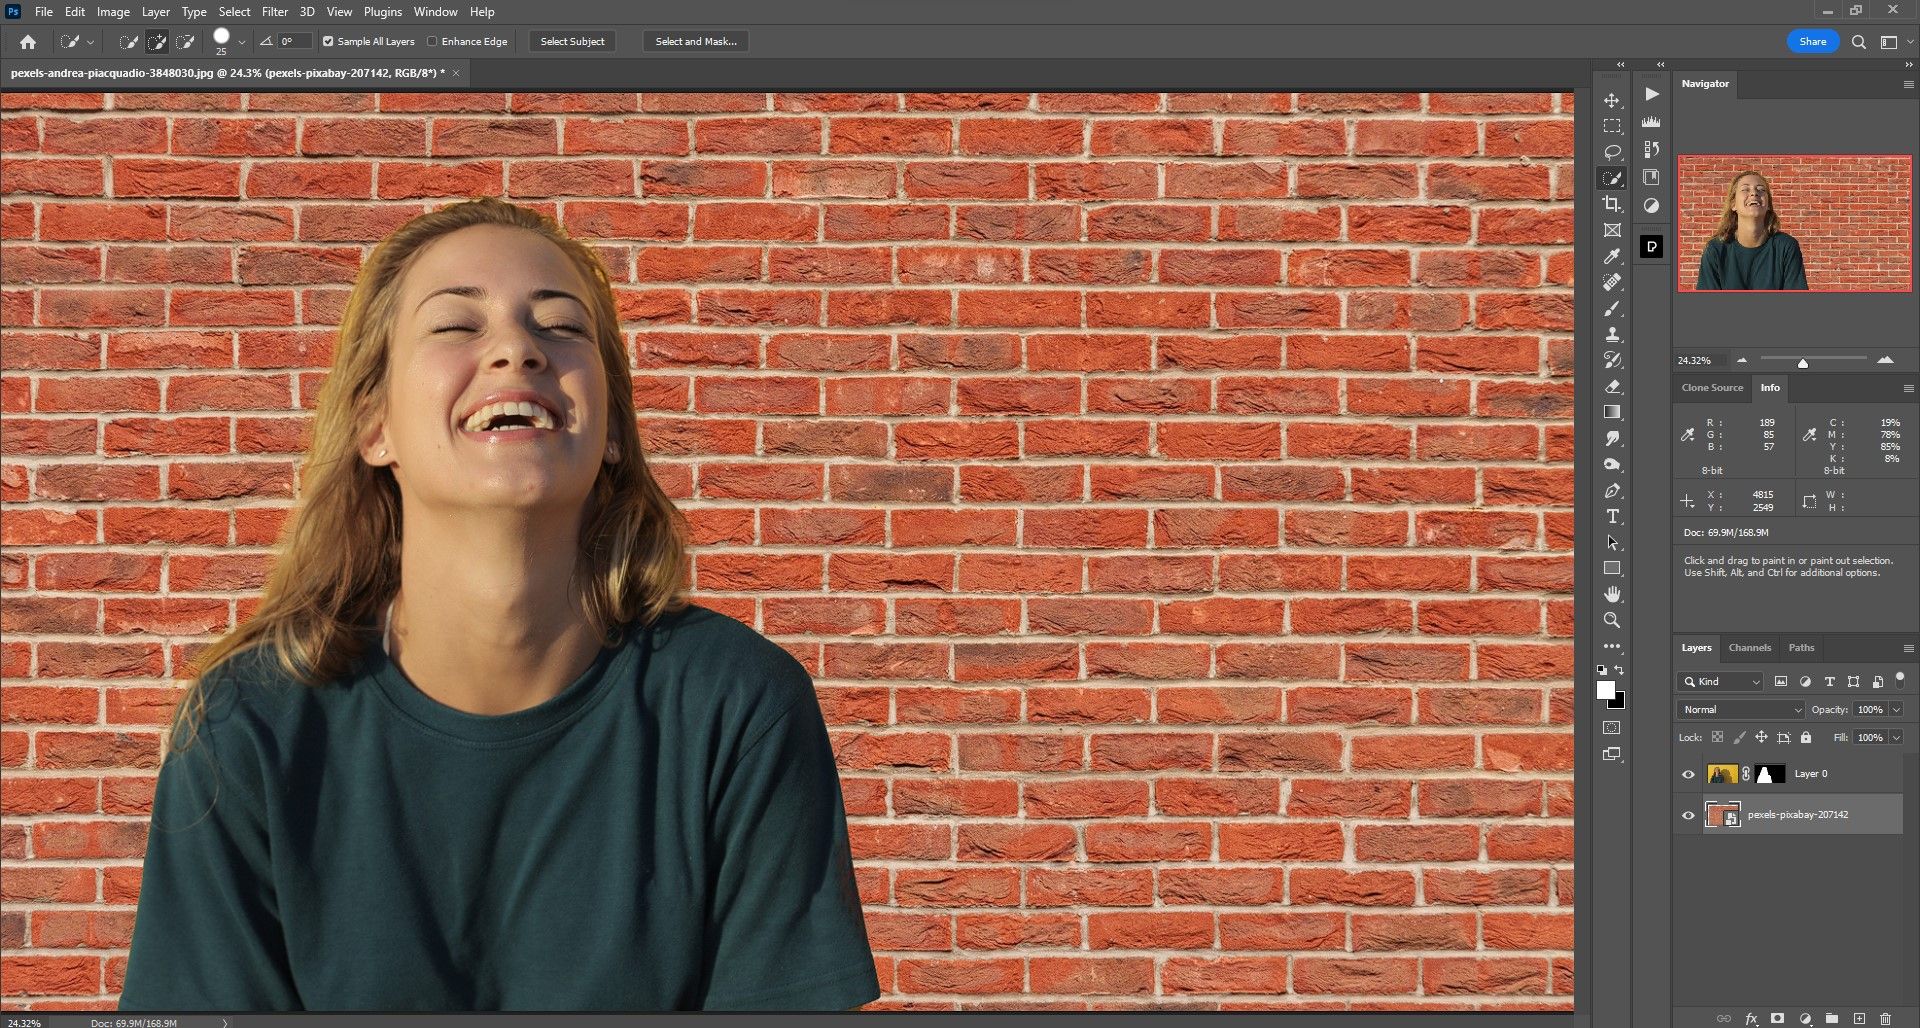
In our first step, we’ll change the background with the brick wall utilizing the choose topic instrument in photoshop. We’re renaming the layers and organizing them to accommodate future modifications if wanted.
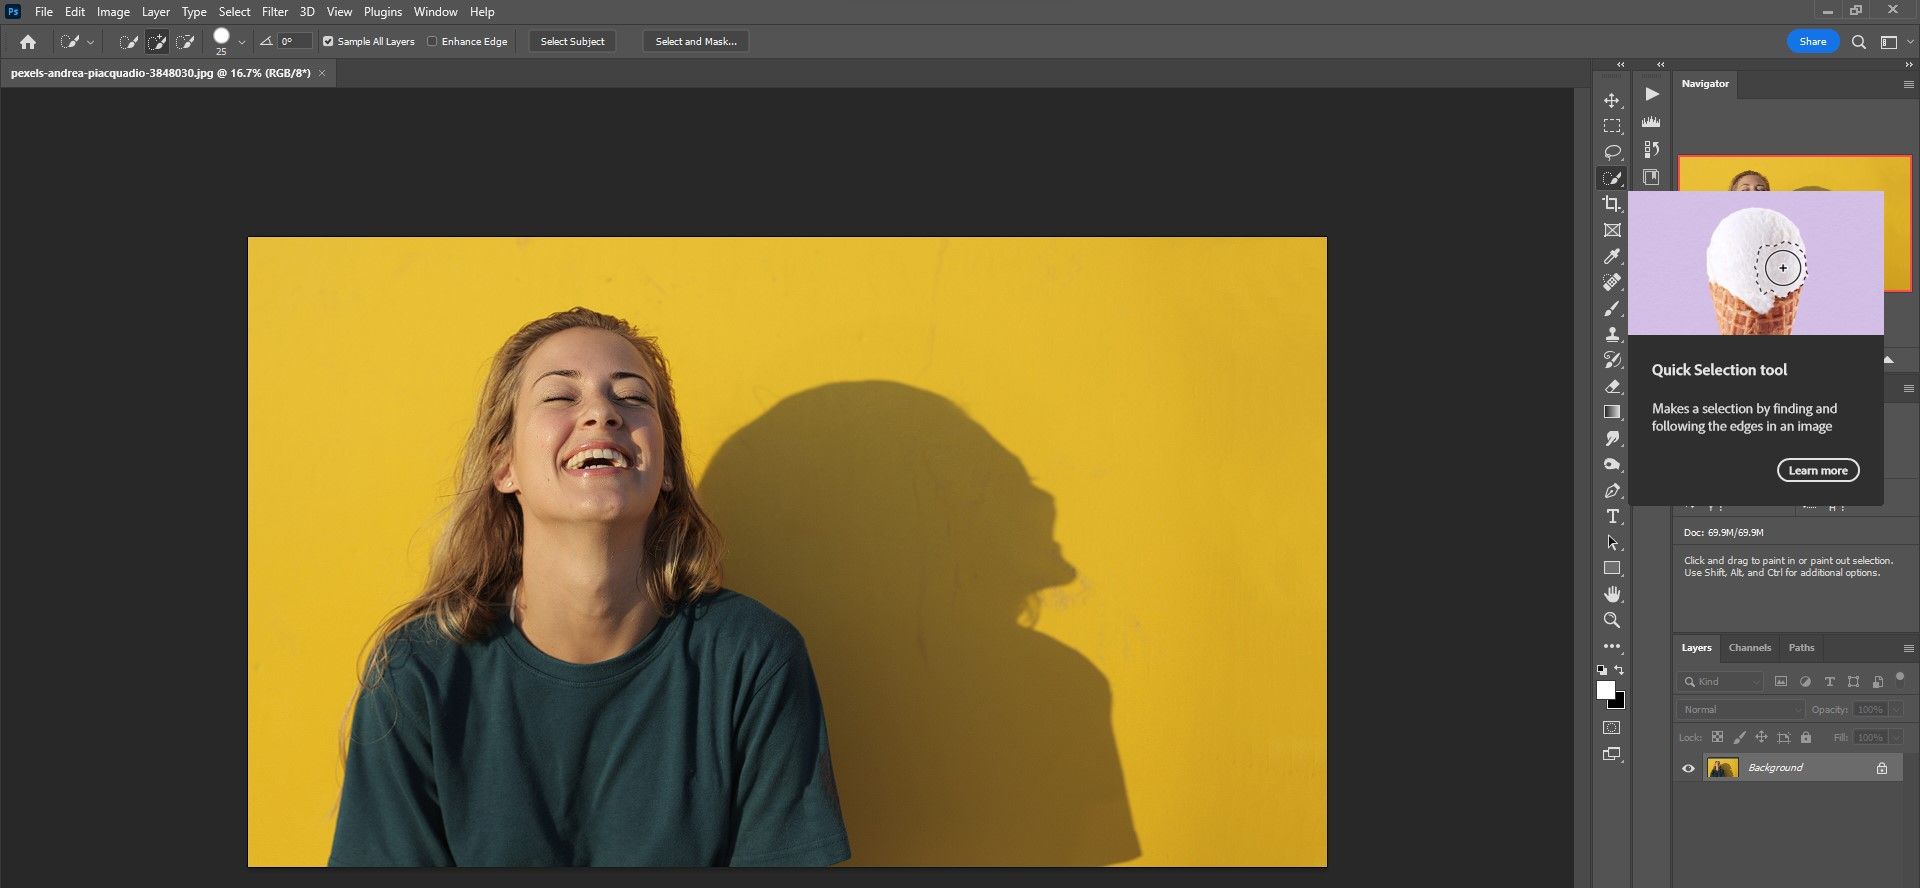
- When your portrait is loaded in Photoshop, click on the Fast Choice Instrument.
- Select choose topic above.
- Click on on that masks icon within the decrease proper nook. In case your theme is not what you need, chances are you’ll want to pick that Choose and masks Chance to additional refine your choice. We’ll cowl how you can choose a topic in Photoshop.
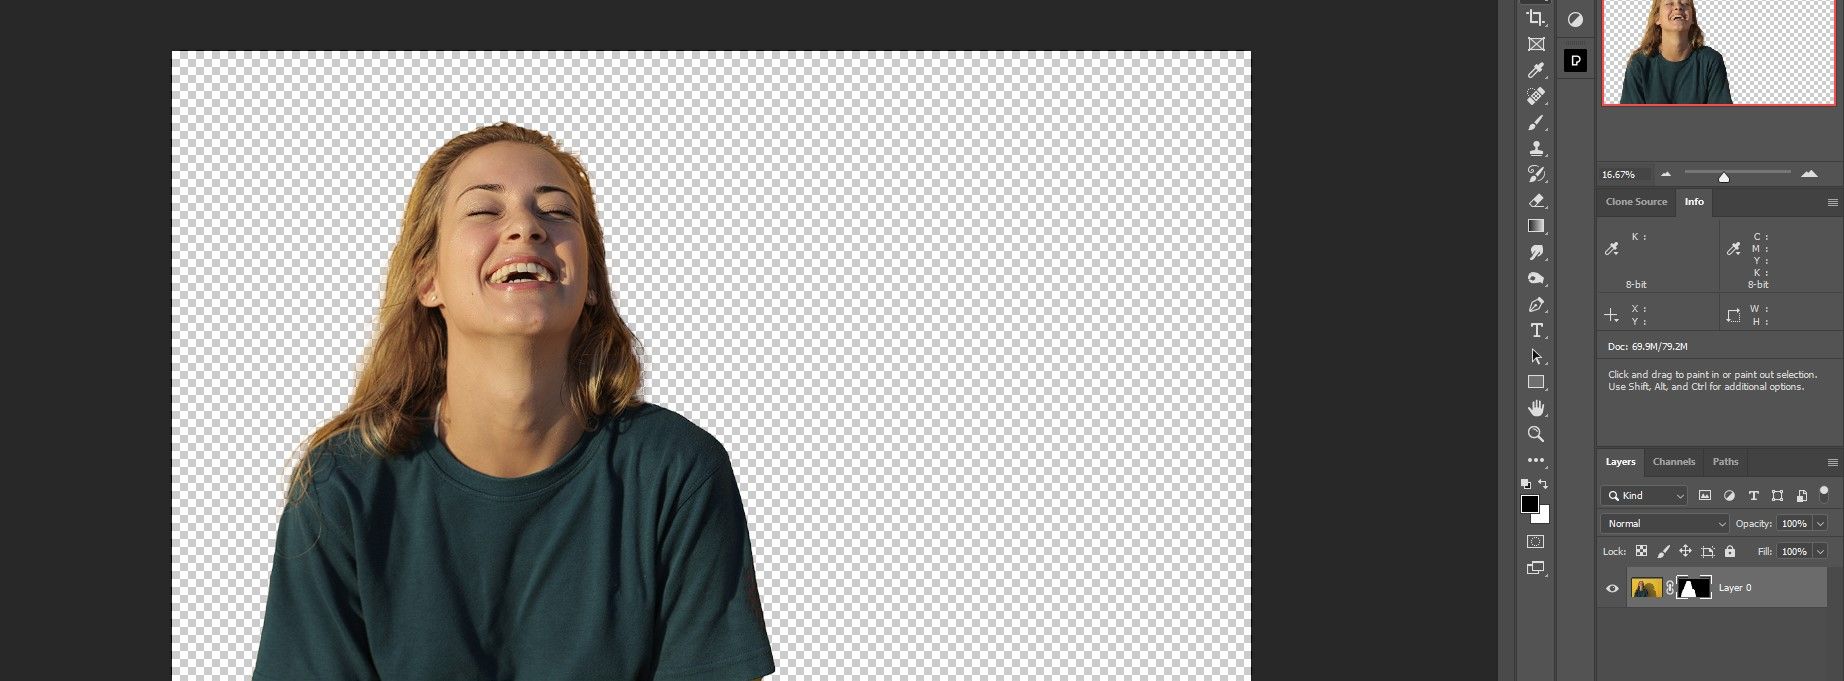
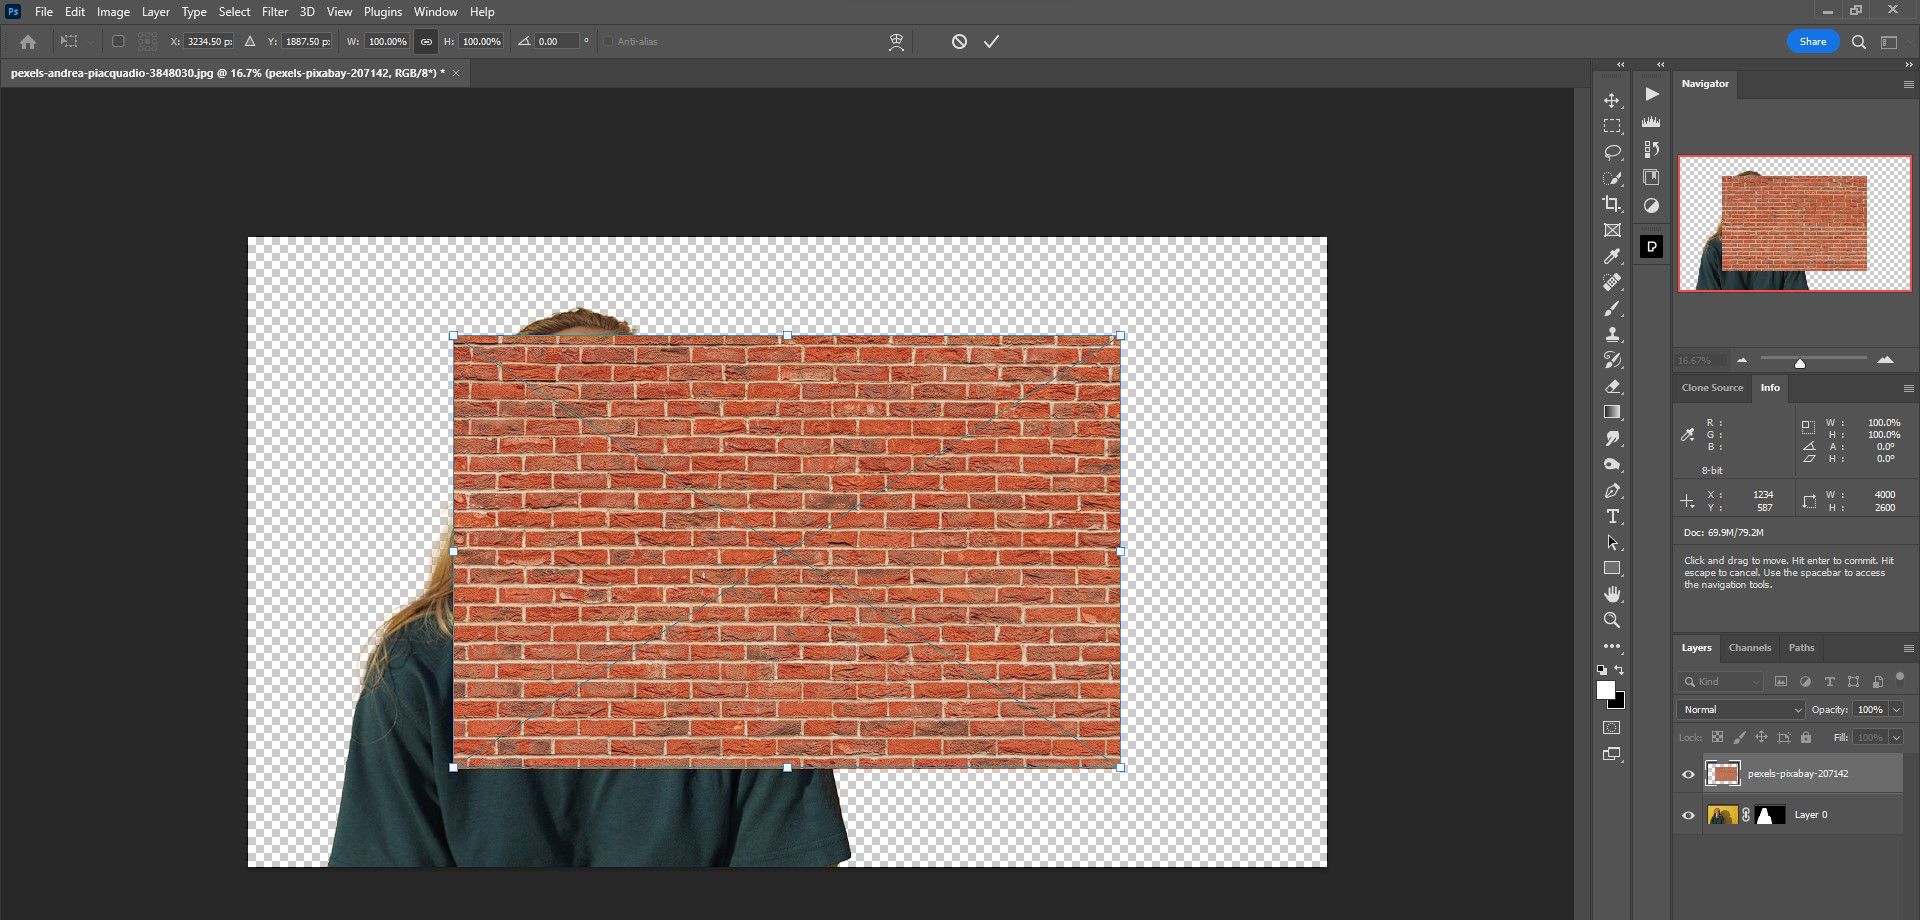
- Drag and drop the brand new background wall into Photoshop.
- Utilizing the 4 handles, drag the wall in order that it fully covers the unique picture. Then press the checkmark or the Enter Key.
- Press ctrl + 0 to suit the picture to the display.
- Transfer the wall layer in order that it’s under your motif layer as proven.
- Double click on on the highest stage and identify it “Topic”.
- Double click on on the underside layer and identify it “Wall”.

In the event you’re working with a panorama picture, we’ll present you how you can change the sky in Photoshop.
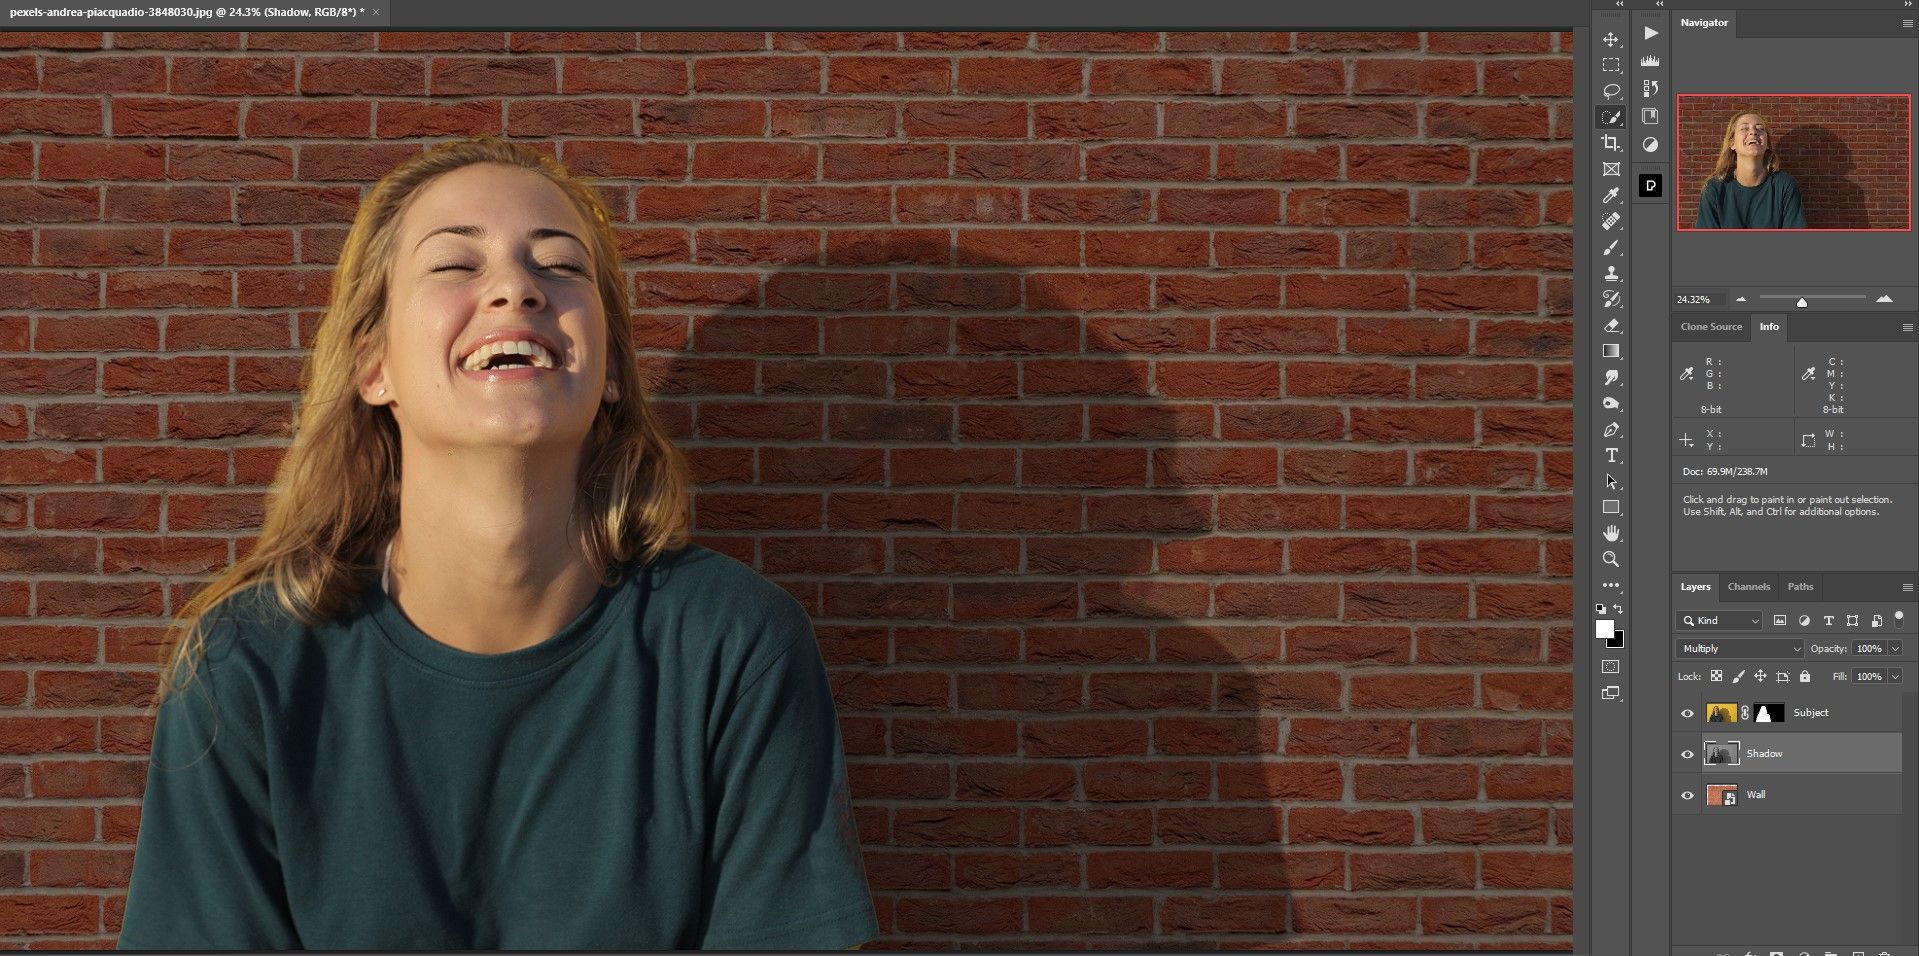
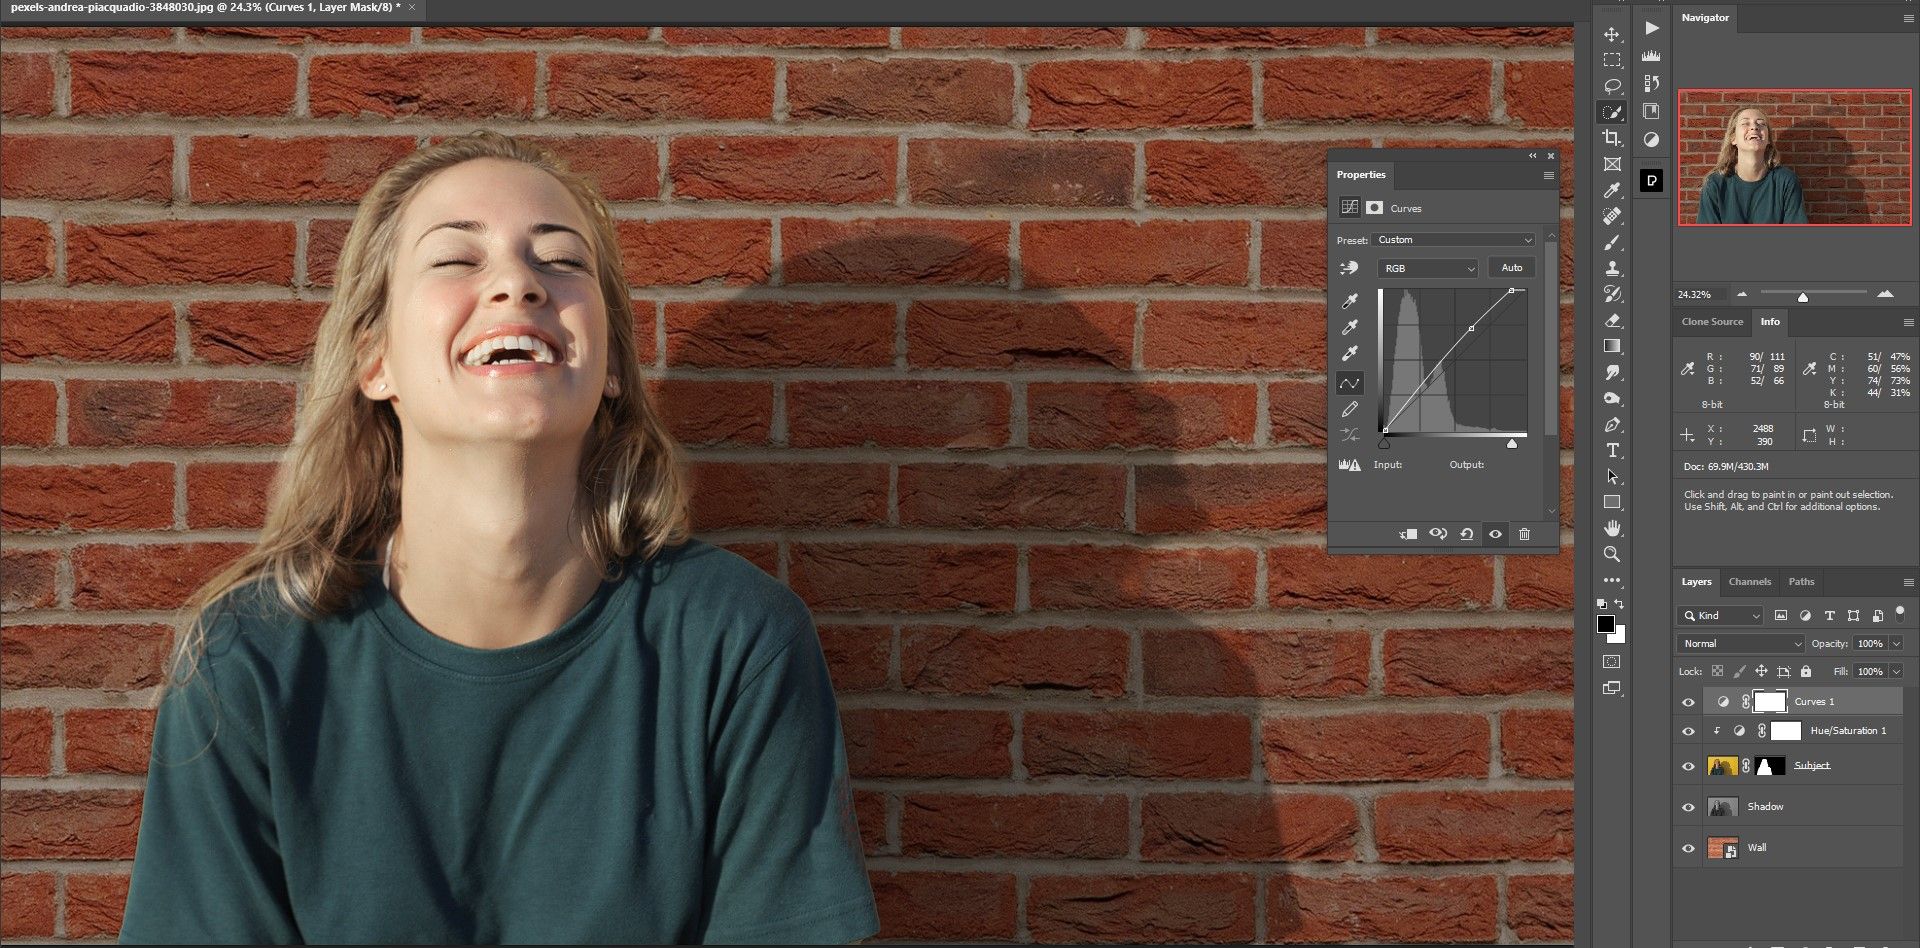
Step 2: Recreate the unique shadow
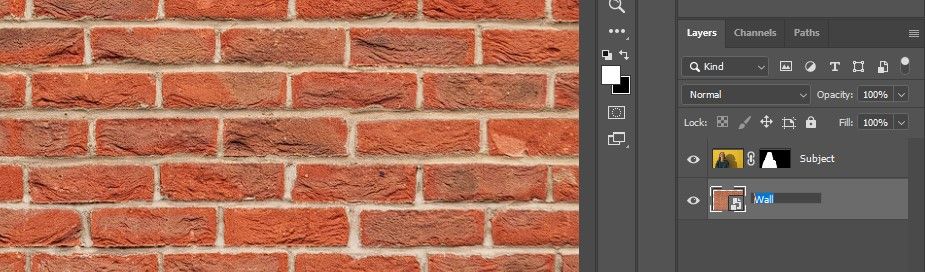
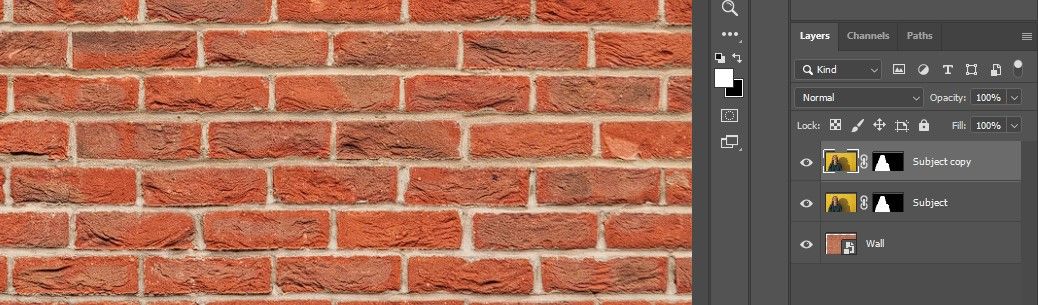
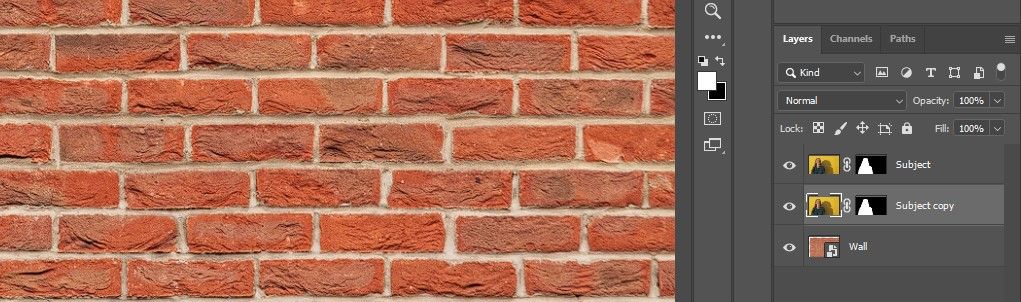
Within the second step, we use to reintroduce the topic’s unique shadow particulars Multiply mix mode. We’ll begin by duplicating the topic layer. We’ll additionally desaturate the shadow layer to take away the colour solid.
- Choose the topic stage. Press ctrl + J to make a duplicate of it.
- Drag the “Topic Copy” layer underneath the “Topic” layer as proven.
- Double-click the topic copy identify and alter it to Shadow.
- Drag the shadow layer’s masks onto the Rubbish can Icon to clear the masks.
- Select Extinguish from the pop-up dialog field.
- With the shadow layer chosen, change the Mixing Mode to Multiply.
- Press change + ctrl + u to desaturate the shadow layer.


We present you how you can add shadows in Photoshop when there aren’t any present shadows to work with.
Step 3: Repair hair and face
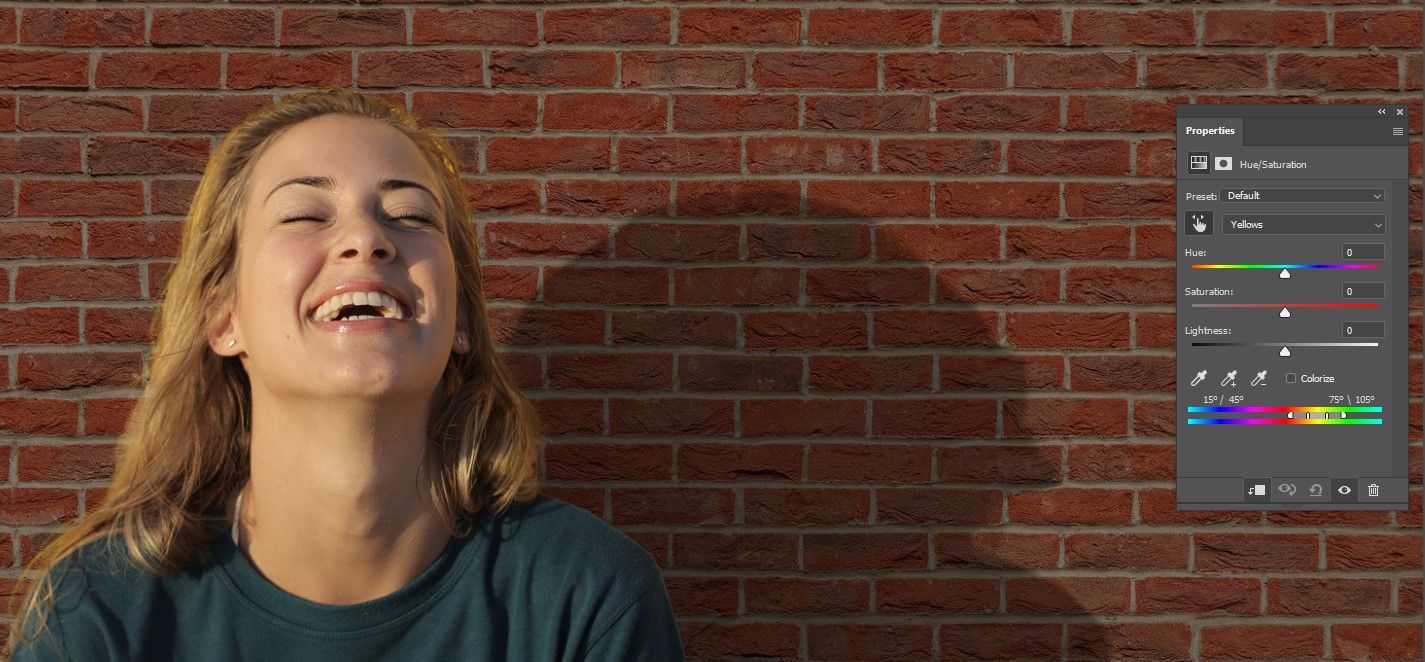
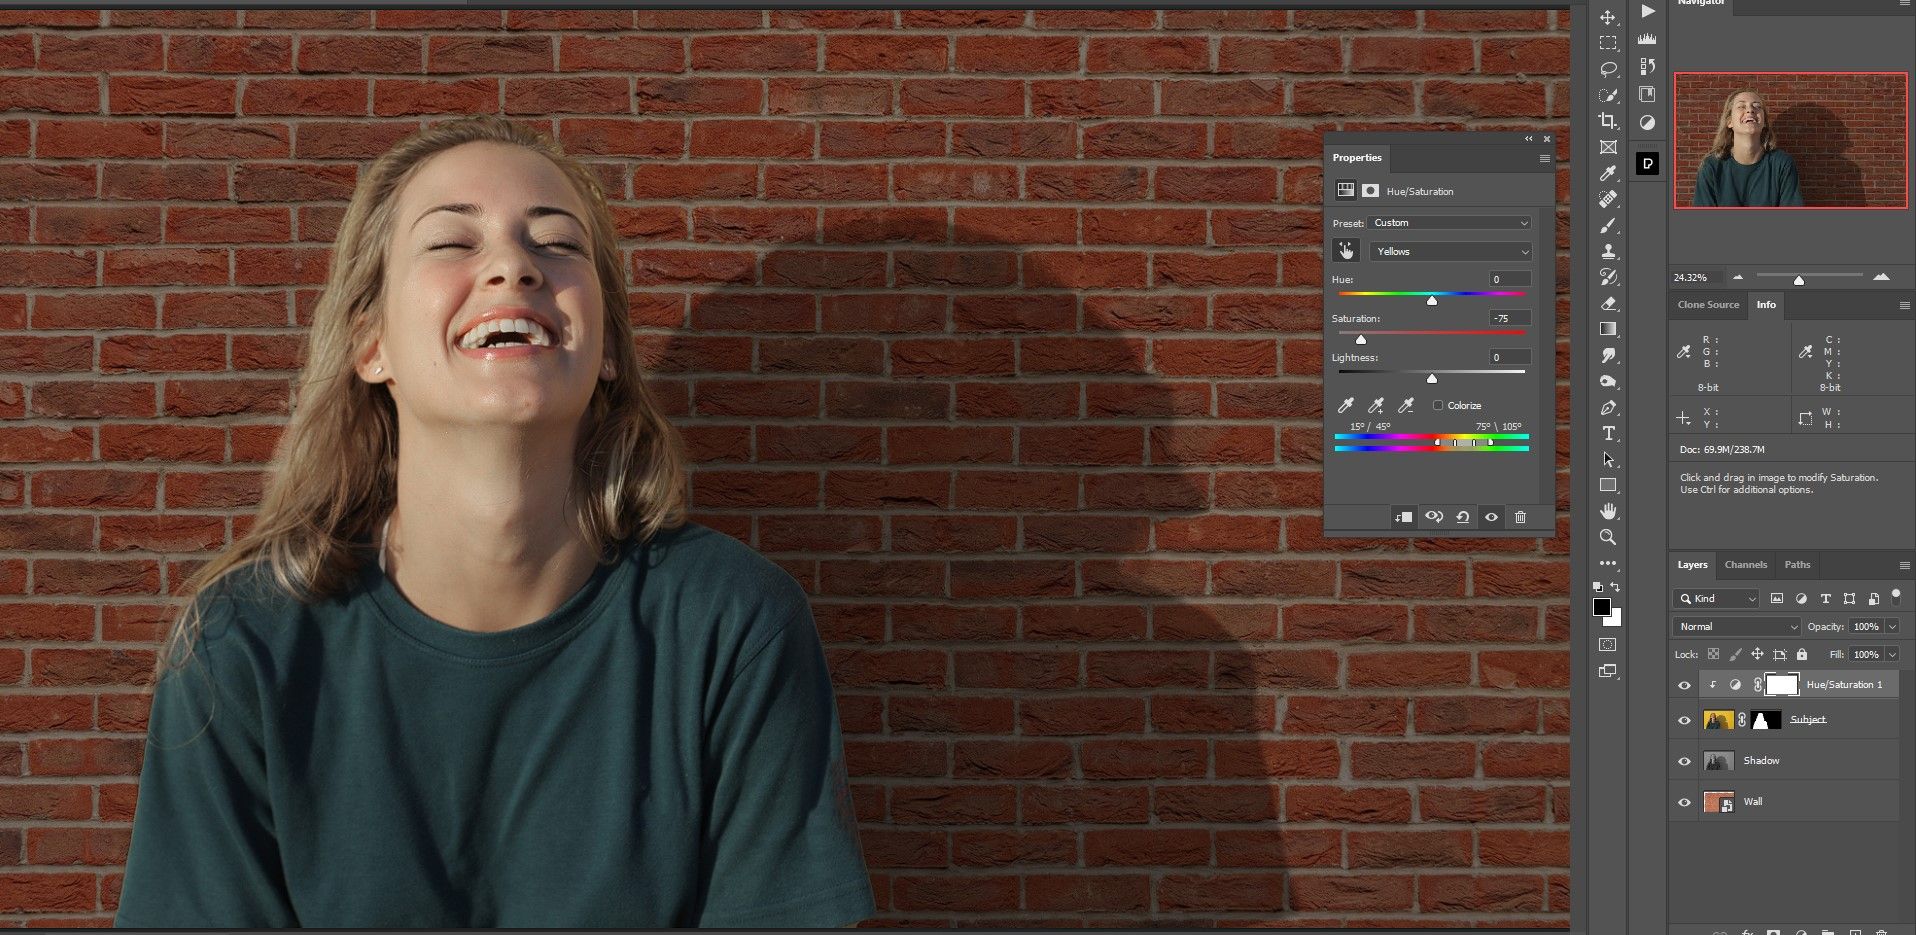
You will discover that our topic’s face and hair have retained a slight yellow solid from the unique background. We take away this shade to make it look extra pure.
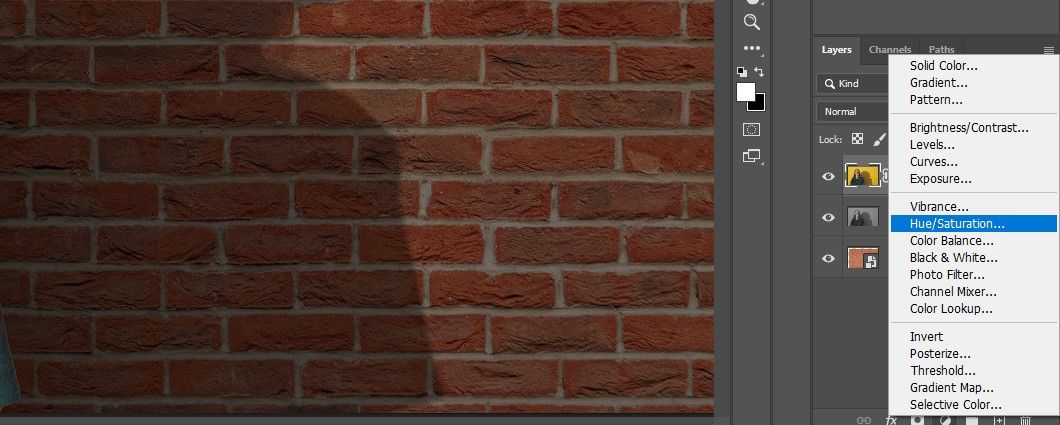
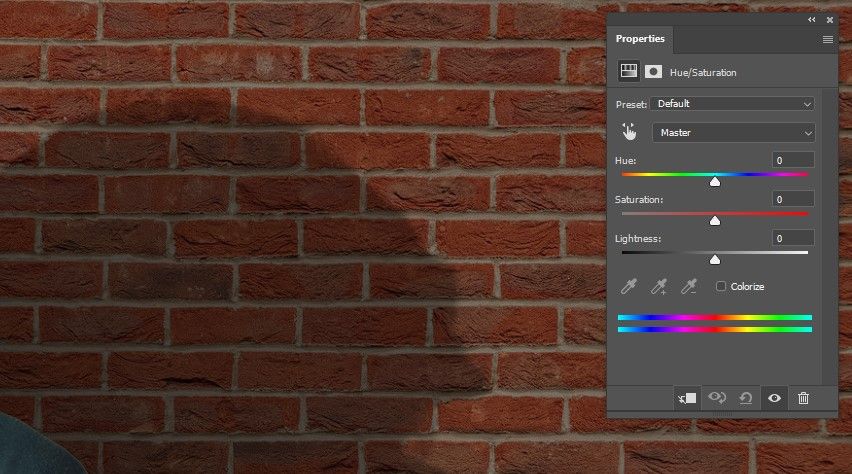
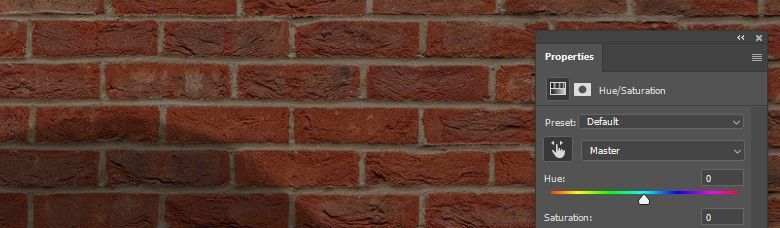
- With the topic stage chosen, create a Hue/Saturation adjustment layer.
- Click on on the primary icon within the Traits subject (the sq. with the down arrow) to create a clipping masks.
- Click on on that shade picker subsequent to Grasp within the properties panel.
- Click on on the lady’s hair the place it’s yellow. You need to see that Yellow now within the properties panel.
- transfer the saturation slider to the worth of -75.
In the event you’re in search of an important Photoshop plugin in your portraits, we’ll present you how you can use PortraitPro for skilled outcomes.
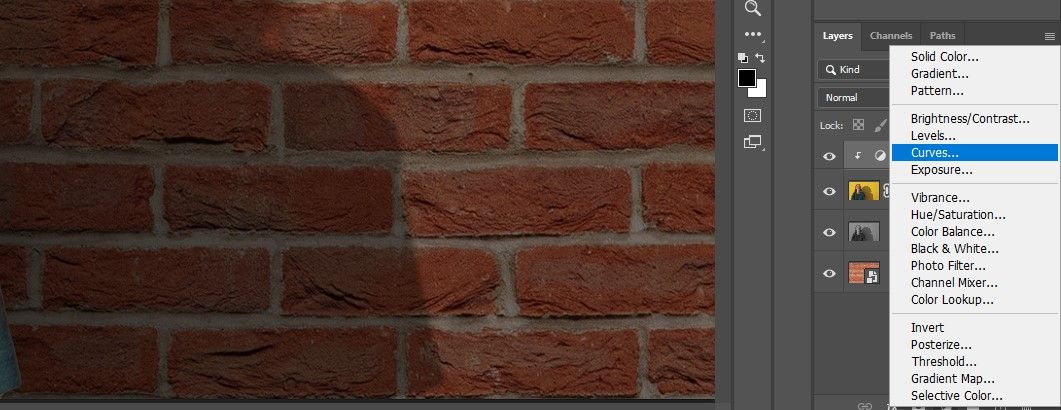
Step 4: Ultimate Changes
Within the final step we enlarge the wall in order that the shadow seems to be extra reasonable. We can even add extra adjustment layers to mix the composite layers collectively.
- Choose the wall layer. Press ctrl + T for the rework Instrument. Use the handles to enlarge the wall. You may additionally must press ctrl + 0 to resize the display whenever you enlarge the wall.
- With Hue/Saturation Airplane chosen, create one curves adjustment layer above.
- Click on on car to routinely modify the publicity values.
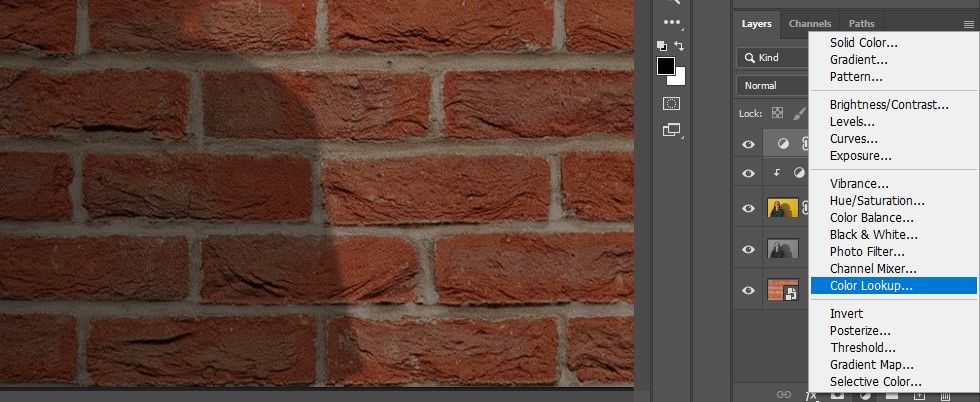
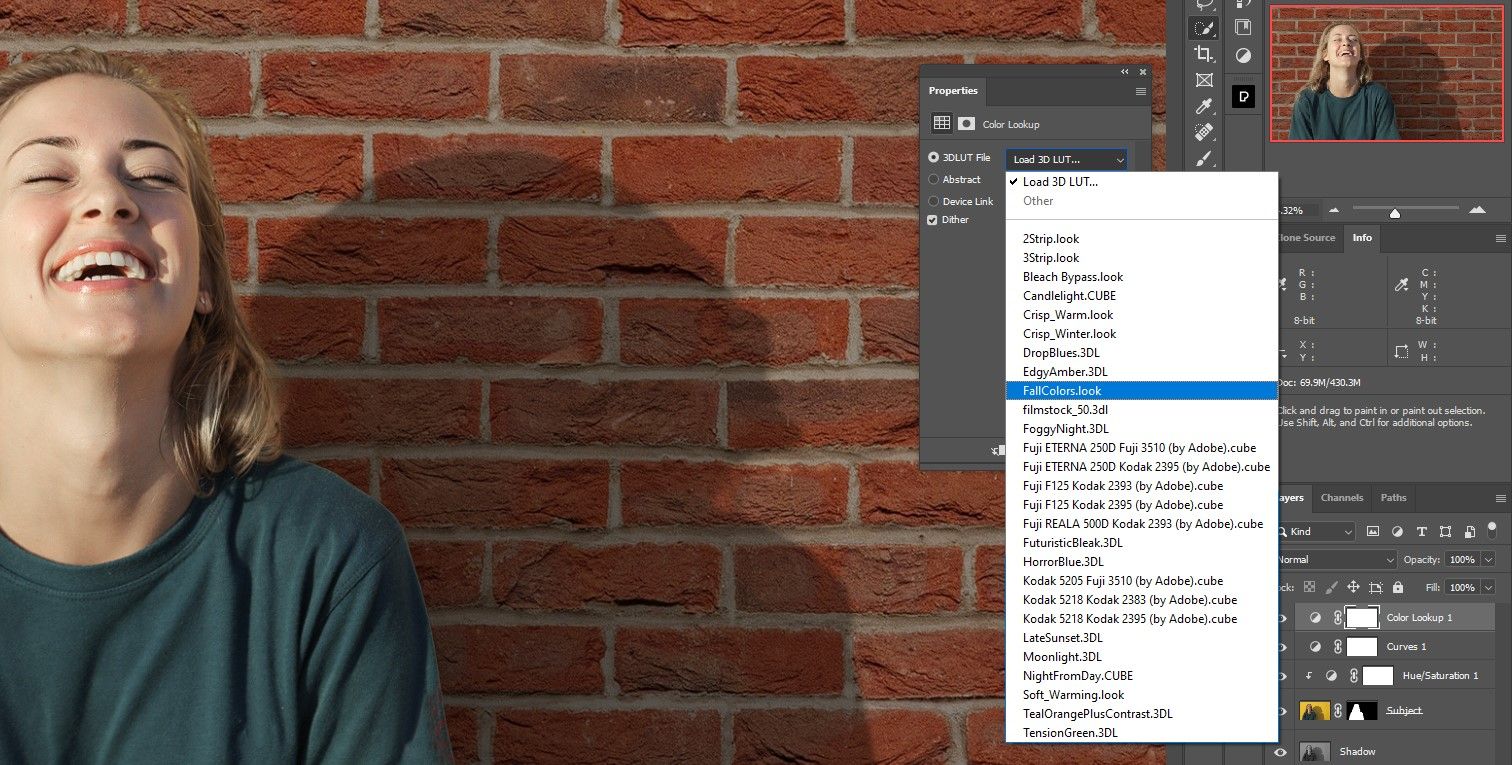
- A… create shade search adjustment layer.
- Select fall colours from the drop down menu.
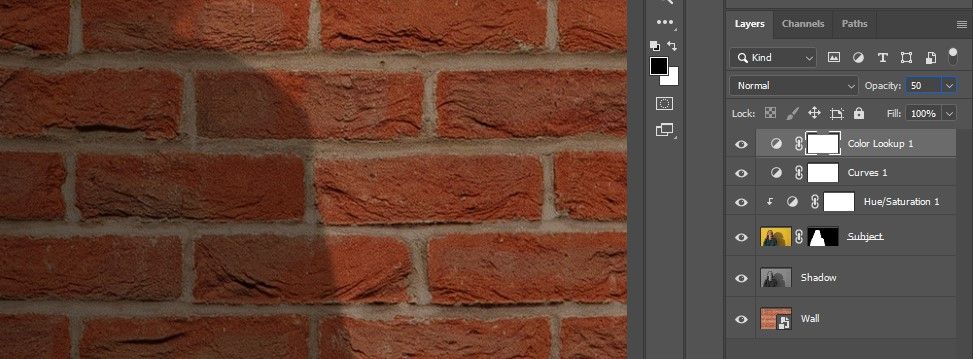
- change that opacity to 50%.
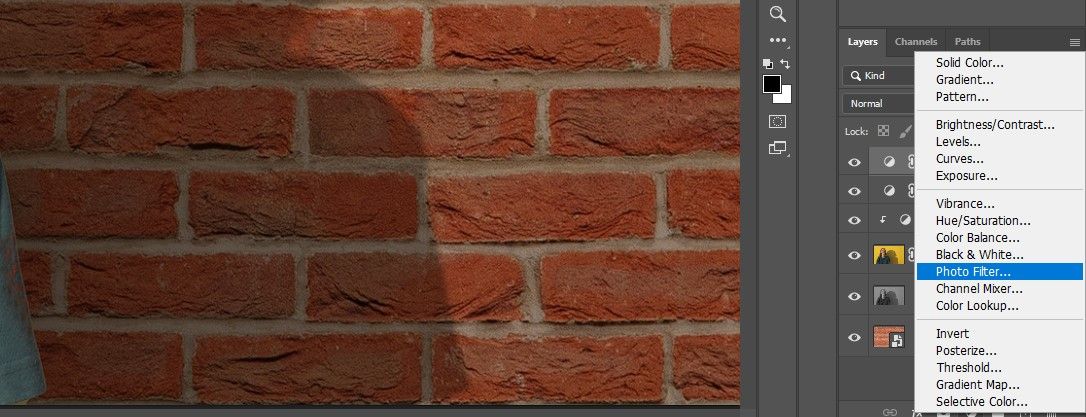
- With the Shade Lookup layer chosen, create a photograph filters adjustment layer.
- Select magenta from the drop-down menu and depart the settings as they’re. Make certain, that density is at 25% and that the protect luminosity Examine field stays chosen.


Every background alternative can require fully completely different steps. However for this specific picture, including a brand new brick wall with our changes actually makes the portrait look loads higher, if not simply as reasonable.
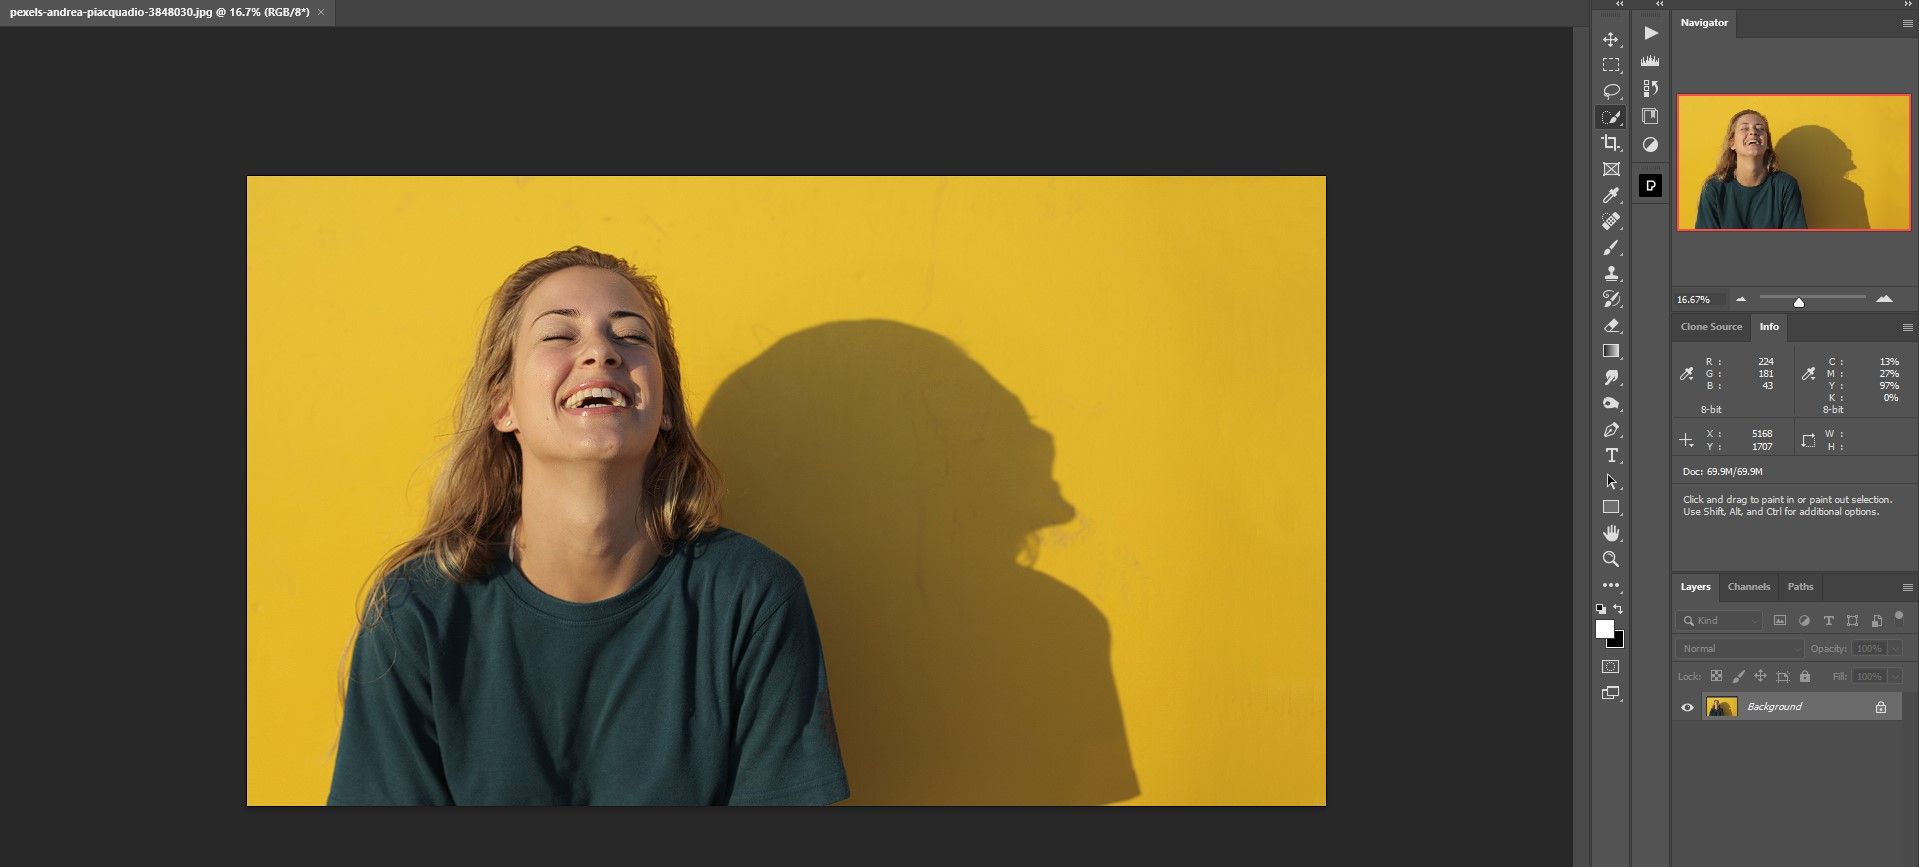
Authentic image:
Completed composite:
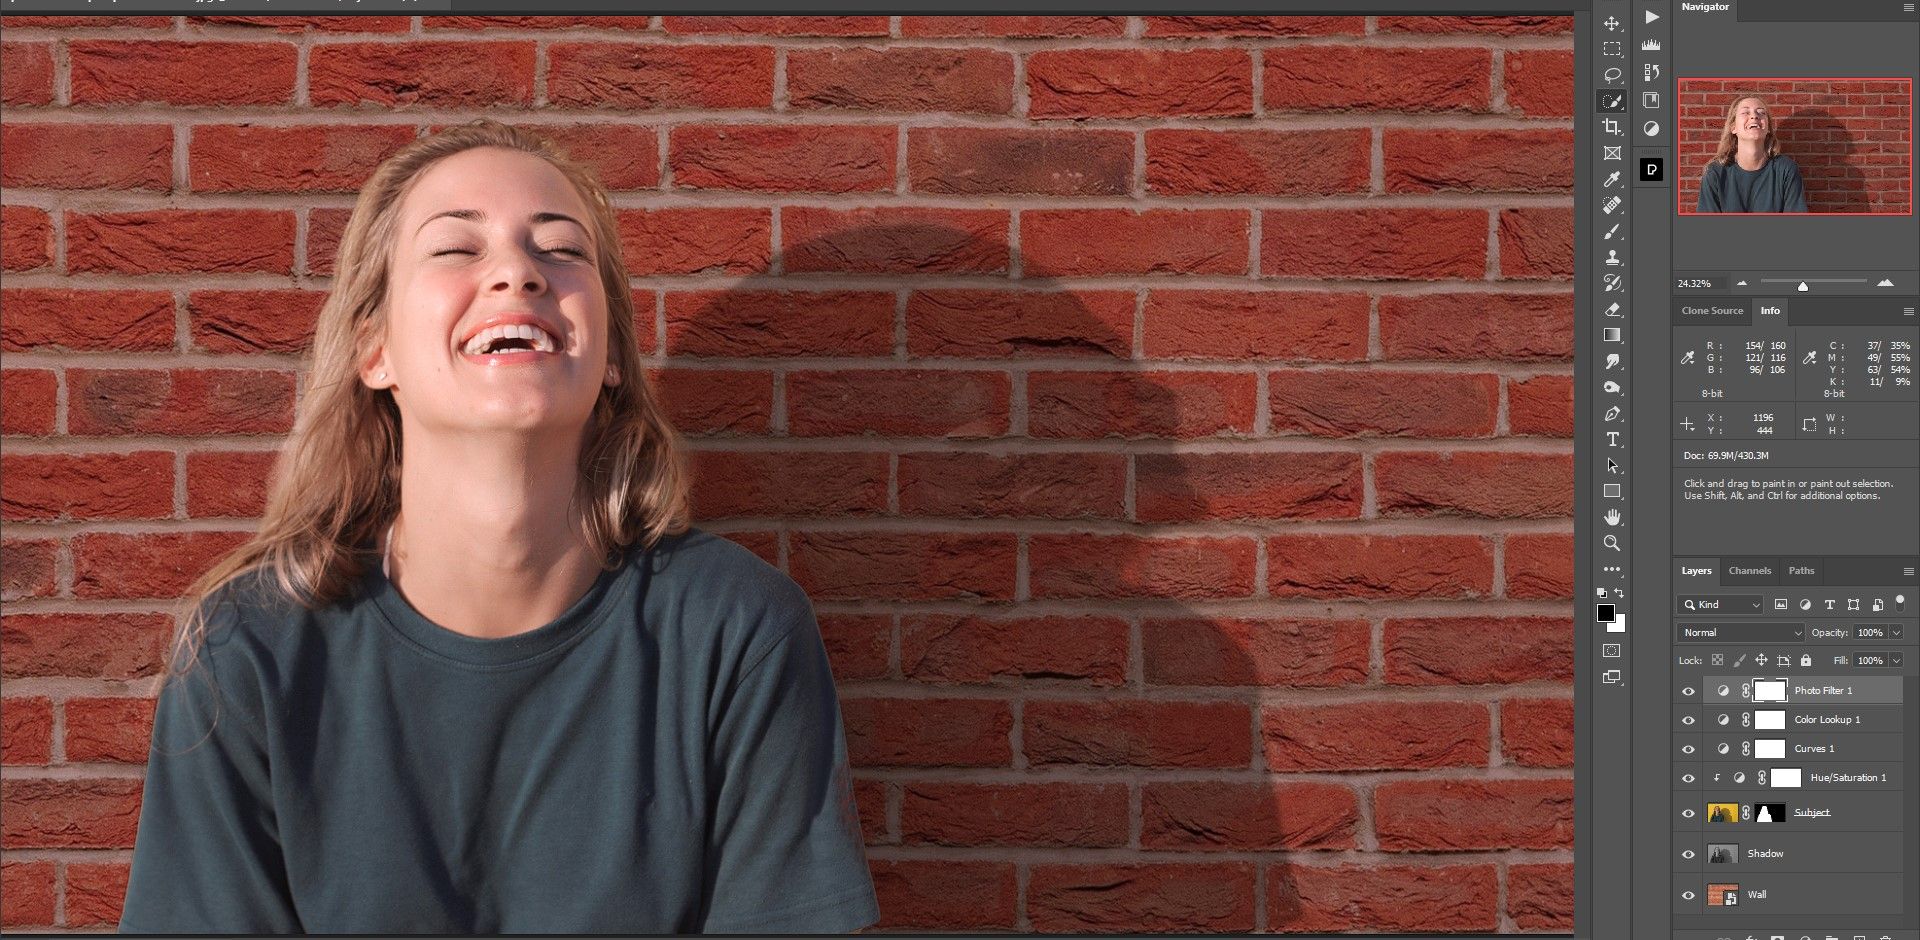
Performed appropriately, it might be practically not possible to inform {that a} “improper” background was used.
Photoshop makes it straightforward to retain your topic’s present shadow particulars
In the event you’ve been following us, you’ve got discovered how straightforward it’s to make use of present shadow element in a composite picture. With only a few easy steps in Photoshop, your creativity is not restricted to boring backgrounds. You may select the perfect backgrounds in your topics with out the effort of making new shadows.
