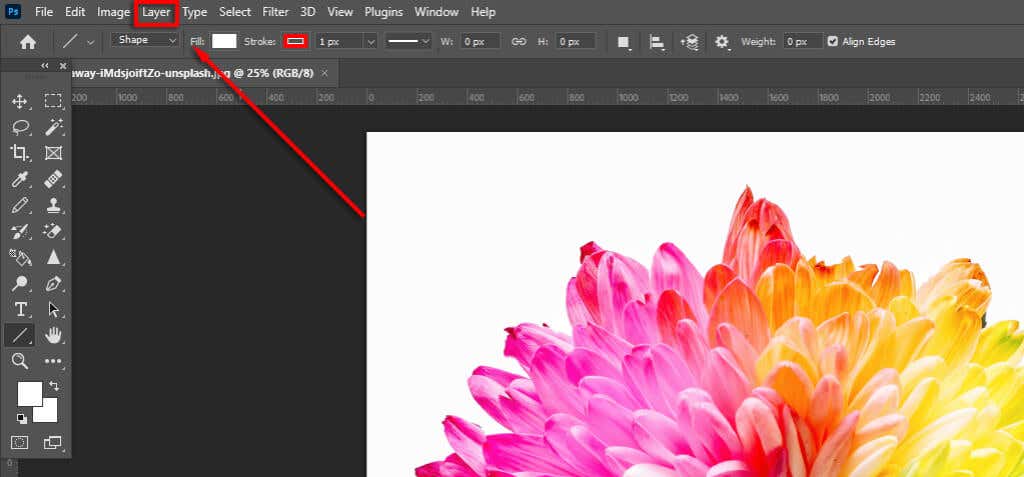
The right way to Make an Picture Black and White in Photoshop

Though it was the primary sort of images, black and white images stays a well-liked aesthetic. Whereas some platforms like Instagram provide presets that allow you to make a picture black and white, others do not. That is the place picture modifying packages like Adobe Photoshop CC come into play.
On this Photoshop tutorial, we’ll present you six workflows you need to use to transform any colour picture to black and white utilizing Photoshop on Mac or Home windows.
The right way to create a black and white picture
Listed below are six strategies to transform your colour picture to black and white.
Technique 1: Use grayscale
Photoshop now has a characteristic that robotically converts your pictures to grayscale. The issue with this technique is that it’s damagingso you can’t modify the saturation and lightness of every colour after conversion.
The right way to use this operate:
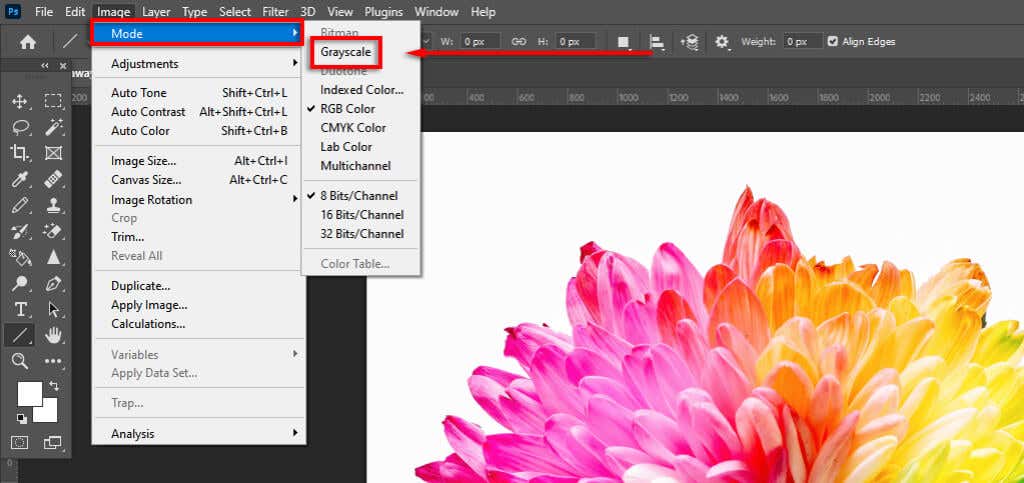
- Open the colour photograph you need to convert.
- click on image.

- click on mode > greyscale.
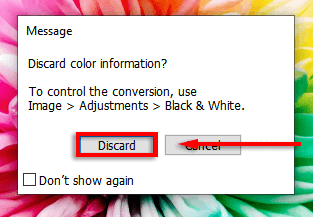
- A dialog field opens asking if you wish to discard the colour info. Select discard.
Observe: It’s also possible to entry this characteristic through Traits Panel by clicking on the drop-down menu subsequent to it mode and choose greyscale.
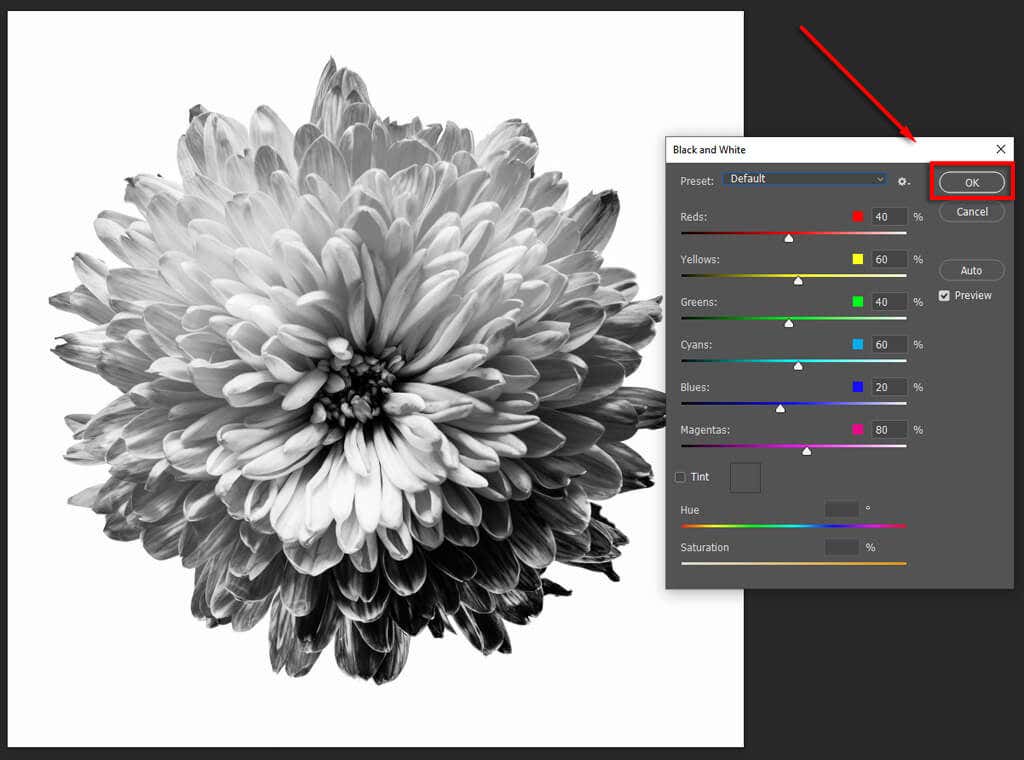
Technique 2: Create a black and white picture utilizing the Black and White adjustment layer
The second technique to flip a picture to grayscale is to make use of the Black and White adjustment layer. With this technique you retain all the colour information, which suggests you may modify the colour values to your desired look. As well as:
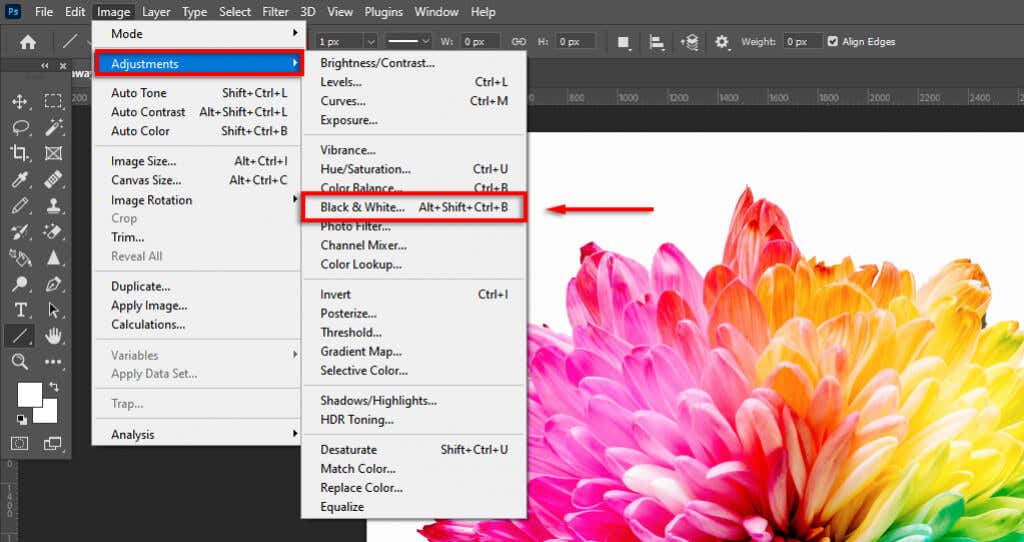
- Open the picture that you just need to convert to black and white.
- click on image.
- Select changes > Black-and-white.
- In case you are glad with the way in which the image appears, click on on it OK. In any other case, you may fine-tune the photograph by taking part in with the colour sliders.
Technique 3: Use Hue/Saturation Adjustment Layers
Utilizing the Hue/Saturation adjustment software is one other non-destructive technique that you need to use to acquire colour information.
- Open the colour picture in Photoshop.
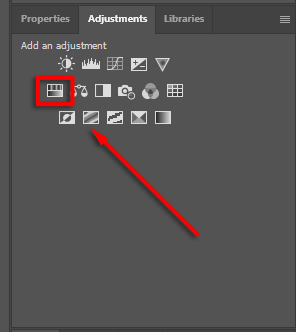
- press the changes Tab.
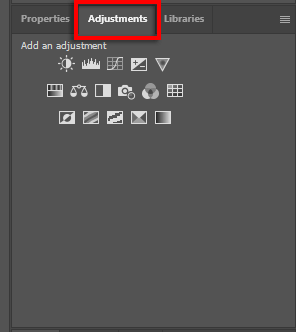
- Select Hue/Saturation. This may add a Hue/Saturation adjustment layer so your unique photograph is unaffected (i.e. colour information is preserved).
- Choose from the drop down menu grasp.

- Push the saturation Slider to -100.
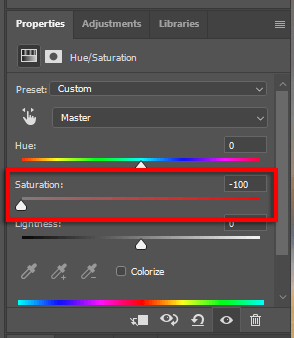
Observe: The adjustment characteristic lets you desaturate every colour channel individually to use a selective colour impact to a black and white photograph. To do that, merely go away a selected colour channel unsaturated (e.g. magenta). Bonus tip, you need to use these color choice software to robotically choose the specified colour from a part of the picture.
Technique 4: Use a gradient map
The Gradient Map software converts colour pictures to grayscale primarily based on lightness values. With this impact, the darker areas turn into darkish grey whereas the lighter areas turn into gentle grey.
The right way to use this software:
- Open the colour picture in Photoshop.
- Select layer.
- Click on within the drop-down menu New adjustment layer > gradient Map.

- click on OK.
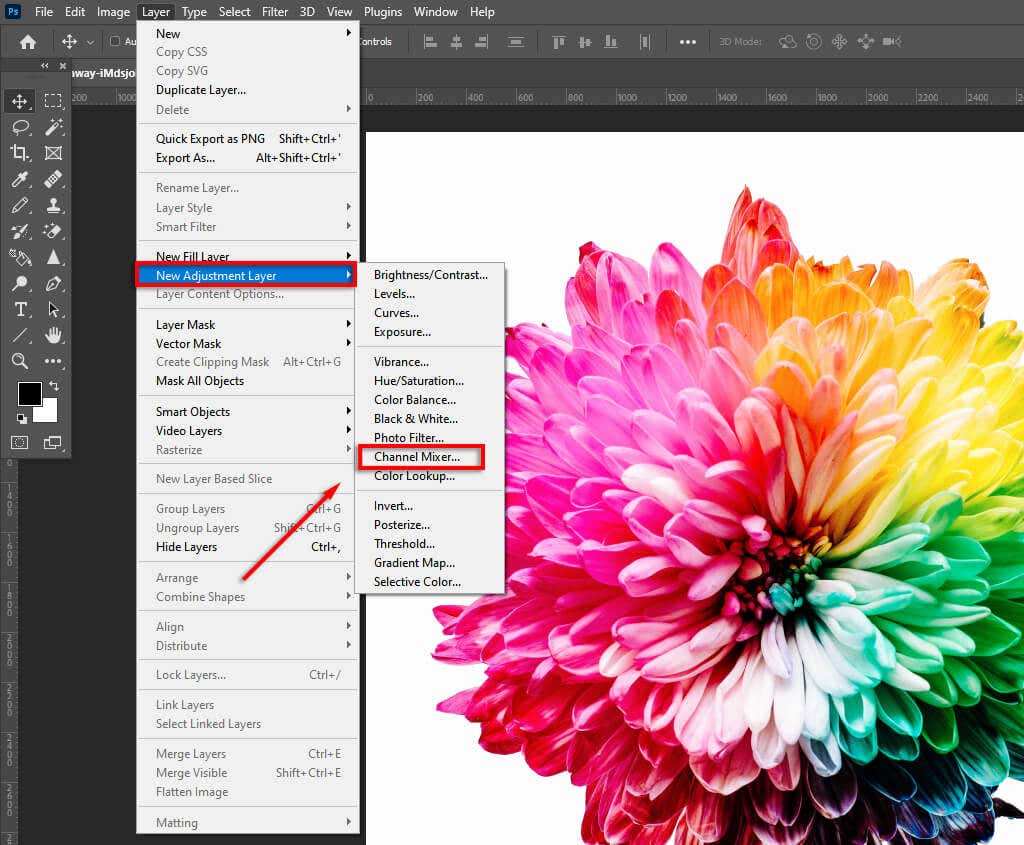
Technique 5: Use Channel Mixer
The Channel Mixer is one other characteristic that makes use of colour information to create a black and white picture to your liking. This software lets you mimic the impact of utilizing a colour filter when taking a photograph.
- Open the colour picture in Photoshop.
- Select layer > New adjustment layer > channel mixer. Alternatively choose the changes tab and click on on the channel mixer Adjustment layer icon.
- Tick Monochrome.
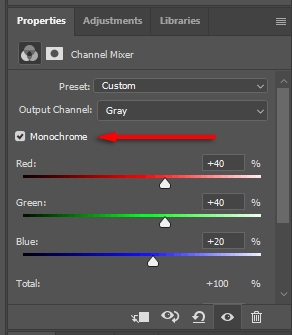
- Regulate the RGB sliders till you’re pleased with the impact.
Technique 6: Use lab colour
The Lab Colour technique is damaging (it removes all colour information and is everlasting). Nonetheless, the conversion to black and white is extra correct (primarily based on brightness values).
- Open the colour picture in Photoshop.
- Select image.

- click on mode > lab colour.

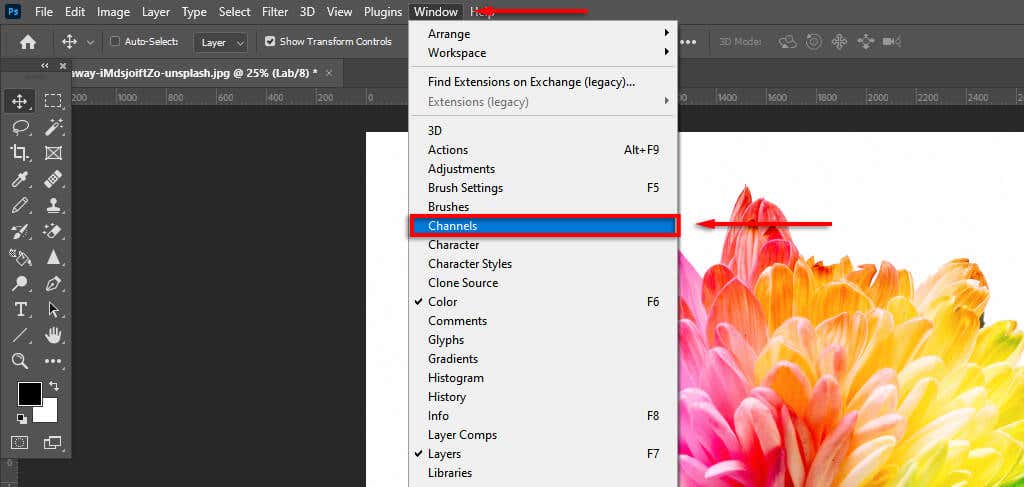
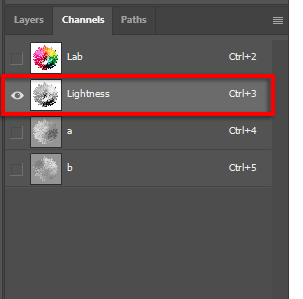
- Select channels panel (subsequent to layers Blackboard). In the event you do not see it, open Channels by clicking on it window > channels.
- Select ease Channel.
- click on image > mode > greyscale.

Classic images in three clicks
Photograph modifying instruments like Photoshop, Digicam Uncooked, and Lightroom now embrace many instruments for black and white conversions and lots of of different easy picture manipulations that will help you create images precisely the way you need them.
