Tips on how to Change Black to Any Different Shade in Photoshop
Altering black to a distinct colour in Photoshop may be difficult. In contrast to different colours, utilizing a single Hue/Saturation adjustment layer does not work on black as a result of it could’t lighten the hue. Due to this fact, relying on the complexity of the topic, you have to to make use of a mix of a number of changes like curves, ranges, and extra.
Tips on how to change black to a different colour in Adobe Photoshop…
Tips on how to Change Black to Different Colours in Photoshop
The steps to vary from black to a different colour can range drastically relying on the topic. For instance, altering black to a darker shade is quicker, whereas for lighter shades you want extra changes just like the “Curves” layer.
So let’s begin with a easy instance to grasp how the method works. Later we are going to work on high-quality tuning the main points.
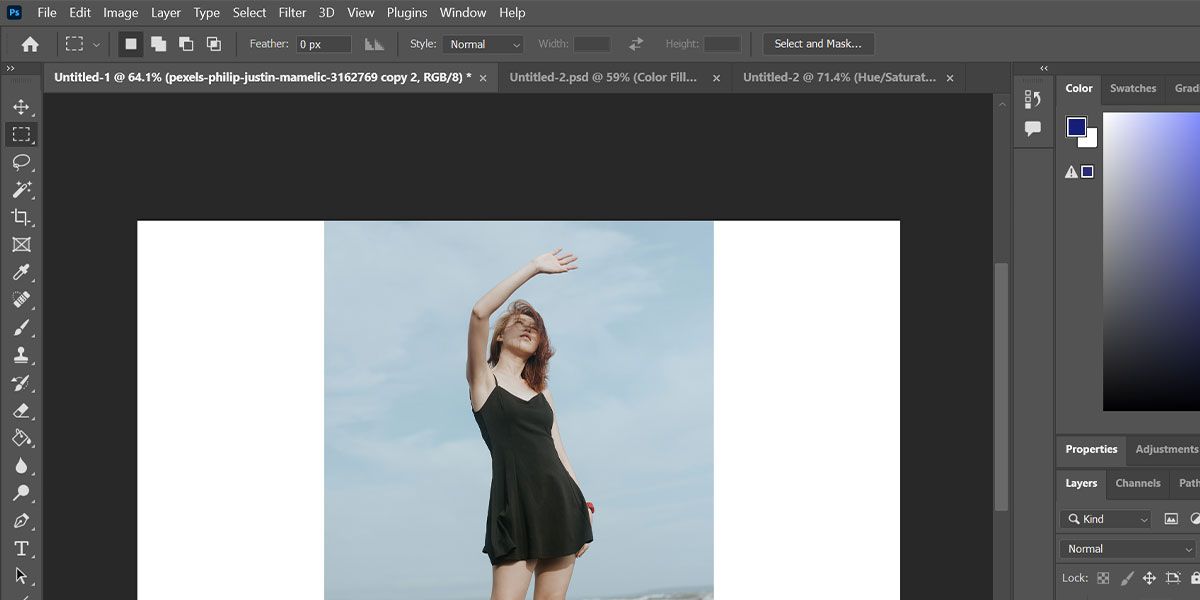
- First import your picture into Photoshop.
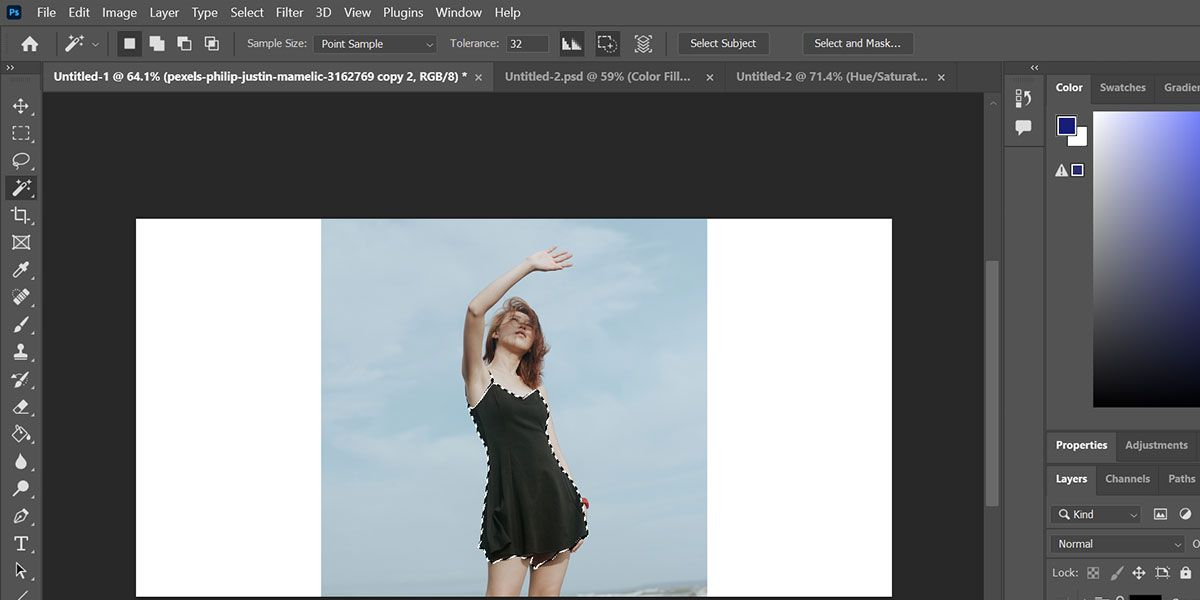
- Now create a number of the gown with the Fast Choice Device or Magic Wand Device.
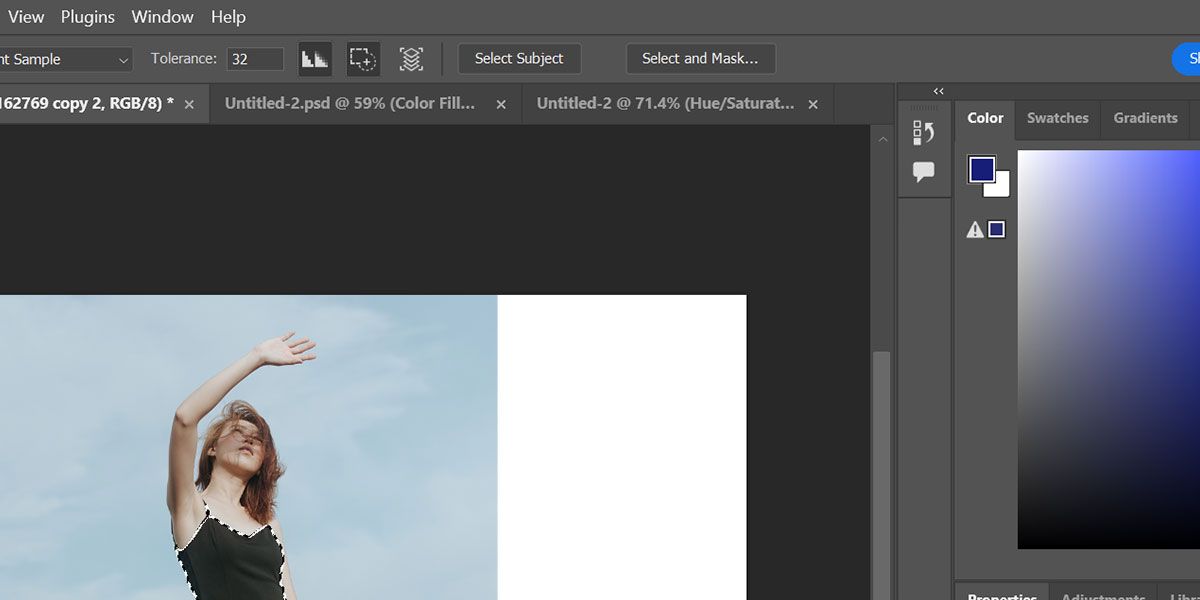
- Press Choose and masks on the high of your display screen and refine your choice.
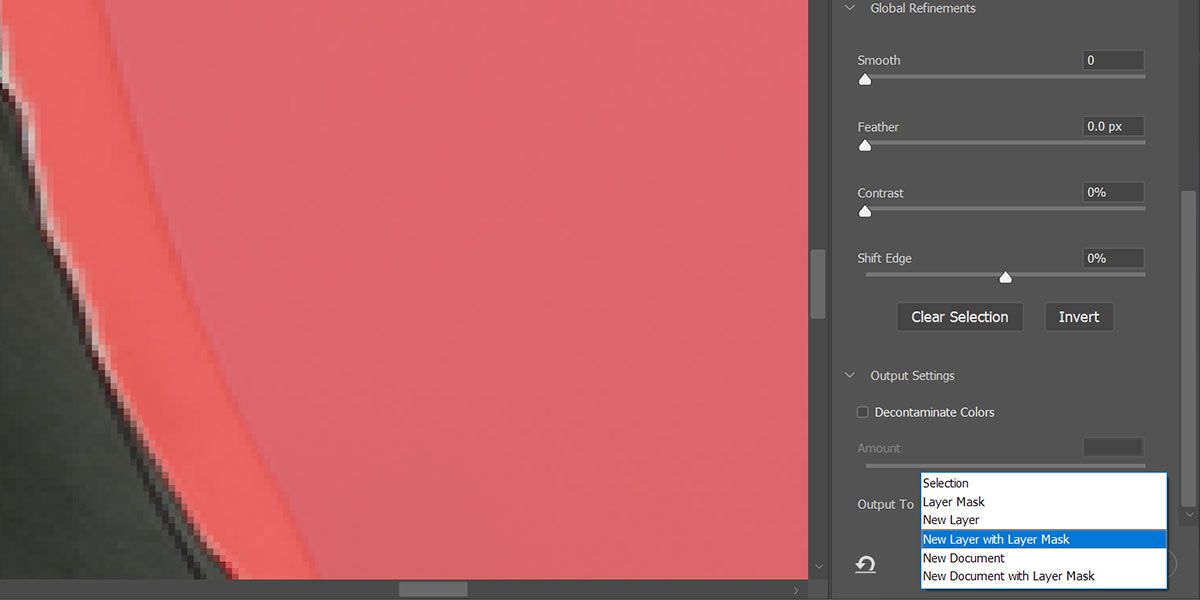
- Select Output to new layer with layer masks and hit OK.
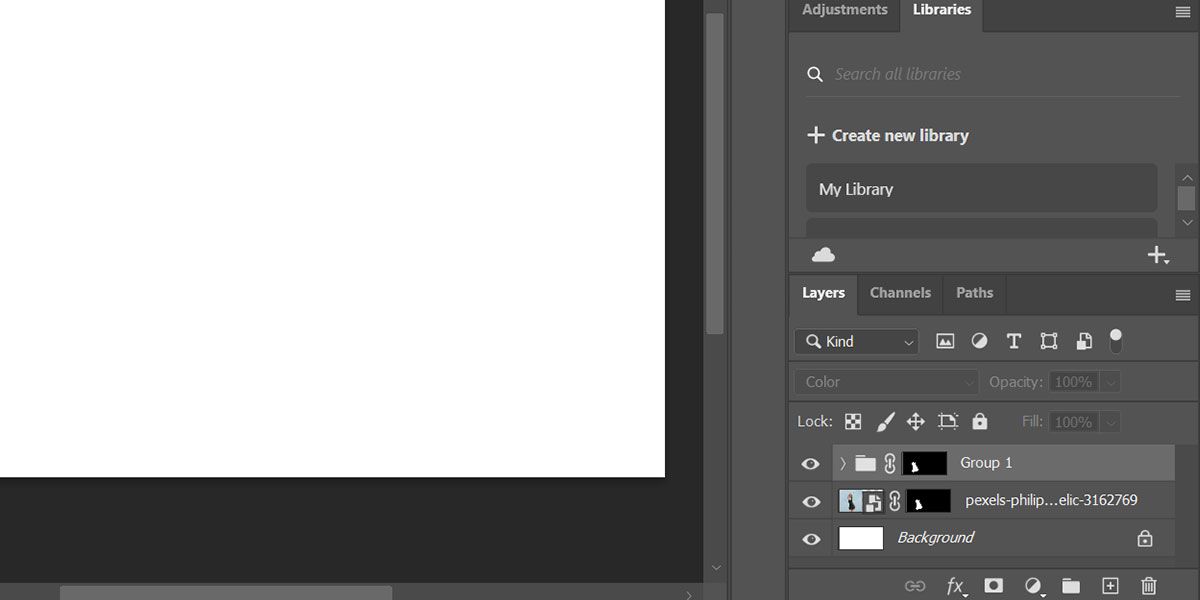
- press now Ctrl/Command + G to create a brand new group.
- Shut Previous button and drag your choice masks onto the group. A duplicate of the masks is created that applies to your complete group.
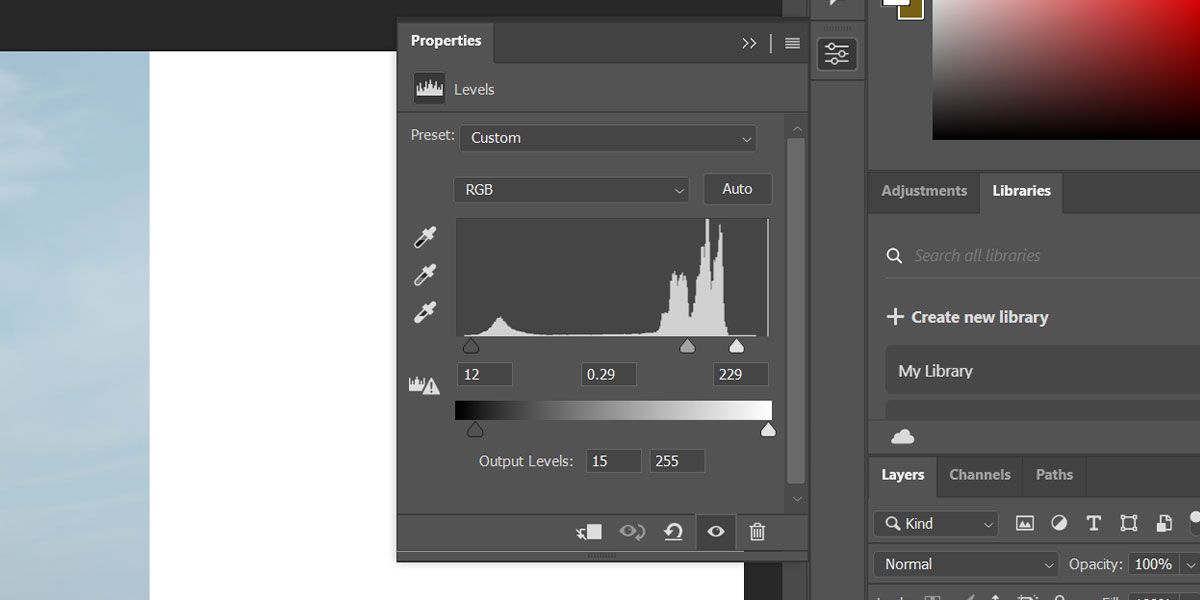
- Now create one ranges Customization degree inside the group. It controls the brightness of your choice. There are 5 pointers that you would be able to customise ranges adjustment layer.
- The three slightly below the histogram present the distribution of darkish and light-weight pixels in your picture. Drag the left to the precise to attenuate the darkish pixels; you may depart the one on the precise for now.
- The 2 pointers under are for output ranges, which management how darkish your darkest pixel will likely be and vice versa. Drag the left pointer barely to the precise to get a pale gown colour. The pale hue helps you retain the main points once you change colour.
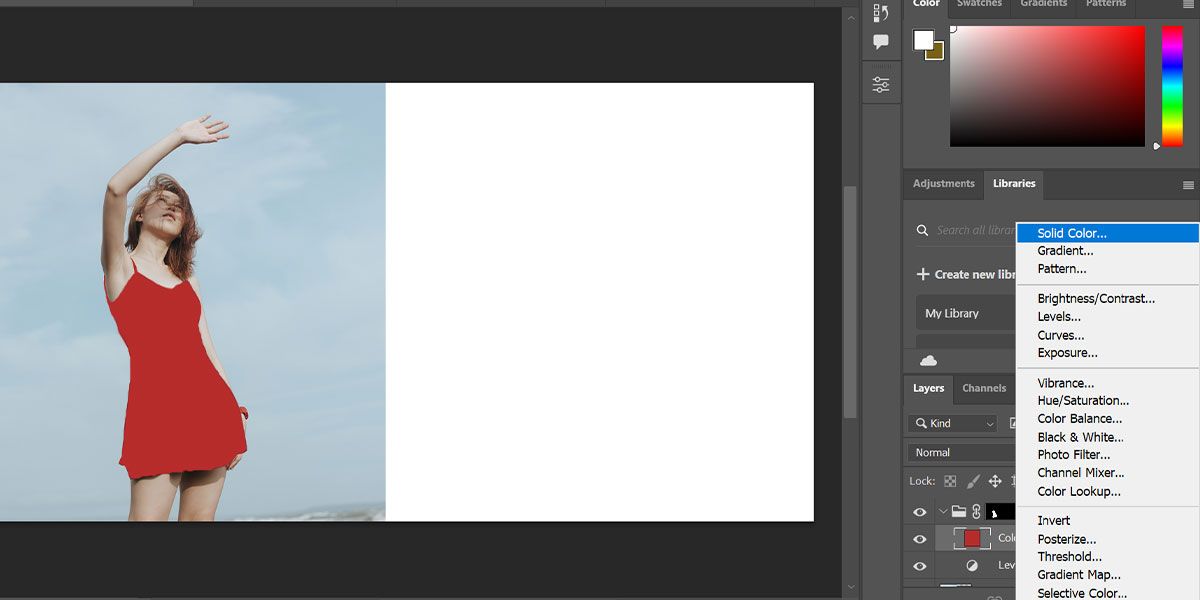
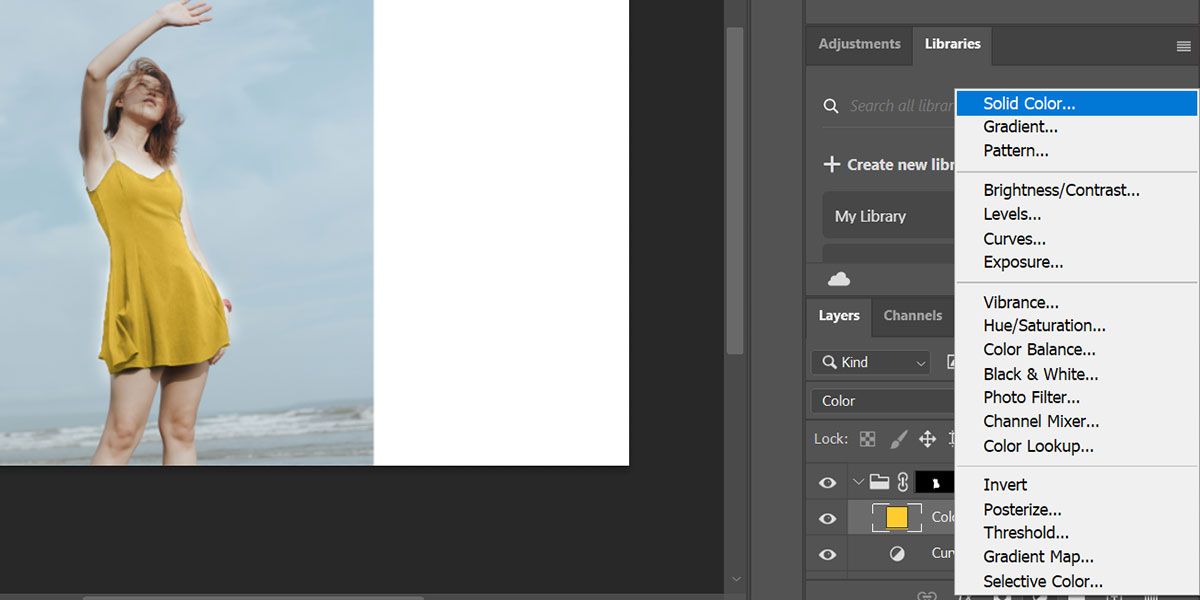
- Now create one Monochrome Layer and decide a colour of your selection. Crimson for instance.
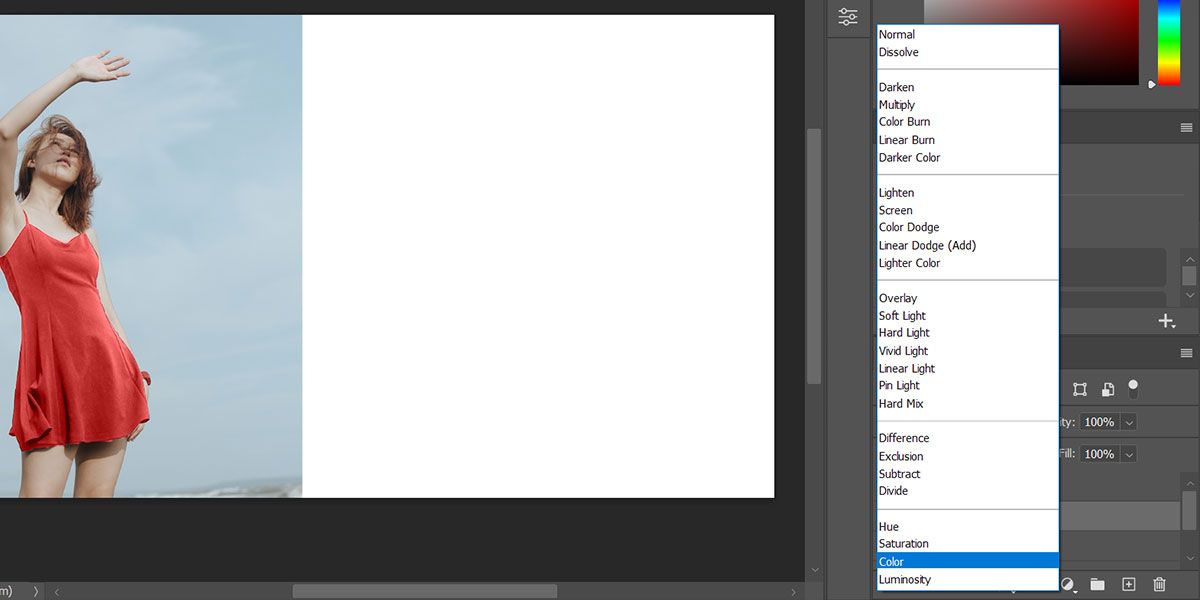
- Change the Mixing Mode to color from the drop down choices in your layers panel.
- You need to be able to export the picture when you choose an applicable colour. In any other case, alter the layer values to get a pure tone to your gown.

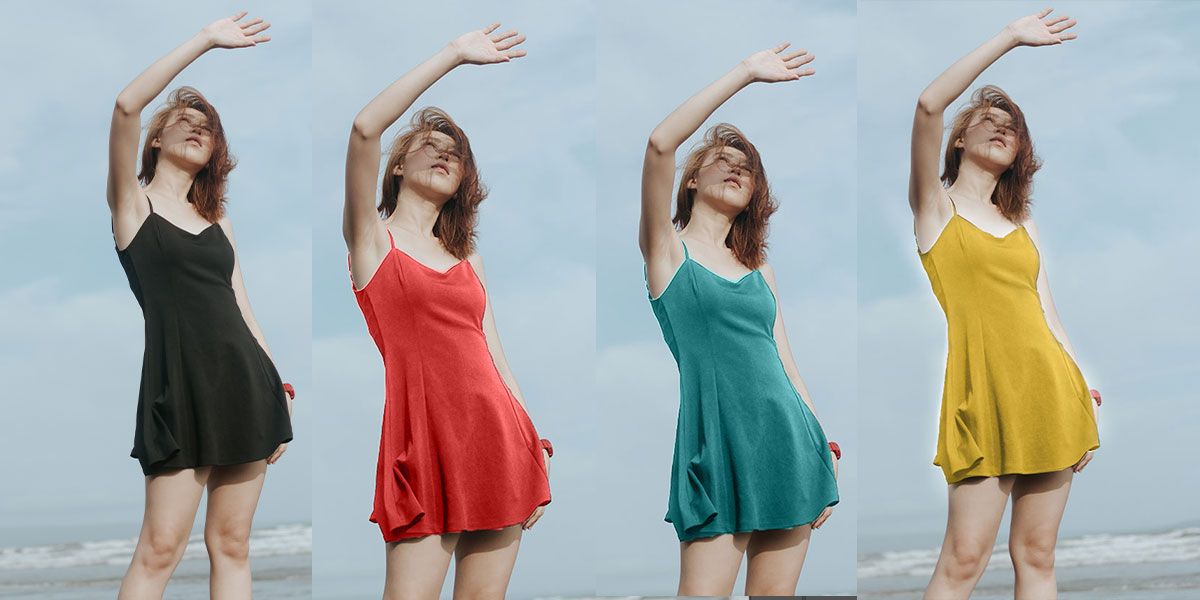
That is all. You now have a template to vary the colour of your black gown to every other shade you need. You’ll be able to shortly change the colour by deciding on a brand new one utilizing the spot colour layer. Nonetheless, there’s a catch. Altering black to lighter colours like yellow or peach may be tough with this method.
Tips on how to change black to lighter colours in Photoshop
The method talked about above shouldn’t be sensible when utilized to lighter shades. Due to this fact, you must play with curves to lighten the acute black with out sacrificing the main points. With this method you may change your black gown to yellow, peach and even white.
- Import your picture into Photoshop.
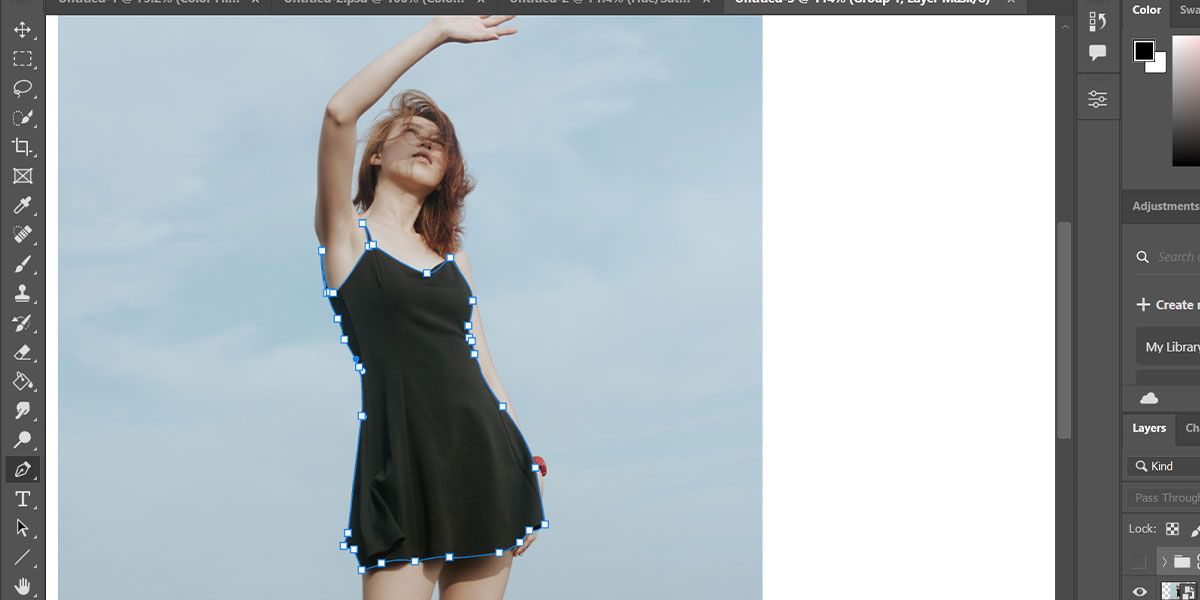
- Now create your gown choice with the Pen Device for a exact define.
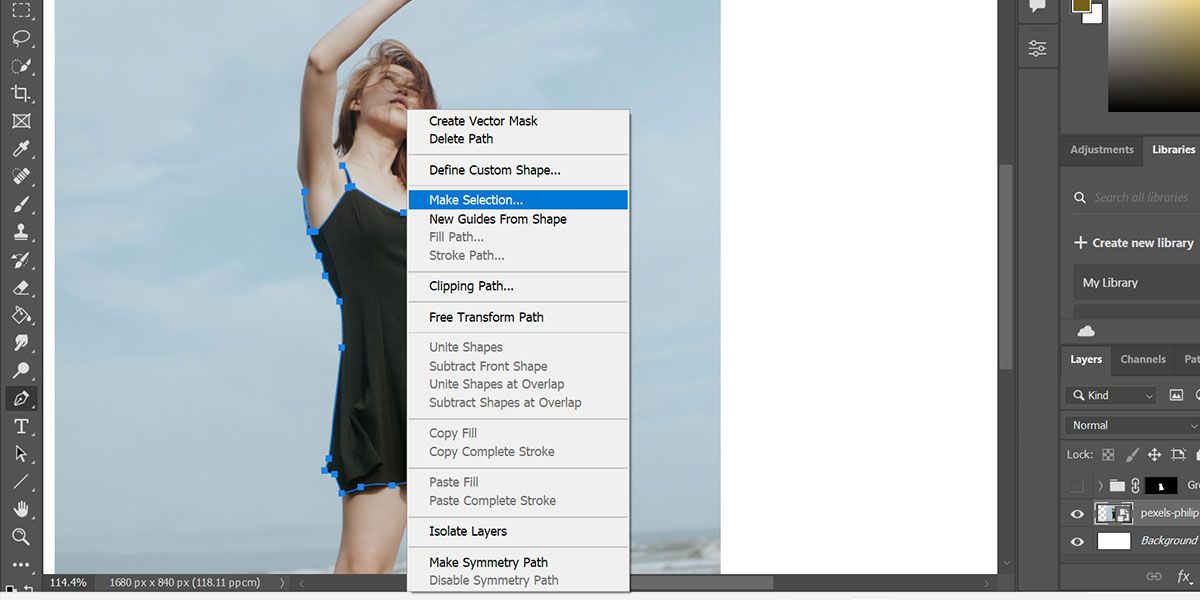
- Proper-click and click on make a choice.
- Now click on on the masks Choice in Layers panel to create a vector masks out of your choice.
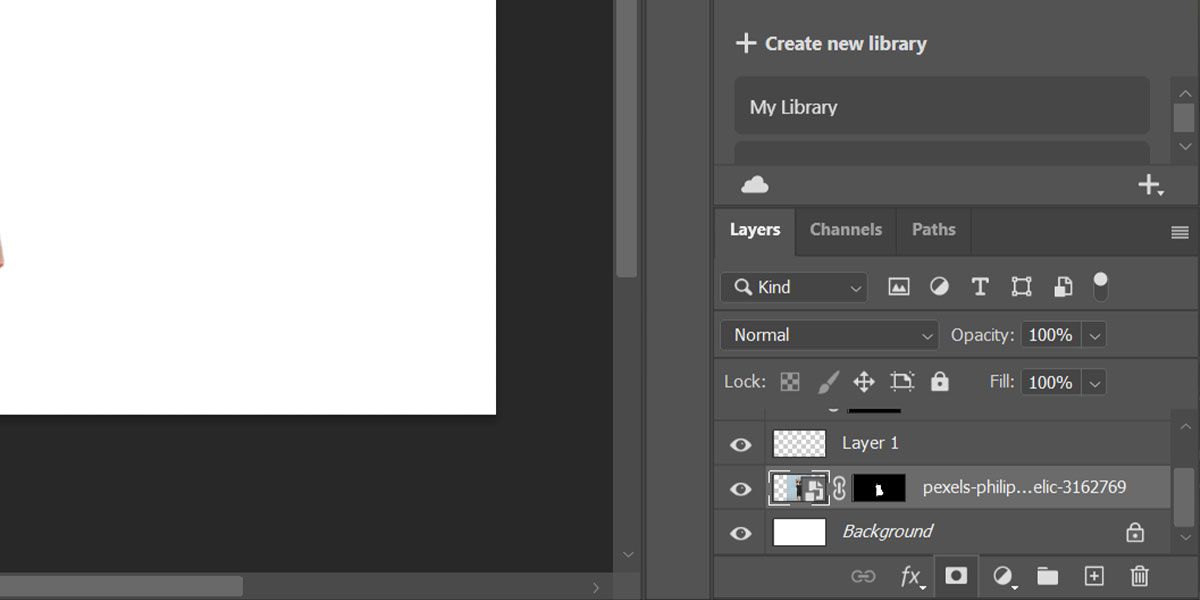
- press now Ctrl/Command + G to create a brand new group.
- Shut Previous button and drag your choice masks onto the group. A duplicate of the masks is created that applies to your complete group.
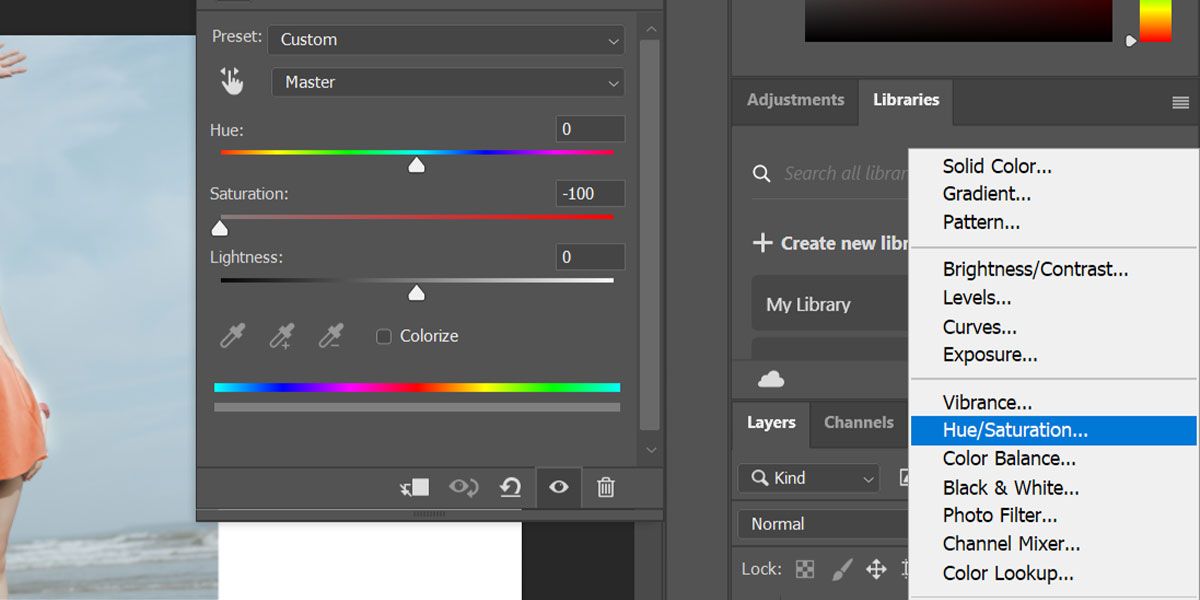
- Now create one Hue/Saturation adjustment layer and convey the saturation slider all the best way to the left. This can take away any noise from the picture that may very well be inflicting issues.
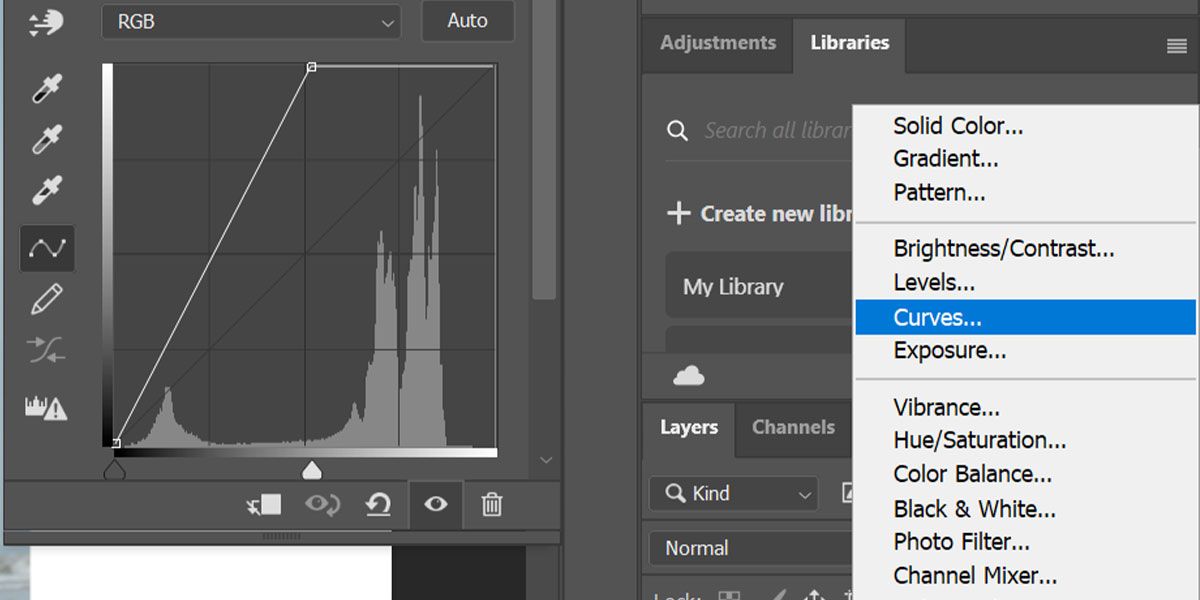
- Subsequent, create one curves Adjustment layer, maintain the Previous button and slide the precise pointer barely to the left till you see smaller particulars.
- Repeat the Curves layer course of to present your gown a lighter tone.
- Now create one other one curves Adjustment layer (title it Shadow) and in RGB mode, transfer the road up barely to lighten the shadows. That is essential as element is often misplaced within the shadows.
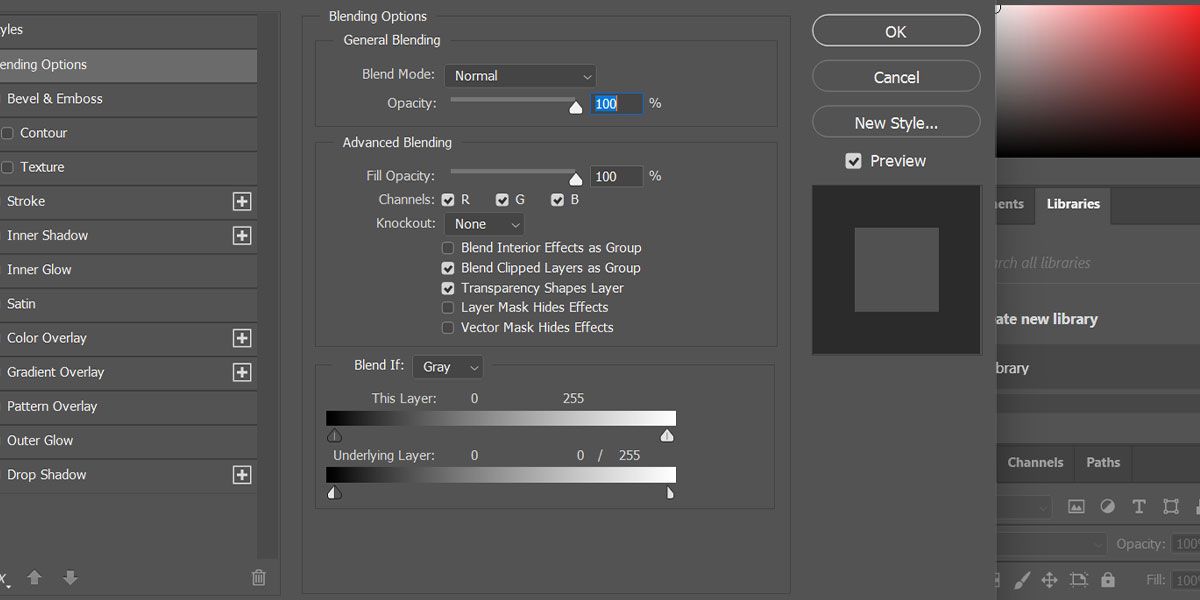
- Double-click the The shade Layer on the precise to open the layer model.
- Now maintain the Previous button and transfer the white pointer all the best way to the left for the Underlying layer underneath the combine if choices and hits OK. It ought to break up the pointer in two and mix the colour evenly in all areas.
- Lastly, create one Monochrome Layer and select a lightweight colour (e.g. yellow) and alter the Mixing Mode to color.

Make some last tweaks within the Curves adjustment layers if wanted and also you’re good to go. Now you may convert your gown to any colour you need. Keep in mind that you would be able to select any shade for the black gown. Nonetheless, to make it real looking, it’s essential alter the curves and hue saturation settings. This technique means that you can make the gown all white with out dropping element.
Simply keep in mind that when utilizing the curves to vary the brightness/distinction of shadows and highlights, you have to to extend the distinction when working with clothes. To do that, drag the curve as much as the left aspect. Conversely, in case you are coping with a shiny materials, you may lower the distinction by dragging the curve down.
Tips on how to use the curves device in Photoshop.
With each of the above strategies, you solely want to make use of a single masks for the group. You’ll be able to unmask the additional layers to maintain your file dimension in test. Learn our in-depth information on utilizing layers and masks in Photoshop to get a greater concept.
Key factors to remember when altering black to a different colour in Photoshop
New customers could discover it tough to vary black to a different colour in Photoshop. Since it’s an absence of colour, we have to lighten the article and apply a second layer to incorporate the colour within the equation. In some circumstances it could even be inconceivable to avoid wasting the main points.
For instance, in the event you change a black gown to a lighter shade, there’s a excessive likelihood that you will note pixelated elements within the shadows. There is no such thing as a getting round this until you’re working with RAW pictures. This occurs as a result of the shadows created by wrinkles on the garments can simply be misplaced as a result of darkish colour. In such circumstances, it is best to camouflage the pixelated space by making use of a further filter like a gradient or grunge/texture over your last edit.
Now you can change black to every other colour in Photoshop with out breaking a sweat
On this article, we have now proven you two strategies to vary black to a different colour. The primary technique works greatest once you change the topic to darker tones. The second technique works greatest once you change the topic to lighter tones.
It is price noting that relying with reference to the picture, coping with the colour black may be tougher than it first seems, so you may need to tweak the adjustment ranges for every colour to make your edit look extra pure.
