The right way to Make Your Portraits Look Classic in Photoshop
Ever needed to create a classic aesthetic that appears like the true factor? If you wish to transcend what smartphone filters can do, we’ll present you the best way to use Photoshop to show your portraits into classic pictures. Let’s begin.
What it is advisable to make your picture look classic
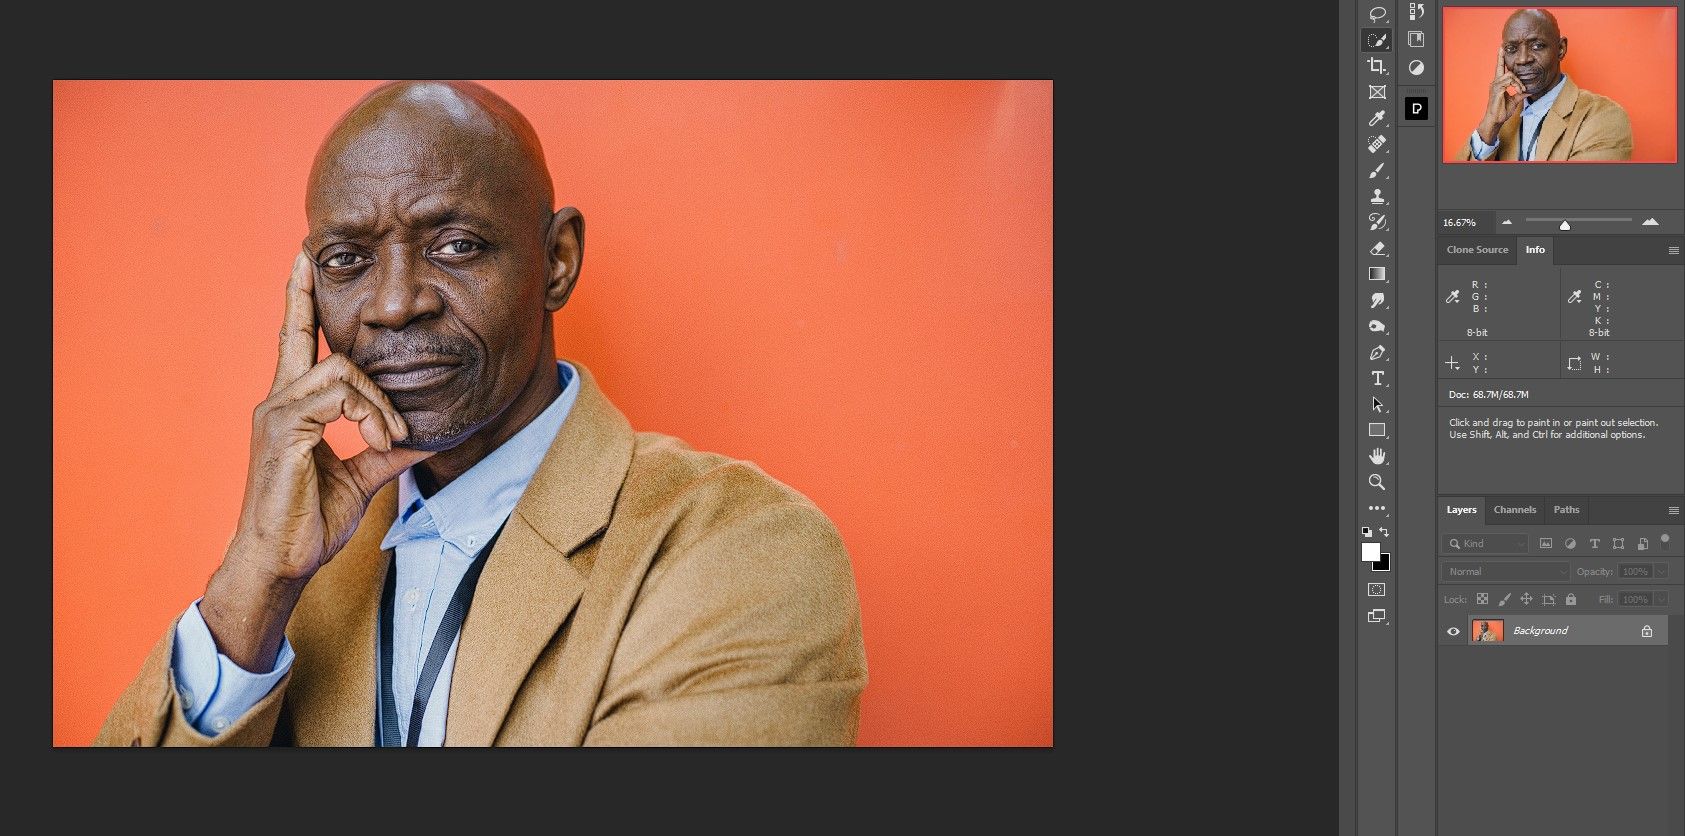
You want two primary components to make your picture look previous or very previous. First you want the principle picture. The commonest kind of classic picture is a portrait, which we can be working with.
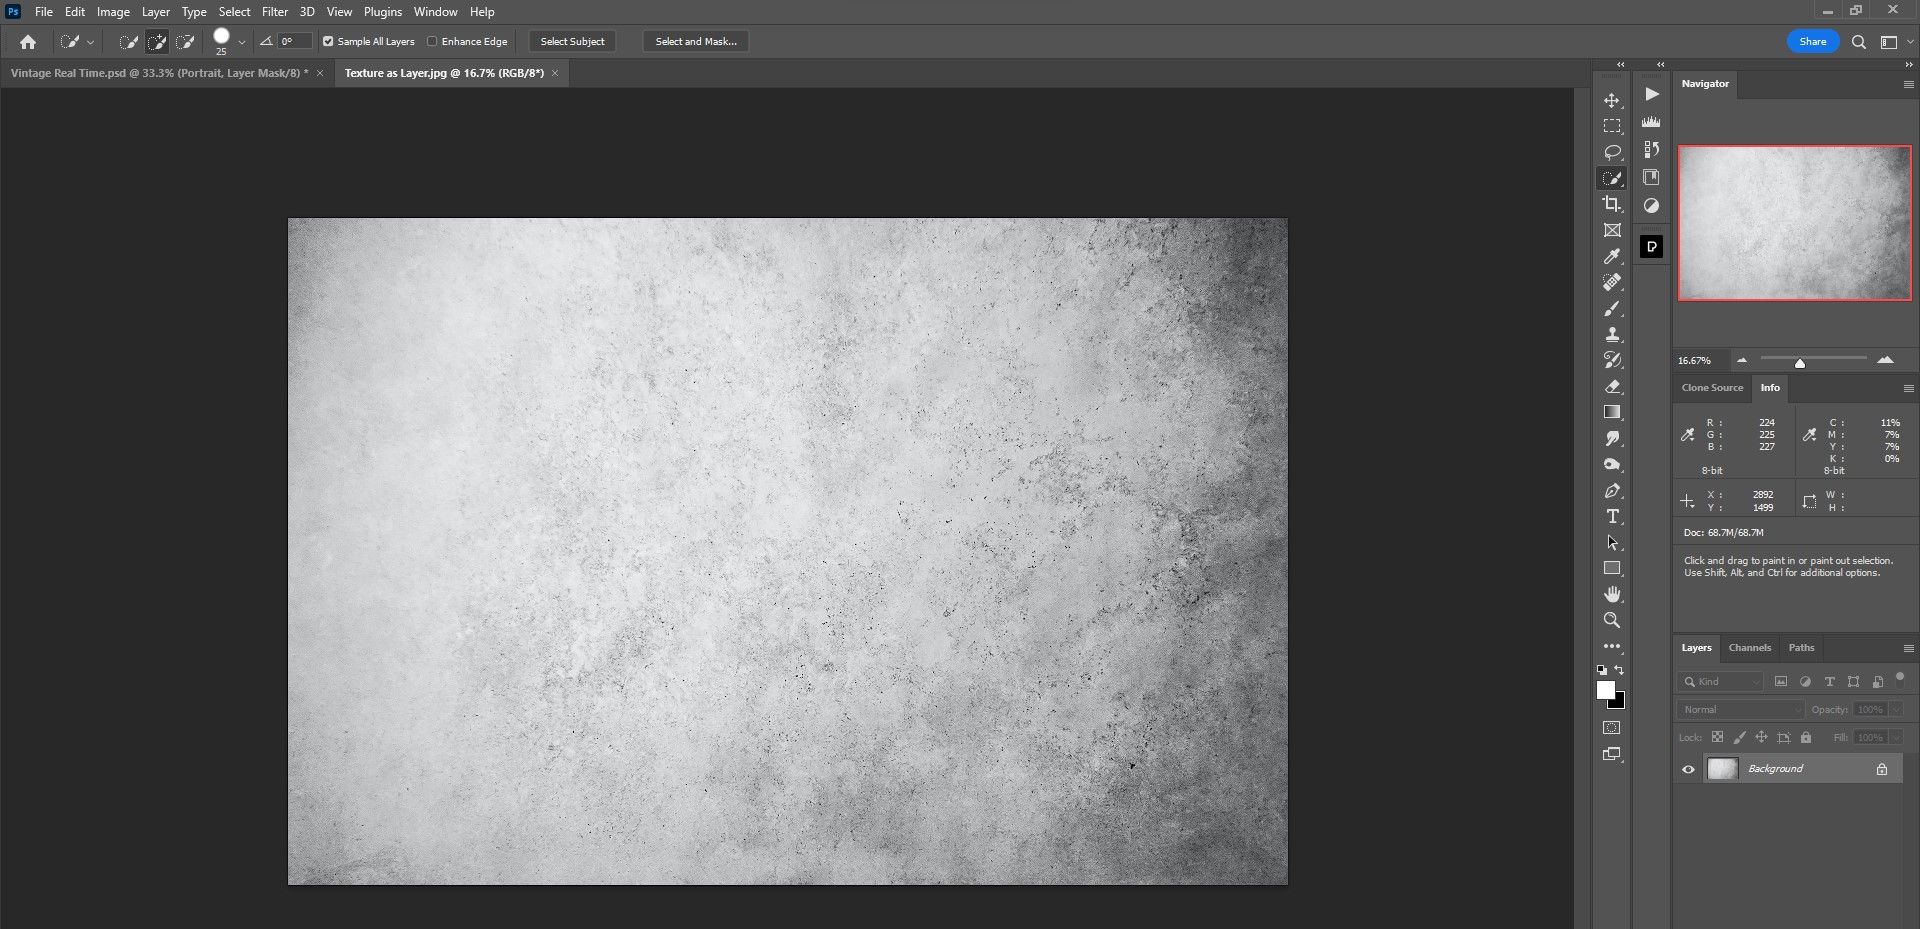
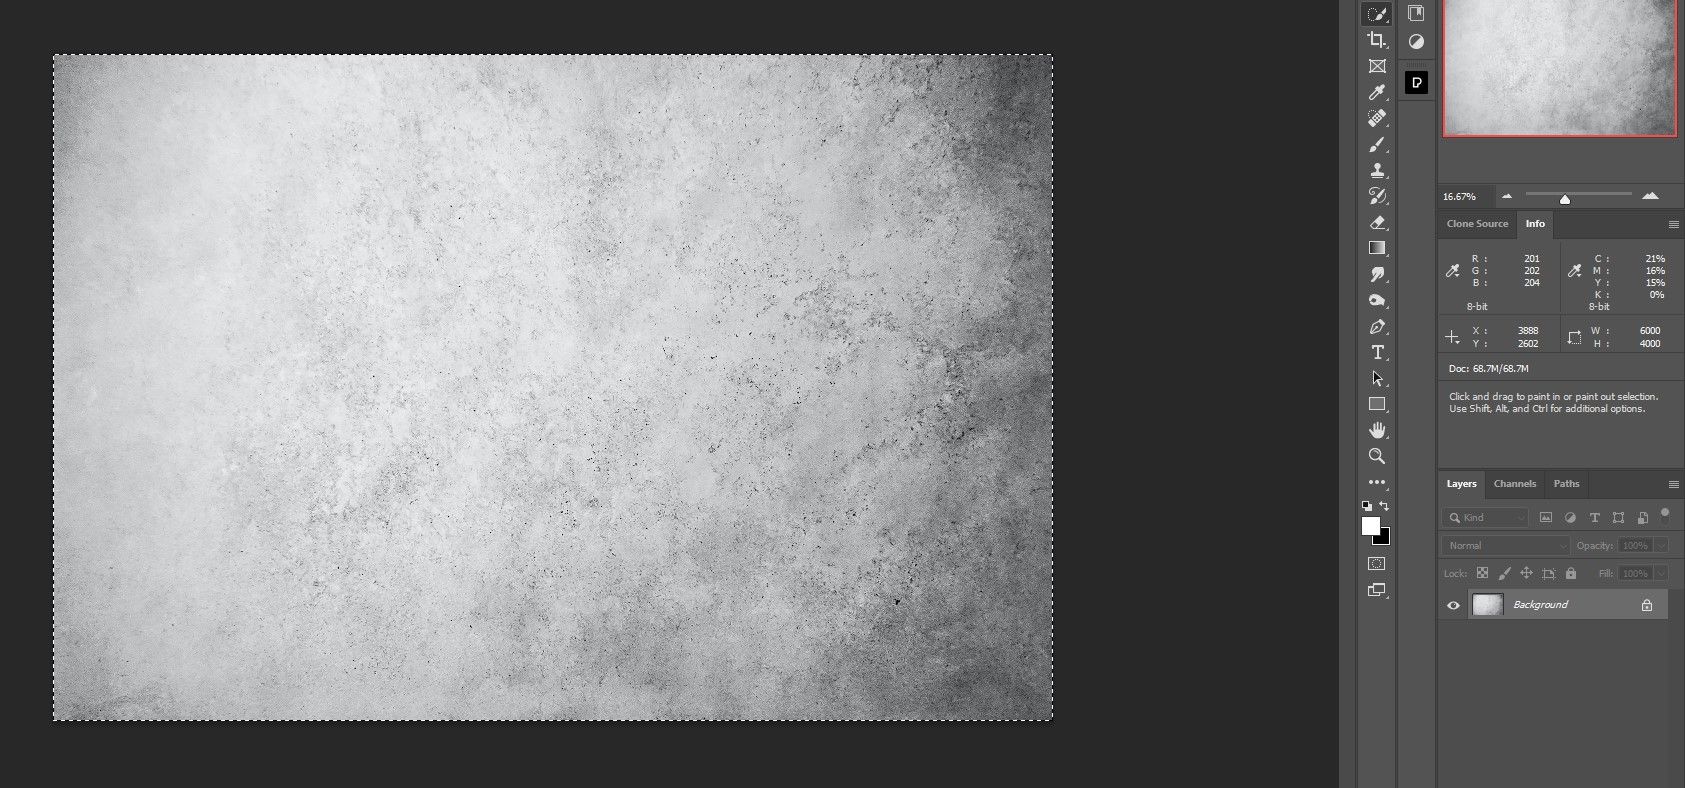
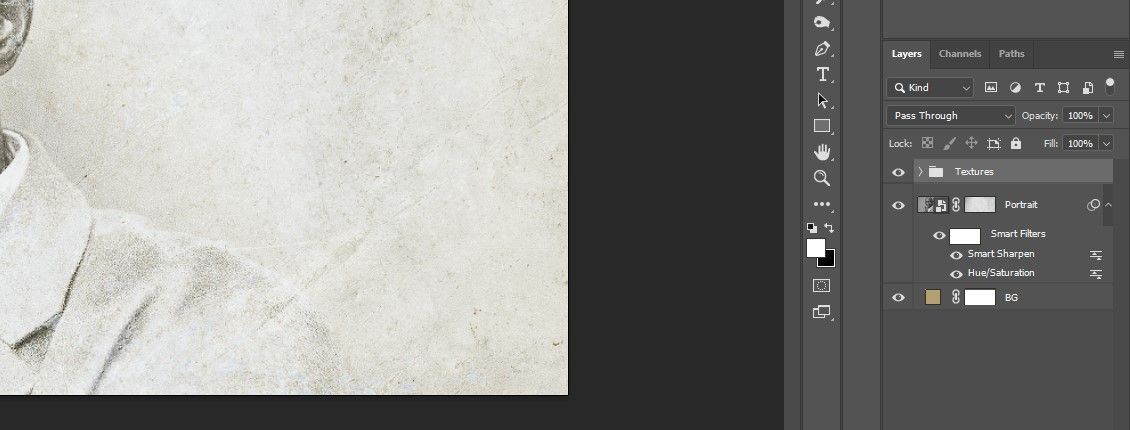
The second aspect you want is texture. Often this consists of two or extra totally different texture information. In our tutorial we use 4 totally different textures.
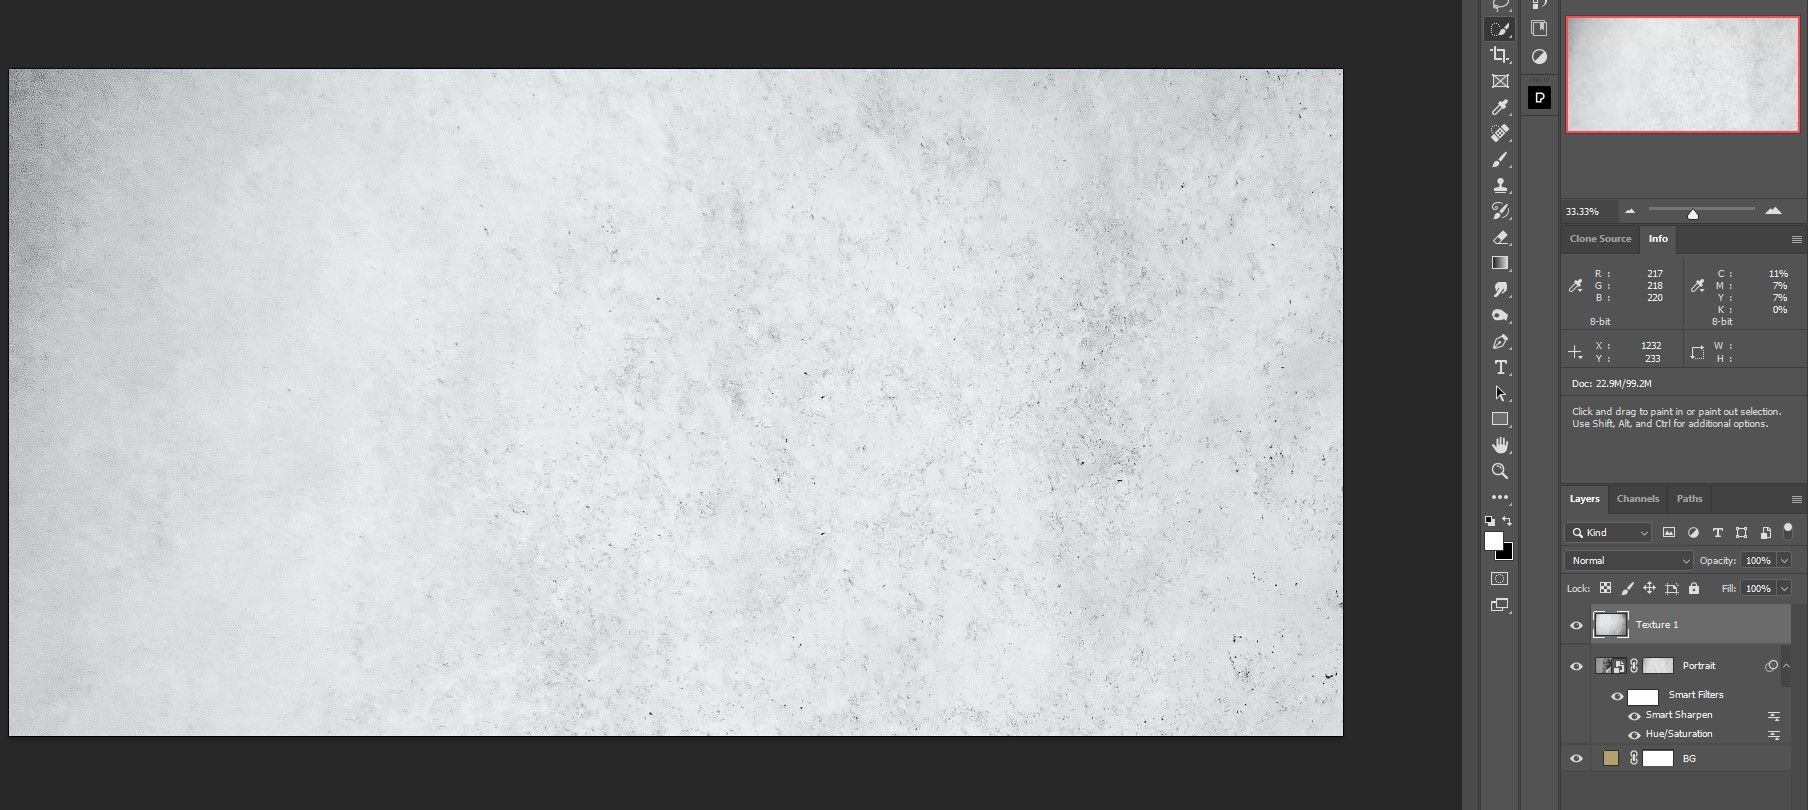
The selection of textures is essential for our classic look. You want two darkish texture information and two mild grey ones. It’s important that these textures are principally desaturated or include little or no colour (you’ll be able to simply take away the colour if wanted).
If you wish to take part, you’ll be able to obtain the pattern portrait from Pexels, and you’ll obtain textures 1, 2, 3, and 4, all from Unsplash. You do not want these actual textures to make a classic picture. There are tons of textures you should utilize, it simply will depend on the look you’re going for.
There are lots of web sites the place it’s also possible to get different varieties of photos in your pictures similar to: B. these web sites to obtain background patterns in your footage.
Step 1: Create the Photoshop doc
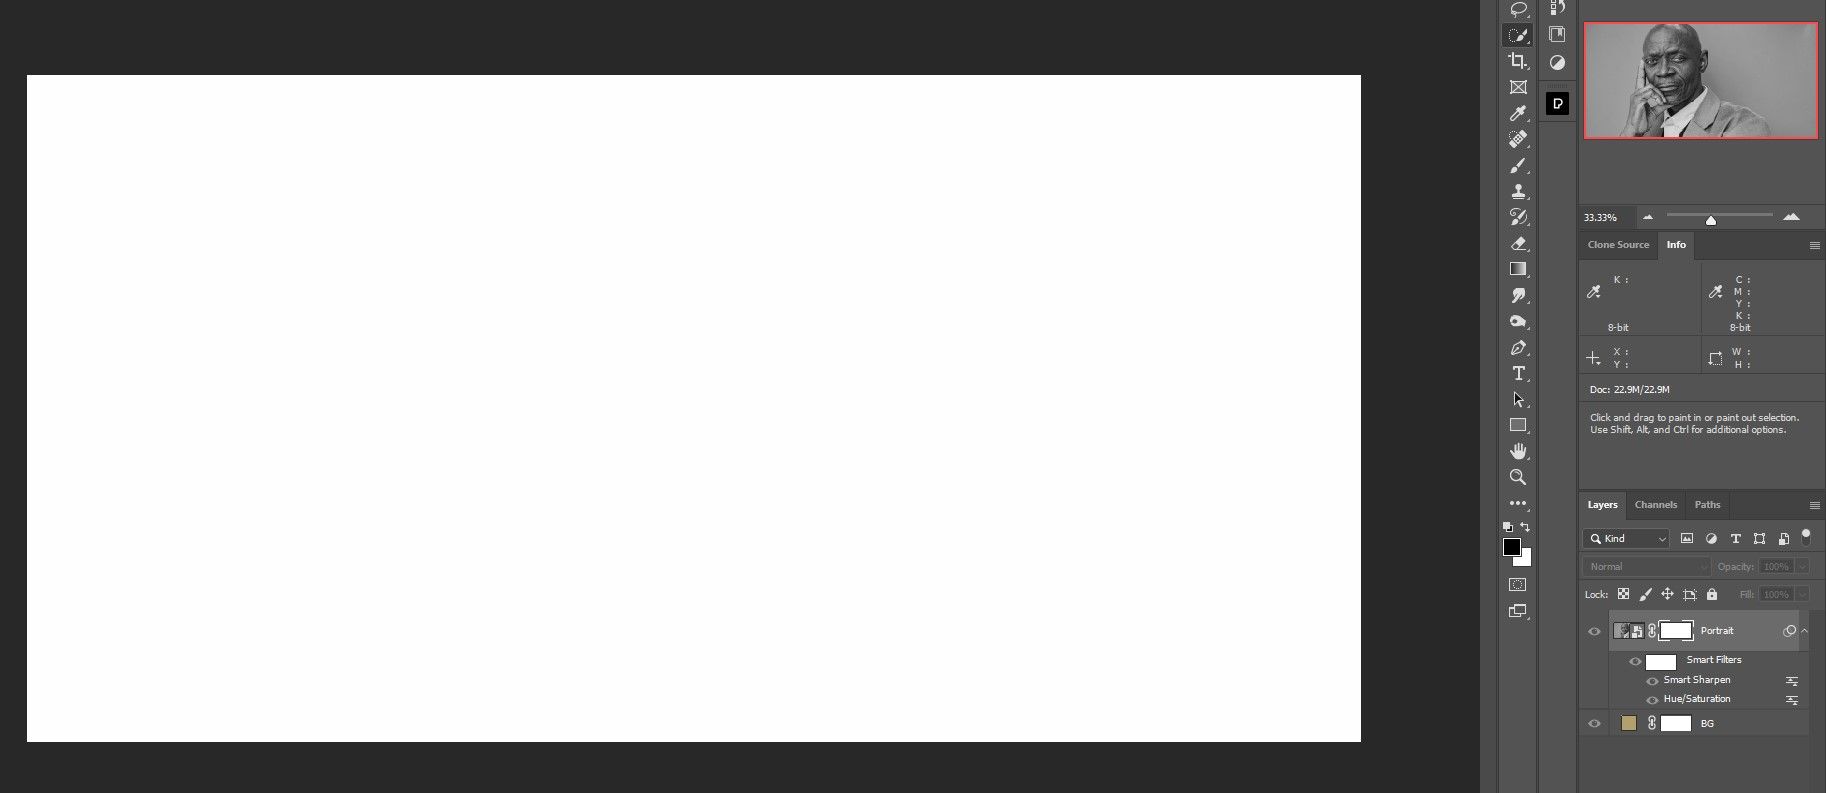
In step one, We are going to present you the best way to create the premise for the classic picture. We’ll begin by making a strong colour because the background and inserting the principle picture in portrait orientation. When we have now accomplished all of the steps, you’ll be able to come again and insert any portrait with out having to undergo all of the steps once more.
- Go to file > New or press ctrl + N.
- For our file we enter these values: Width 4000Peak 2000 and backbone 300. We depart all the things else on the default settings. Then press Create.
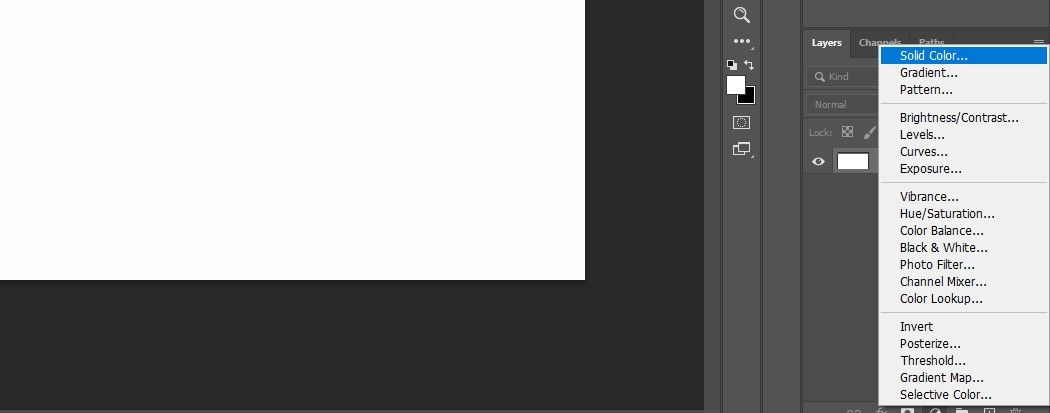
- A… create Firmly color Adjustment Layer by clicking the icon within the decrease proper nook of Photoshop.
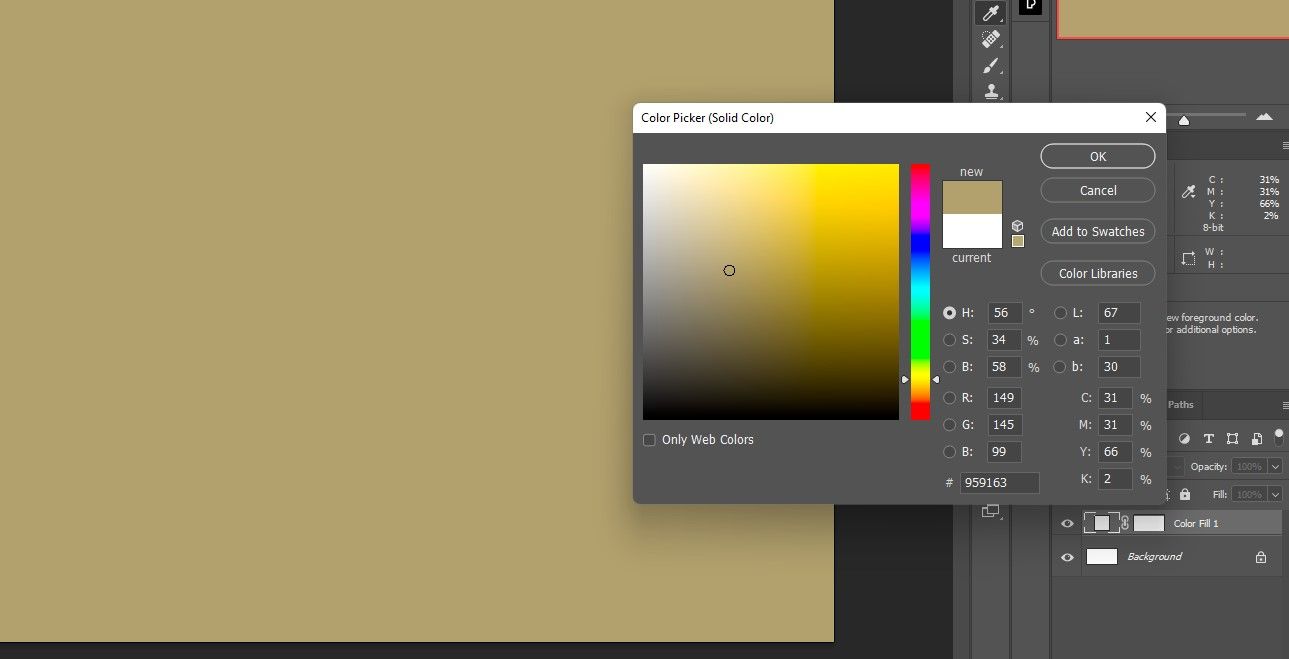
- By which colour picker Within the field, choose a colour just like the one we selected. It does not should be precisely the identical and may be modified later. click on OK.
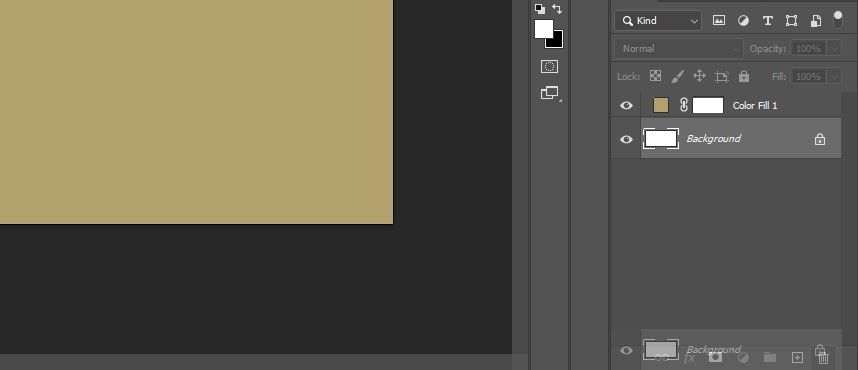
- Drag and drop the background layer to the trash.
- Double click on on the colour fill layer and rename it “BG”.
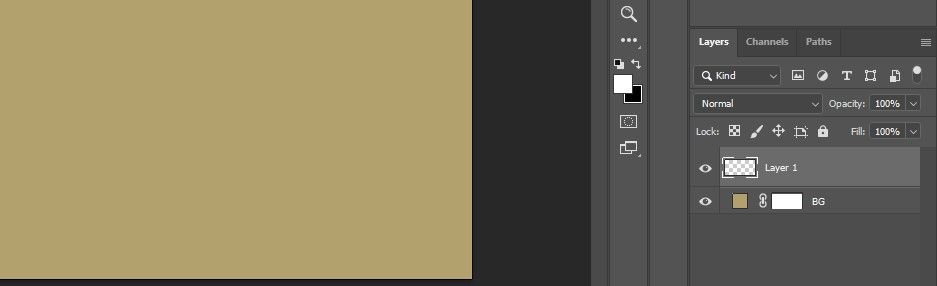
- Create a brand new empty layer by clicking the icon within the backside proper nook.
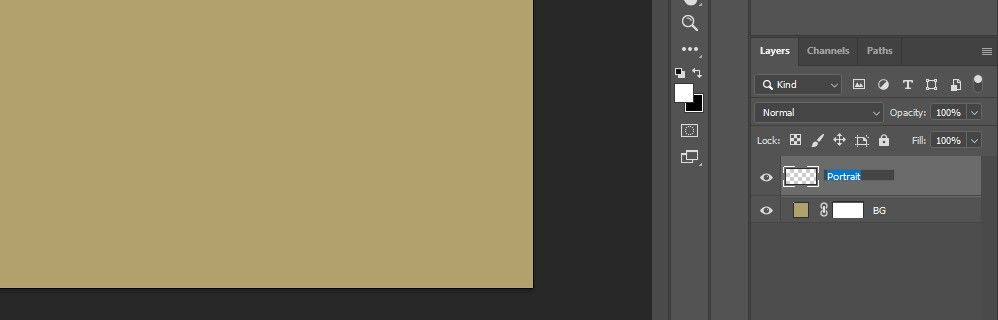
- Double click on on the layer and identify it “Portrait”.
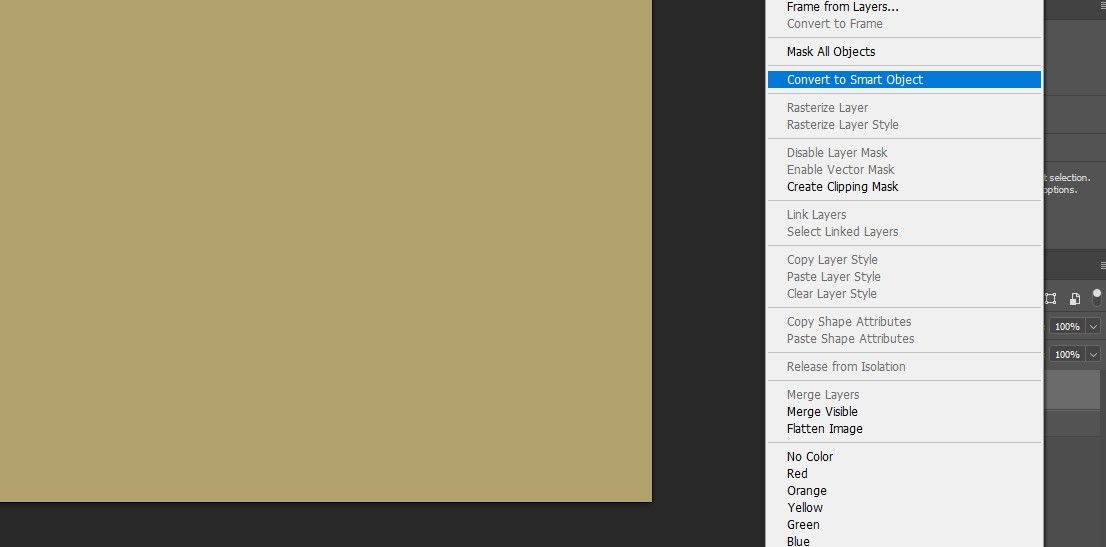
- Proper click on on the portrait layer and choose Convert to Sensible Object.
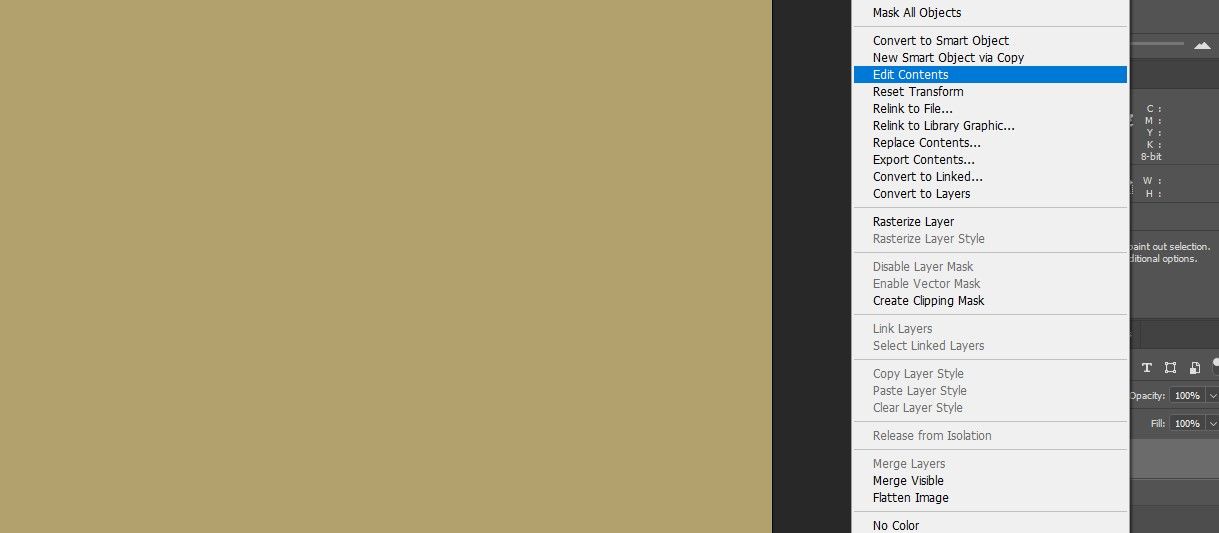
- Proper click on on the portrait layer once more and choose it edit content material.
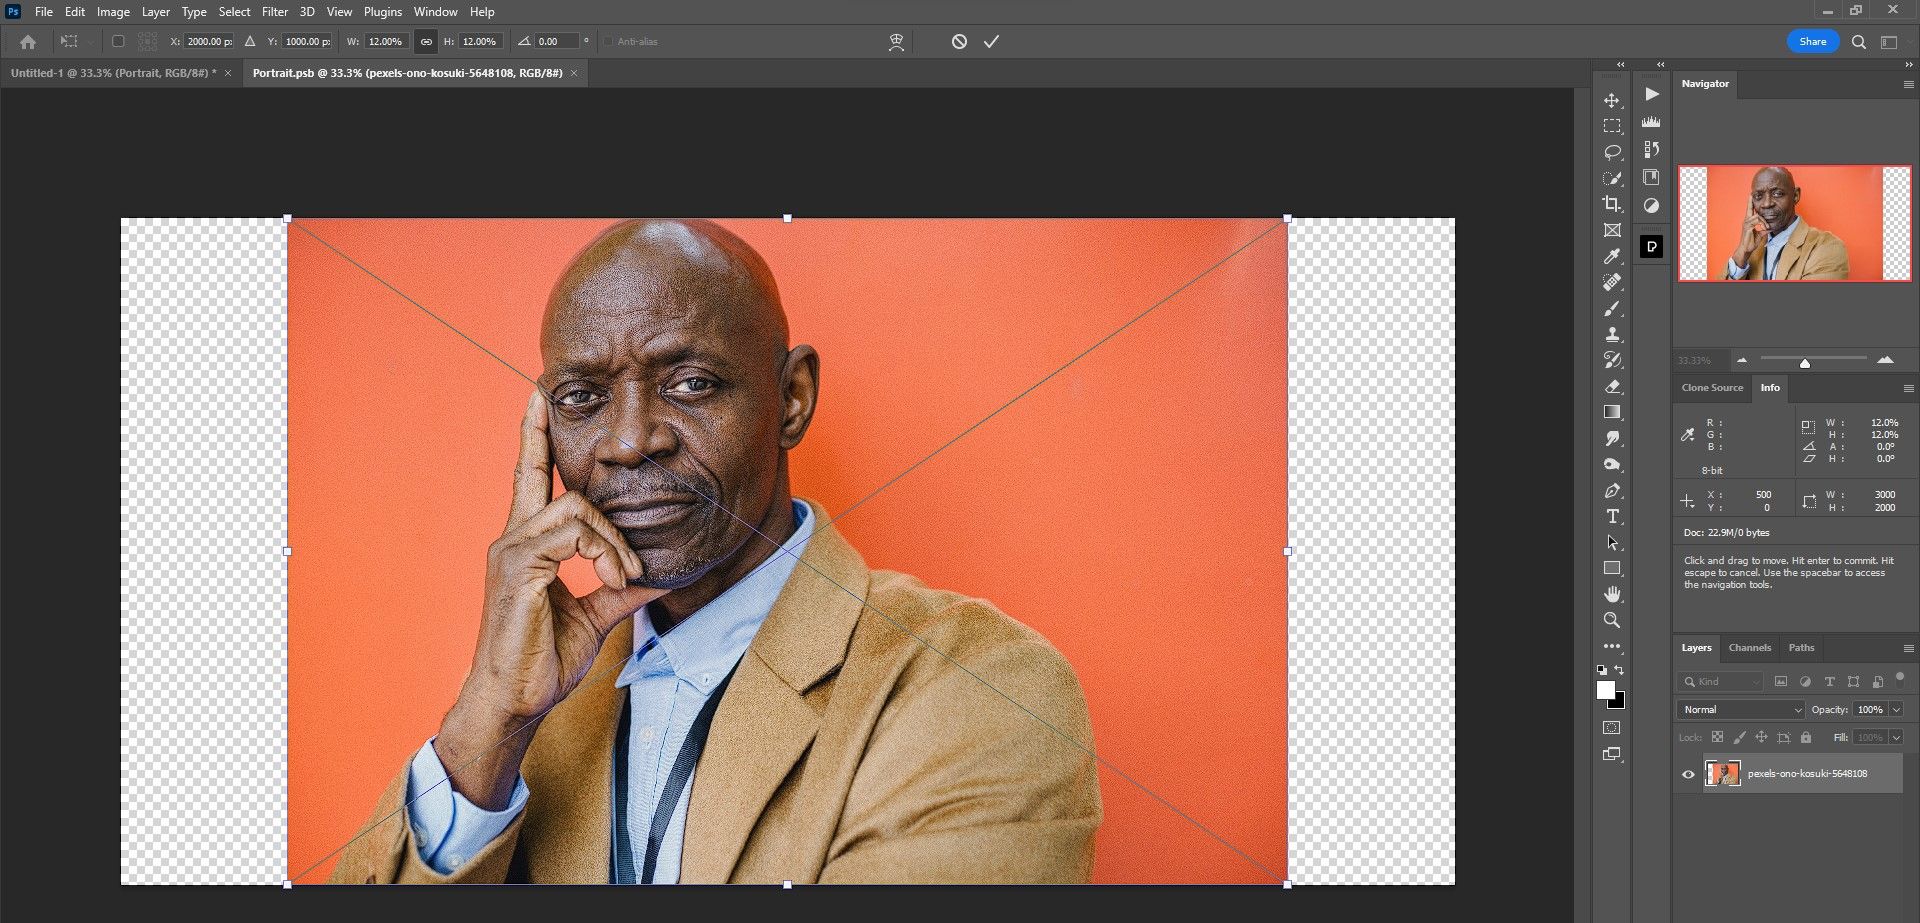
- Drag and drop your portrait picture file into the brand new portrait doc.
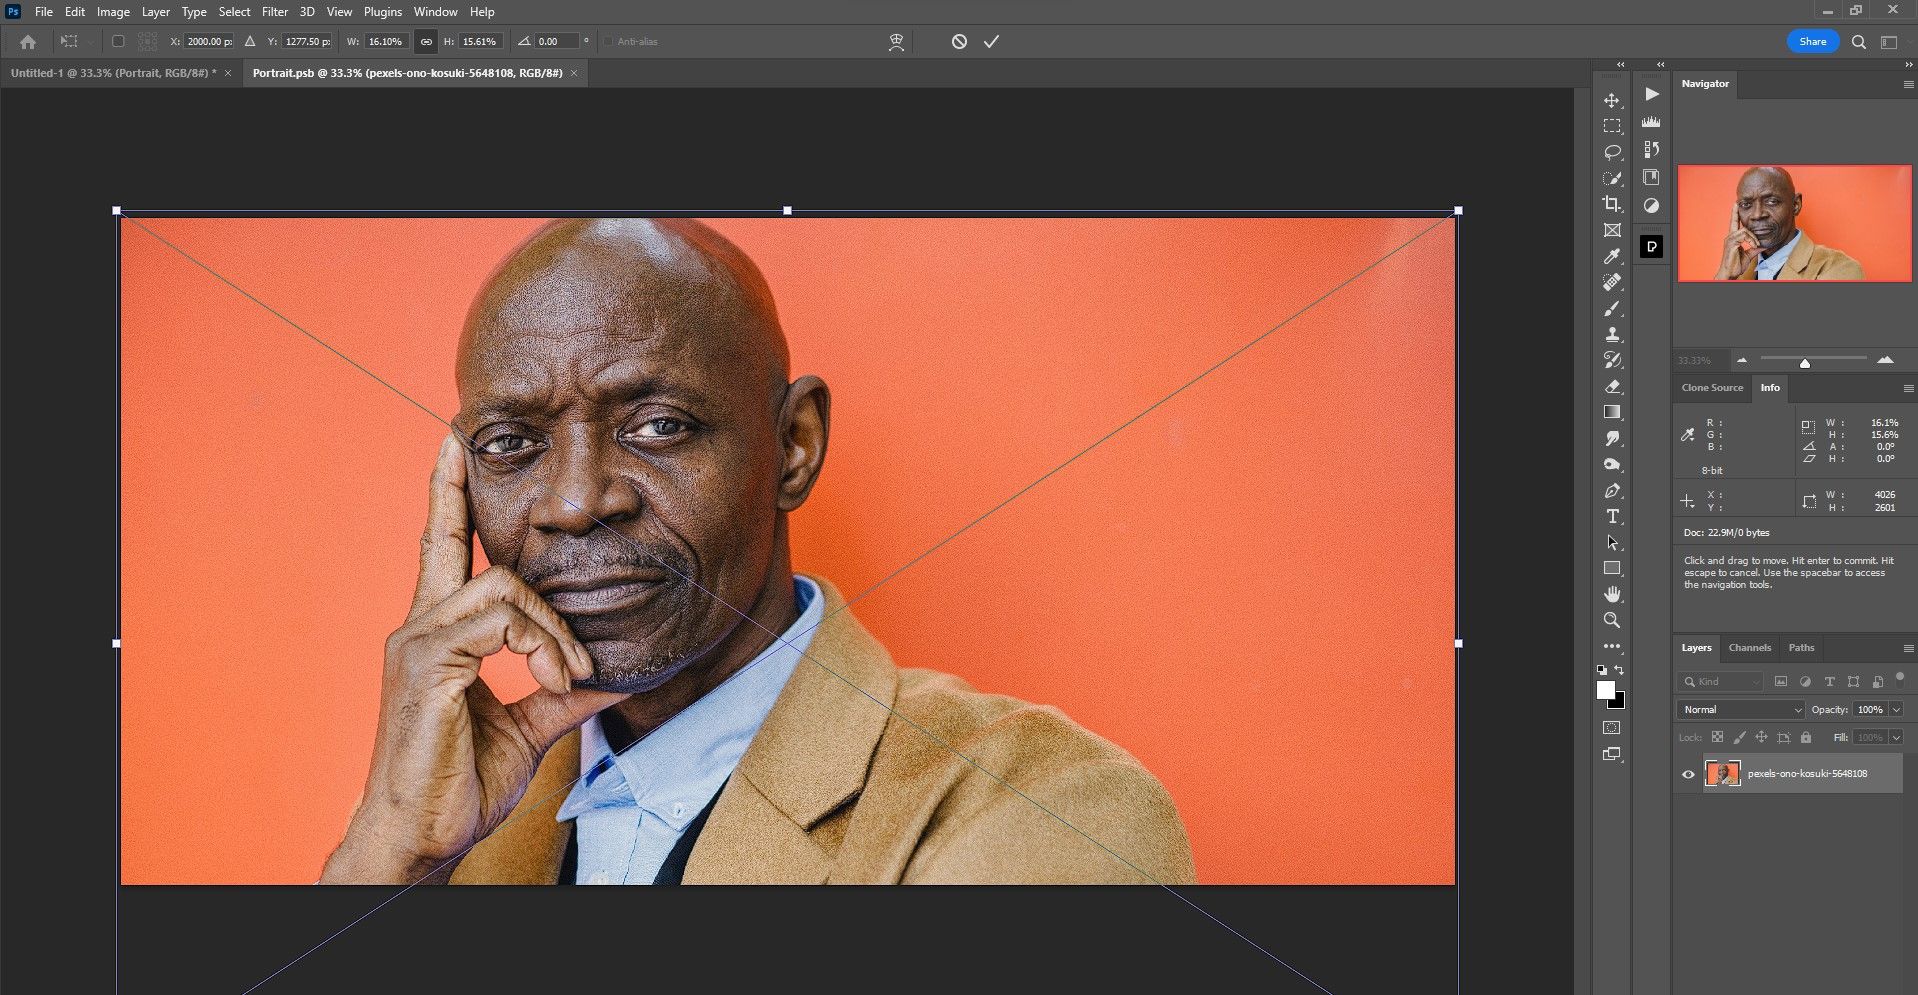
- change + click on and drag the 4 handles till the portrait is neatly positioned as proven. Then press Enter or the checkmark.
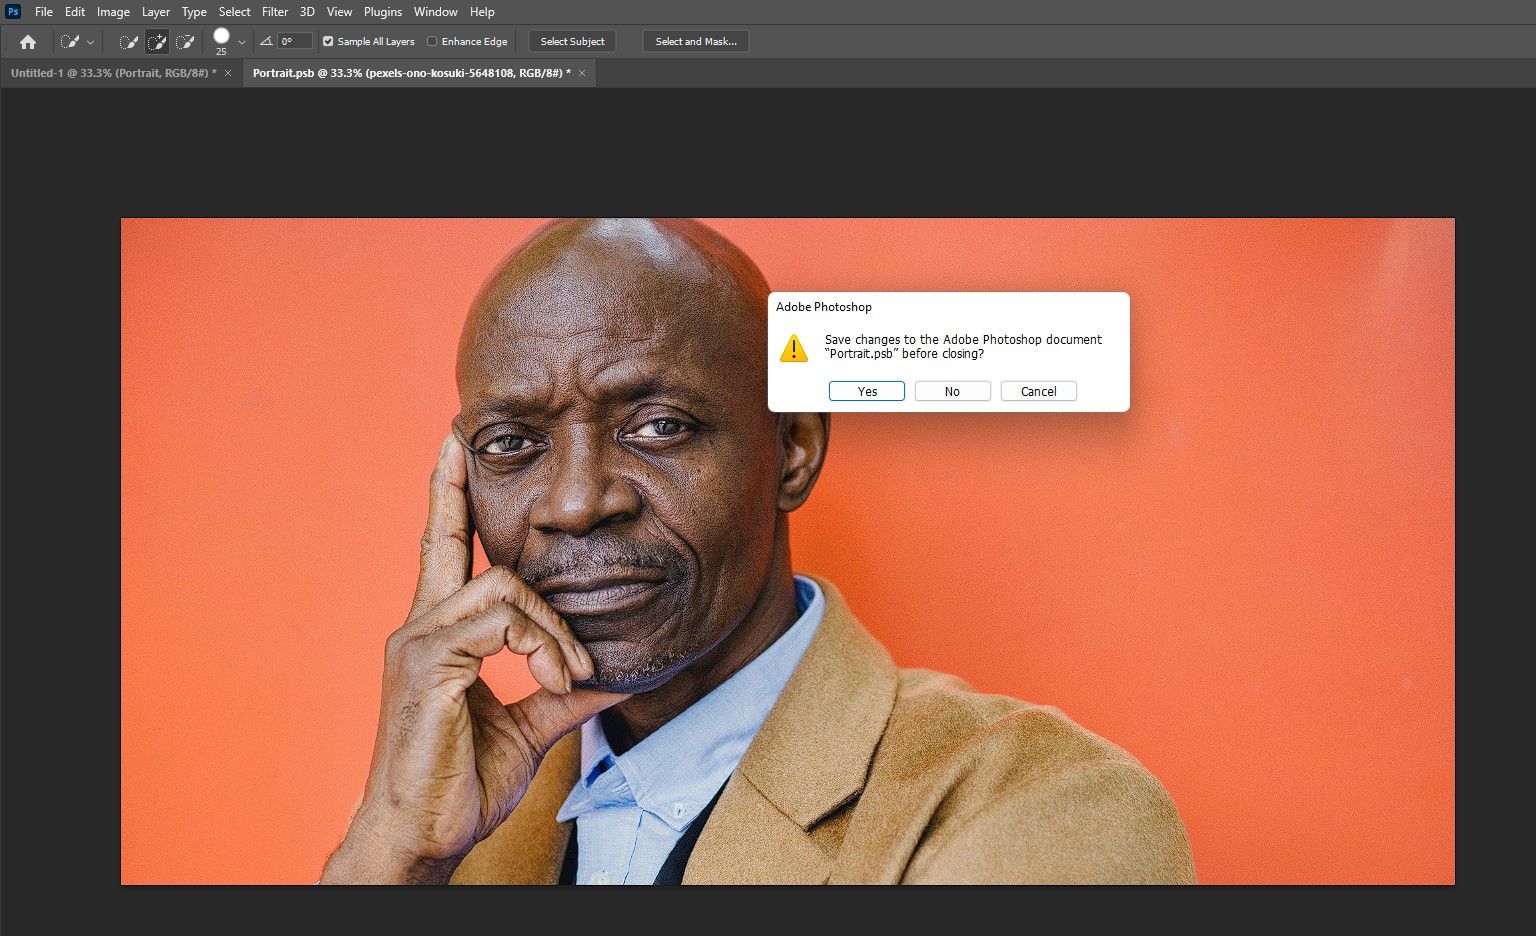
- Shut the portrait file by clicking X. Then select Sure to avoid wasting the file. The brand new doc will shut and you may be returned to the unique file with the portrait now loaded as a Sensible Object.
Step one is full. If you wish to be taught extra about Sensible Objects, we’ll present you the best way to use Adobe Digicam Uncooked as a Sensible Object in Photoshop.
Step 2: Portrait Changes
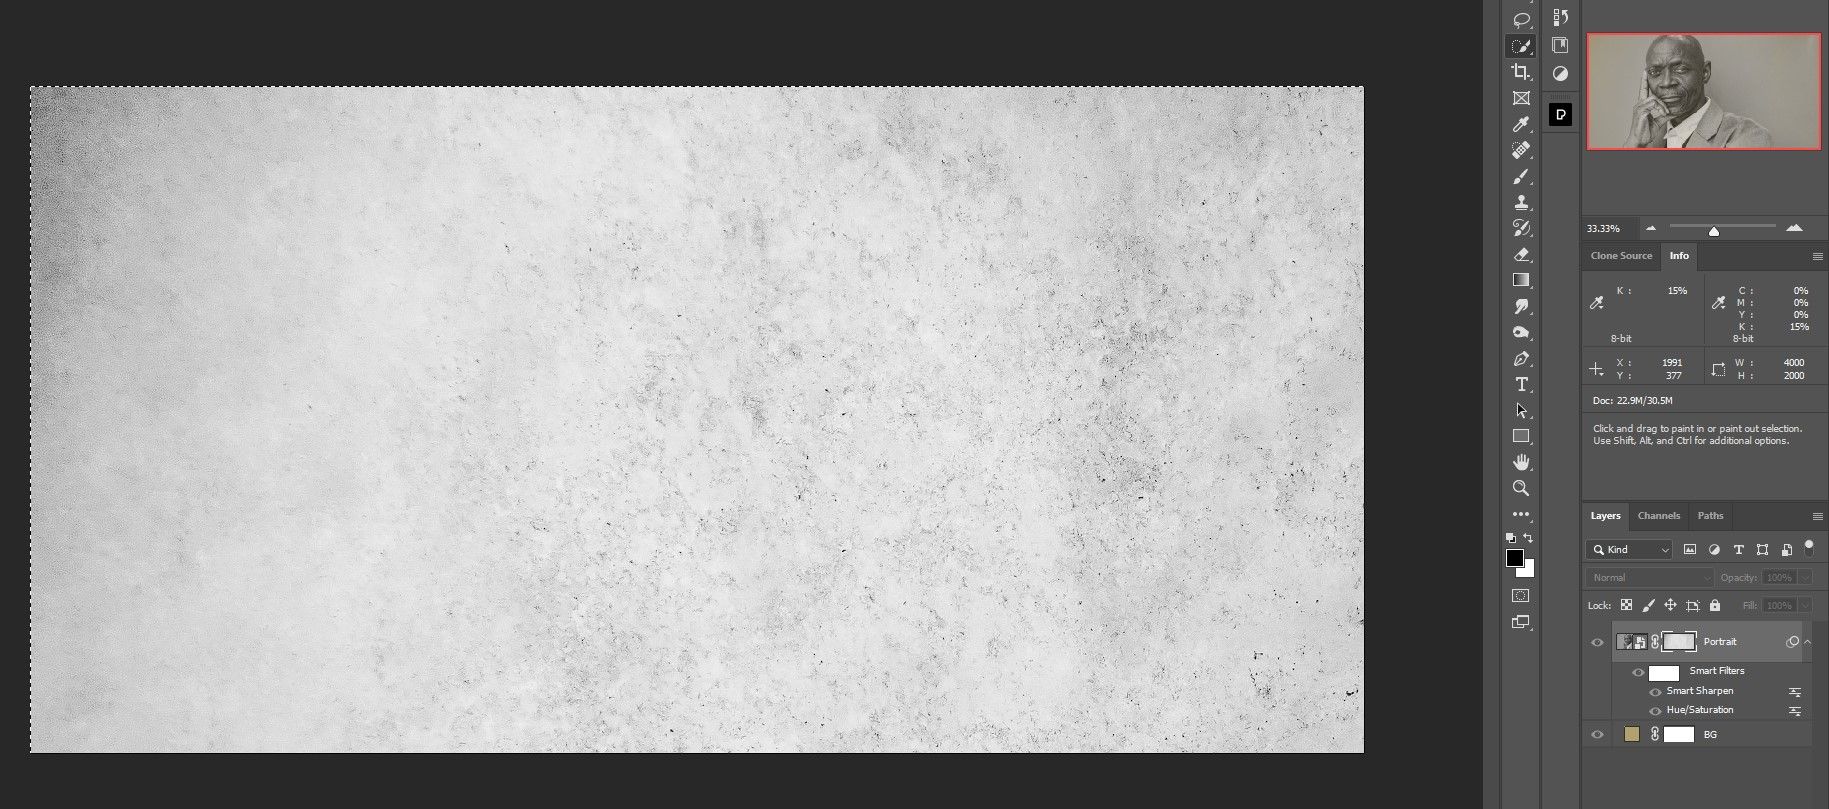
We’ll make some fast changes to the portrait layer now to arrange it for a classic look. First we take away all colours from the portrait. Then we add noise over the sharpener Software that helps to make the picture look previous. Then we’ll add a masks to the portrait layer to arrange the picture for textures.
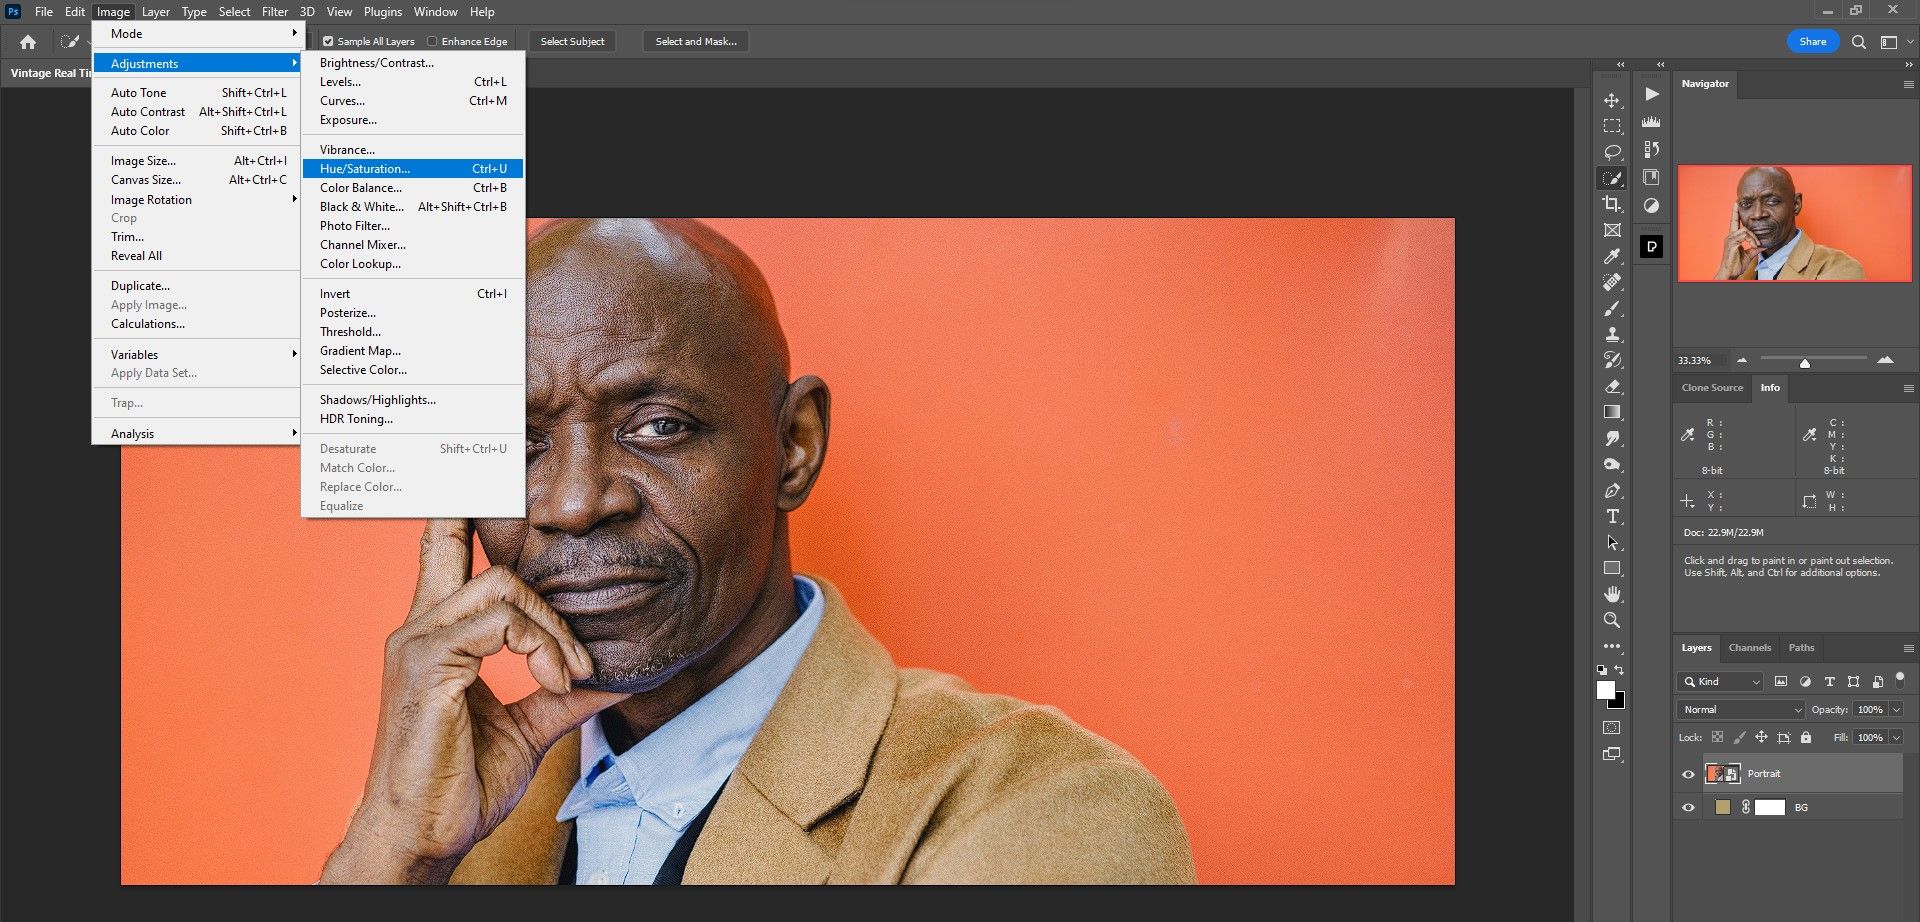
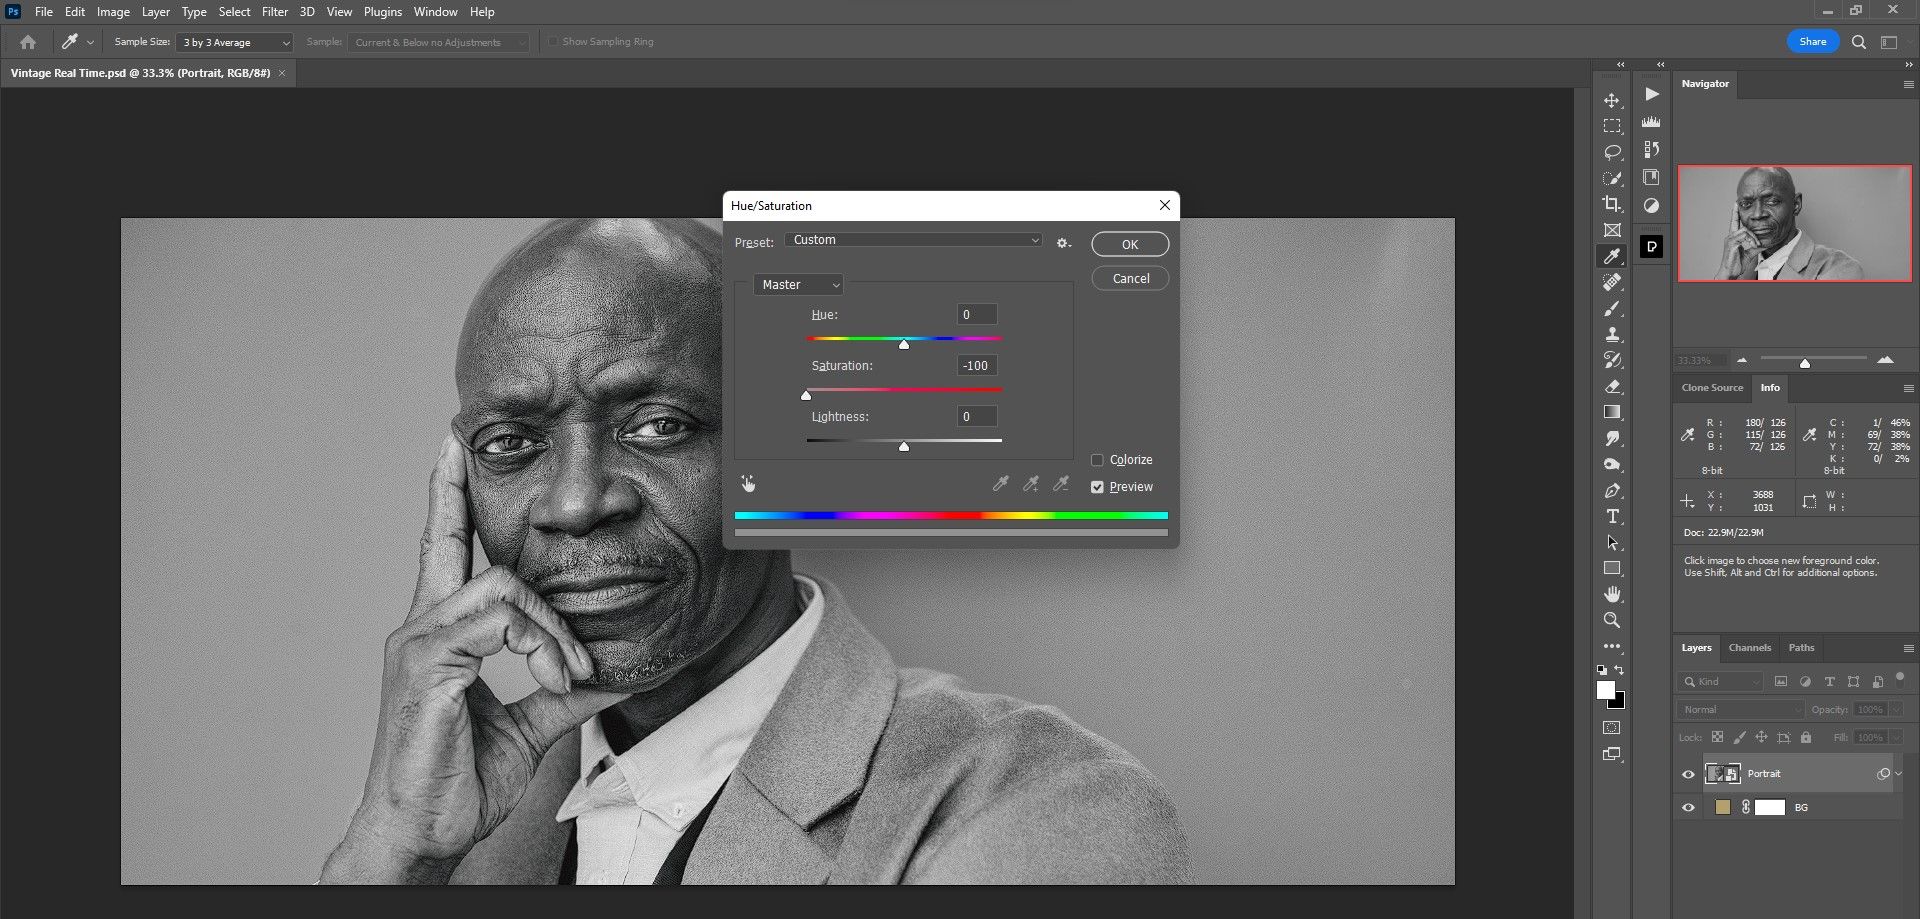
- With the Portrait layer chosen, go to image > changes > Hue/Saturation.
- change that saturation worth to -100. Press OK.
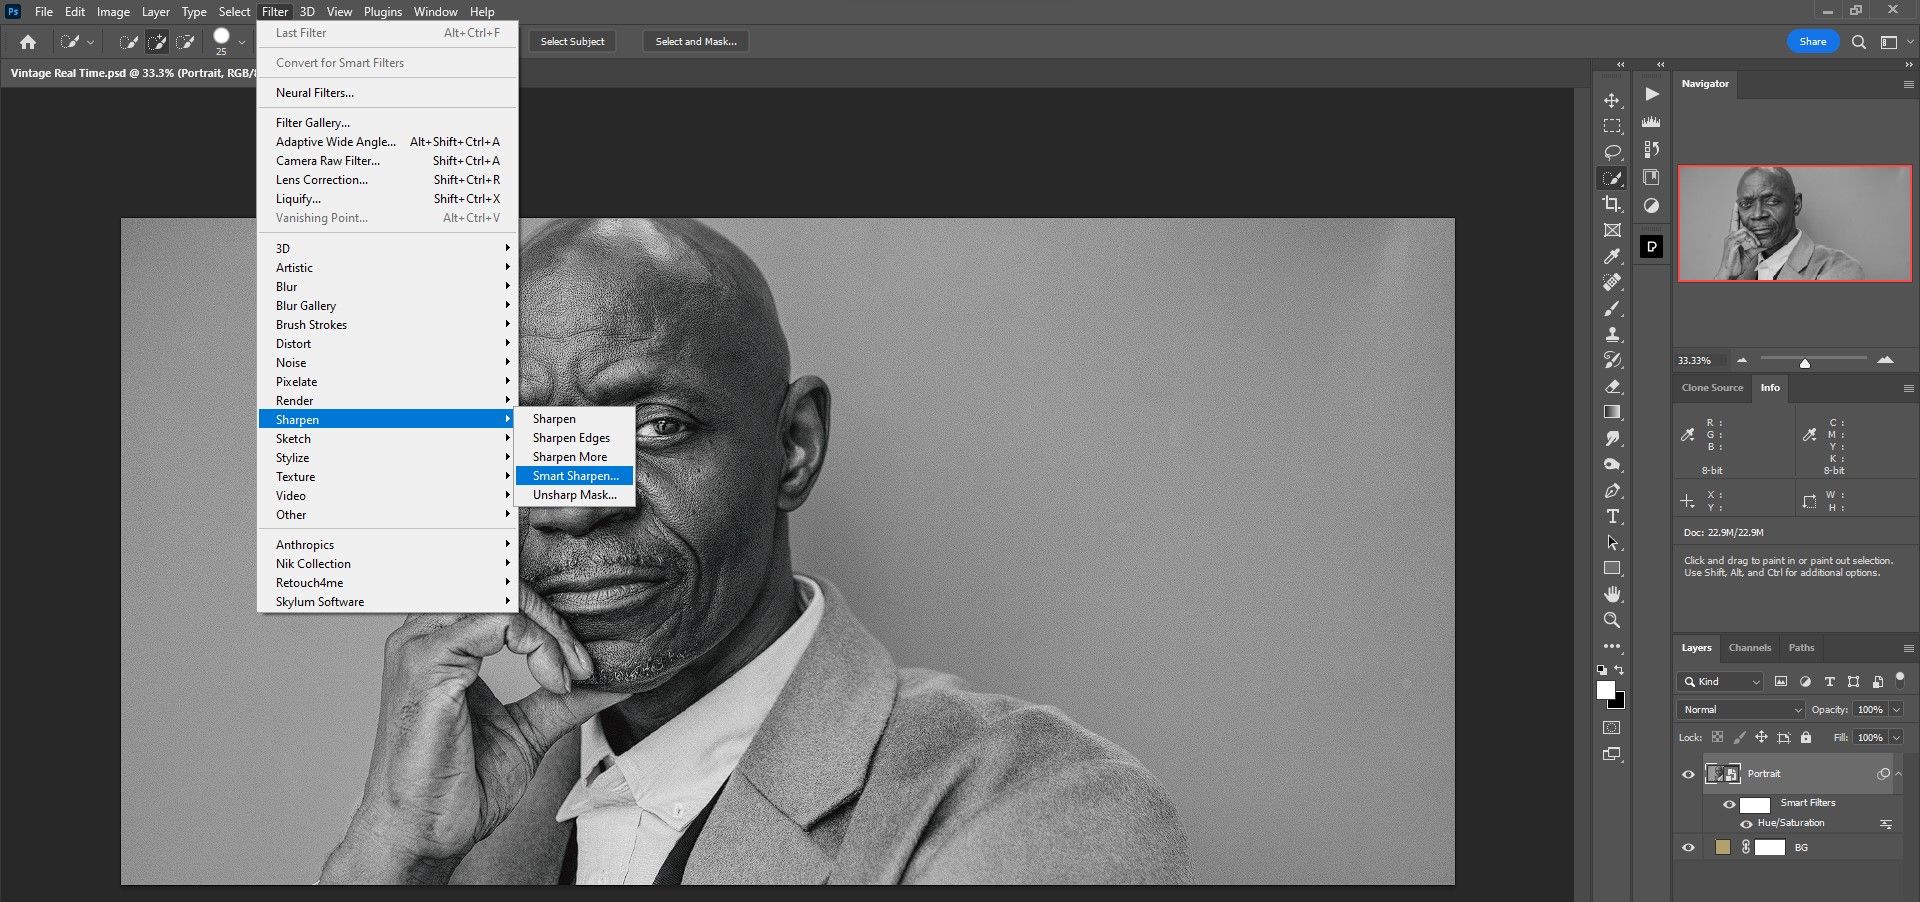
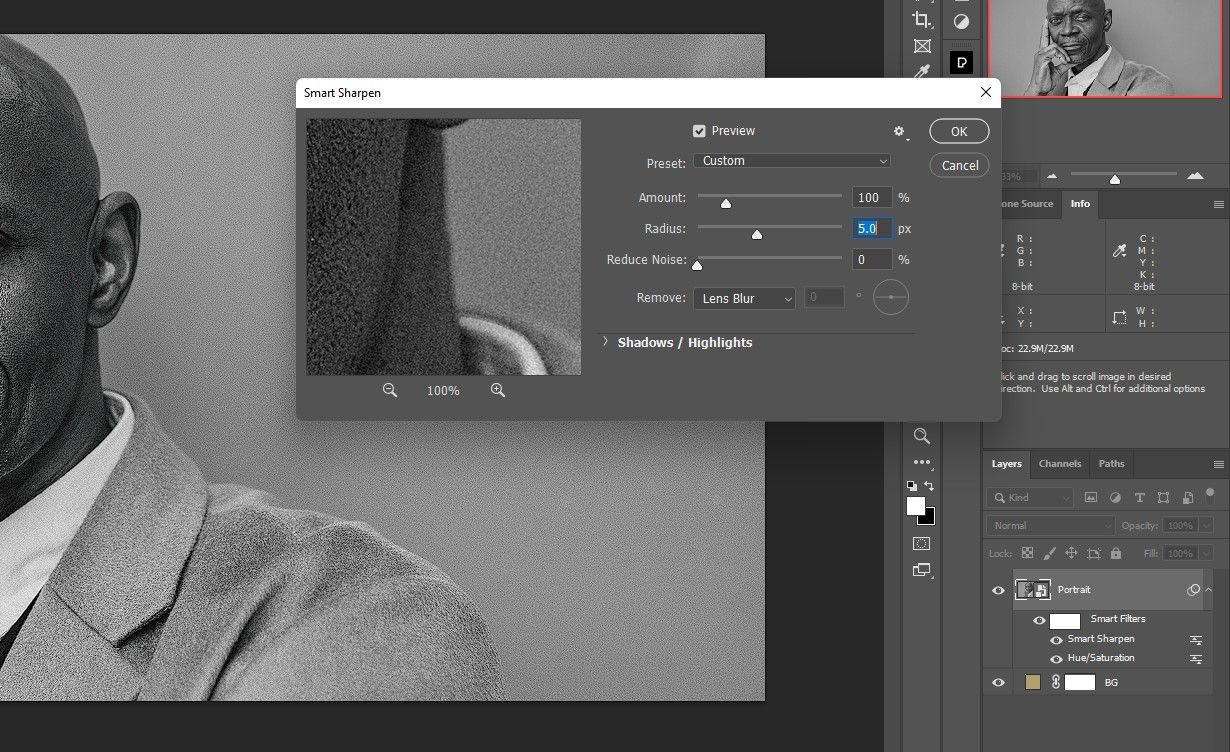
- Go to filter > Sharpen > sharpener.
- Change the values within the Sensible Sharpen panel accordingly: Quantity 100%; radius 5; scale back noise 0%. Press OK.
- With the Portrait layer chosen, click on the masks Icon within the backside nook in Photoshop to create a masks on the portrait layer.
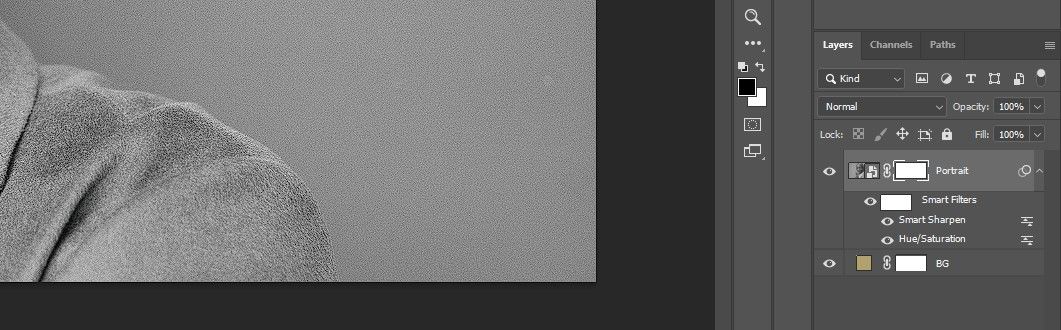
We’re now prepared so as to add the textures to make our portrait look aged.
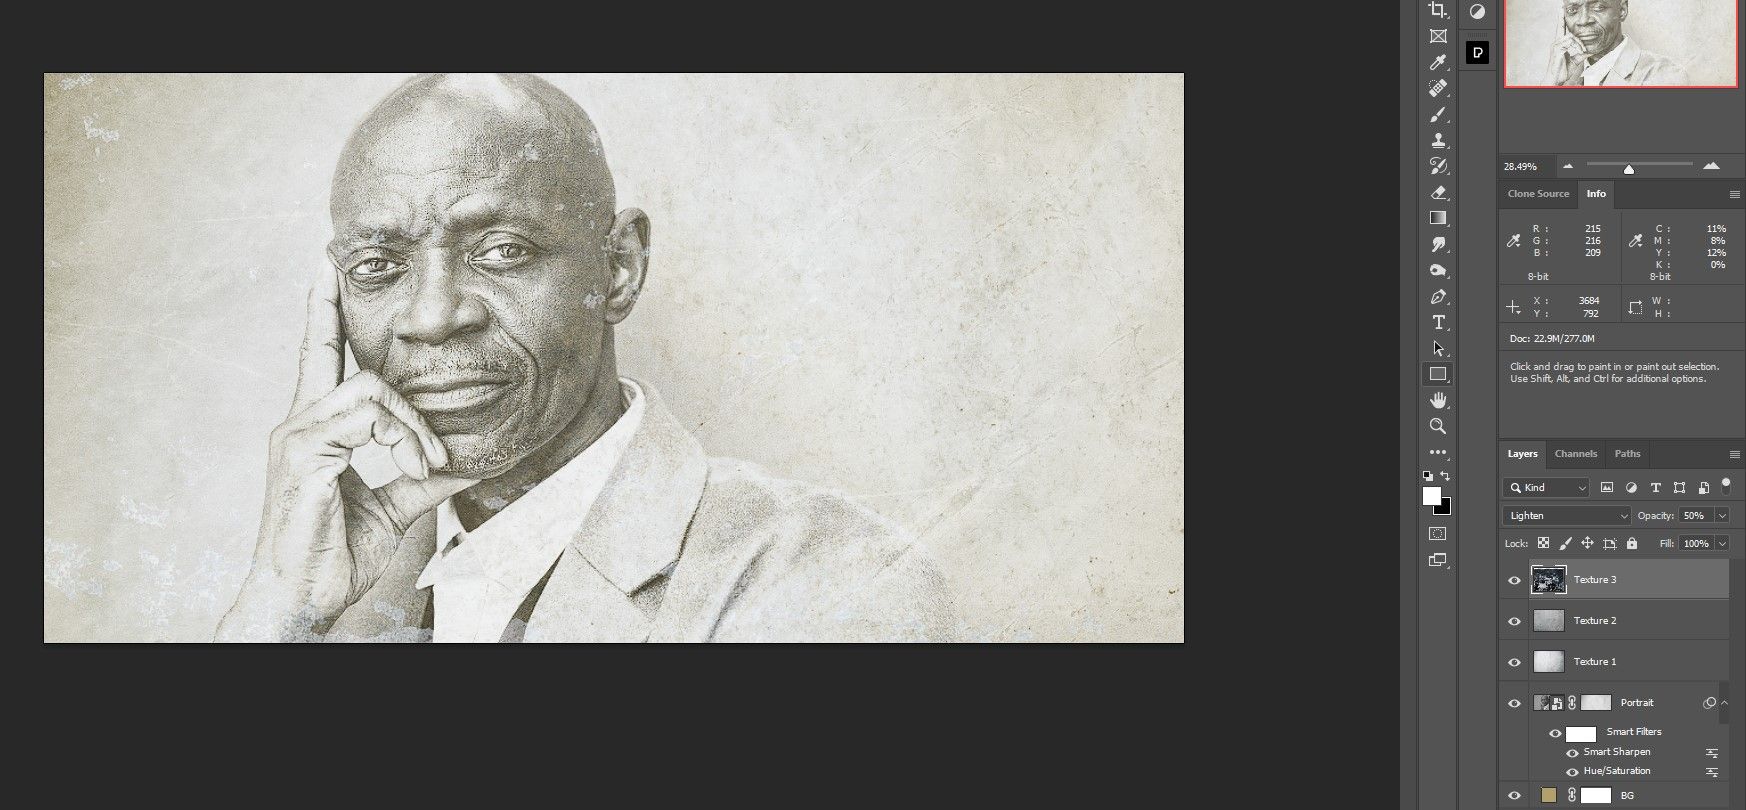
Step 3: Add the textures
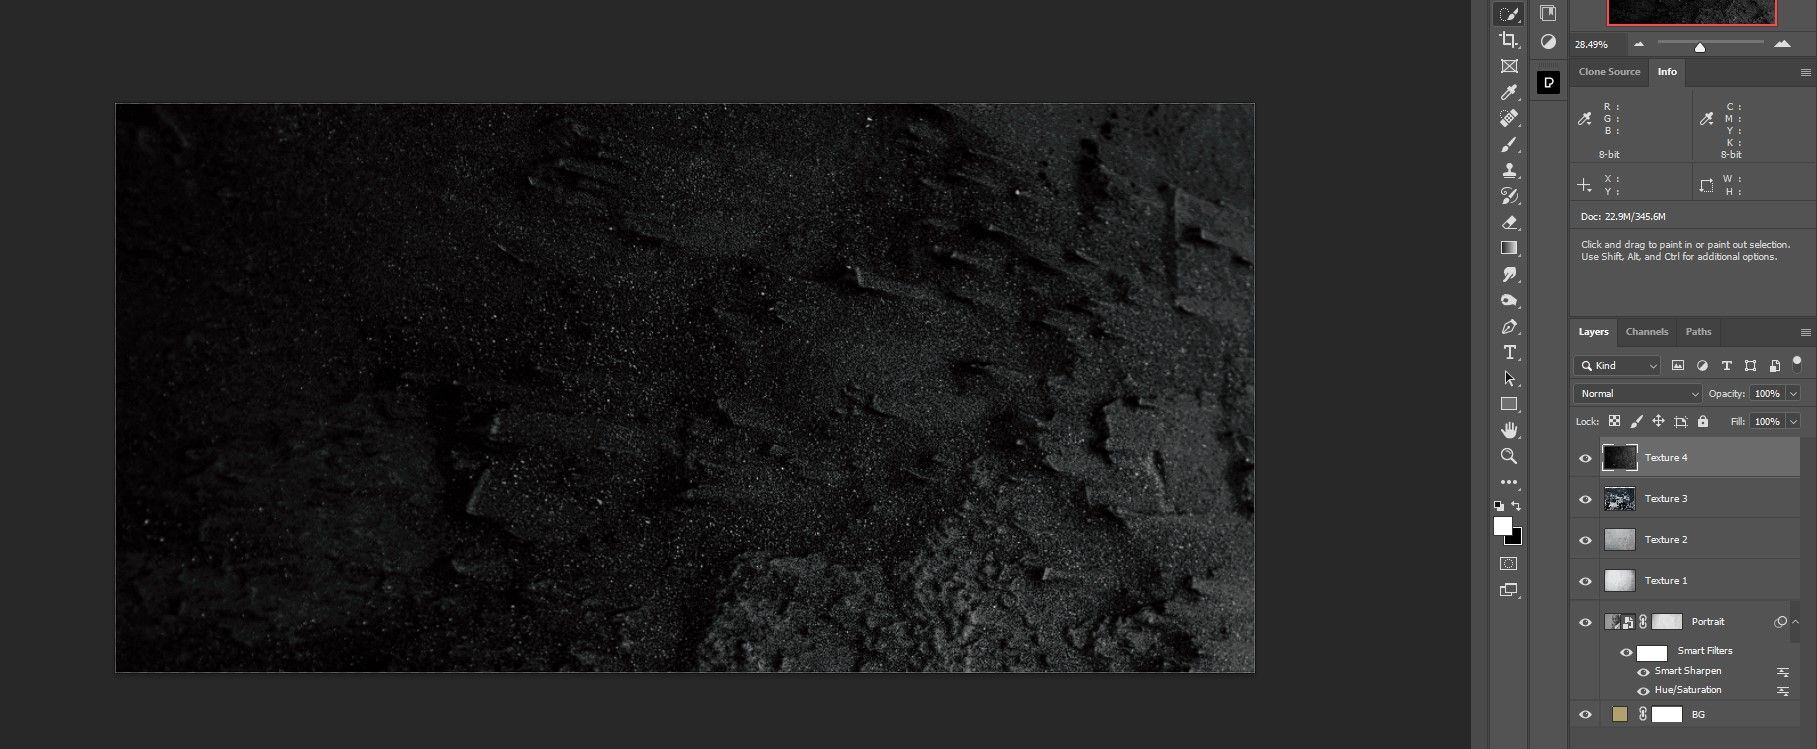
We now have renamed the feel information in keeping with the order wherein we are going to use them. We cannot stroll you thru the renaming course of as you merely must double-click every texture and rename it. It is price noting that we used a texture twice (texture as a aircraft the identical as texture 1).
- Open the grey layer proven under. We named the file “Texture as Layer”.
- Press ctrl + A to pick out the image and ctrl + C to repeat to a clipboard.
- Revert to the unique file. Press Outdated + left click on on the portrait layer masks.
- Press ctrl + v to stick the feel into the masks.
- Press ctrl + D to deselect the masks choice.
- Click on on the portrait layer (not the masks) to show the picture usually.
- Import texture 1 in Photoshop as a layer. Observe the identical steps to repeat the file as we simply did. We additionally present you the best way to copy Photoshop layers to a different doc.
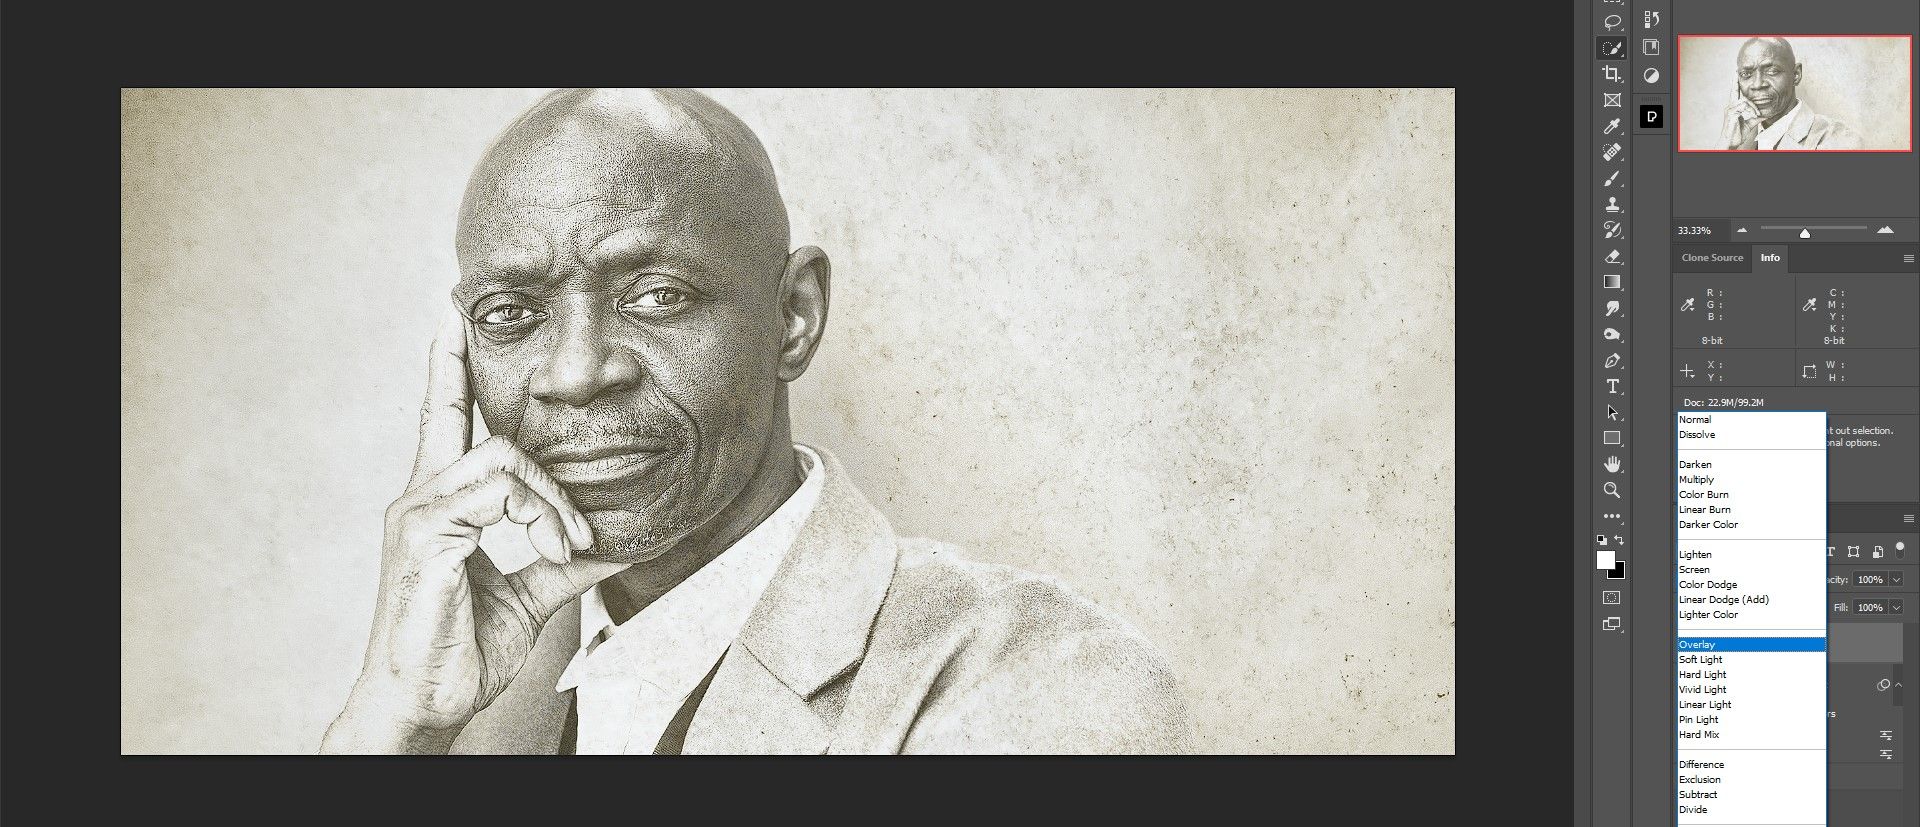
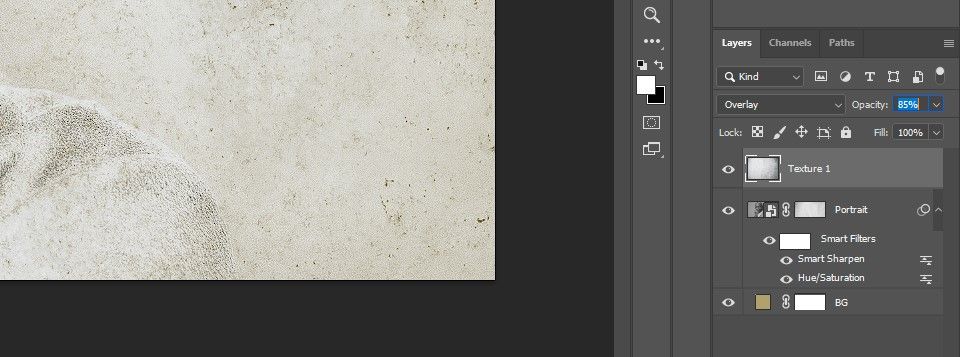
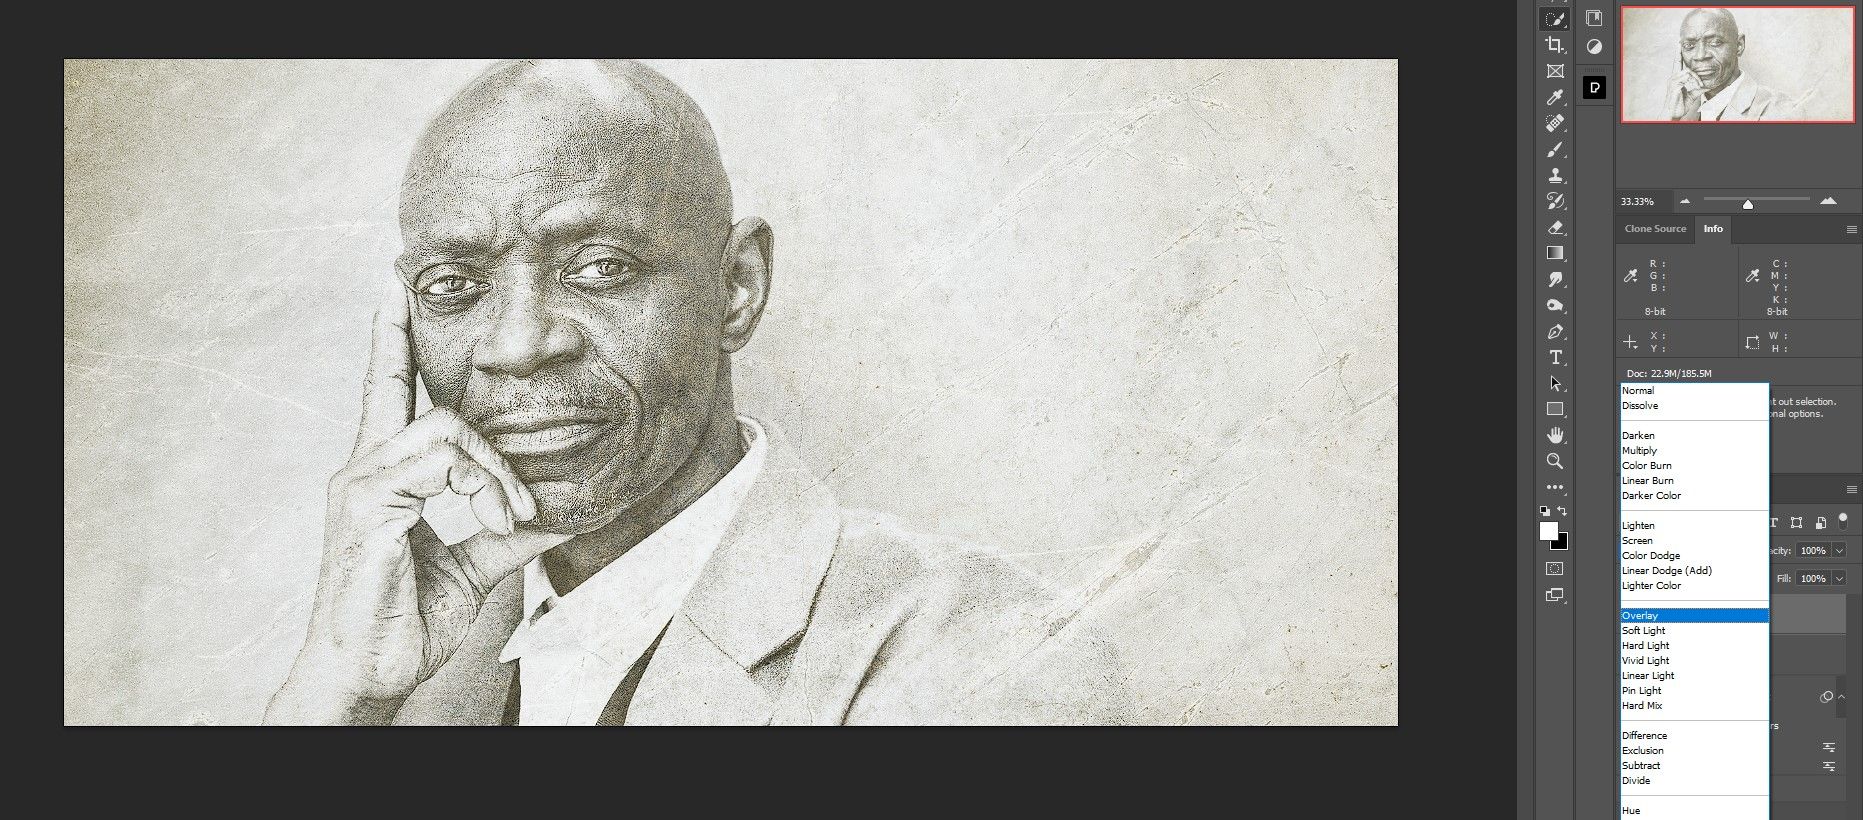
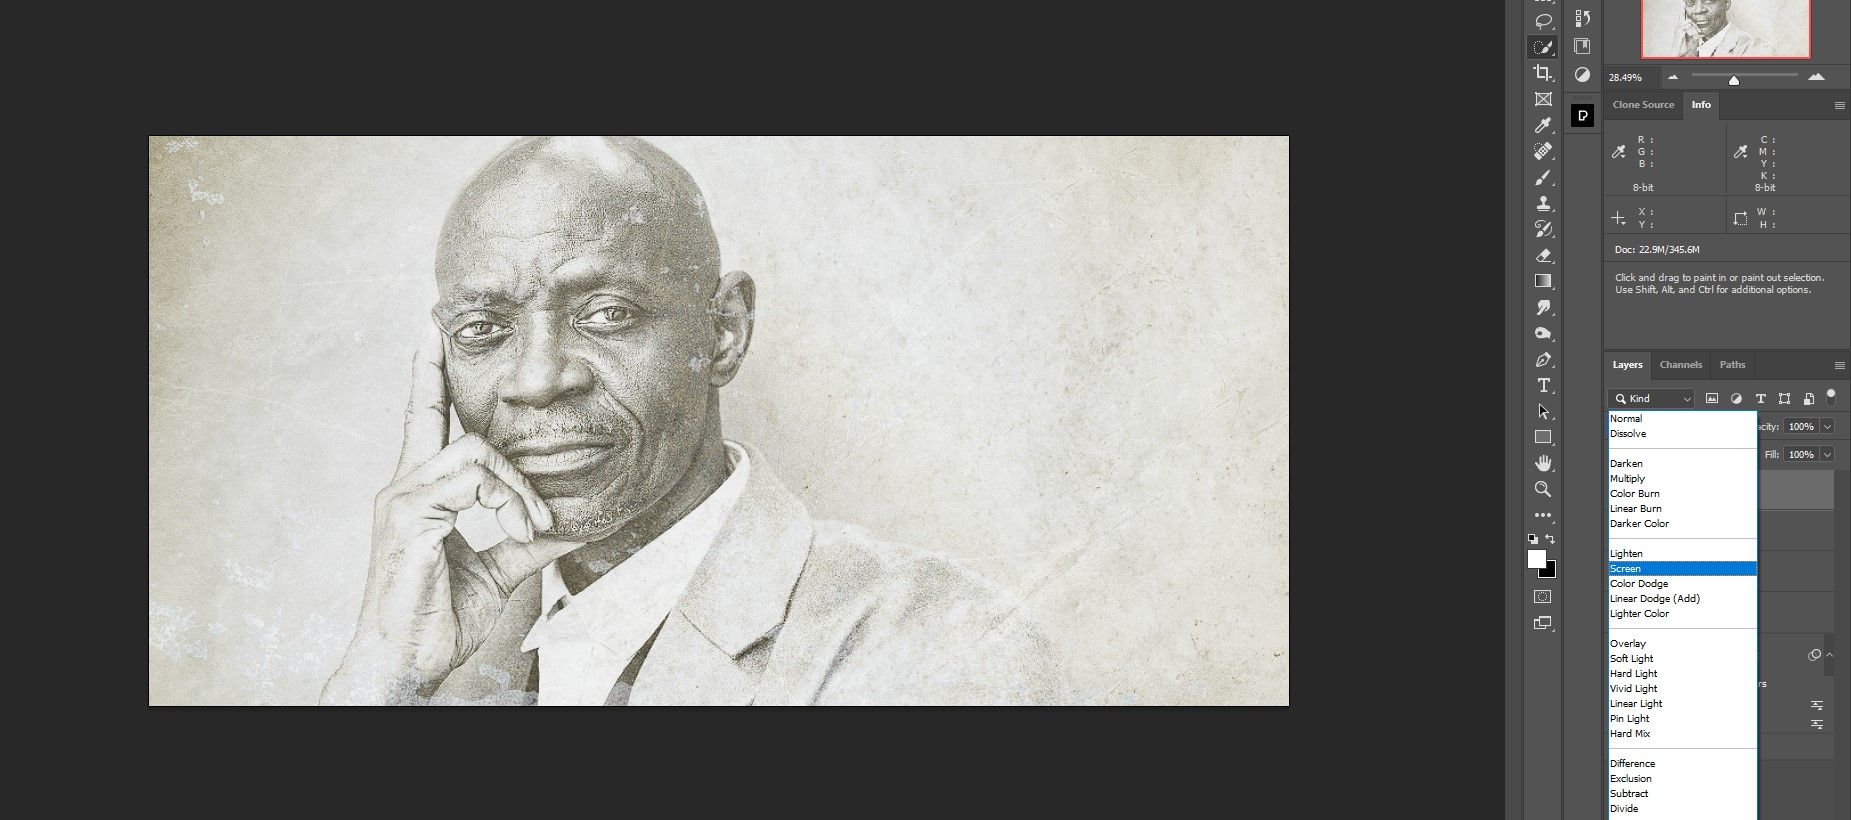
- Change the Mixing Mode to overlay.
- Flatten the Texture 1 layer opacity to 85%.
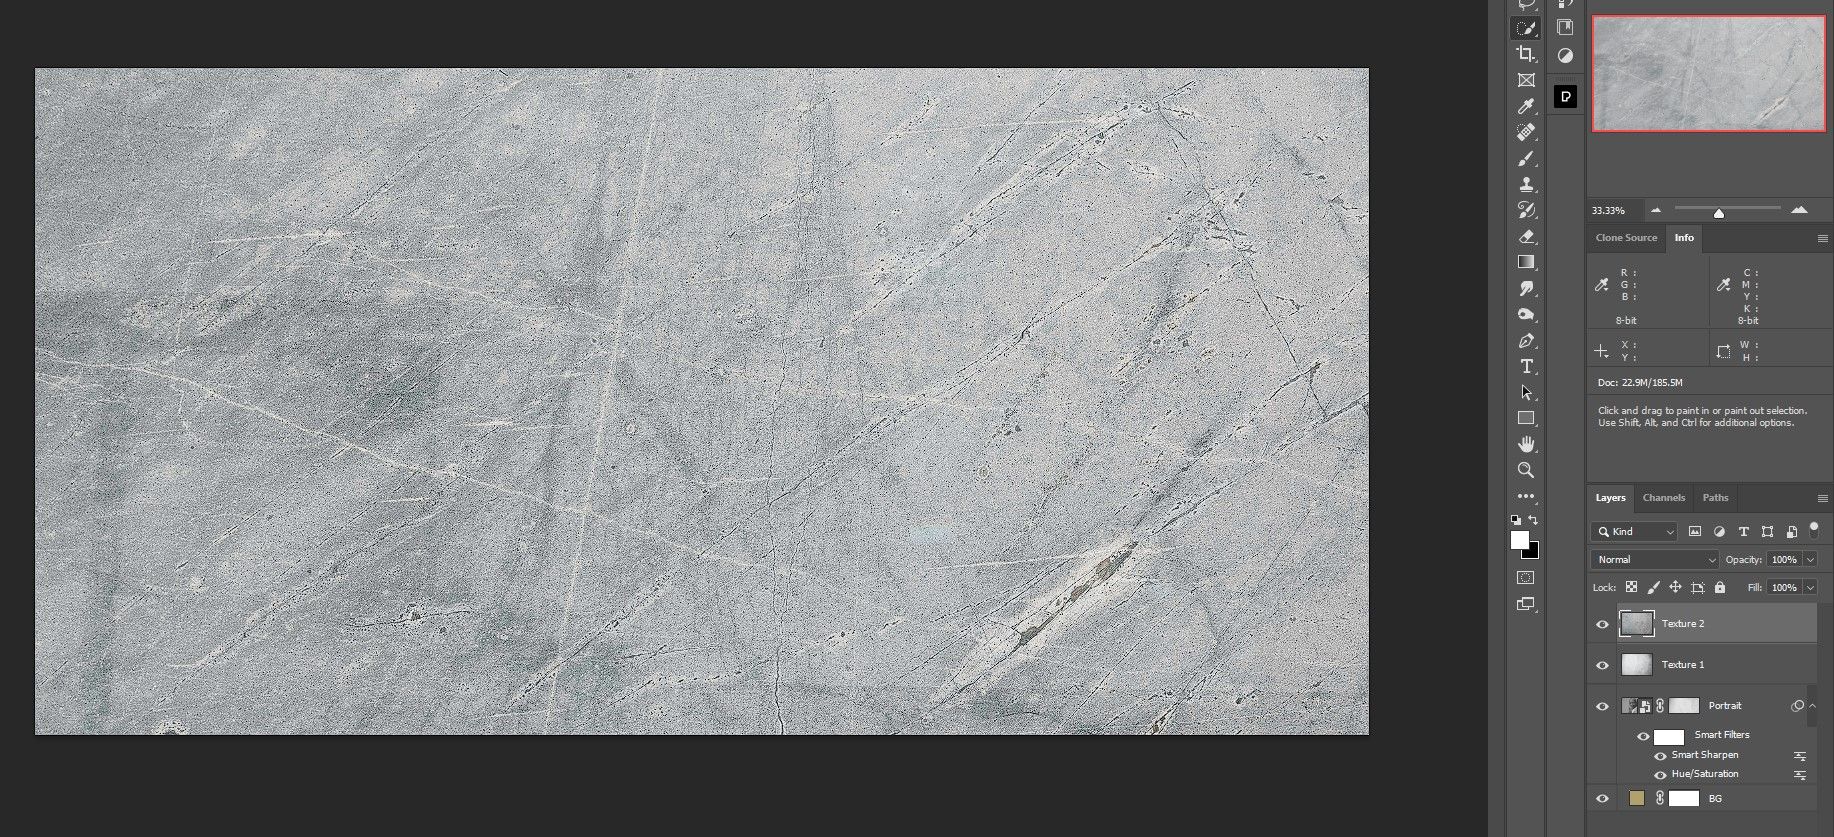
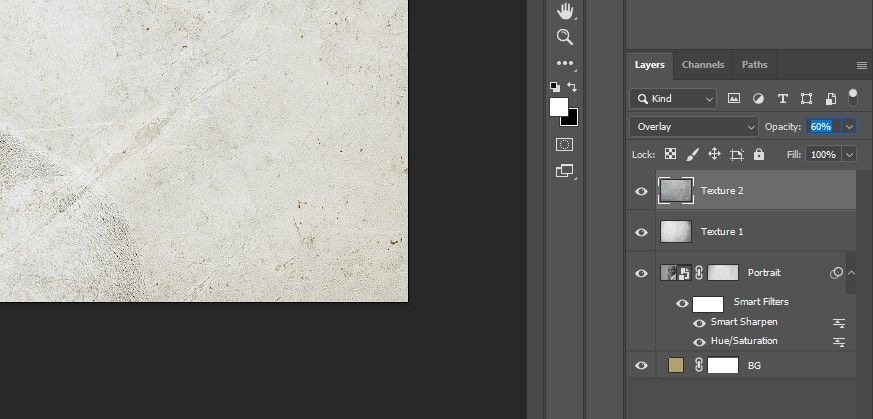
- Import texture 2 (the following grey texture) into the layer stack.
- Change the Mixing Mode to overlay.
- Flatten the feel 2 opacity to 60%.
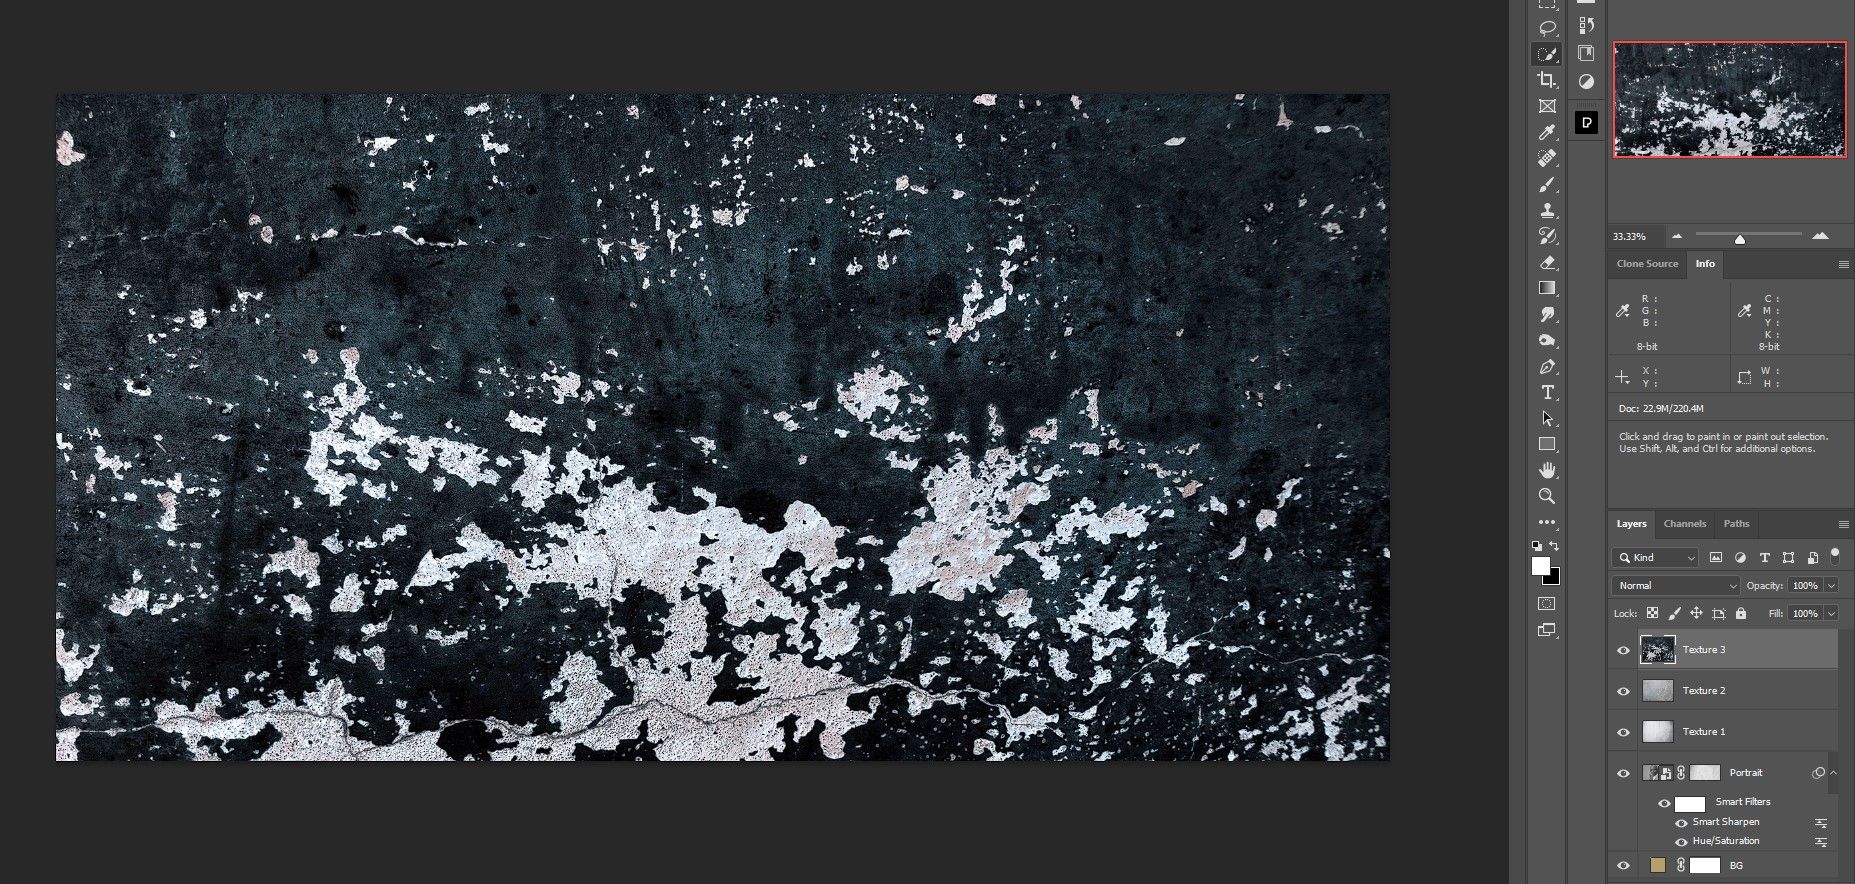
- Import texture 3 within the layer stack.
- Change the Mixing Mode to Facilitate.
- Flatten the Texture 3 layer opacity to 50%.
- At this level, the person’s face might be too distorted. Press ctrl + T for the rework Software and transfer the layer as proven under.
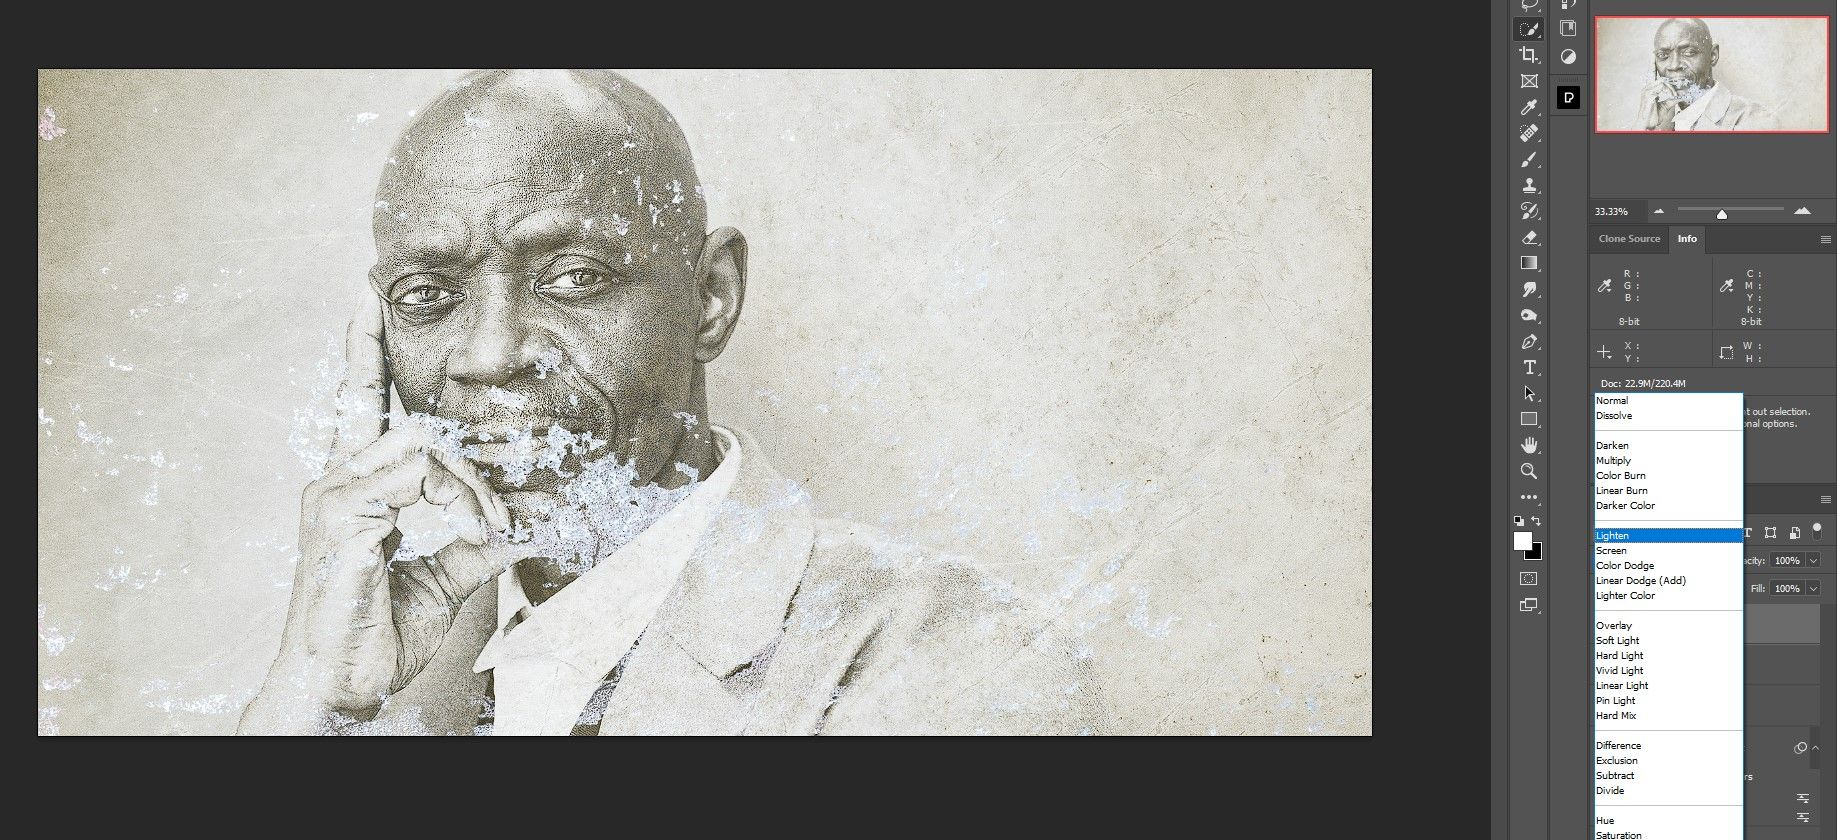
- Import texture 4 within the layer stack.
- Change the Mixing Mode to Display screen.
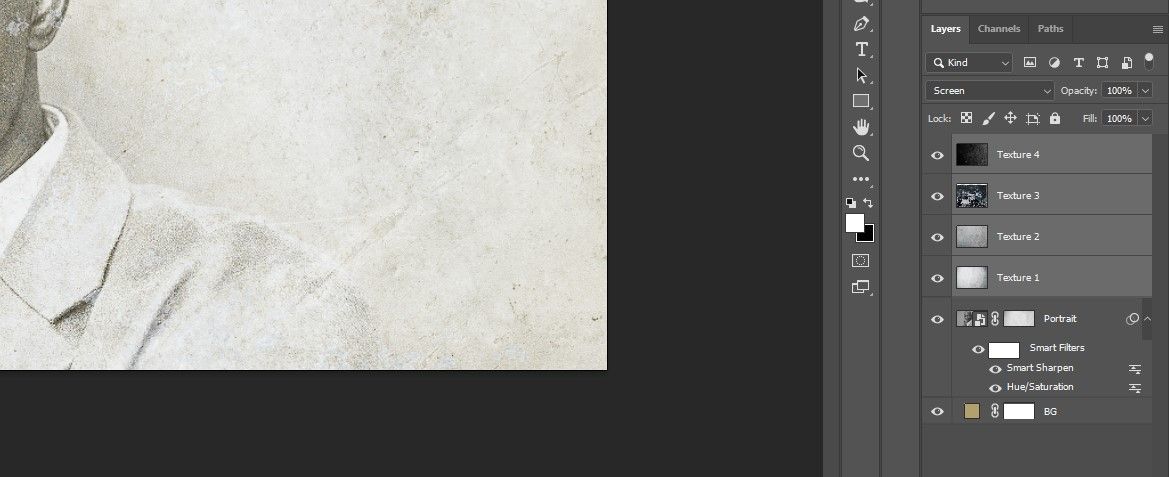
- Choose the Texture 4 layer and left click on on it texture 1 to pick out all texture layers.
- Press ctrl + G to group the layers right into a folder. We named the folder “Textures”.


With the textures organized, we’re prepared for the ultimate steps. If wanted, we’ll present you just a few methods to resize layers in Photoshop.
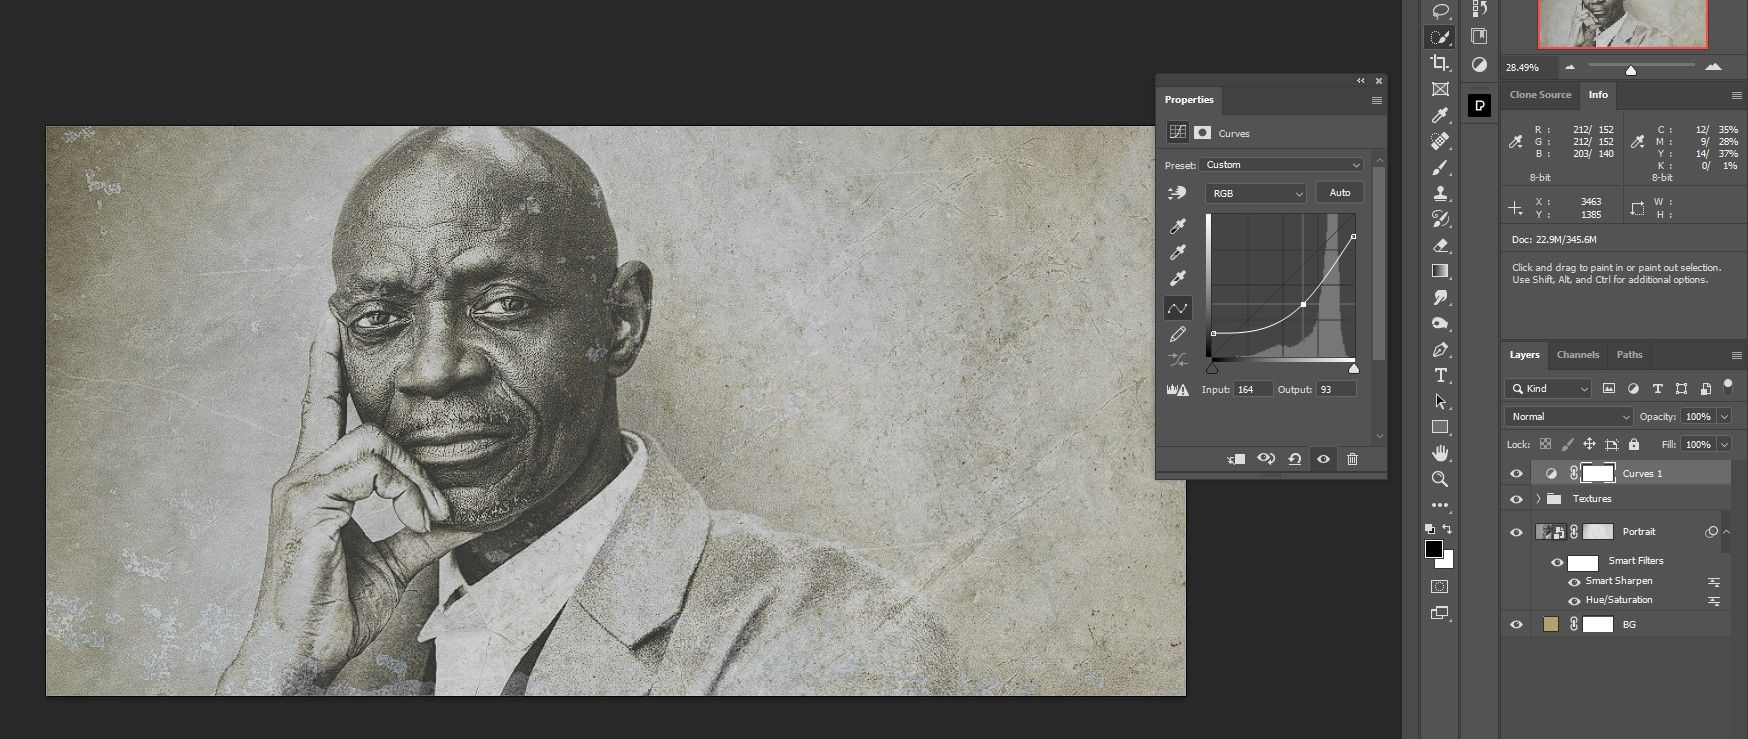
Step 4: Coloration Correction
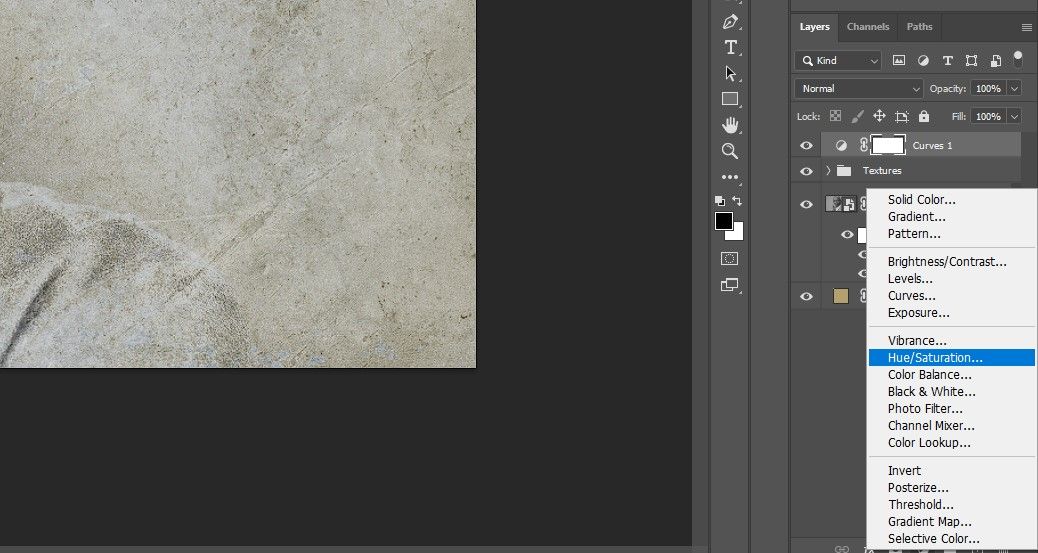
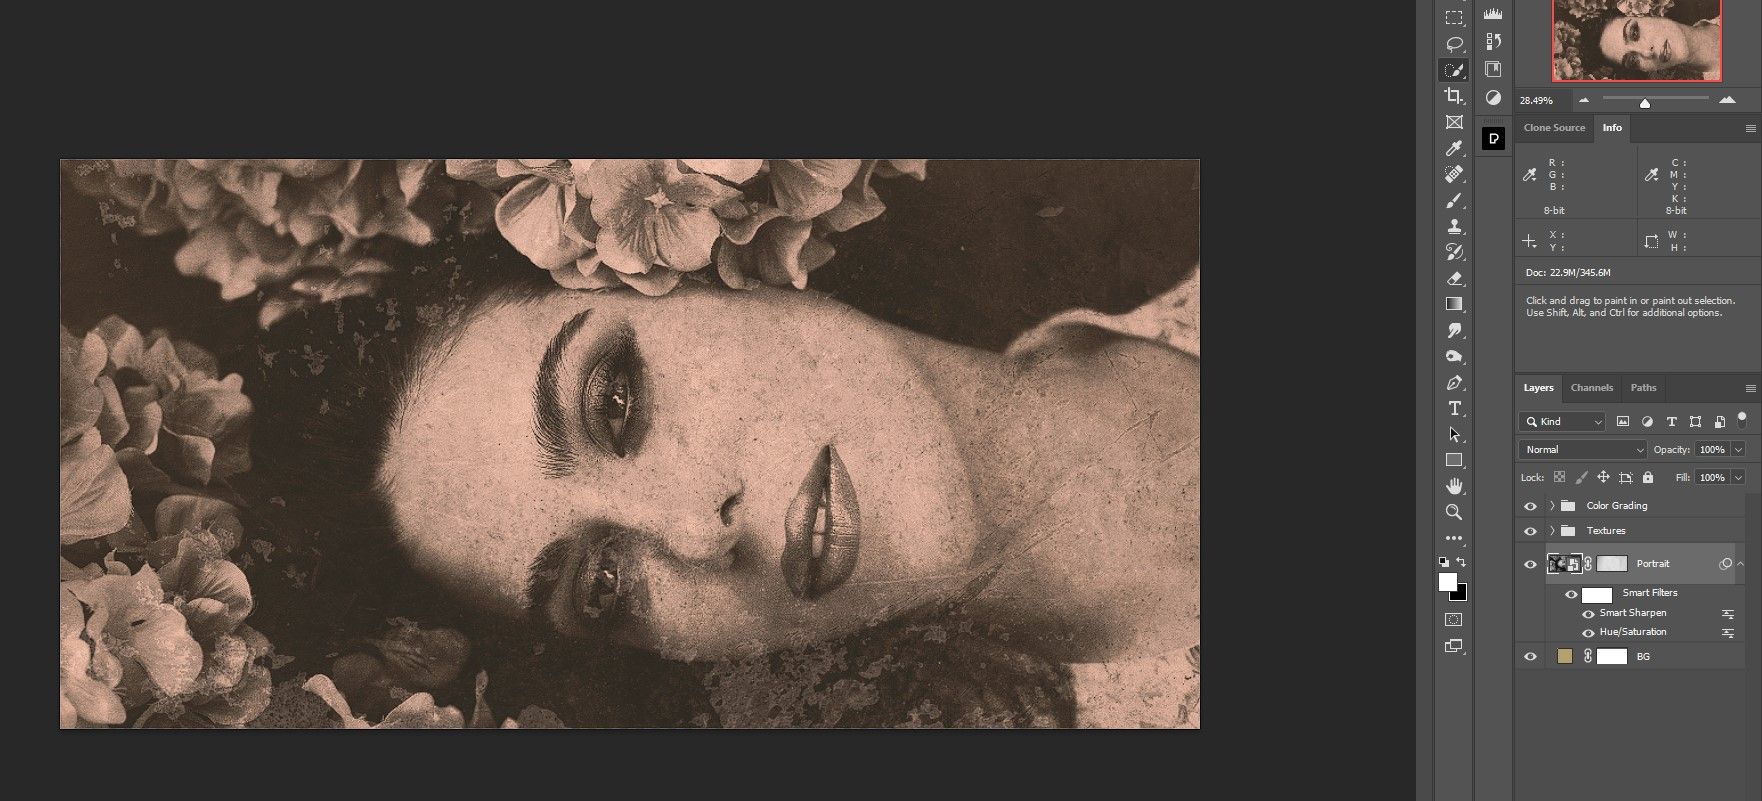
Coloration correction is often the ultimate step with regards to modifying in most picture modifying workflows. For our ending touches, let’s create one curves Layer and Stack a Hue/Saturation layer together with two colour search tables. The result’s a full classic picture impact.
- With the textures folder chosen, create one curves adjustment layer.
- We need to increase the blacks and decrease the whites as proven. Use the handles to get an analogous impact.
- A… create Hue/Saturation adjustment layer.
- Cut back the saturation to -50.
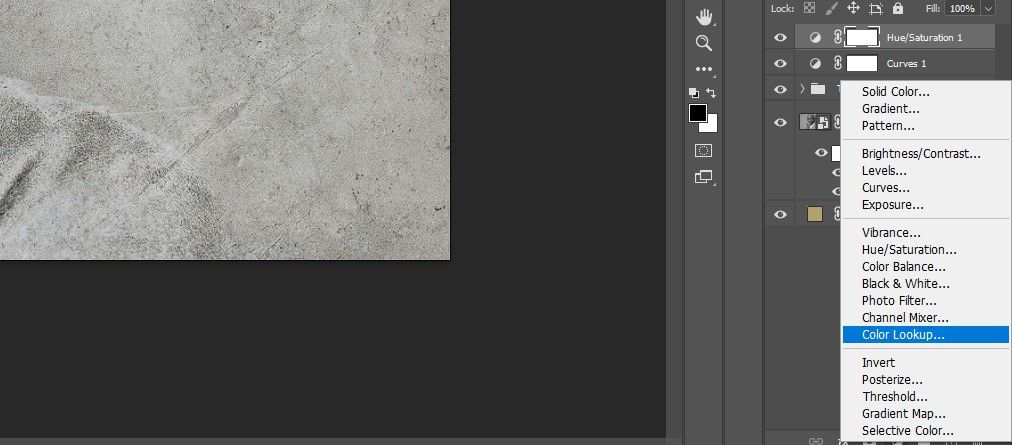
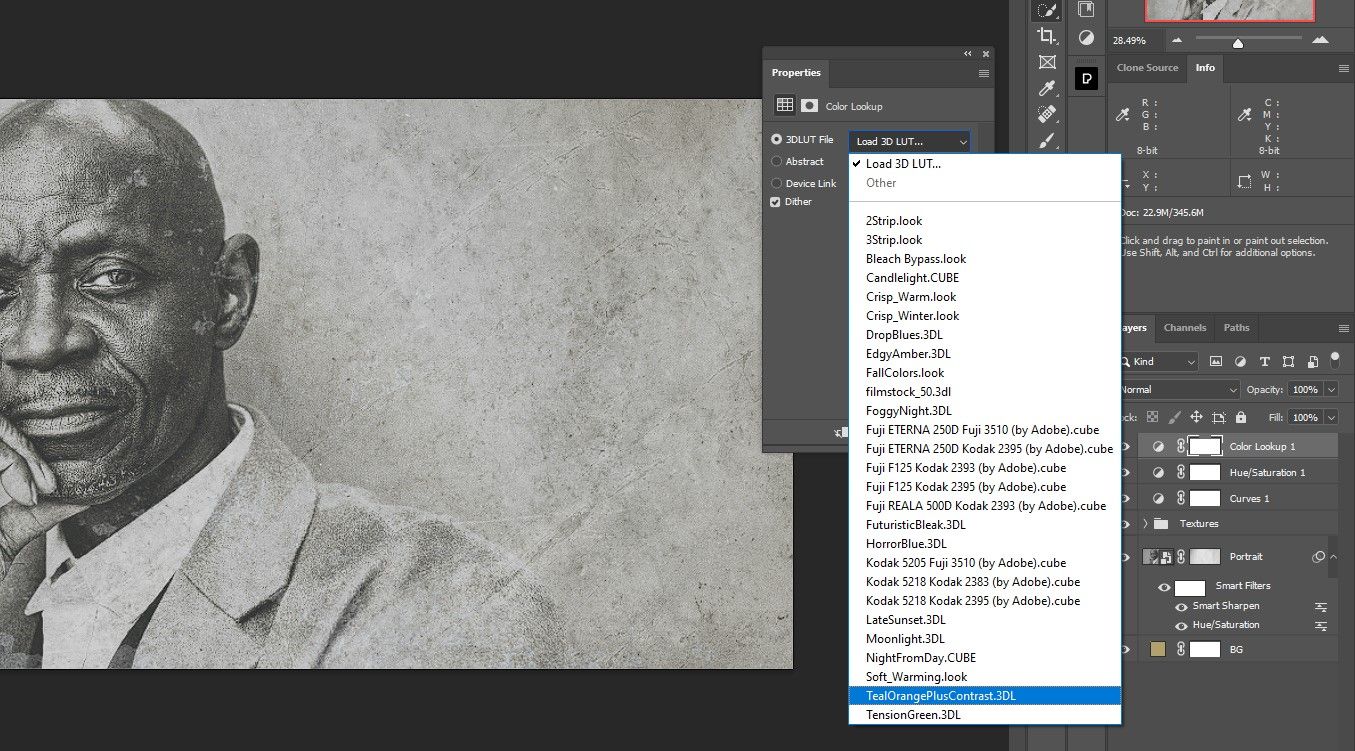
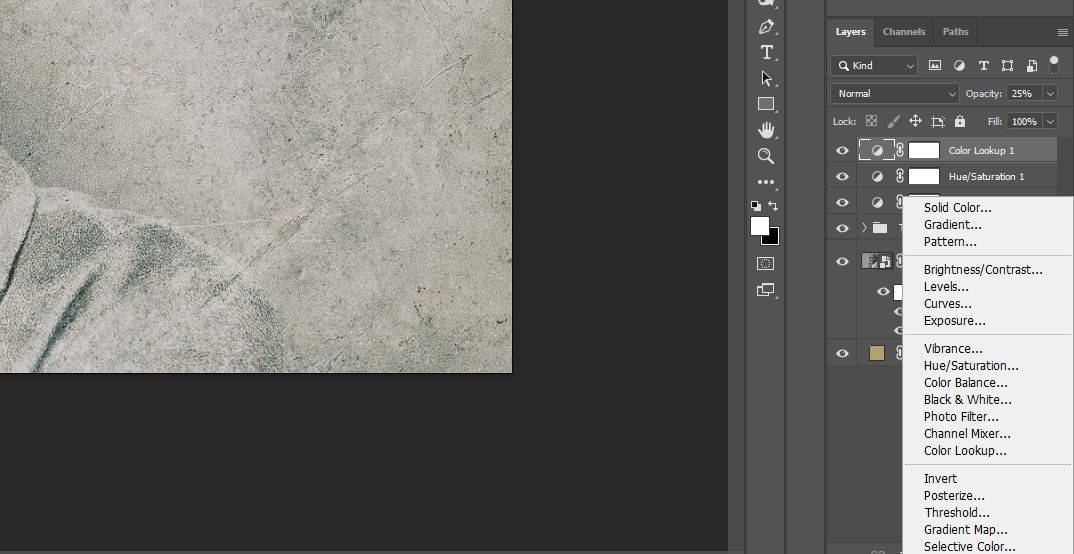
- A… create colour search Desk.
- Select Teal plus distinction from the drop down menu.
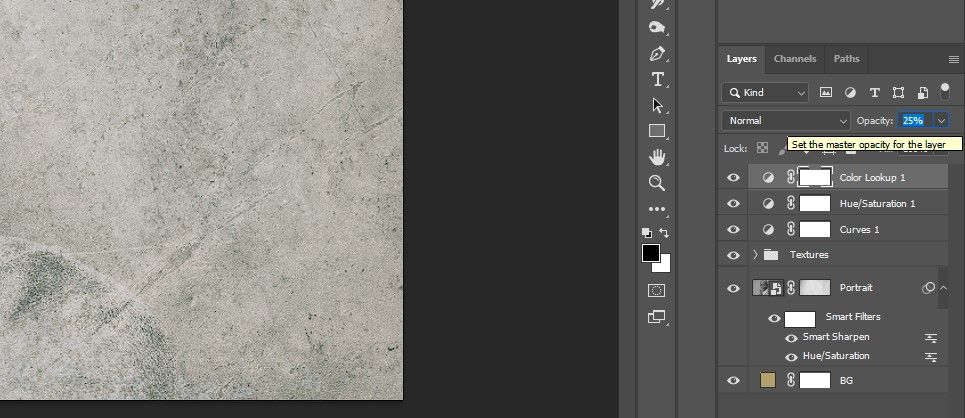
- Change the extent opacity to 25%.
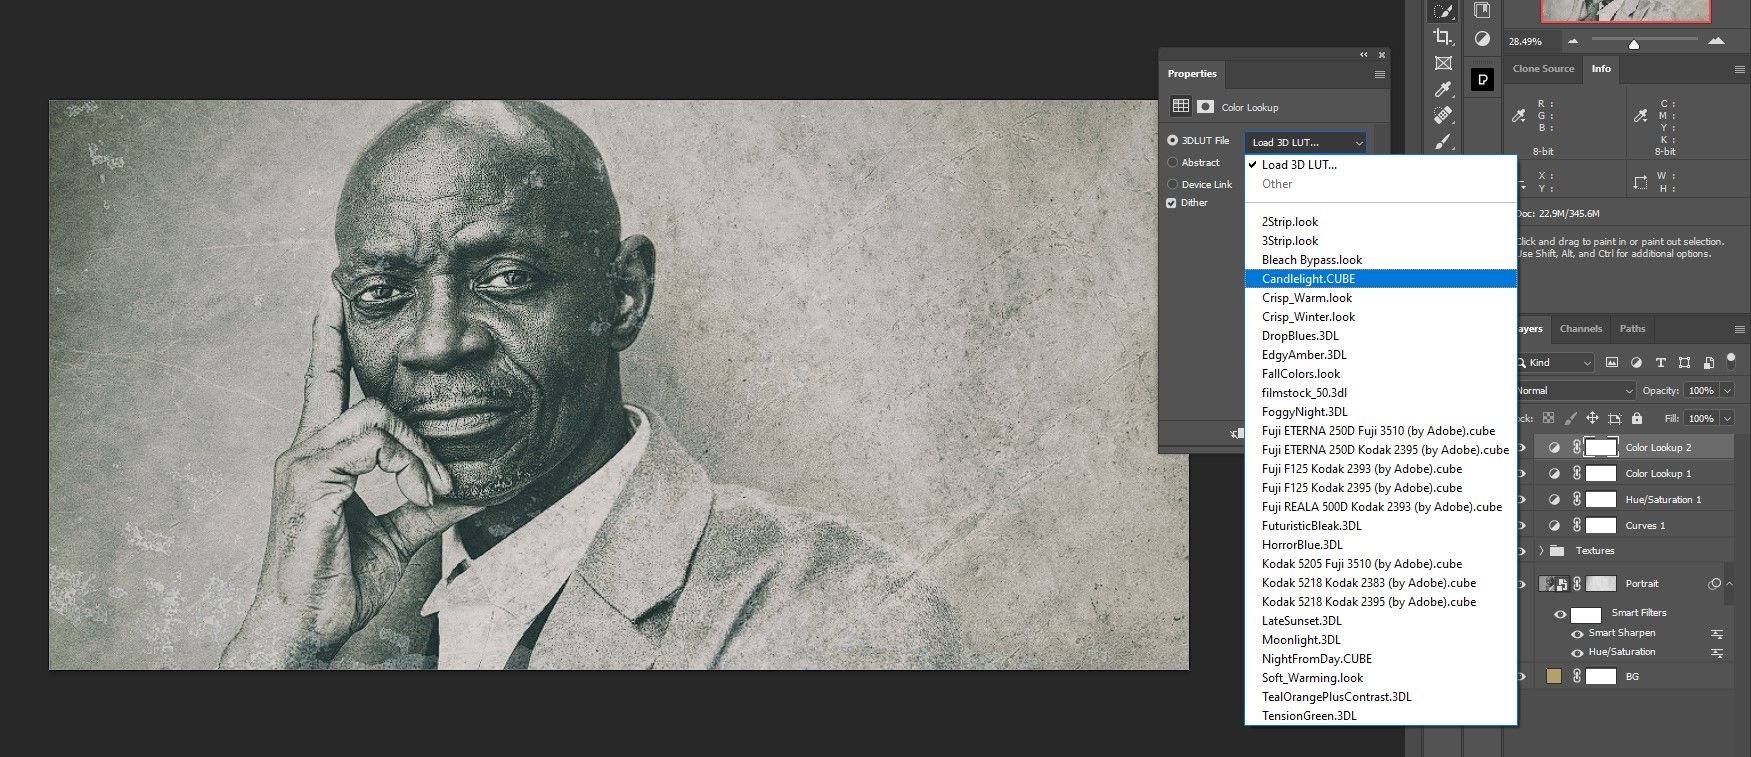
- Create one other colour search Desk.
- Select Candlelight Dice from the drop down menu.
- Flatten the extent opacity to 75%.
- As earlier than, group the final 4 changes right into a folder (choose the layers and press ctrl + G). We known as it “Coloration Grading”.


Remember to save and identify your file so all of your arduous work can be utilized once more.
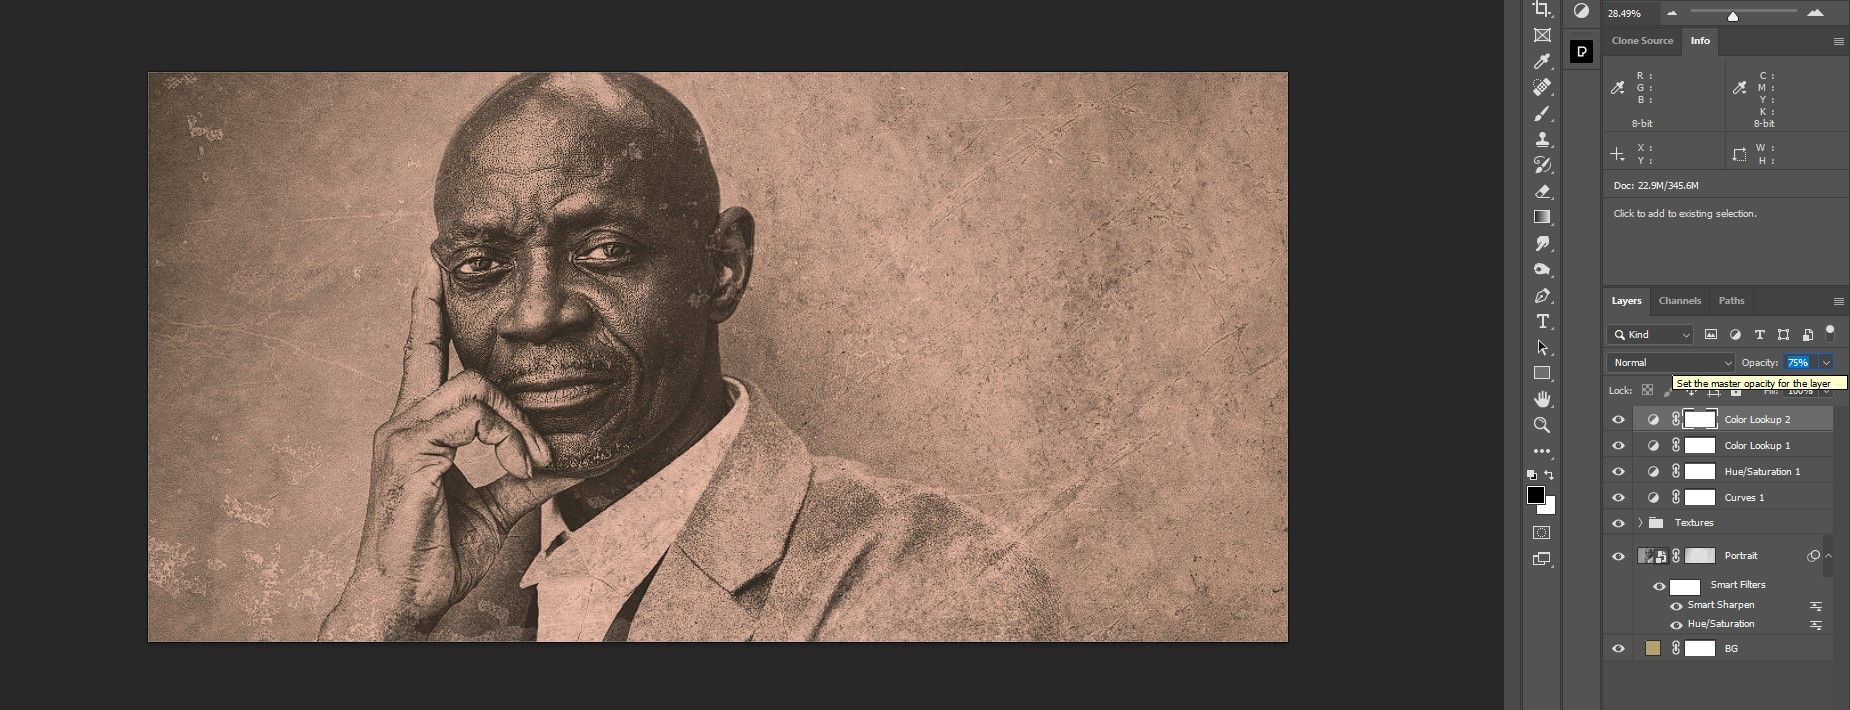
The wonderful thing about establishing our layers is that we are able to now add any picture into the layer stack and have it robotically transformed to a classic picture. All it’s a must to do is go to the portrait layer and double click on on it. As soon as it is open, merely insert one other picture and delete the previous picture, then shut and save the file.
Here is one other picture we added to the portrait layer.
The one factor you could want to vary is the unique file dimensions. We created a horizontal portrait format from the beginning, however you’ll be able to simply as simply create any commonplace portrait measurement you like, similar to 8×10 or 5×7.
It’s also possible to use Luminar AI to additional improve your portraits.
Create beautiful classic portraits in Photoshop
Should you adopted alongside, you now know the best way to create lovely classic pictures in Photoshop. The good factor is that you just solely should do all of the steps as soon as and you’ll simply add new pictures at any time to present it that classic look.
