Tips on how to Auto Align in Photoshop
At present we will take a look at learn how to use Photoshop’s auto-align instruments, in addition to guides and snapping! Photoshop’s automated alignment instruments are easy however highly effective, stopping you from sending out a design with that ever-annoying off-center textual content or misaligned phrases.
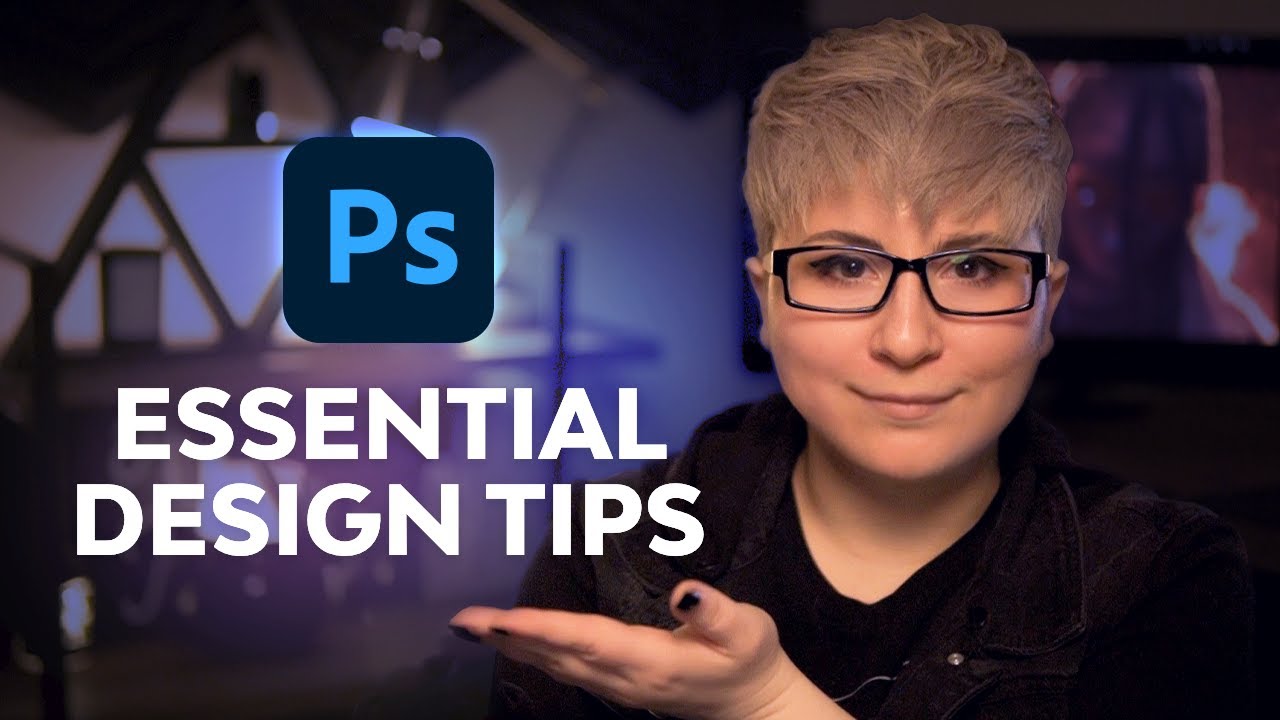
When you’re seeking to pace up your workflow, strive one of many tons of {of professional} plugins, actions, and add-ons Envato Parts has to supply! And if you wish to be taught extra helpful ideas, this is a video from the Envato Tuts+ YouTube channel with 10 important Photoshop design ideas:
What you’ll be taught on this Photoshop auto-align tutorial
- Tips on how to auto-align in Photoshop
- Tips on how to use guides in Photoshop
- What snaps into Photoshop
- Tips on how to disable snapping in Photoshop
- Tips on how to align layers in Photoshop
what you’ll need
To finish this venture you’ll need the next assets:
Discover extra assets on Envato Parts!
1. Tips on how to auto-align in Photoshop
Step 1
Use of Transfer Use the device to pick the planes you need to align. you possibly can maintain change and click on to pick a number of layers directly.


step 2
With the Transfer Software lively, search for choices Bar. You will note two forms of alignment choices. A gaggle alignswhereas the opposite Distributed.


step 3
Let’s align first. We now have a complete of six choices:
- Left margins: Aligns the left pixel on the chosen layers with the left pixel on the leftmost layer.
- Horizontal middle: Aligns the pixel on the horizontal middle of the chosen layers with the pixel on the horizontal middle of all the chosen layers.
- Proper edges: Aligns the appropriate pixel on the linked layers with the rightmost pixel on all chosen layers.
- high edges: Aligns the highest pixel of the chosen layers to the highest pixel of all chosen layers.
- Vertical middle: Aligns the vertical middle pixel on every layer with the vertical middle of the chosen layer.
- backside edges: Aligns the underside pixel of the chosen layers to the underside pixel.
On this case, I would like all textual content to be middle aligned, so let’s select the second choice, Align horizontal middle.


step 4
Here is learn how to auto-align layers in Photoshop, however we nonetheless need to distribute the textual content evenly. to To distribute Ranges, choose three or extra ranges. If fewer than three ranges are chosen, the distribution instruments are grayed out.
With the Transfer Software lively, take a look at the above choices Bar.
Right here we’ve got two distribute distance Choices:
- Horizontal: Evenly distributes the horizontal spacing between layers.
- Vertical: Evenly distributes the vertical distance between layers.
We need to select Distribute verticallyin order that the house between every line of textual content is equal.


step 5
You possibly can select these ellipses icon to see all six To distribute choices in addition to an inventory of all others Relay a message Choices:
- high edges: Distributes the layers evenly, beginning on the high of every layer.
- Vertical middle: Distributes the layers primarily based on the pixel on the vertical middle of every layer.
- backside edges: Distributes the layers beginning with the underside pixel of every layer.
- Left margins: Distributes the layers beginning with the left pixel of every layer.
- Horizontal middle: Distributes the layers primarily based on the horizontal middle of every layer.
- Proper edges: Distributes the layers beginning with the appropriate pixel on every layer.


2. Tips on how to use guides in Photoshop
Step 1
Chief are an effective way that will help you place all of your design parts precisely.
Ensure first Chief are turned on by going to go View > Present > Guides or View > Extras.


step 2
We have to flip ours on rulers use View > Rulers place a To steer.


step 3
Now, pull from the horizontal ruler to create one Horizontal steerage and pull from the vertical ruler to create one vertical steerage.
you possibly can maintain Outdated to modify to the alternative of the at present chosen information. I’ve darkened the design so you possibly can see the guides higher.


step 4
To maneuver your Chief, simply click on and drag. maintain down change and pull out of the ruler to create one To steer that snaps on the ticks of the ruler. Use guides to align design parts and preserve constant spacing.


step 5
To take away a information, drag the information out of the Canvas. Or delete all Chief, Choose View > Clear Canvas Guides.


3. What’s snapping in Photoshop?
Step 1
As you progress round layers, you will have observed that they pull or snap to current layers and guides. that is referred to as snap.
to see if snap is on, go to View > Snap. A tick signifies that snapping is lively.


step 2
Snapping is automated, however you possibly can specify what you need to snap and what not. Go to View > Align To, and choose a number of choices.
What you select is dependent upon your work. When you’re engaged on a flyer with a variety of typography, you may want the whole lot to remain the identical. Nevertheless, when modifying a photograph, you might have considered trying layers to snap to guides solely.


You’re accomplished!
Here is How To Robotically Align Layers In Photoshop! It’s essential that the whole lot is correctly aligned in a design. And normally, if one thing is a couple of pixels off, our personal eyes will not discover it, however fortunately Photoshop’s automated alignment instruments do!


Would you like premium plugins, promotions and assets?
Now if you wish to enhance your workflow and make Photoshop’s automated alignment instruments even higher, strive one of many tons of of plugins, actions, and add-ons on Envato Parts!
ReOrder: Layer Panel Sorting Equipment (ZXP)


We simply lined learn how to auto-align in Photoshop, however why not hold your layers simply as organized? ReOrder is filled with one button options to kind, set up and clear up your layer stack.
The Final 1001 Textual content Results (PSD)


Typography and layering go hand in hand. So this pack of over 1,000 textual content results is the proper companion to your new alignment instruments!
Simple Minimize: Layer Splitting Equipment (ZXP)


Guides are nice for retaining your edges clear and constant. So why not supercharge with the Simple Minimize add-on for Photoshop? Simple Minimize permits you to flip guides and paths into instantaneous chopping instruments. It is nice for creating clear traces and shapes!
Picture Prolong: Crop and Extension Equipment (ZXP)


Making a design and forgetting so as to add additional room for bleed or crop errors? No downside you probably have this picture enhancer addon for Photoshop! Simply add your amount and immediately prolong the borders of your pictures.
Photoshop Plugin for Geometric Collage Generator (ABR, ATN, PAT, ZXP)


Now that you know the way to align layers in Photoshop, begin creating posters immediately with the Geometrical Collage Generator plugin! Nice for posters, flyers or promotional supplies, this plugin does nearly all of the be just right for you. Simply add textual content and also you’re accomplished!
