Learn how to Extract a Colour Gradient From Any Picture and Apply It to One other in Photoshop

When you’ve at all times wished to take the gradient from a film poster or any on-line picture and apply it to your individual picture, then this Photoshop tutorial is for you.
Not solely will we present you learn how to extract a gradient from one other photograph, but additionally learn how to apply the gradient to your individual pictures. Let’s begin.
What’s a gradient?
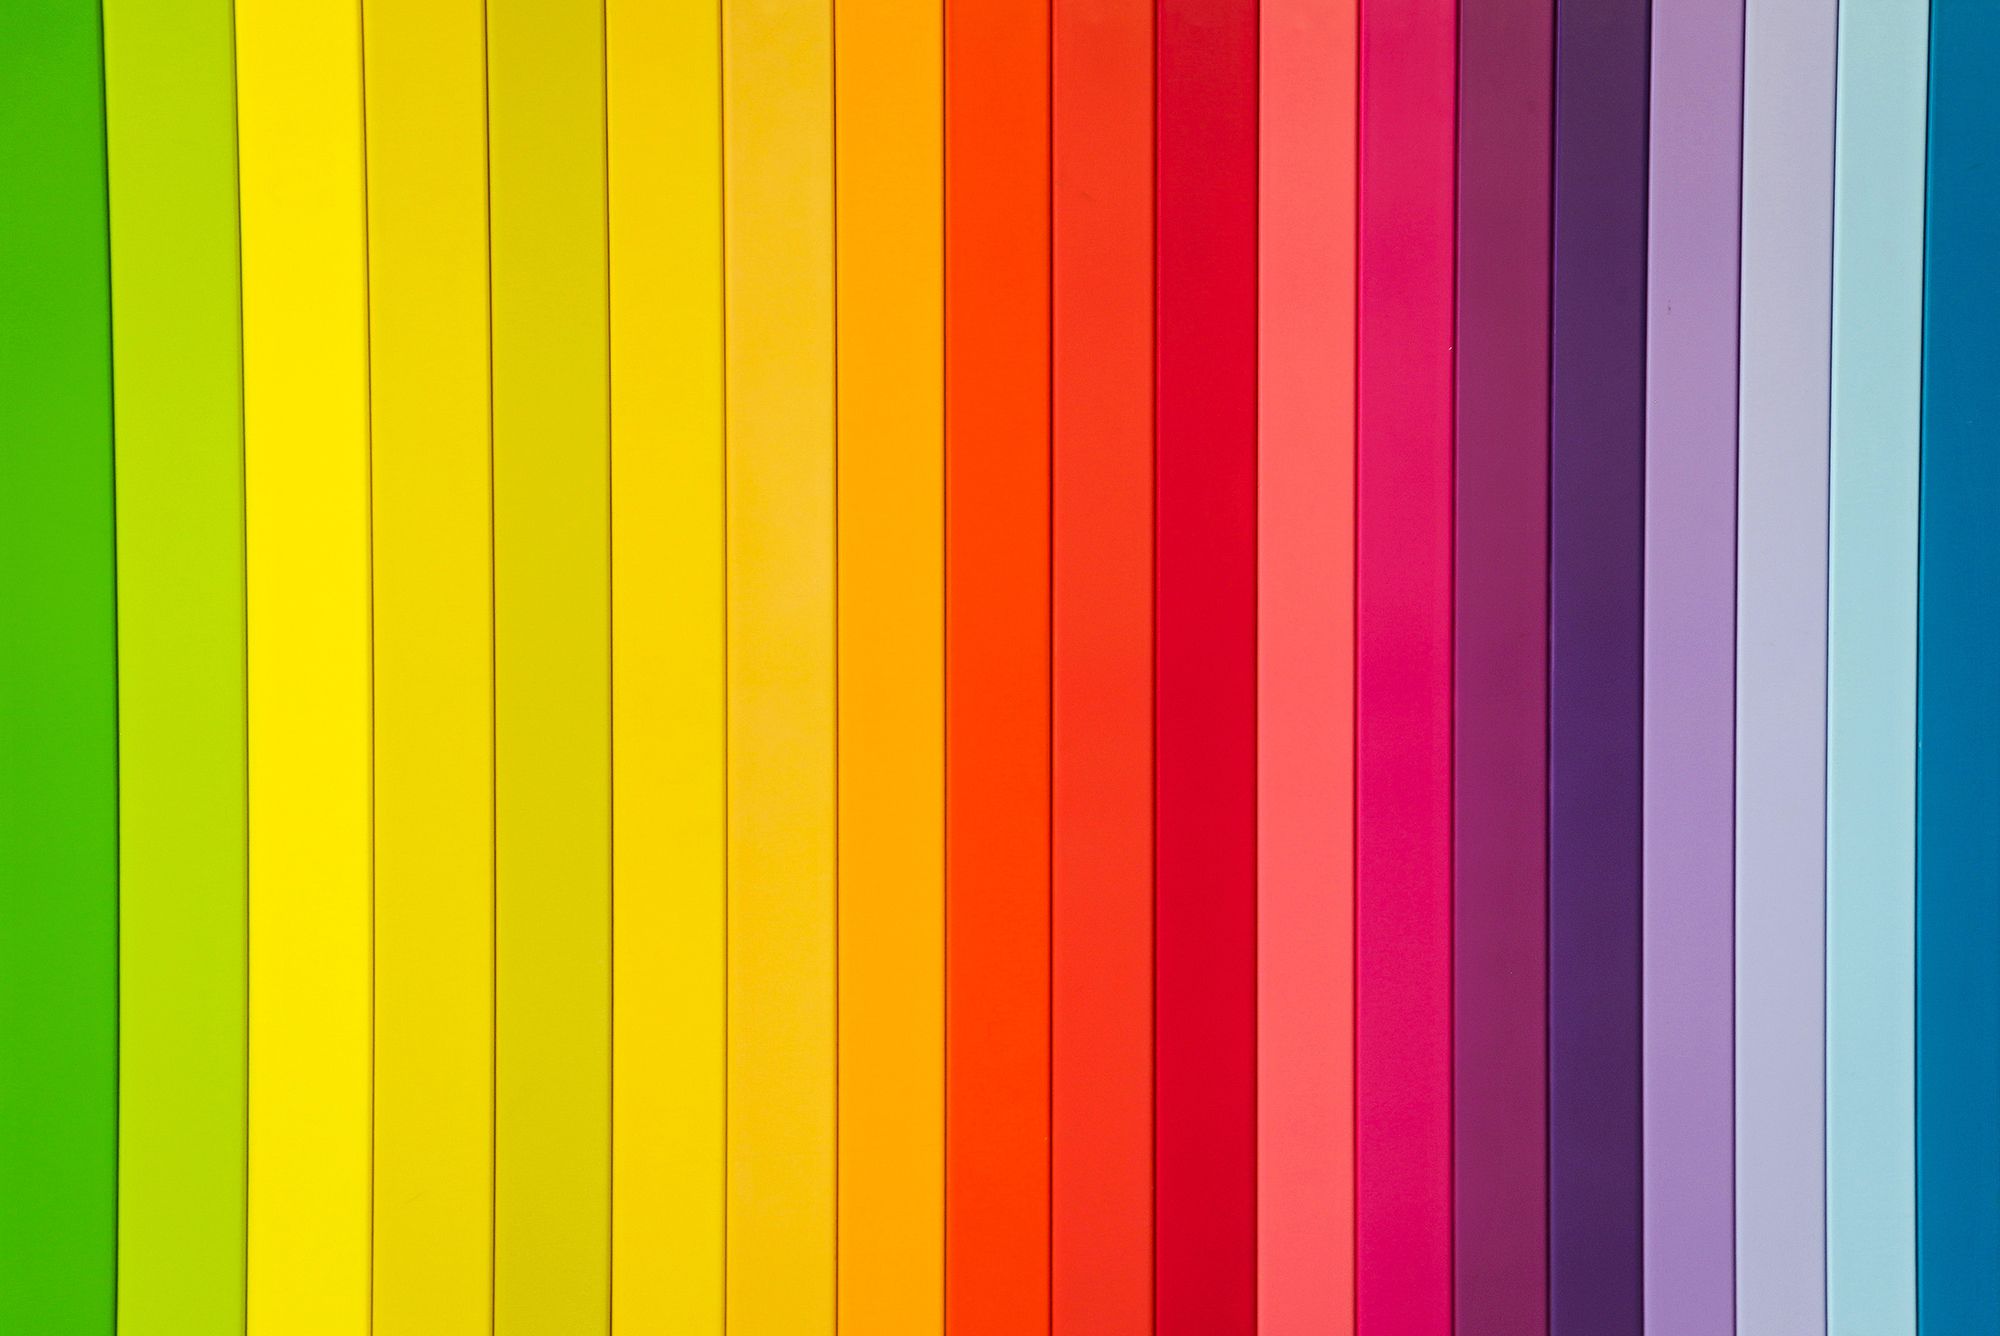
A gradient consists of a number of colours which might be distributed over a picture and differ in brightness values. It may be delicate and unintentional, or inventive and deliberately dramatic. In any case, all pictures with a number of colours might be outlined as a gradient.
We’ll present you learn how to apply the gradient from one picture to a different. It’s also possible to create customized gradients in Photoshop.
To use an extracted gradient to your picture, we should first know what Photoshop instruments will assist us do the job. There are three gradient instruments in Photoshop that you should use to use an extracted gradient:
- Gradient (Adjustment Layer)
- Gradient Map (Adjustment Layer)
- gradient instrument
All three instruments have their very own particular makes use of and strengths, and you’ll primarily use these gradient and gradient map Instruments as adjustment layers to use gradients after extraction.
The gradient as an adjustment layer
The common gradient might be discovered within the Changes menu. It acts as a glaze that may be utilized immediately over present paint. Consider it as a coat of paint overlaying the colour info slightly below.
The gradient map as an adjustment layer
The gradient map can also be situated within the Changes menu. It’s extremely totally different from the common gradient as a result of the colours in every gradient are assigned luminance values from 0 to 255. This leads to extra delicate results, however may look extra pure.
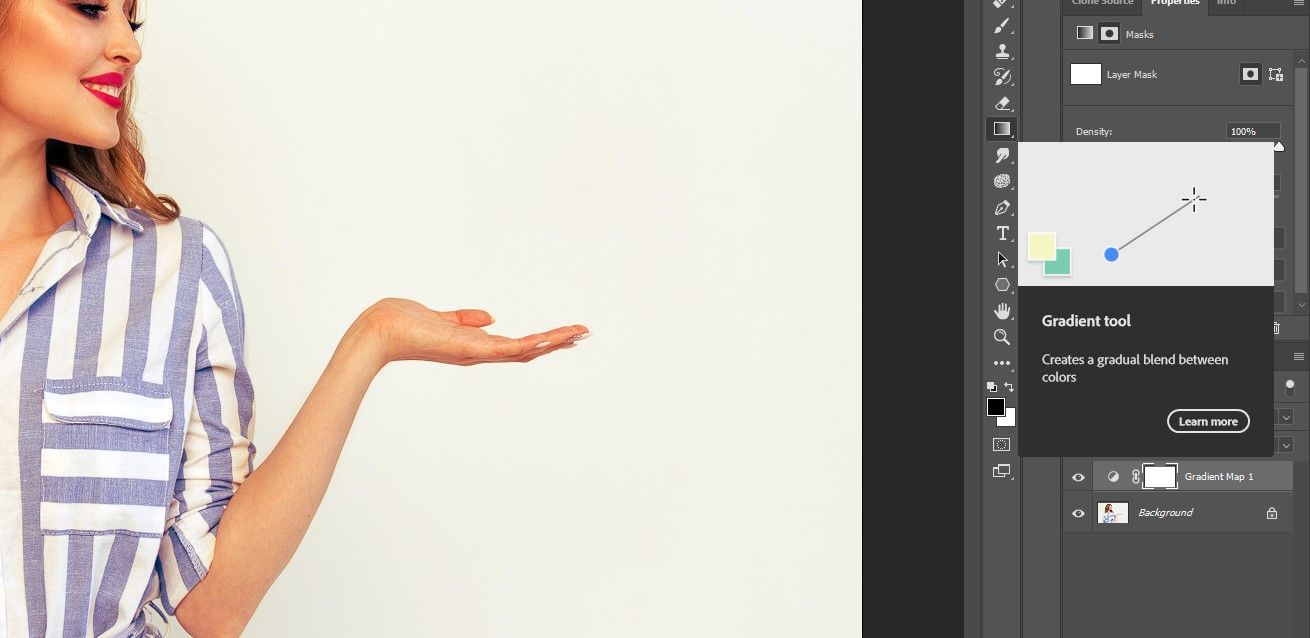
The gradient instrument
The gradient instrument is situated on the Photoshop toolbar. Though it may be used equally to the gradient adjustment layer, its important power lies in making use of gradients to layer masks. This can make extra sense once we exhibit all three instruments in motion.
It is also price noting that you could apply mixing modes in Photoshop to any of the adjustment layers to fine-tune your outcomes.
Let’s begin with the extraction a part of the tutorial. First we have to open each pictures in Photoshop; the pattern picture you need to extract coloration from and the goal picture you need to apply the gradient to.
- Load each pictures into Photoshop.
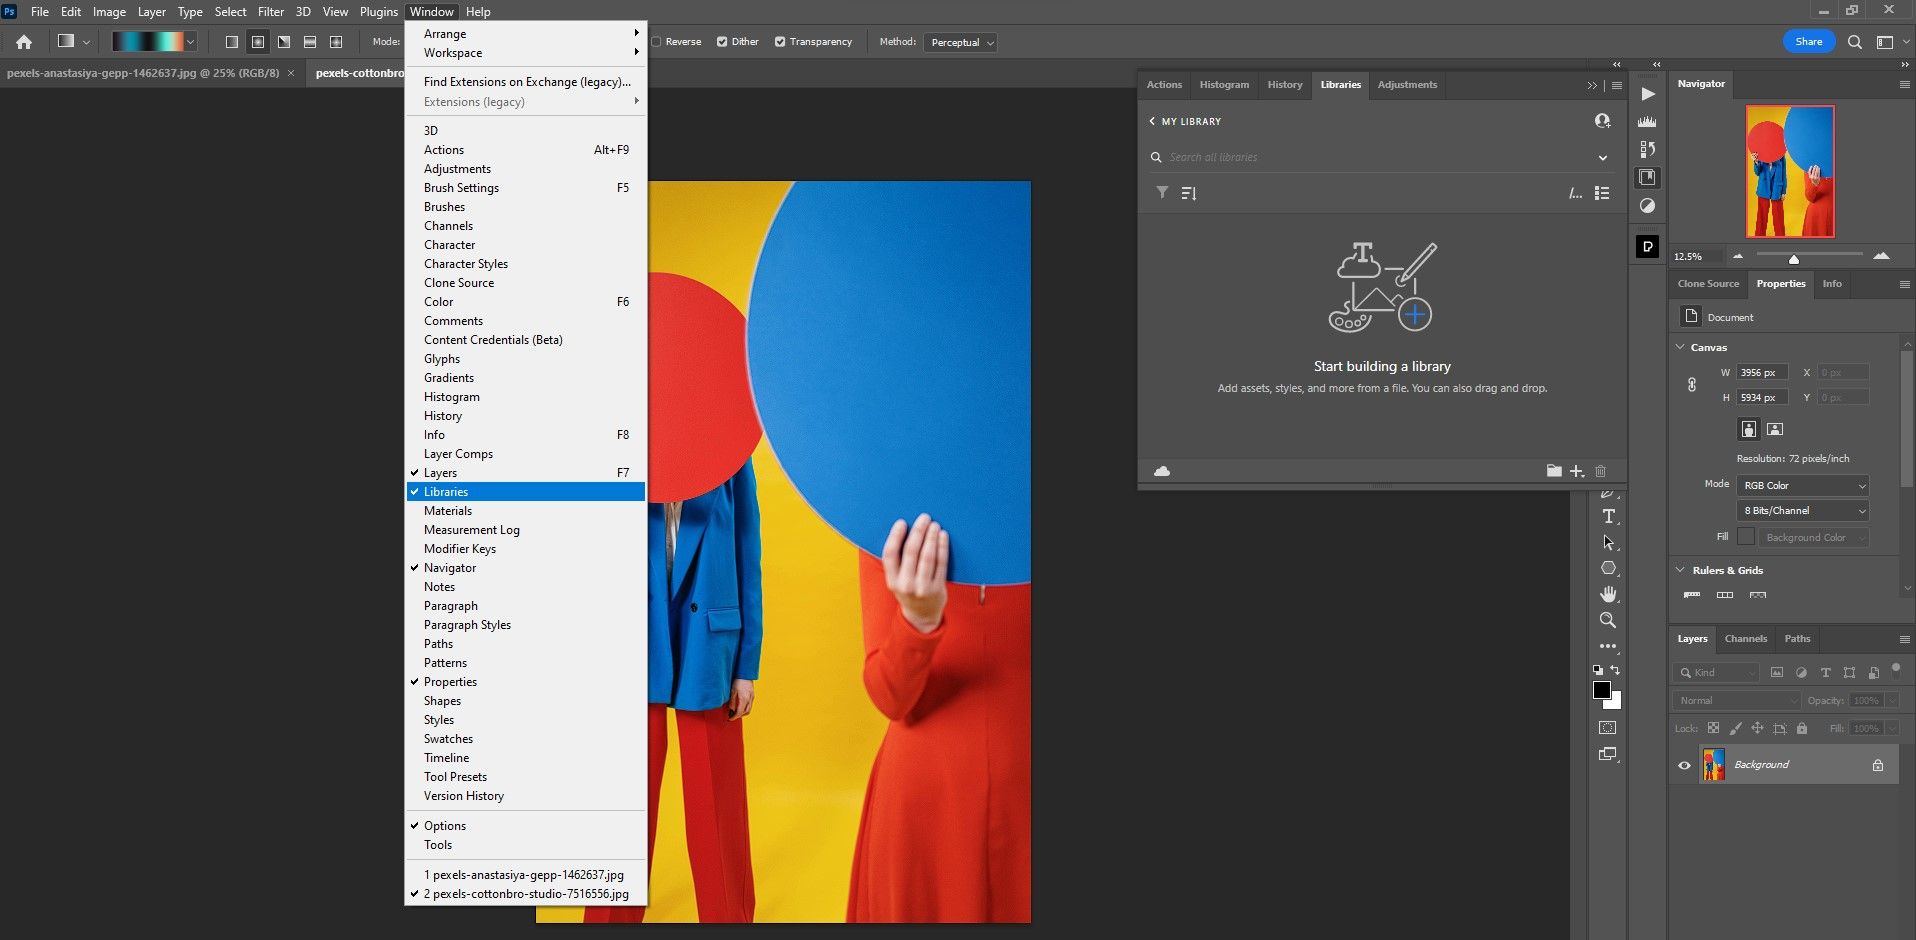
- Change from pattern picture to Home windows > libraries.
- within the libraries panel, click on on the add objects icon (plus signal).
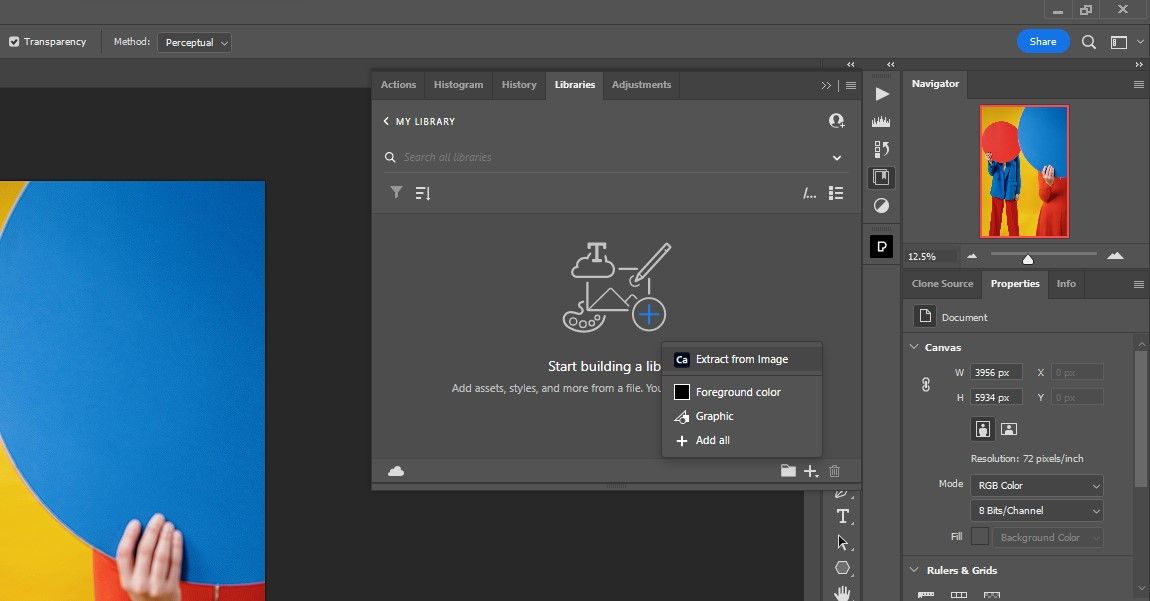
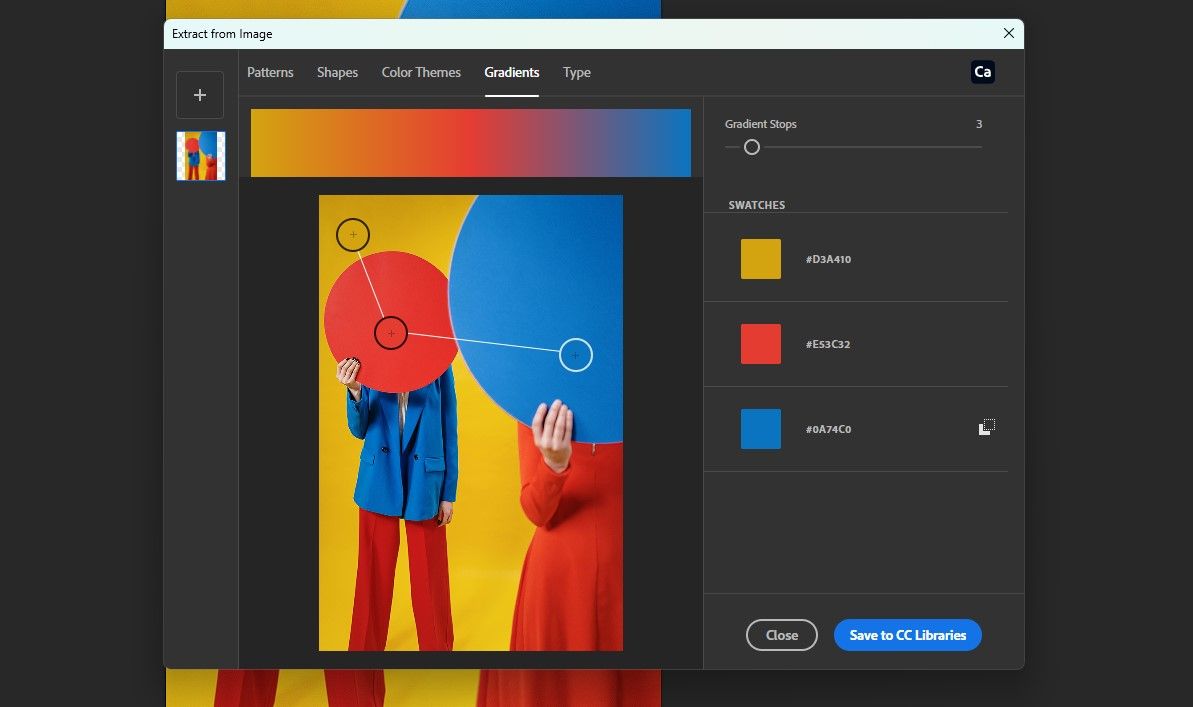
- Select Excerpt from image within the pop-up menu.
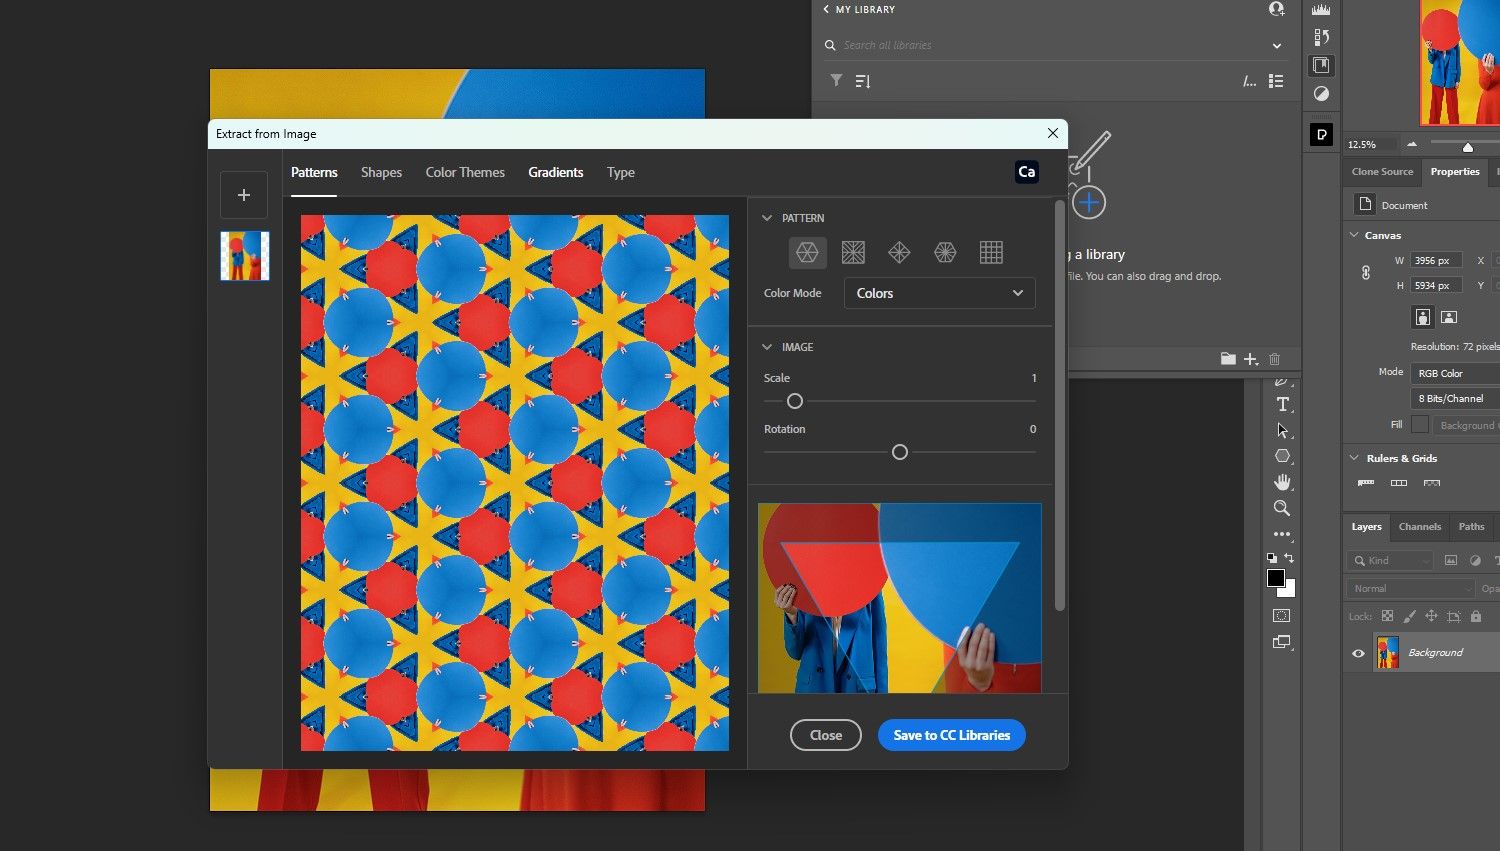
- Select gradients on the prime of the menu.
- Use the slider to decide on the quantity gradient stops. For our instance we go along with 3.
- Drag the handles (circles) to check the colours you need.
- click on Retailer in CC Libraries.
We’re completed with the pattern picture. You’ll be able to shut the menu packing containers and go to the subsequent step.
Learn how to apply the gradient to your picture
The gradient has now been extracted from the pattern picture and we are able to apply it to our picture. On this model we use the gradient adjustment layer to use the gradient. Observe the steps under:
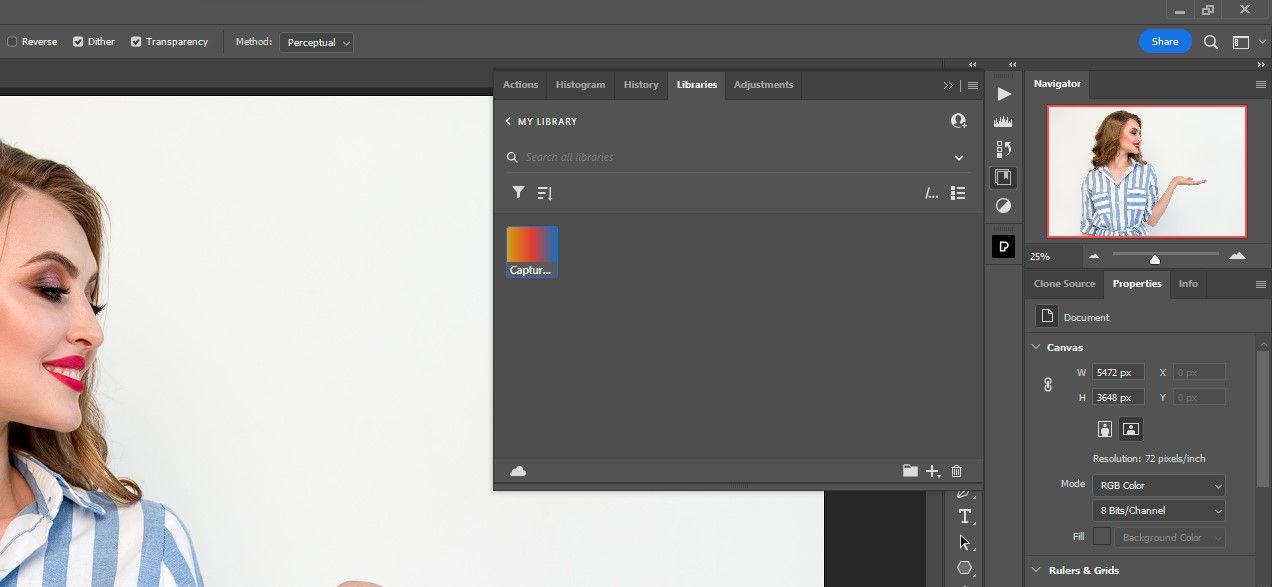
- Go to your goal picture.
- open that libraries menu once more.
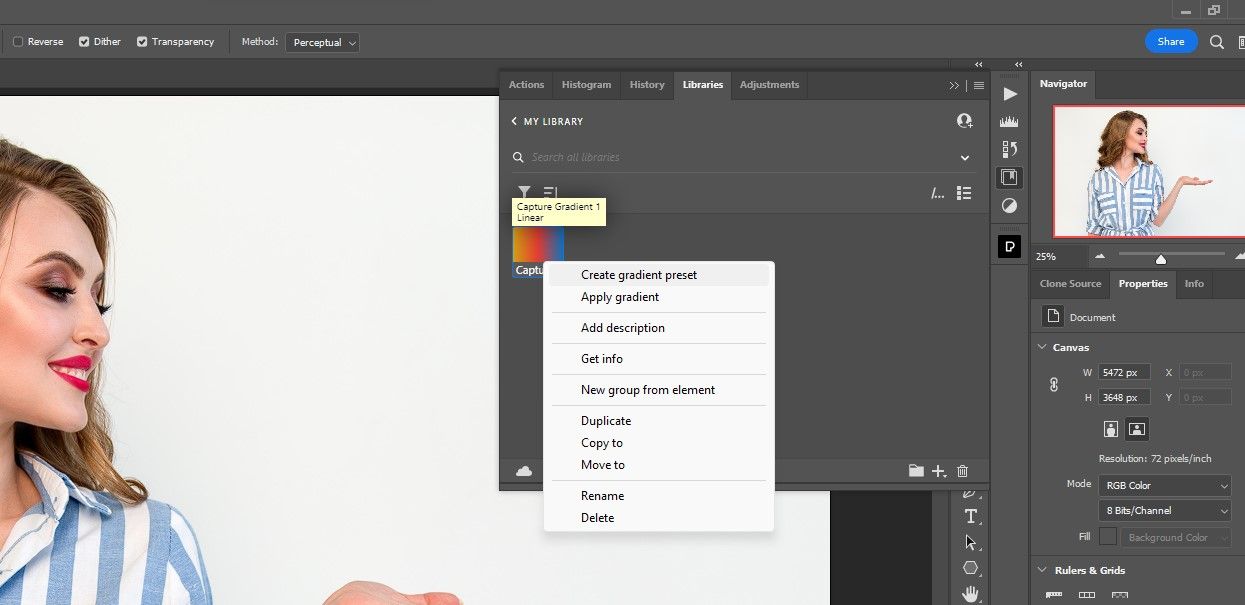
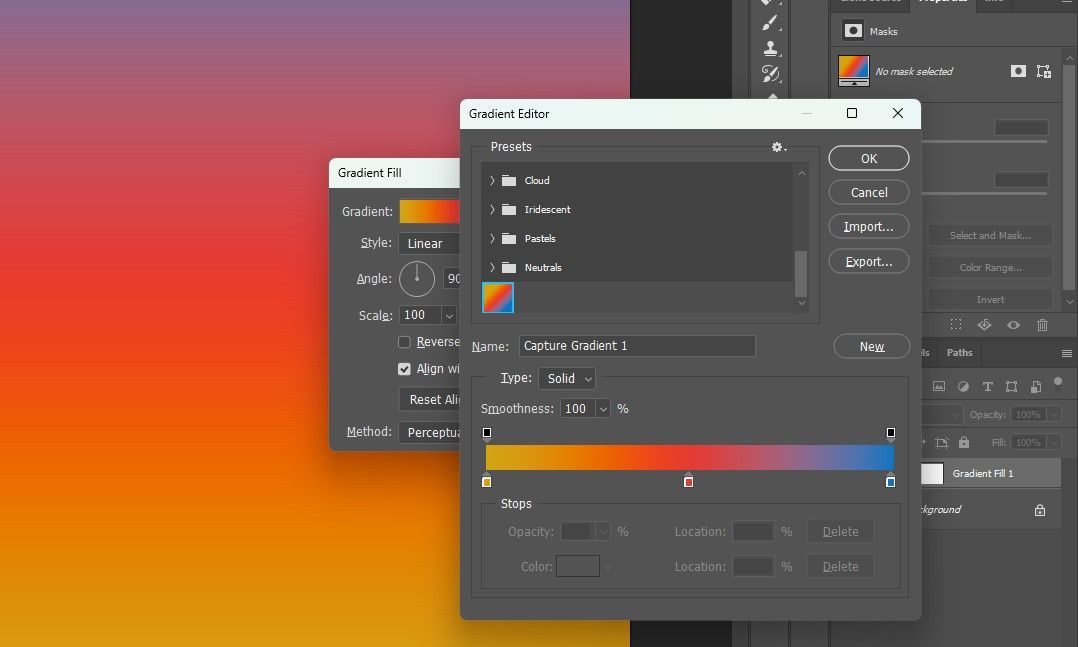
- Proper click on on the primary picture within the menu, which ought to be the extracted gradient. Select Create gradient preset.
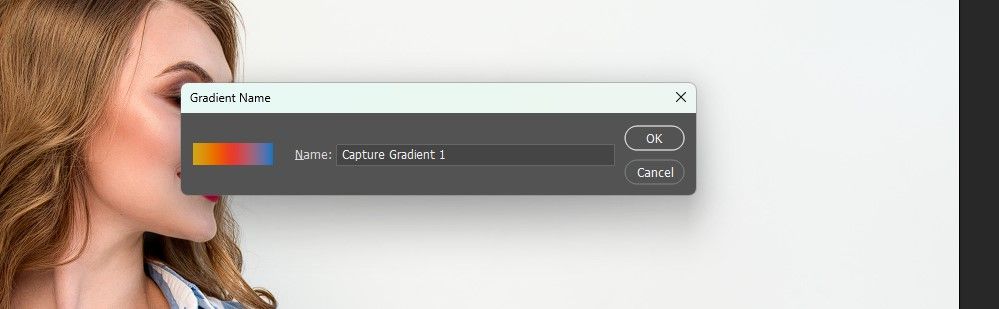
- Identify your gradient and press OK. We stored the default title.
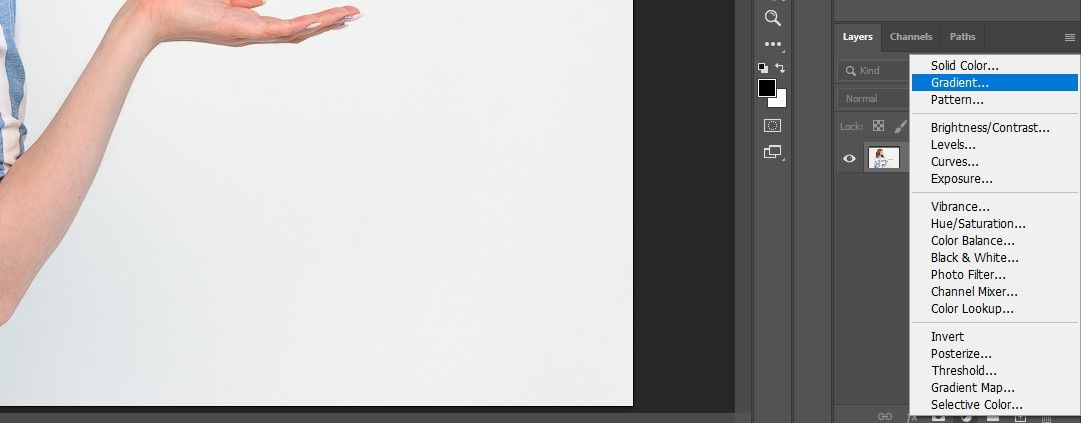
- Go to changes menu on the backside in Photoshop and choose gradient.
- Make certain yours foreground and background colours are set Black and White. Press D for the keyboard shortcut, if required. This step is essential for the gradient to work correctly.
- within the gradient fill menu, click on in that gradient Verify field to entry extra gradients.
- Scroll to the underside of the menu. You may discover the gradient preset you simply created. Click on as soon as and click on OK.
- click on OK on the gradient fill menu field too.
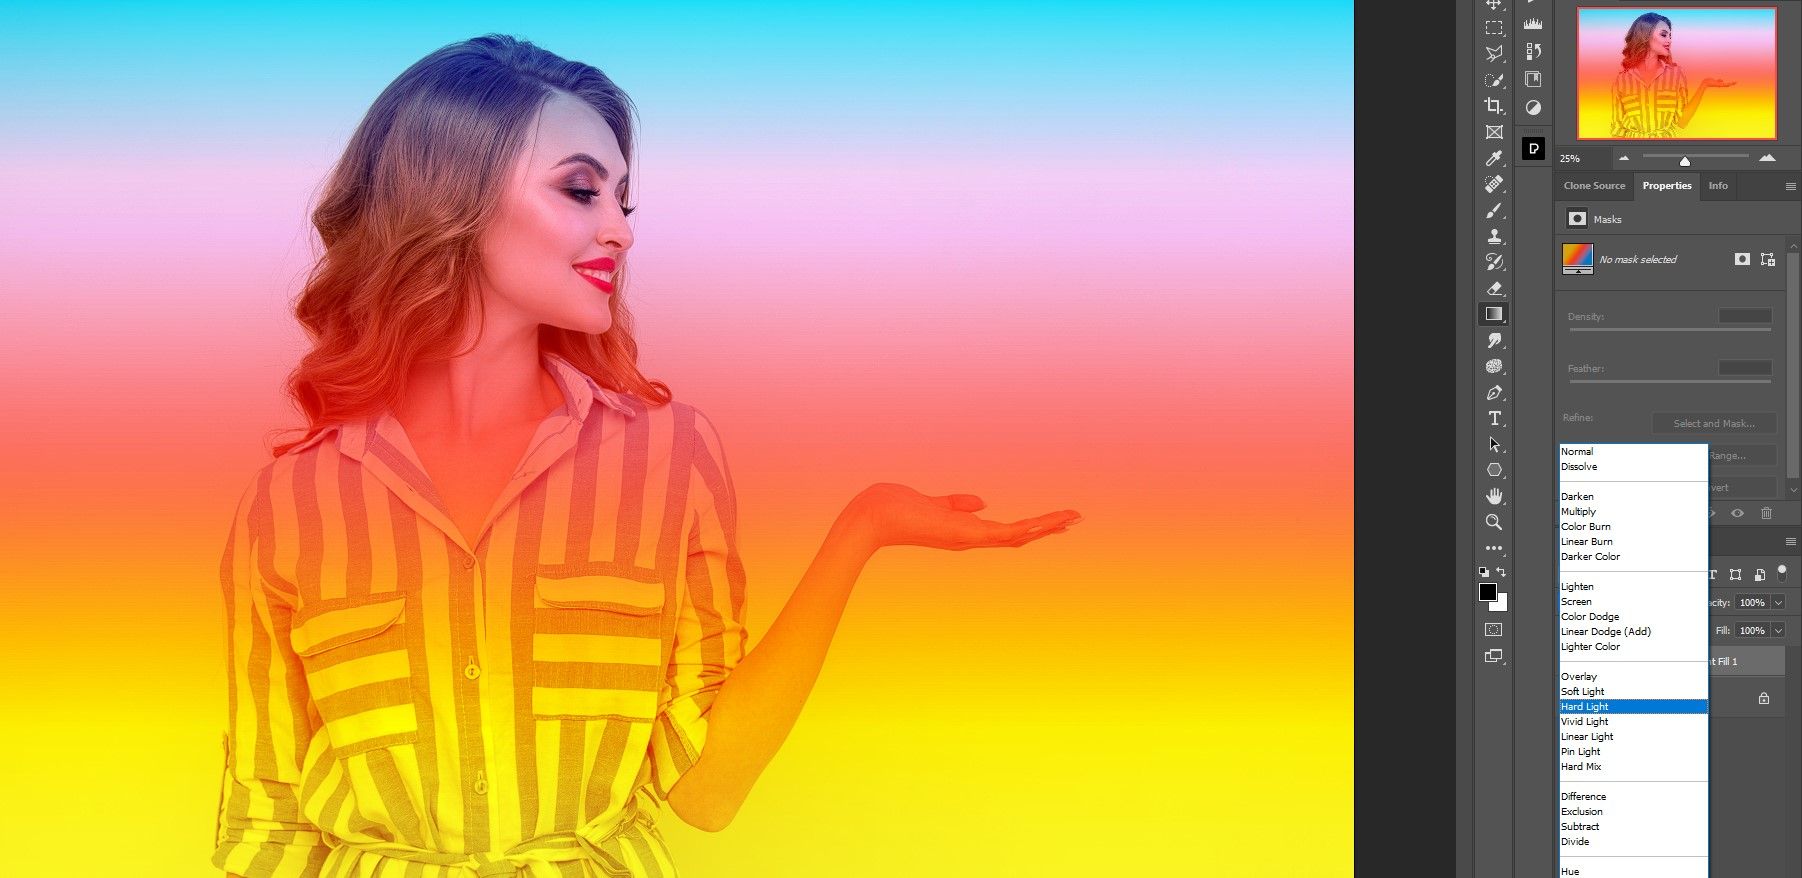
- Select a mix mode so you may see your image. For this specific picture we used arduous mildhowever every picture can be totally different relying on what you need to obtain.
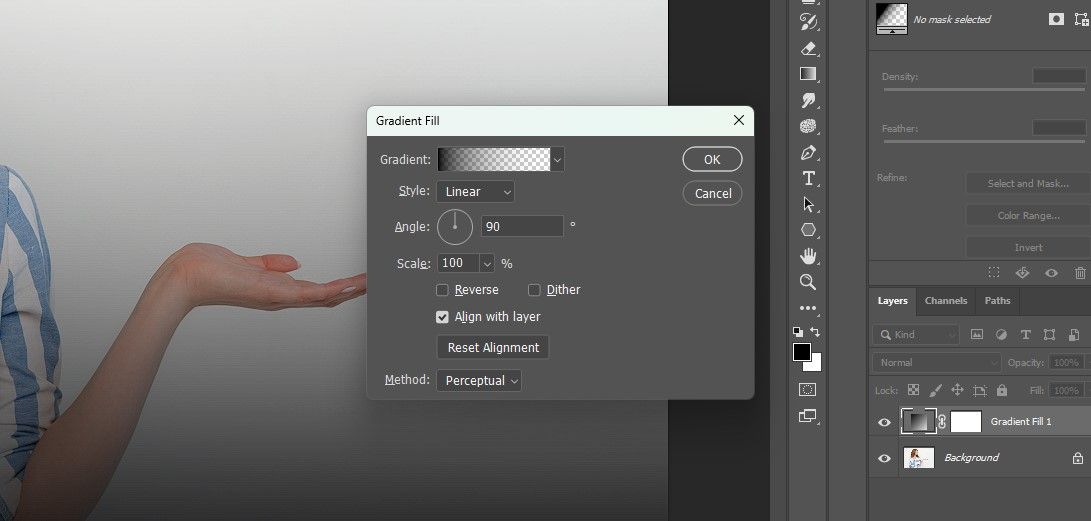
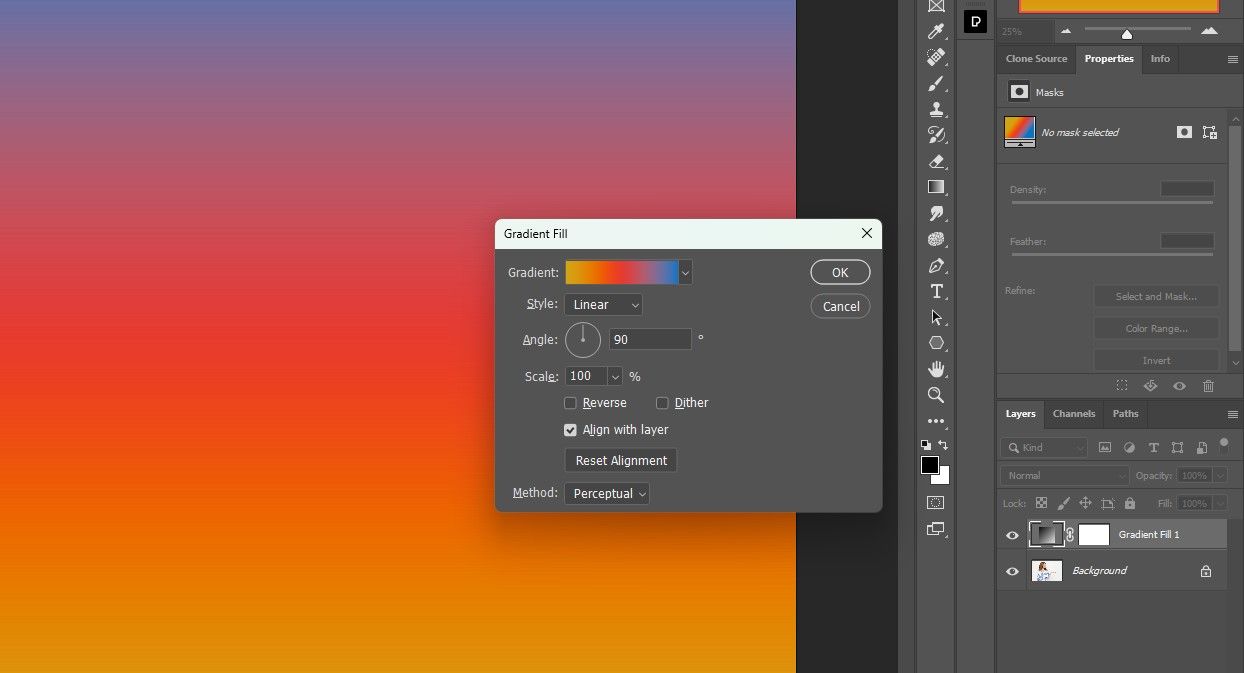
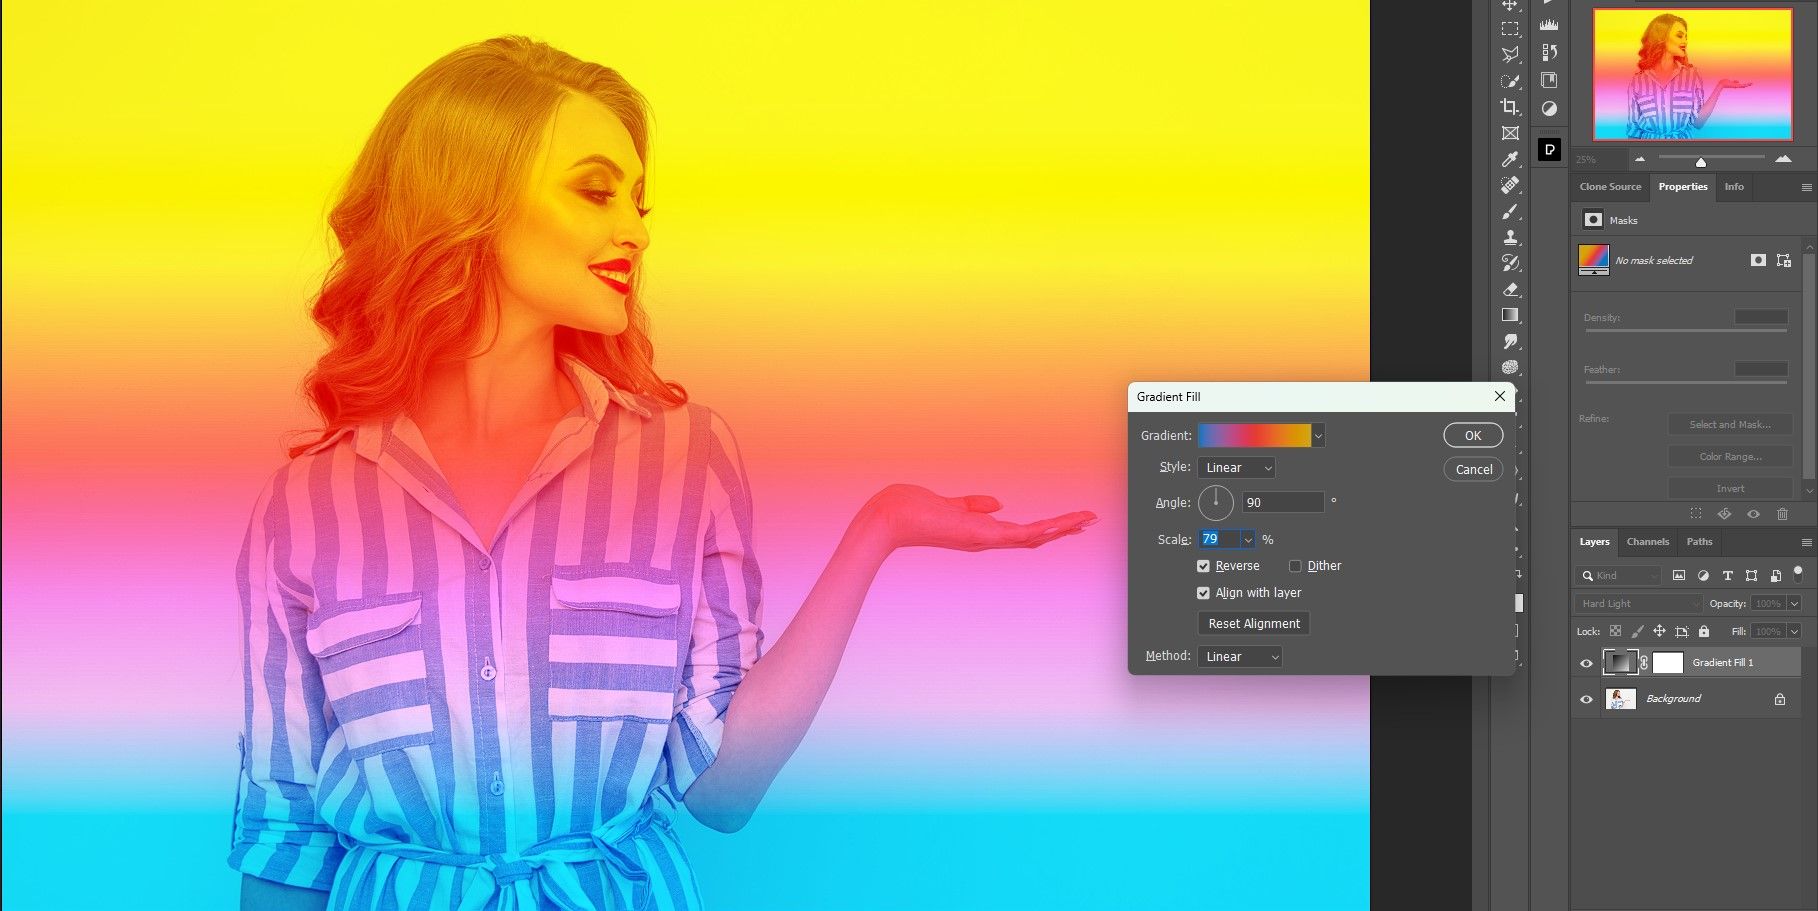
- Double-click the Gradient Fill adjustment layer to entry the Gradient Fill menu once more.
- Use a number of of the choices to form the gradient in your picture. We have made modifications to the scalemarked Turning againand adjusted the technique to Linear. Press OK. These settings are totally different for nearly each picture – experiment!
- We then adjusted that opacity to 45% to make it look extra pure.
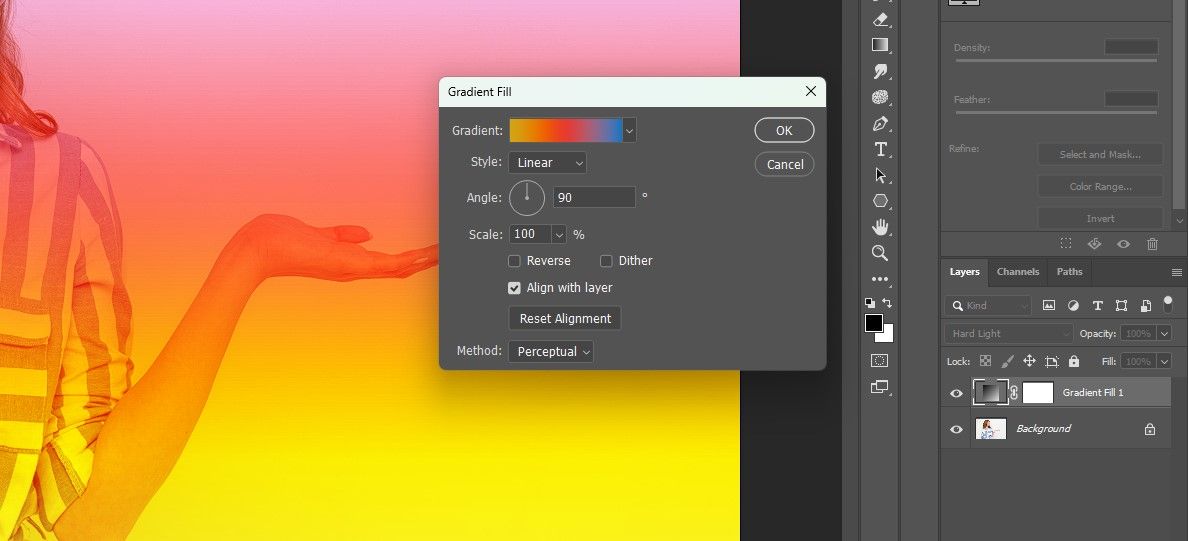
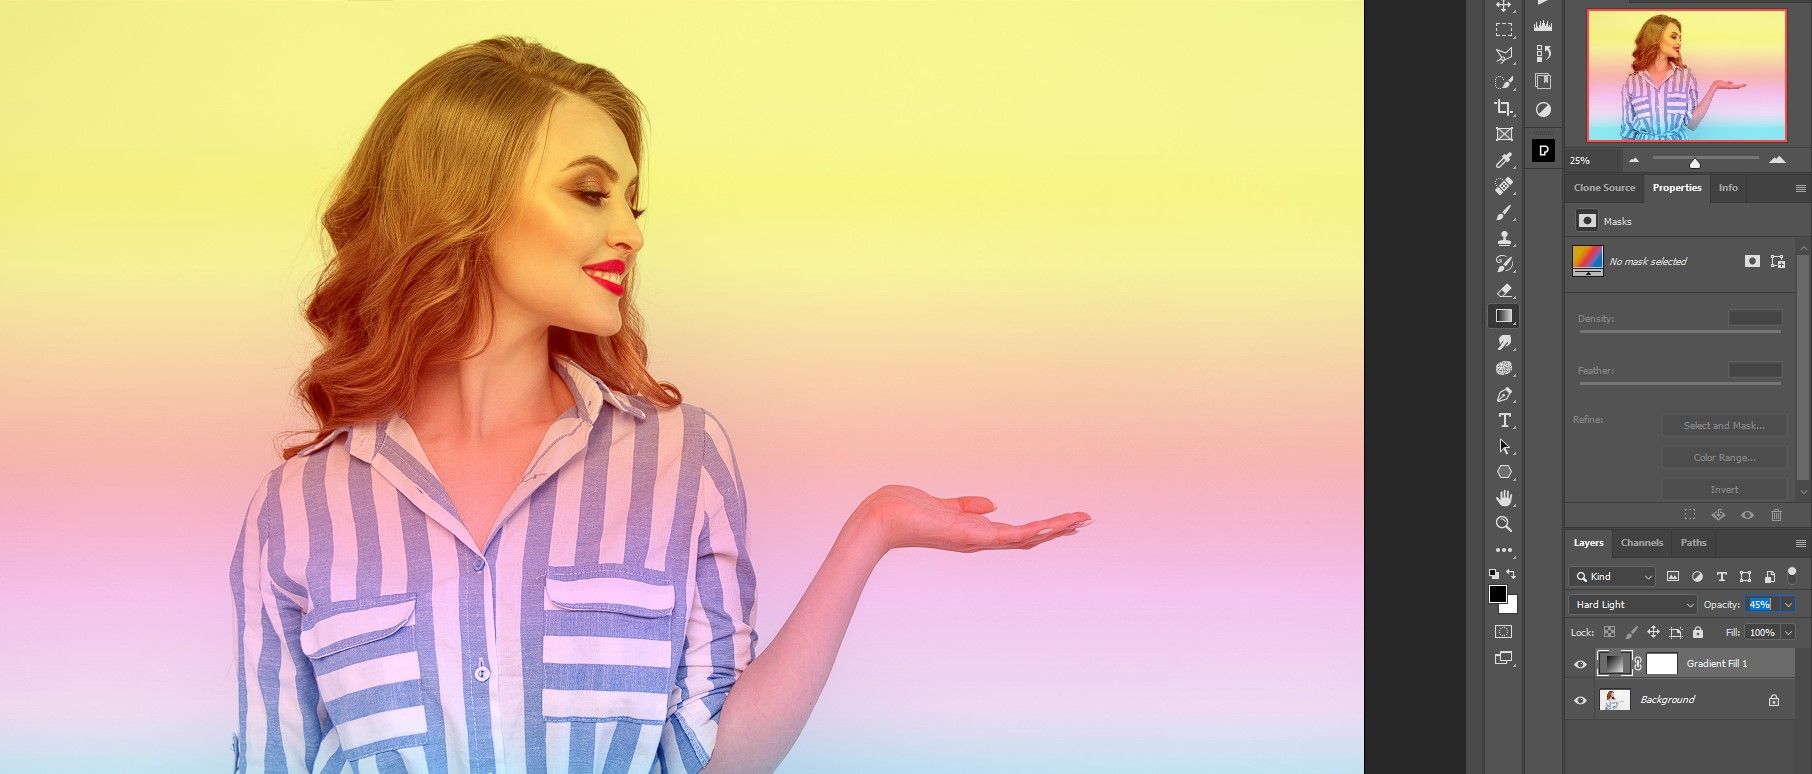
After the final step, because you’re engaged on a non-destructive adjustment layer, you may return and fine-tune the picture.
Utilizing the gradient map to use the gradient
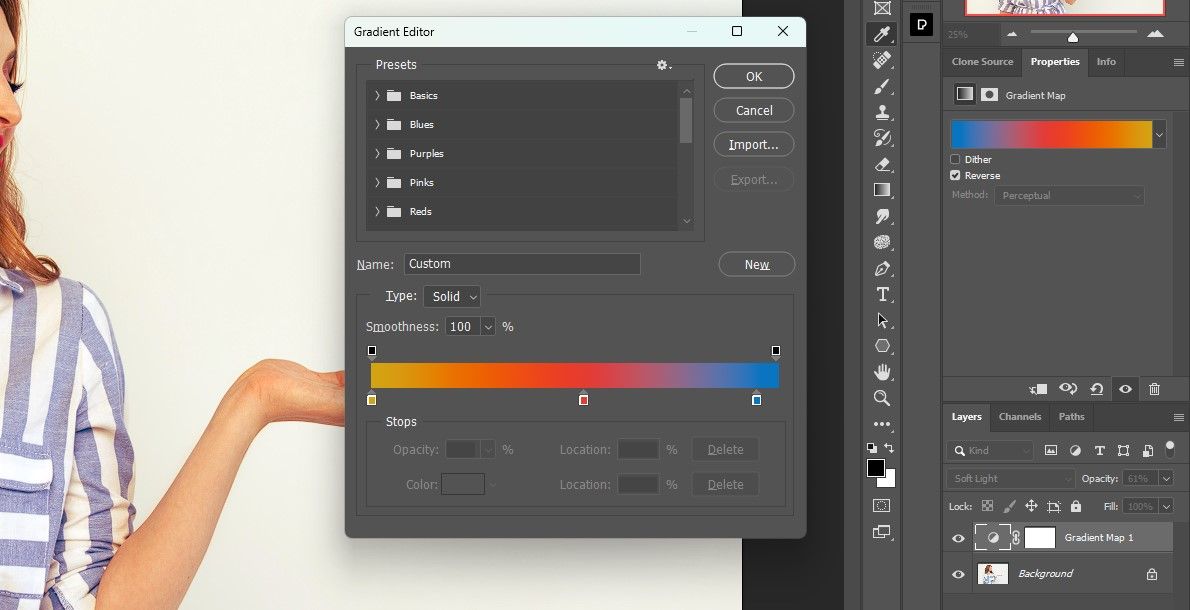
We’ll present you what the outcomes would appear to be if we had chosen the gradient map as an alternative of the gradient in step 5. The one distinction is that we might be working with the gradient editor menu to form our gradient.
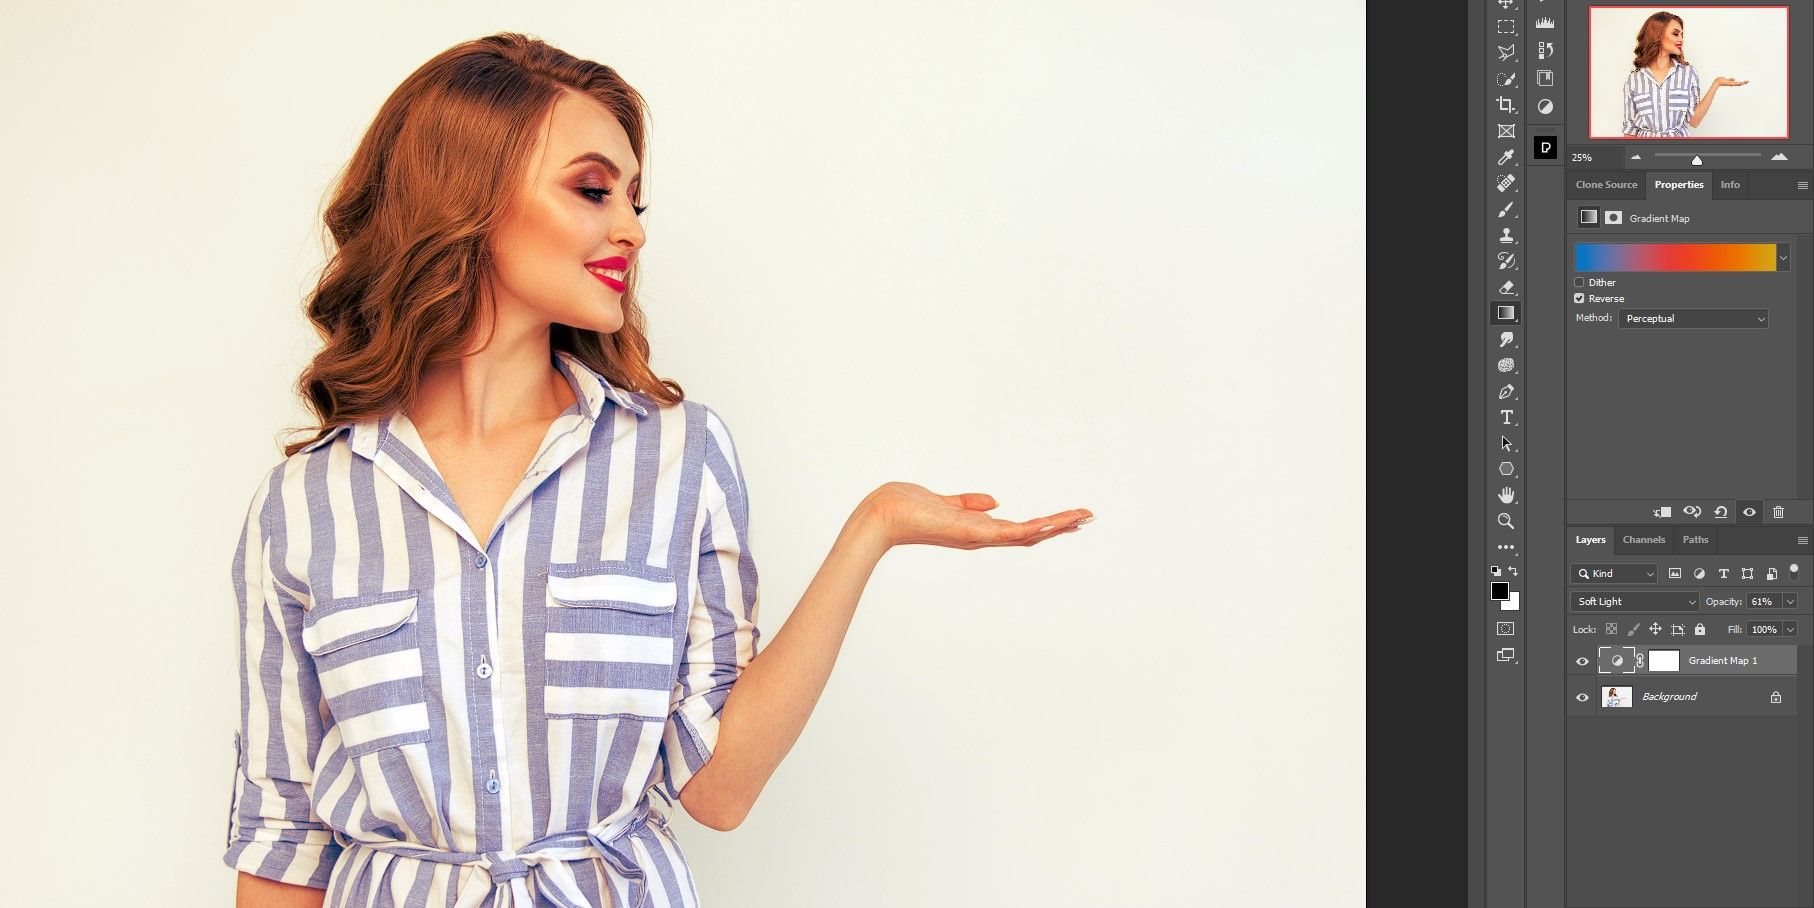
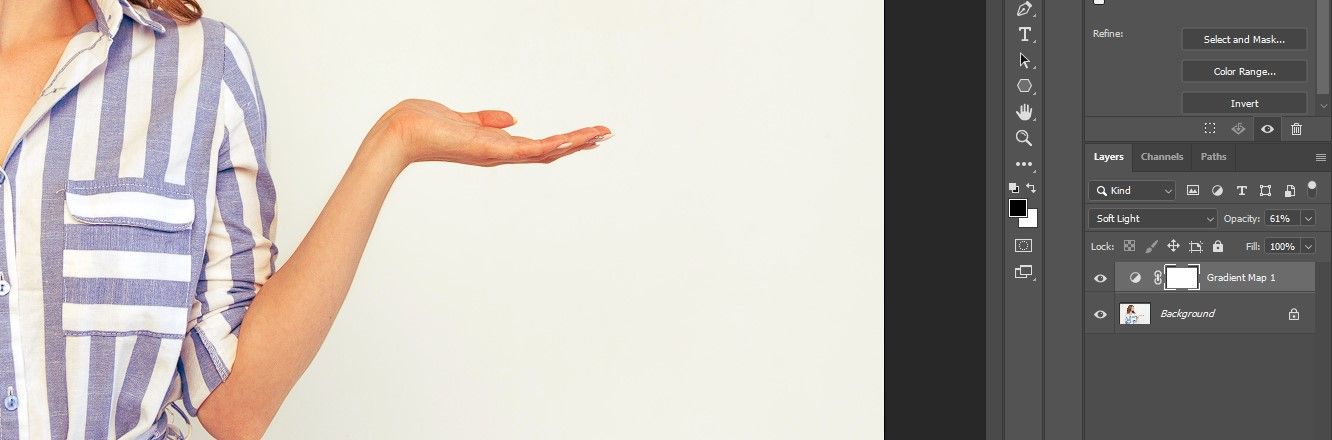
As you may see, we have been in a position to convincingly change the mannequin’s hair to purple. We simply moved the controls to the gradient map Editor simply, checked the Turning again field, and adjusted the opacity to 61%.
The gradient instrument isn’t meant to use gradients on to the picture. It additionally would not have practically as many controls because the Gradient and Gradient Map instruments. The gradient instrument works finest when utilized on to the layer masks of a gradient or gradient map adjustment layer, permitting for non-destructive modifying.
Let’s use the gradient instrument for our earlier edit to refine the picture much more.
- click on on the gradient map Layer Masks to make it energetic.
- click on on the gradient instrument from the menu bar.
- Drag the instrument throughout the picture to create a gradient. We drew a line from the mannequin’s head to her hand.
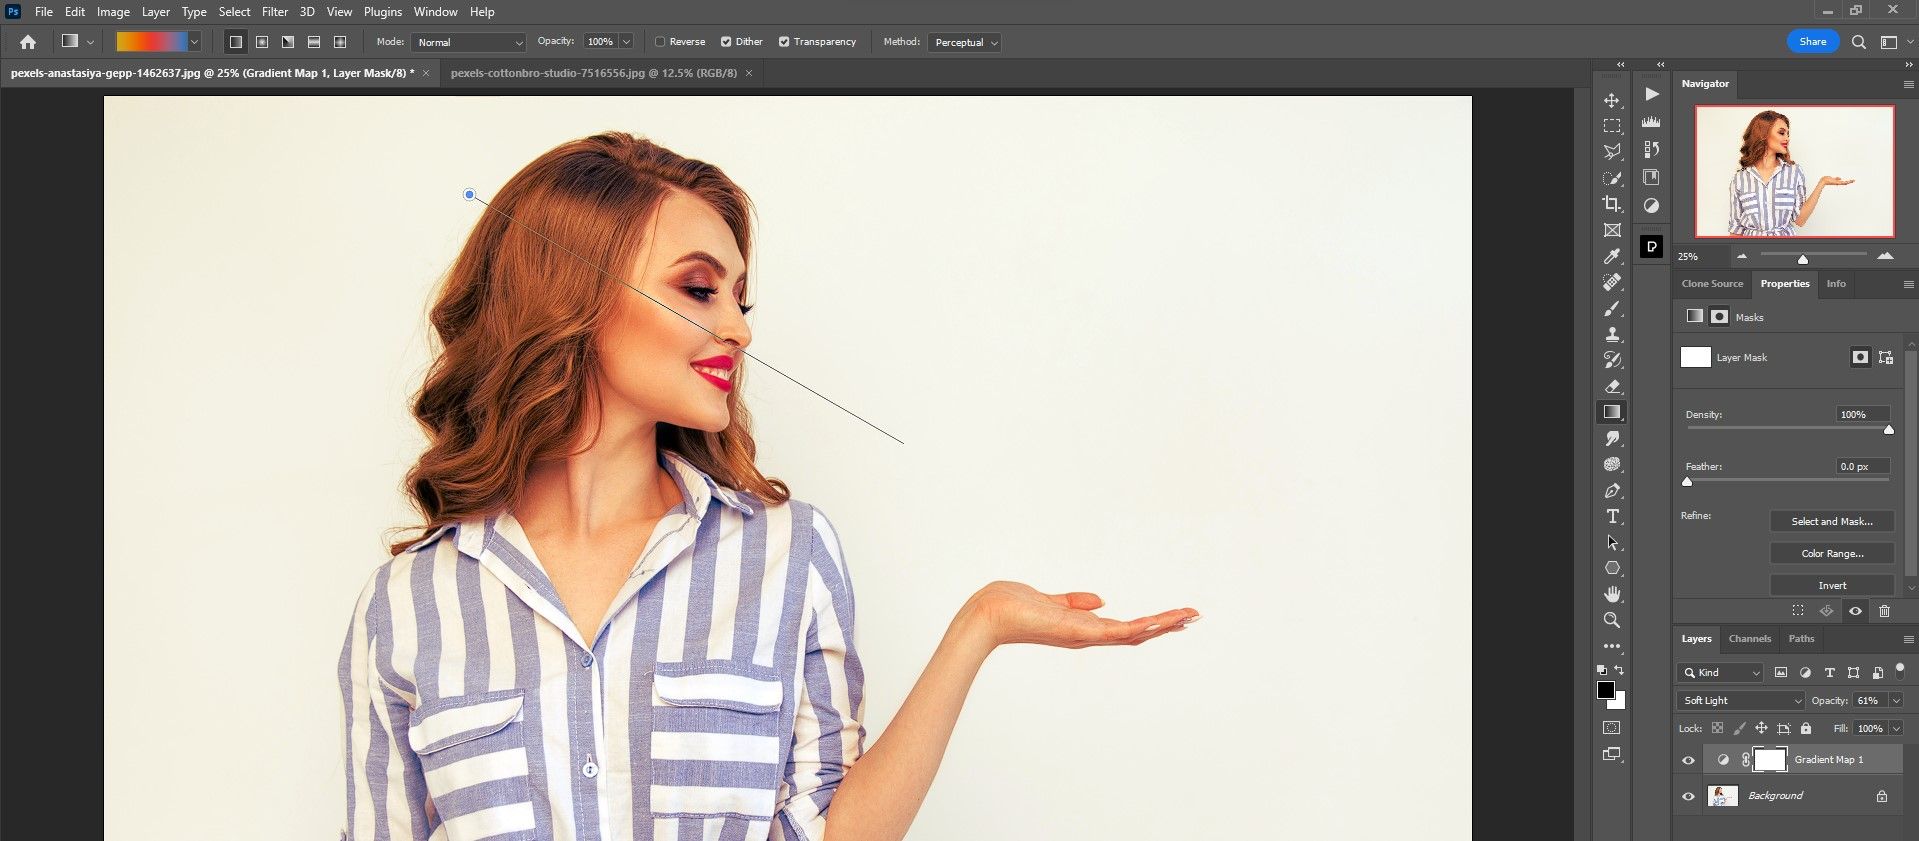
The result’s a extra refined look than if we merely lowered the layer’s opacity.
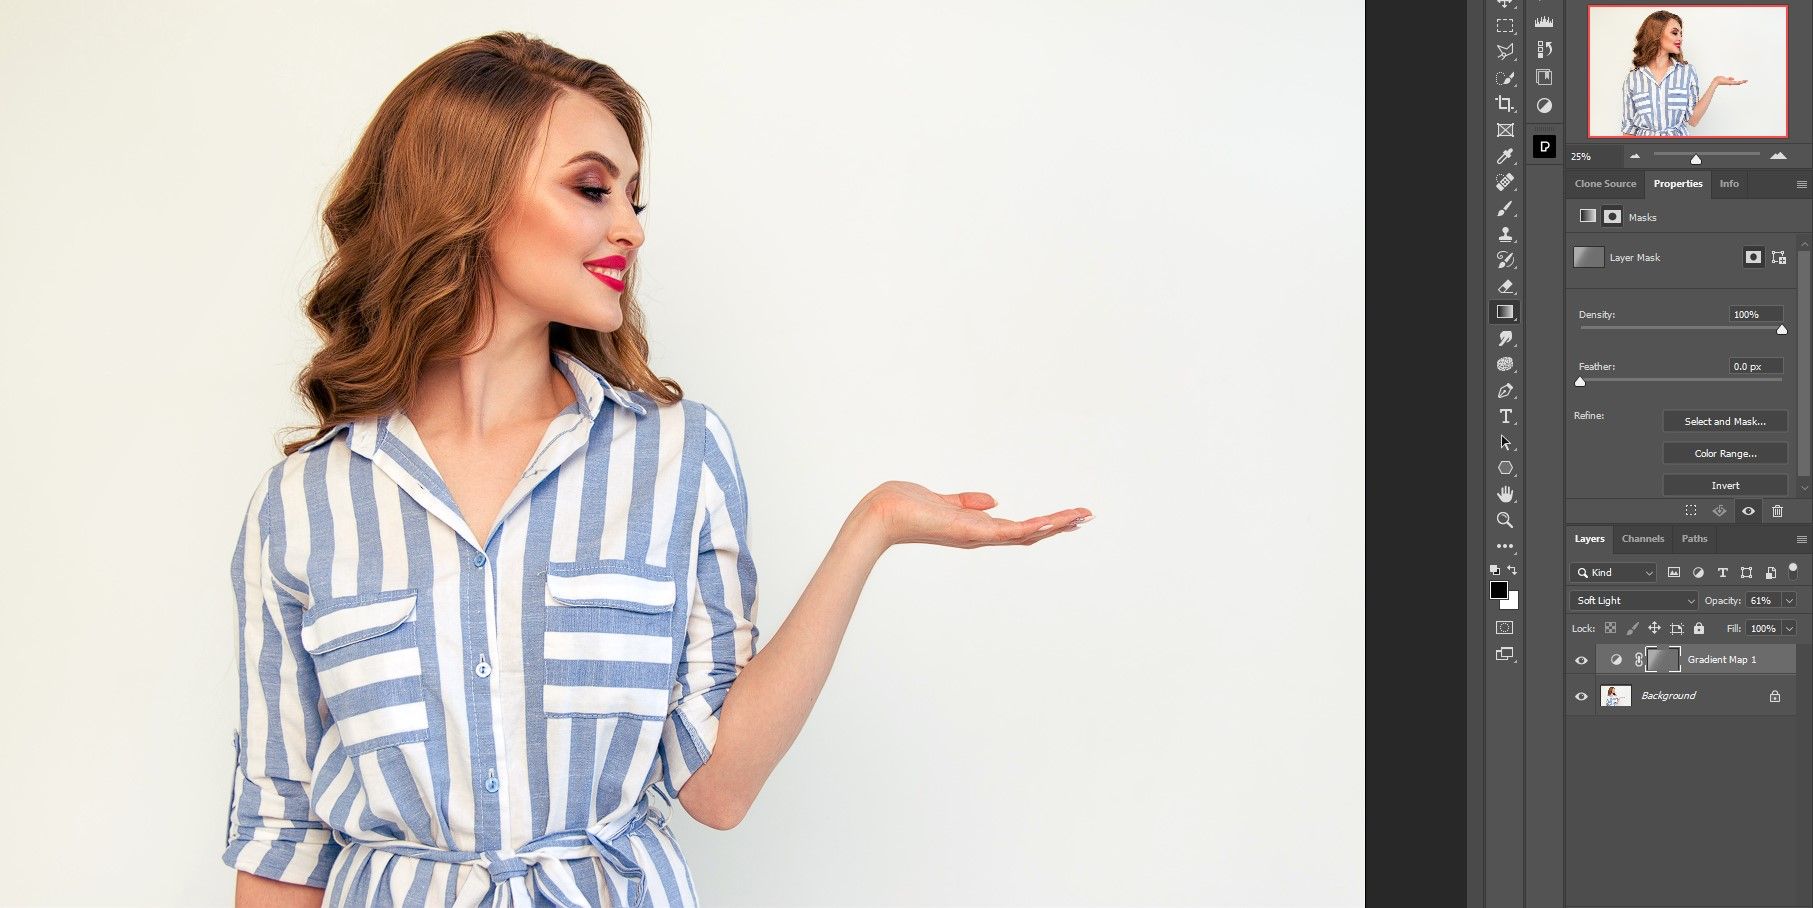
The heat has been faraway from the background and the mannequin’s pores and skin tones and hair look extra pure. It’s also possible to use frequency separation in Photoshop to retouch the pores and skin.
Get your gradient from every picture
Adobe Photoshop CC makes it simple so that you can extract a gradient from any picture and apply it to your individual. When you come throughout a picture with a coloration palette you want, discuss with this text to rework your pictures with extracted gradients.
