Make Gentle Bulbs Glow in Photoshop

If in case you have a picture with unlit lightbulbs, you need to use Photoshop to make them glow. We’ll present you methods to activate the sunshine.
Ever wished to activate the sunshine in an image with incandescent bulbs? On this tutorial, we’ll present you methods to paint colour onto these unlit lightbulbs in Photoshop to make the lights appear like they’re on and glowing.
Our examples embody lights in a tunnel and in a kitchen. Let’s start.
activate the sunshine in a tunnel
There are numerous methods to create the sunshine impact in Photoshop. We’ll take the painterly method, creating a number of empty layers for the sunshine to color onto the bulbs. Lastly, we’ll create a Curves layer so as to add the ambient gentle to the floor of the case.
If you wish to be part of, you’ll be able to obtain the pattern picture from Pexels.
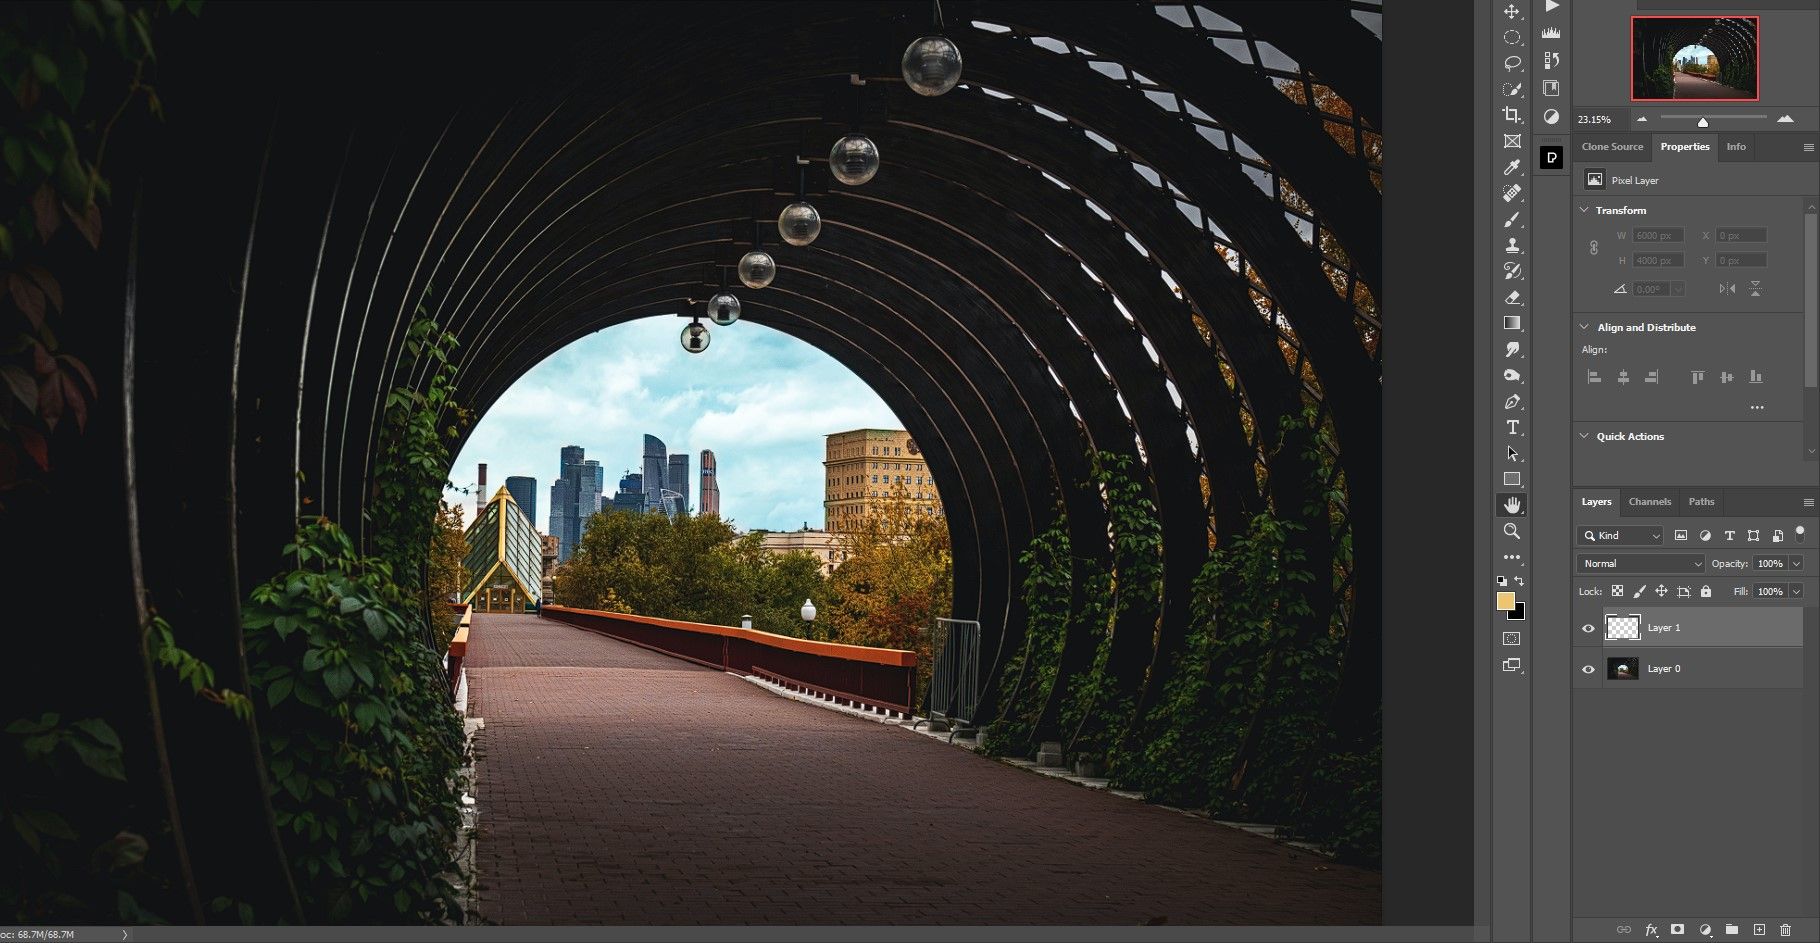
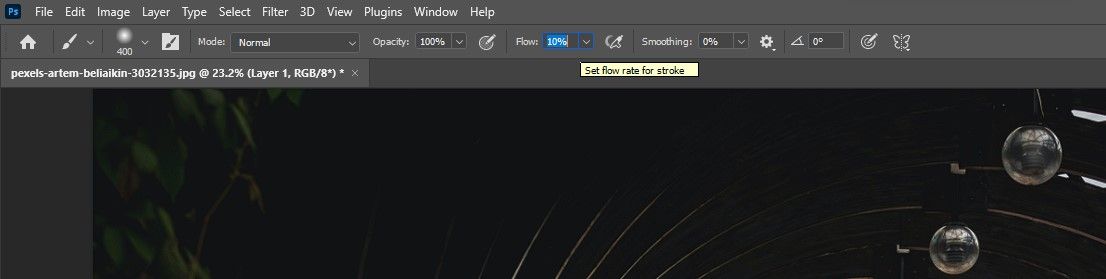
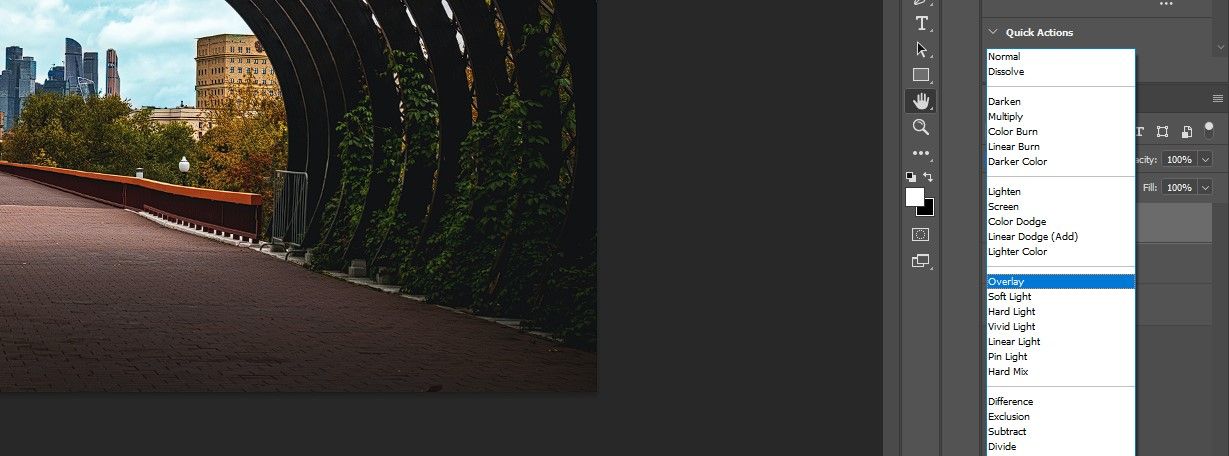
- Create a brand new empty layer by clicking + Press icon or layer + ctrl + N.
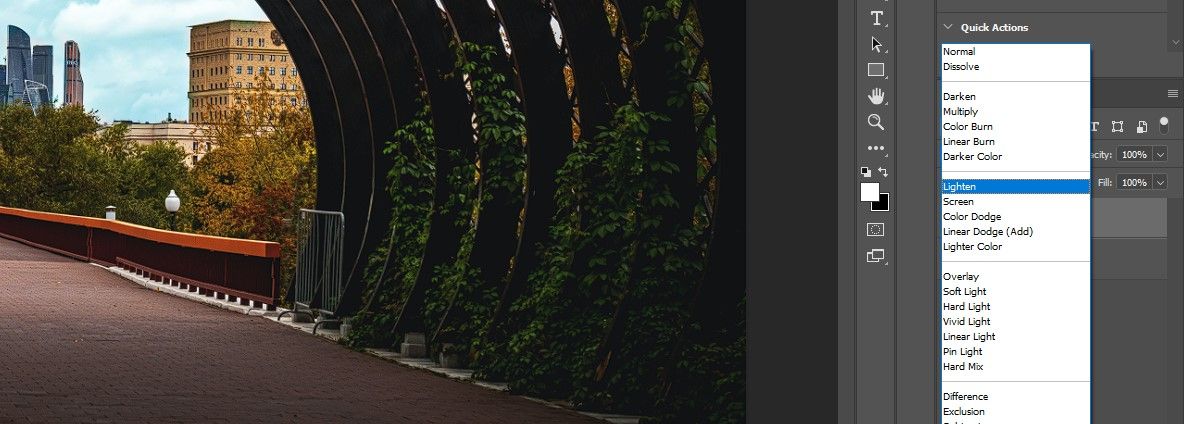
- change that mix mode to Facilitate.
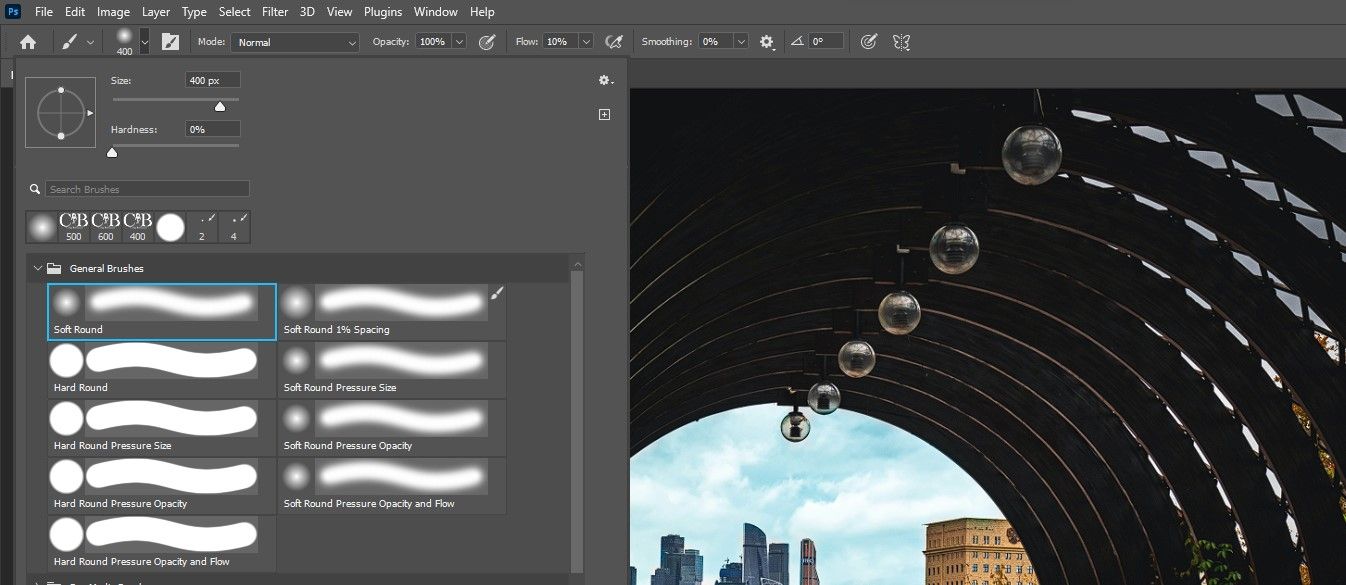
- Press B for the brush instrument and choose a smooth spherical Brush.
- Set these Move to 10%.
- change that foreground colour too white. Press the D and X Buttons to change to white.
- Stroke the filaments in every of the bulbs. Be certain that the lightbulbs within the foreground are barely brighter than those within the background. Enhance and reduce the comb dimension with the bracket keys [ and ]. Additionally ensure that the middle of the highlights is lighter than the outer components.
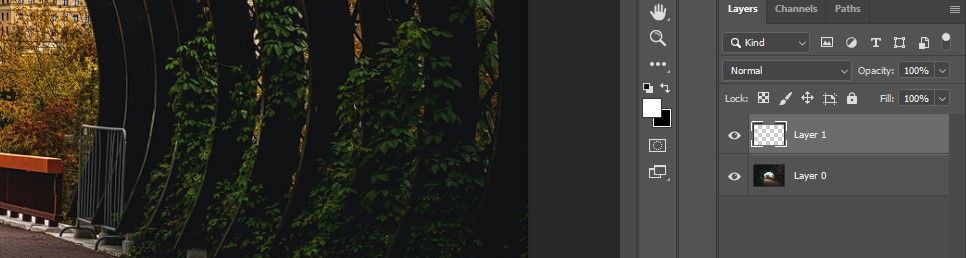
- Create a second empty layer on high of the layer stack.
- Set these mix mode to overlay.
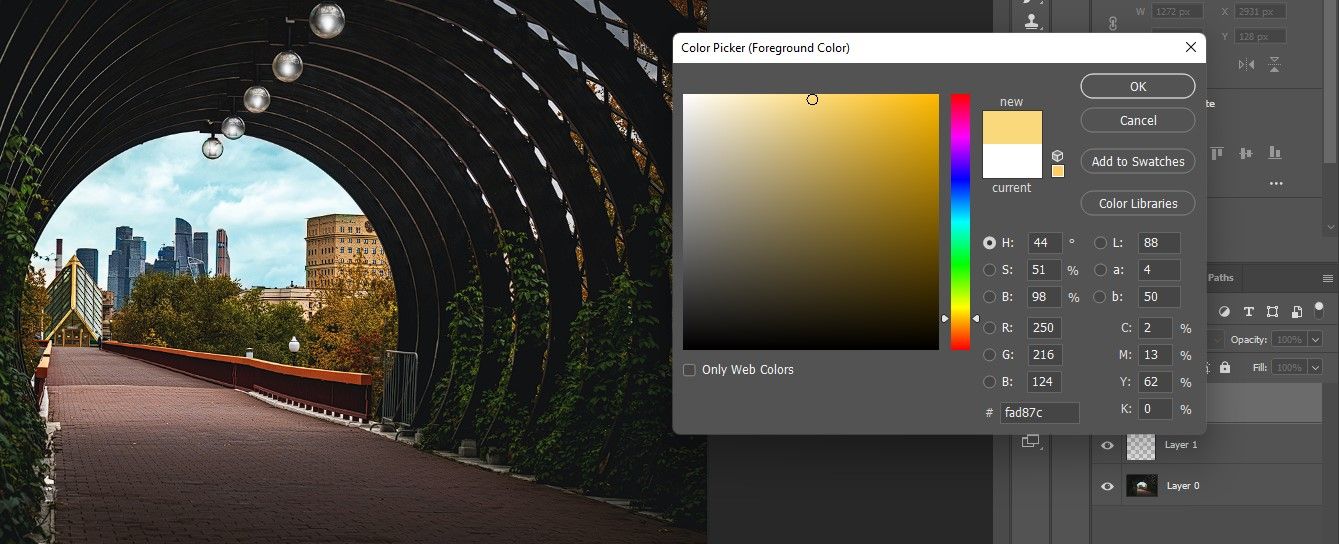
- Left click on on the foreground colour icon and select an orange tint. click on OK.
- With the brush Instrument chosen, ensure that Move is about to spherical 10%.
- Swipe over all of the lights and slowly construct up the impact for every bulb within the tunnel. It is okay to go just a little past the strains of the lightbulbs.
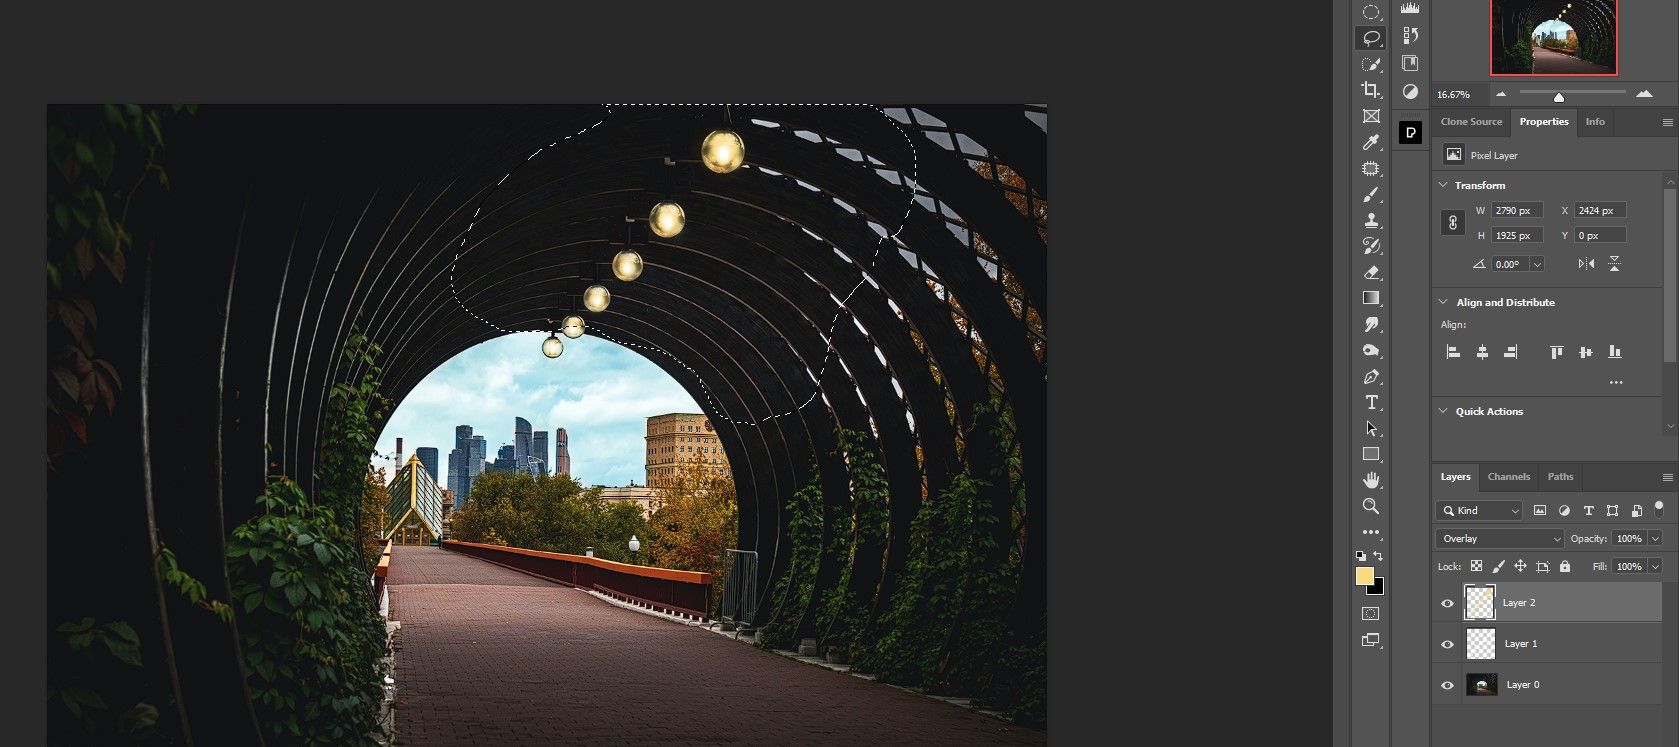
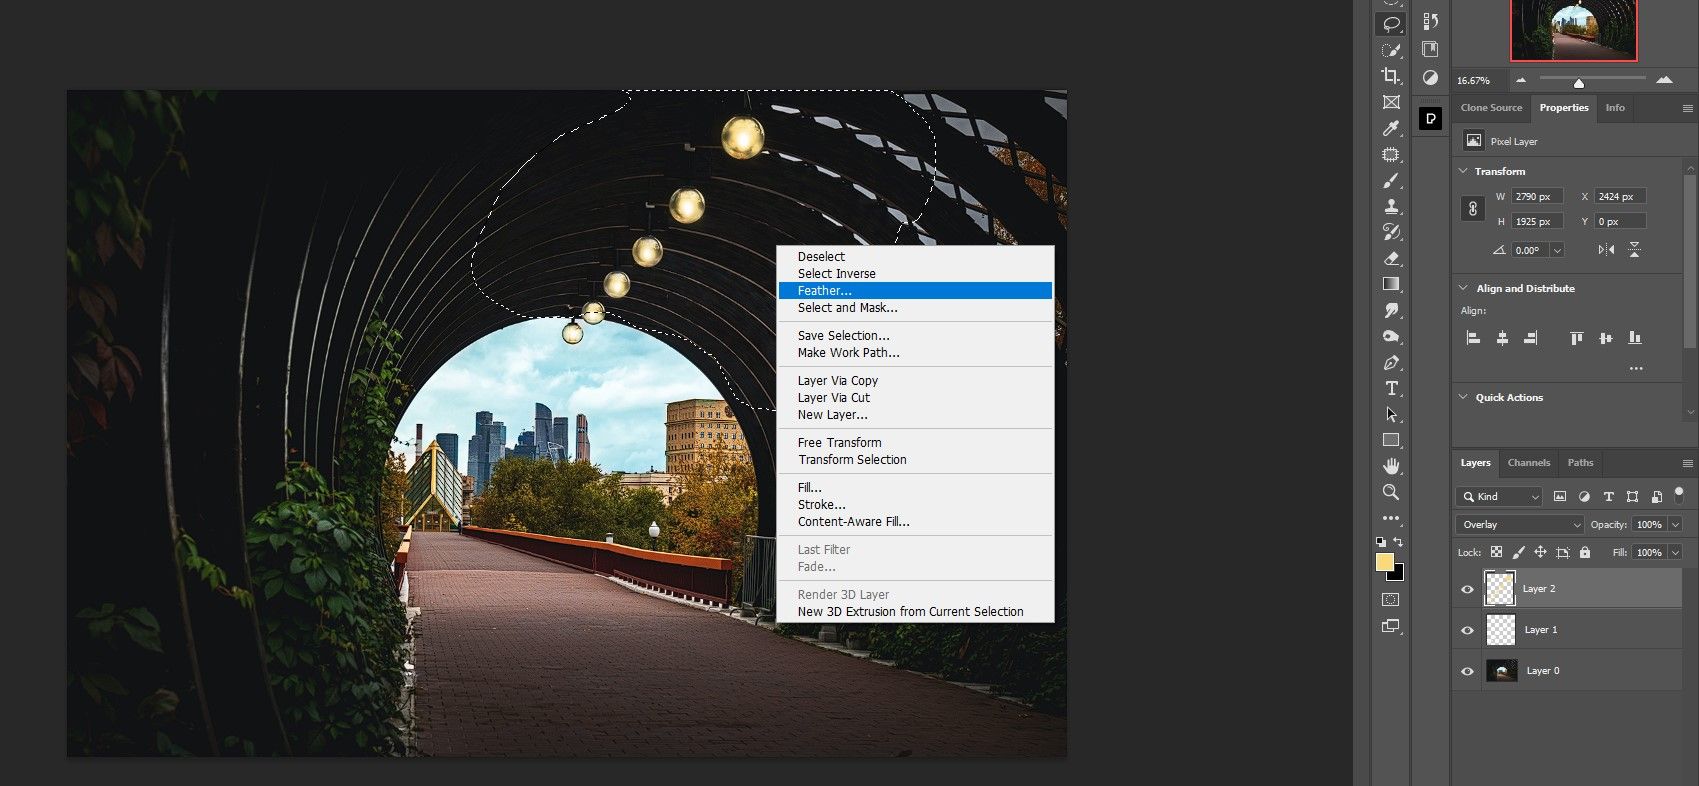
- Press L for the lasso Instrument. Choose an space across the highlights above the place the ambient gentle falls, as proven under.
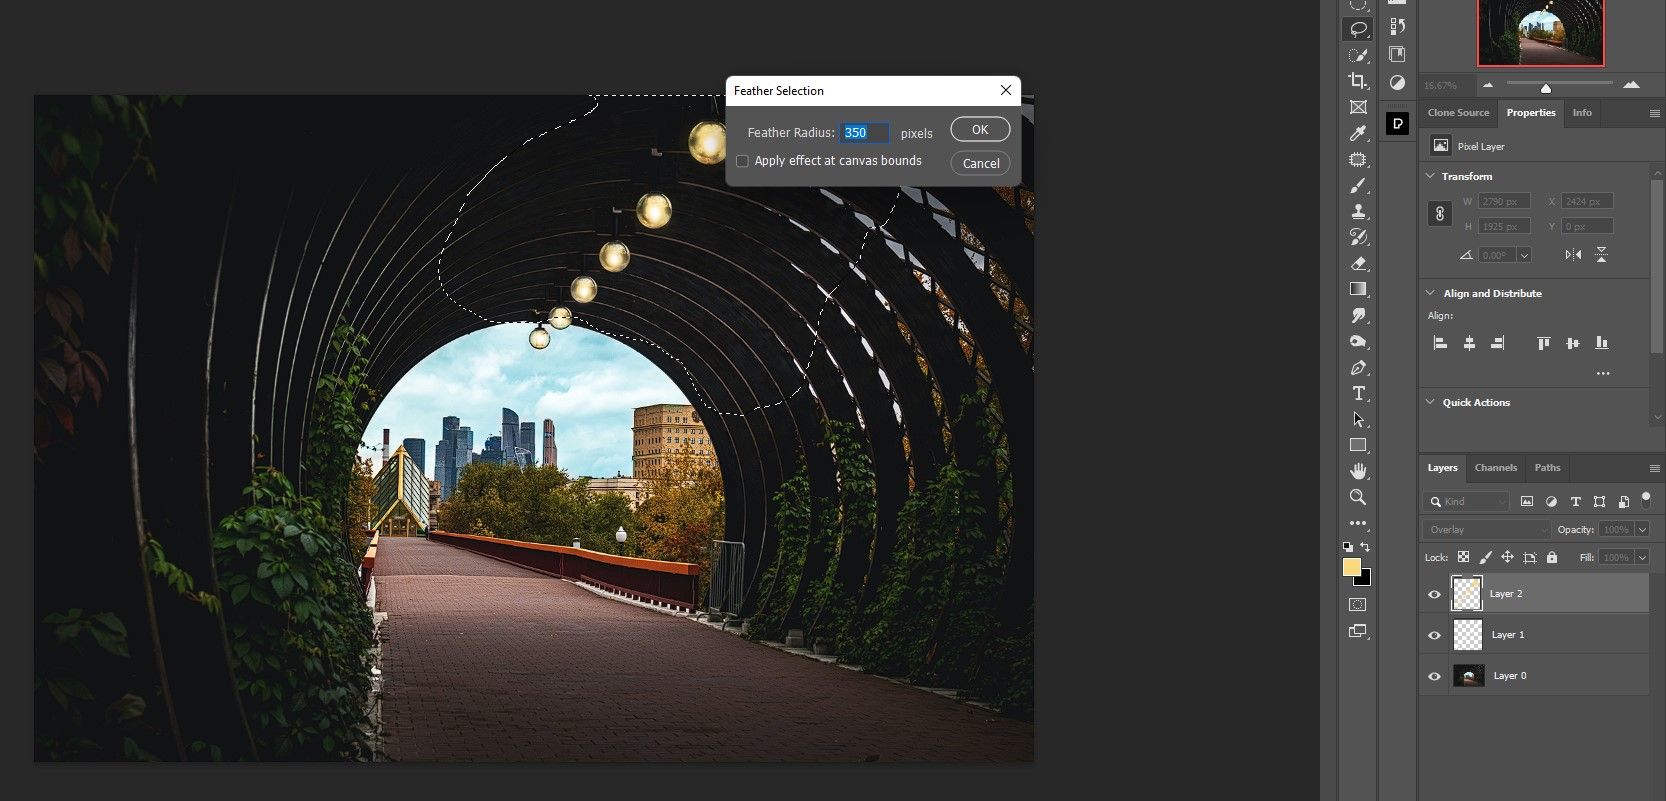
- Proper-click within the choice and choose Feather.
- Set these spring radius to 350 and click on OK.
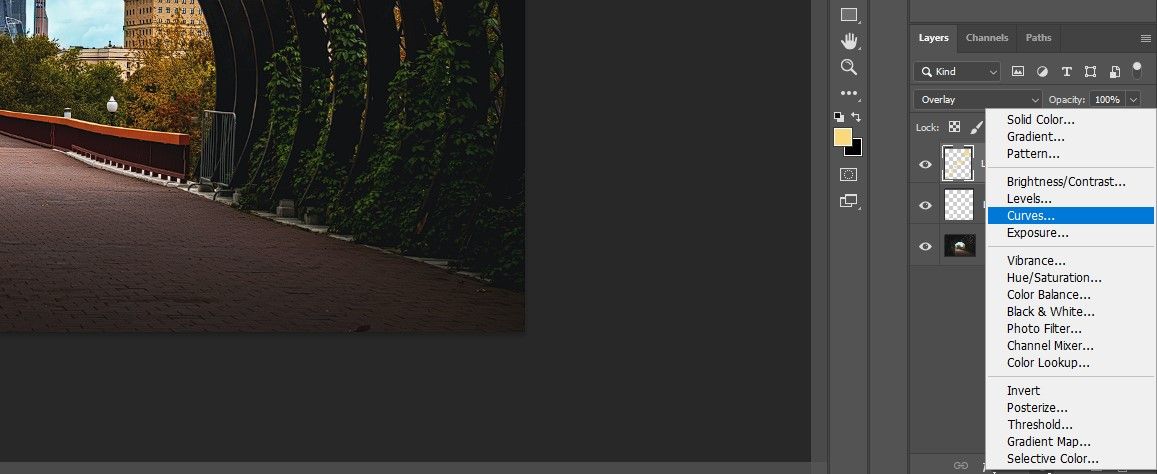
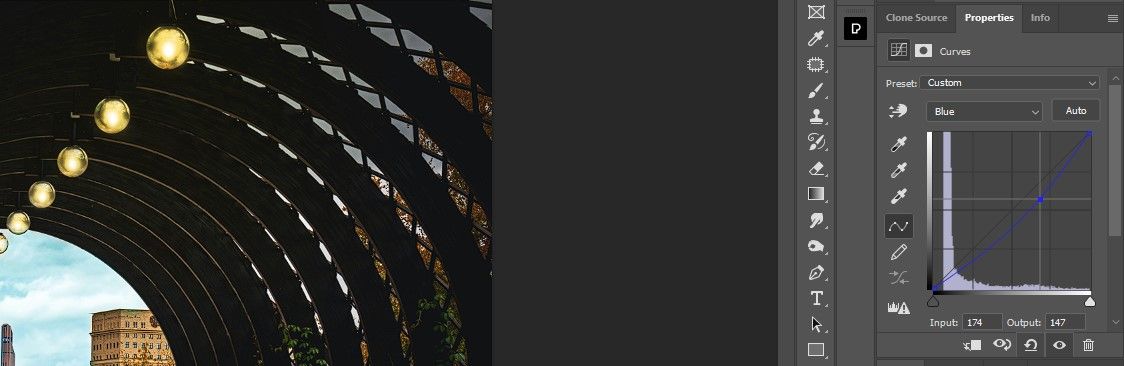
- A… create curves adjustment layer.
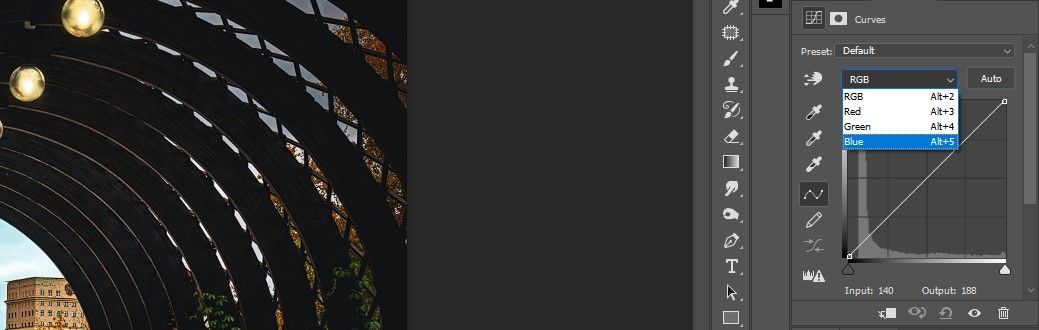
- Select Blue Channel from the drop down menu.
- Click on on the road and drag all the way down to create a yellow ambient gentle within the choice as proven under.
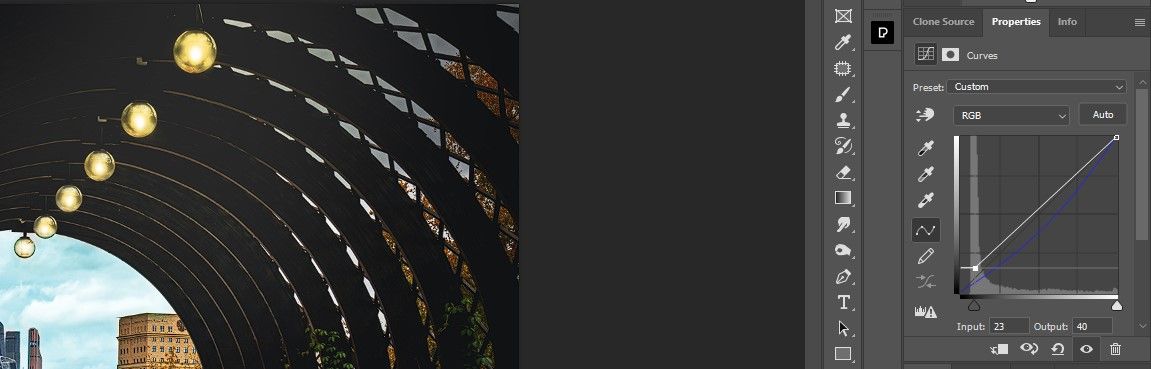
- Go to RGB Channel.
- Modify the white line to raise the shadows as proven under.
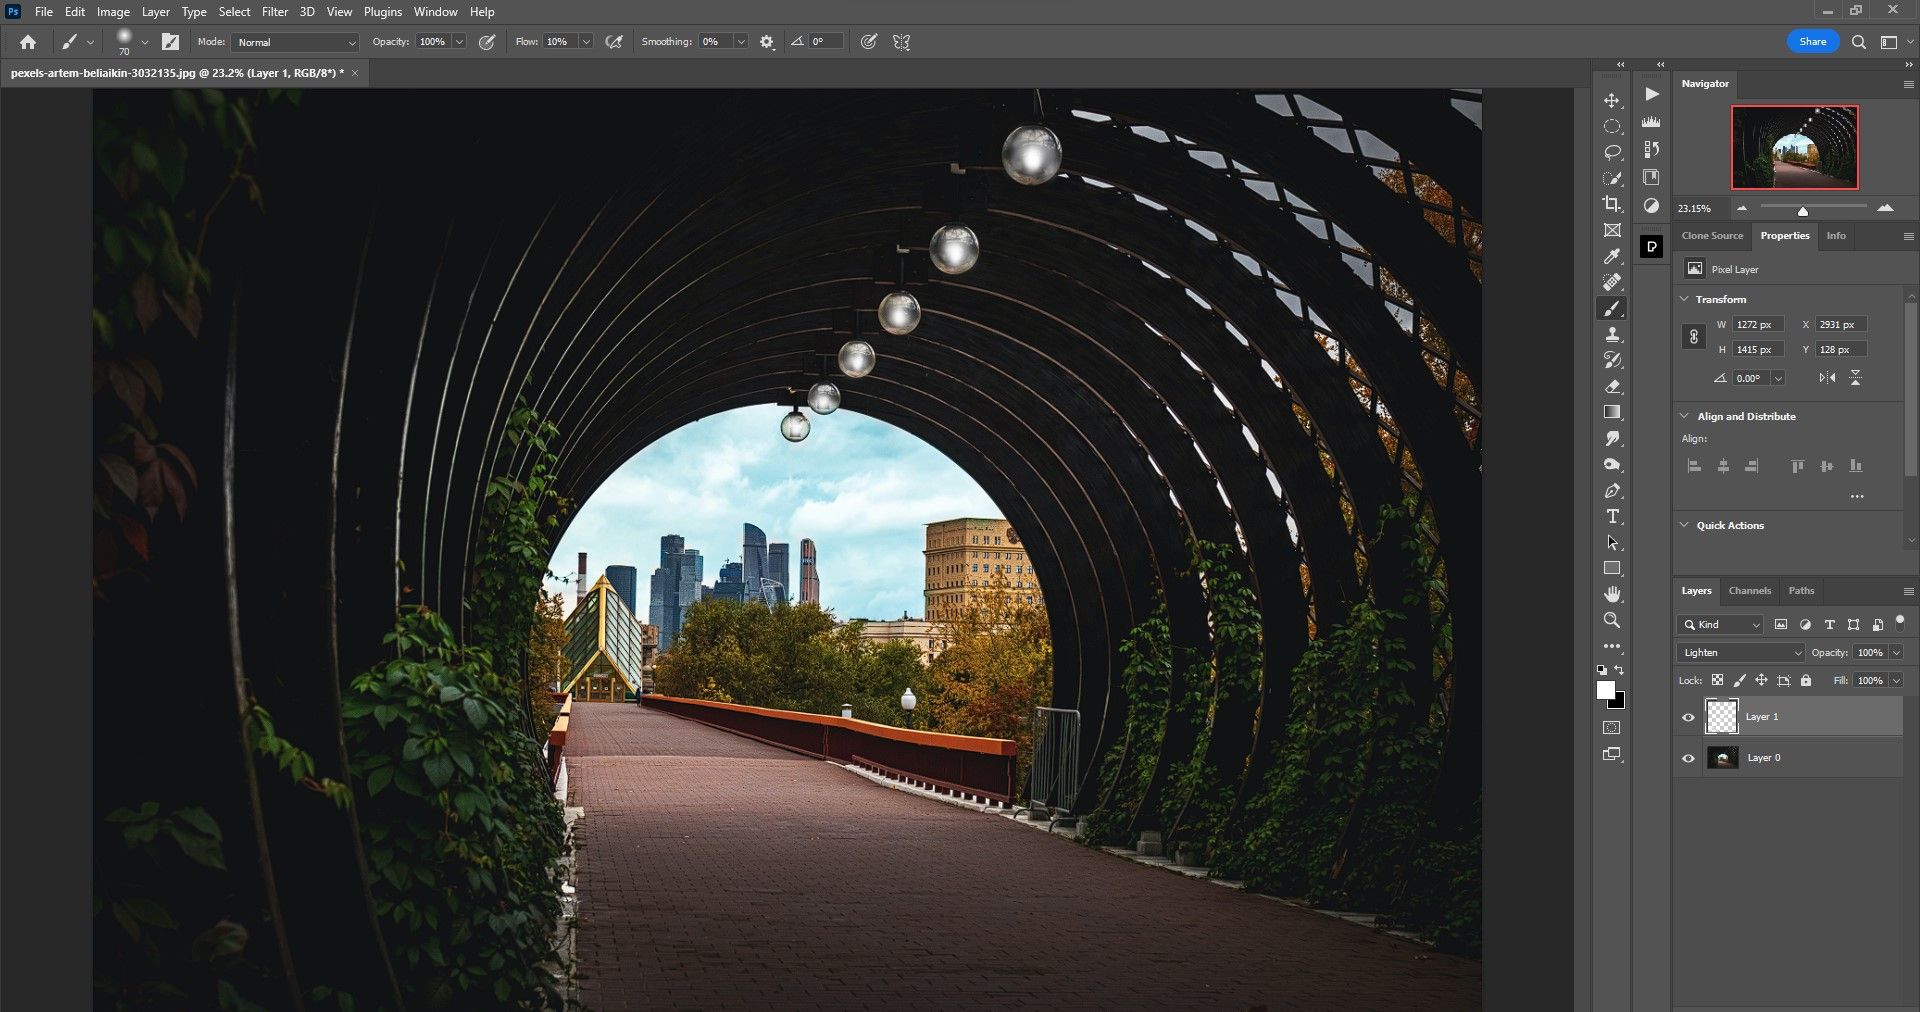

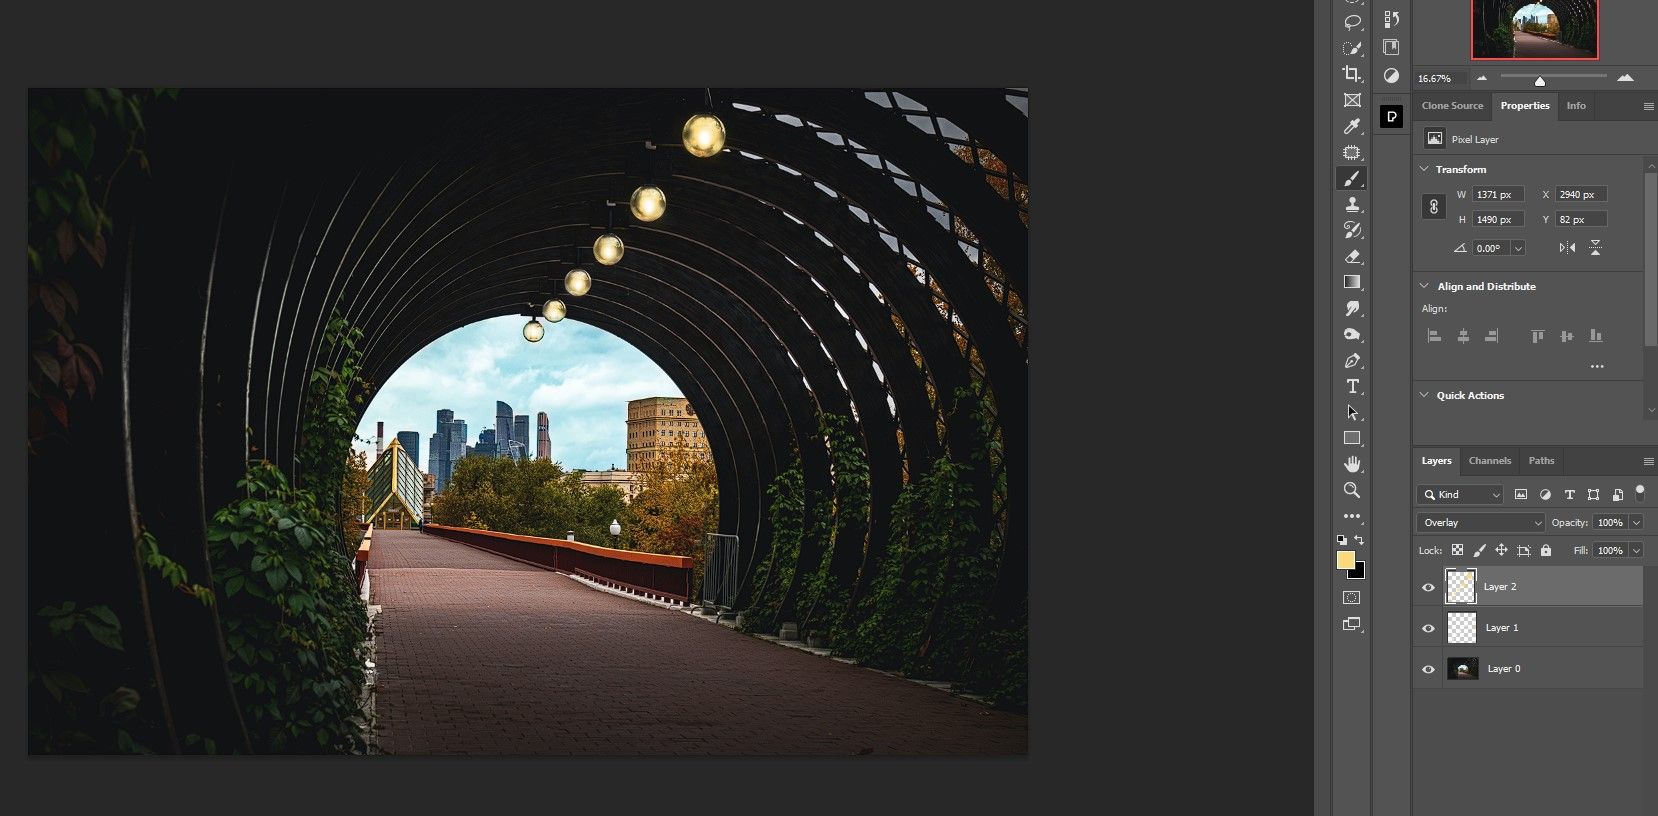
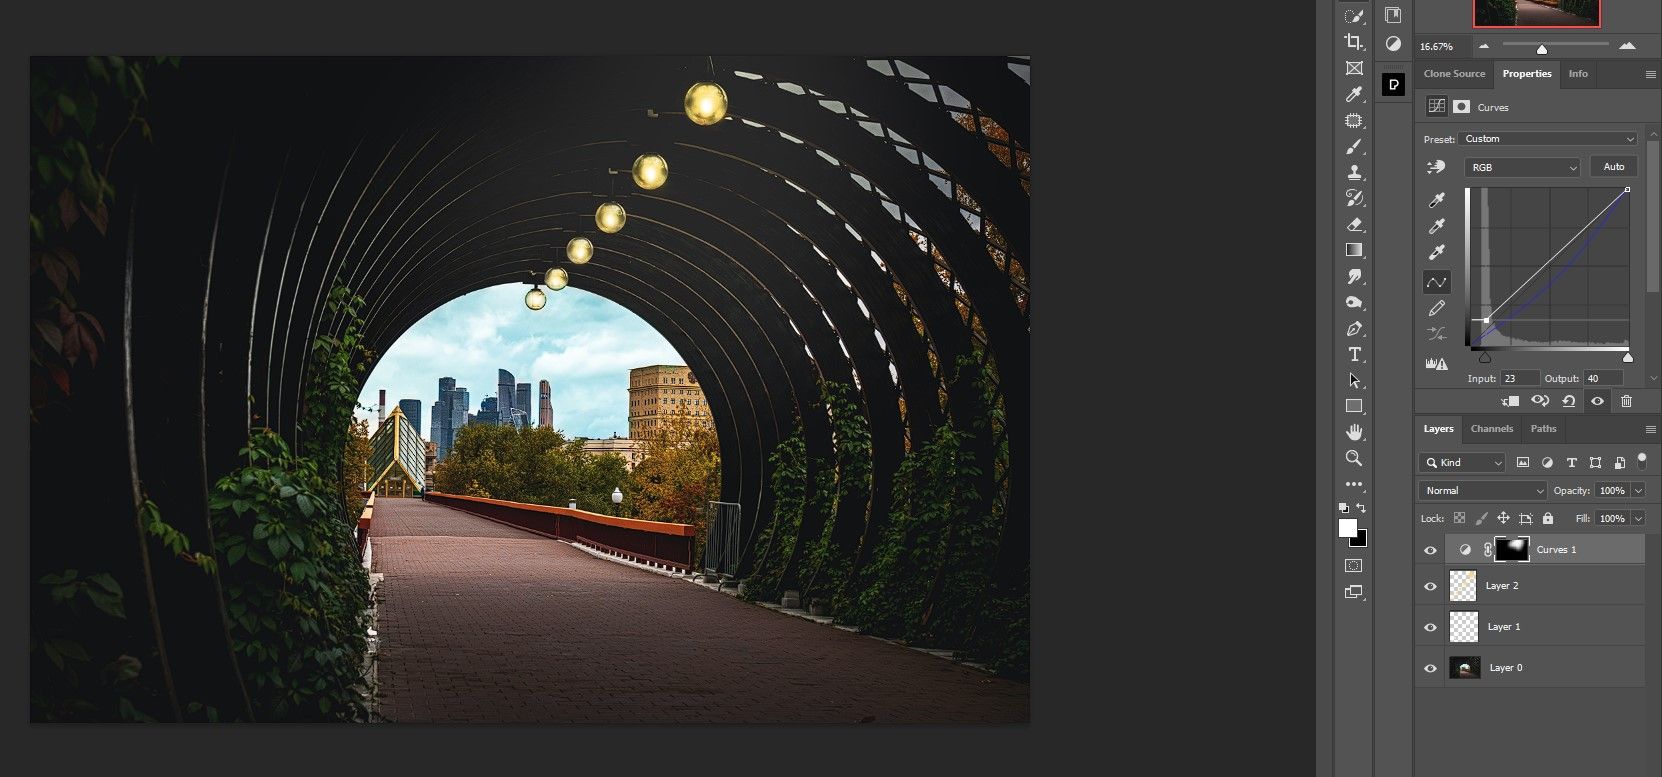
By slowly build up the sunshine results we created the phantasm that the lights are turning on on this tunnel.
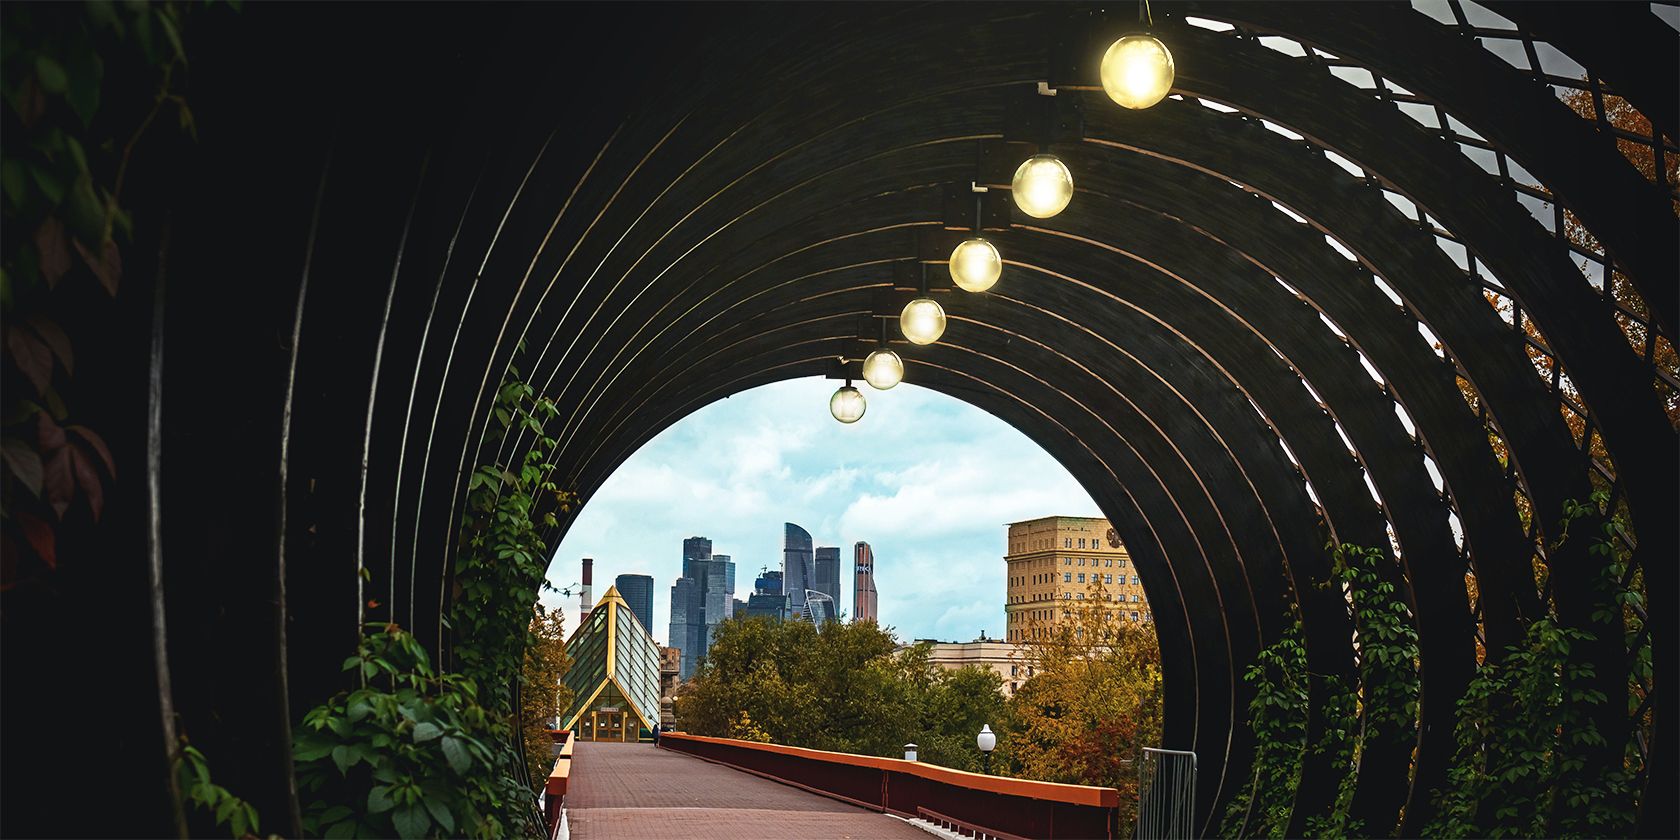
Right here is our In entrance Image:

And right here is the After this Image with the sunshine on:
In fact, you would additional edit the highlights and use dodge and burn methods to additional improve the picture. You may even make the picture black and white apart from one colour.
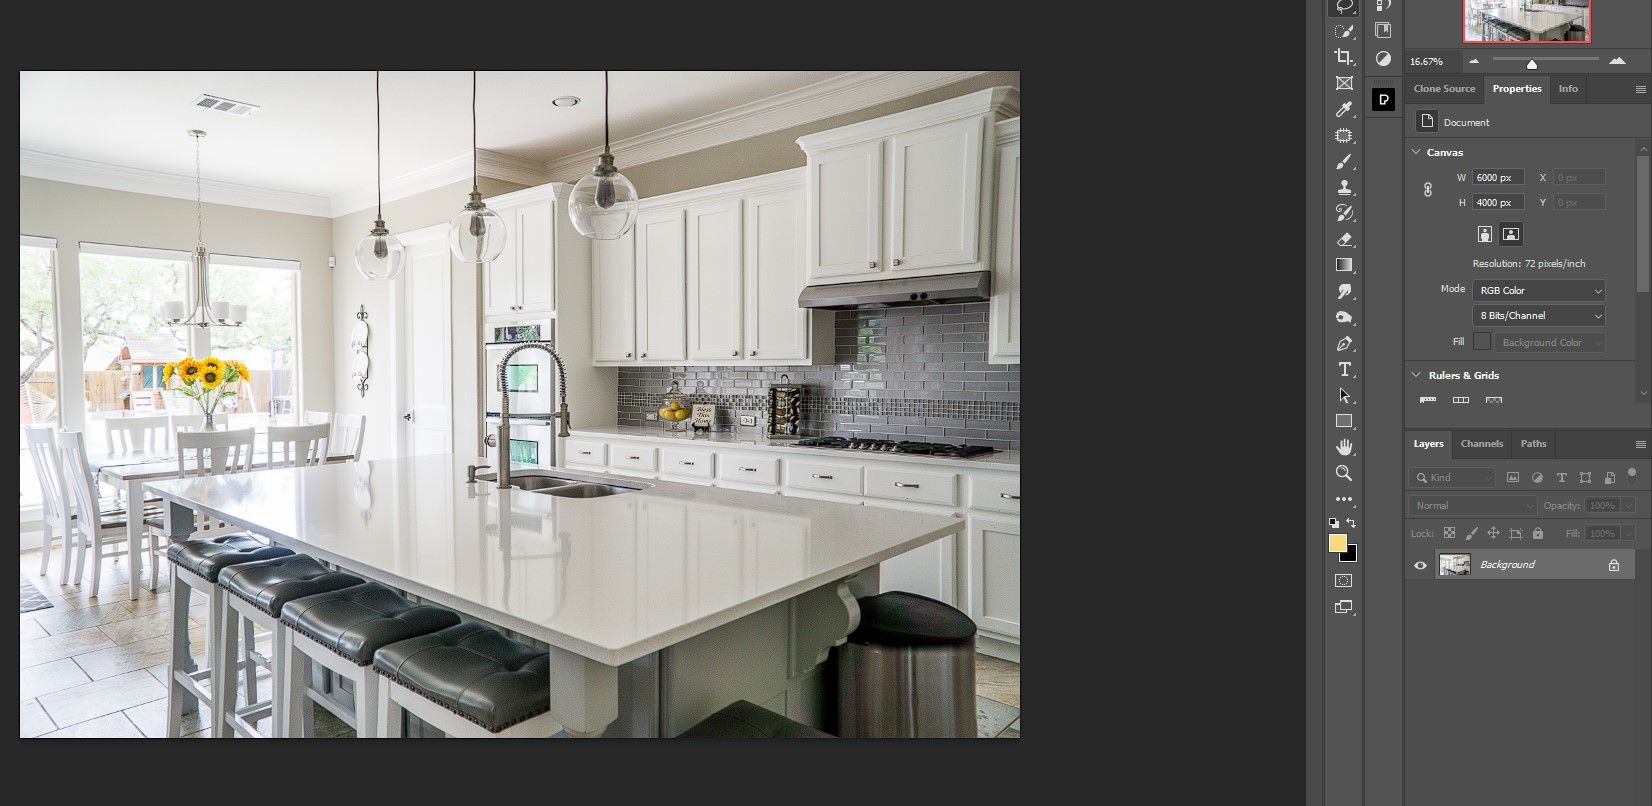
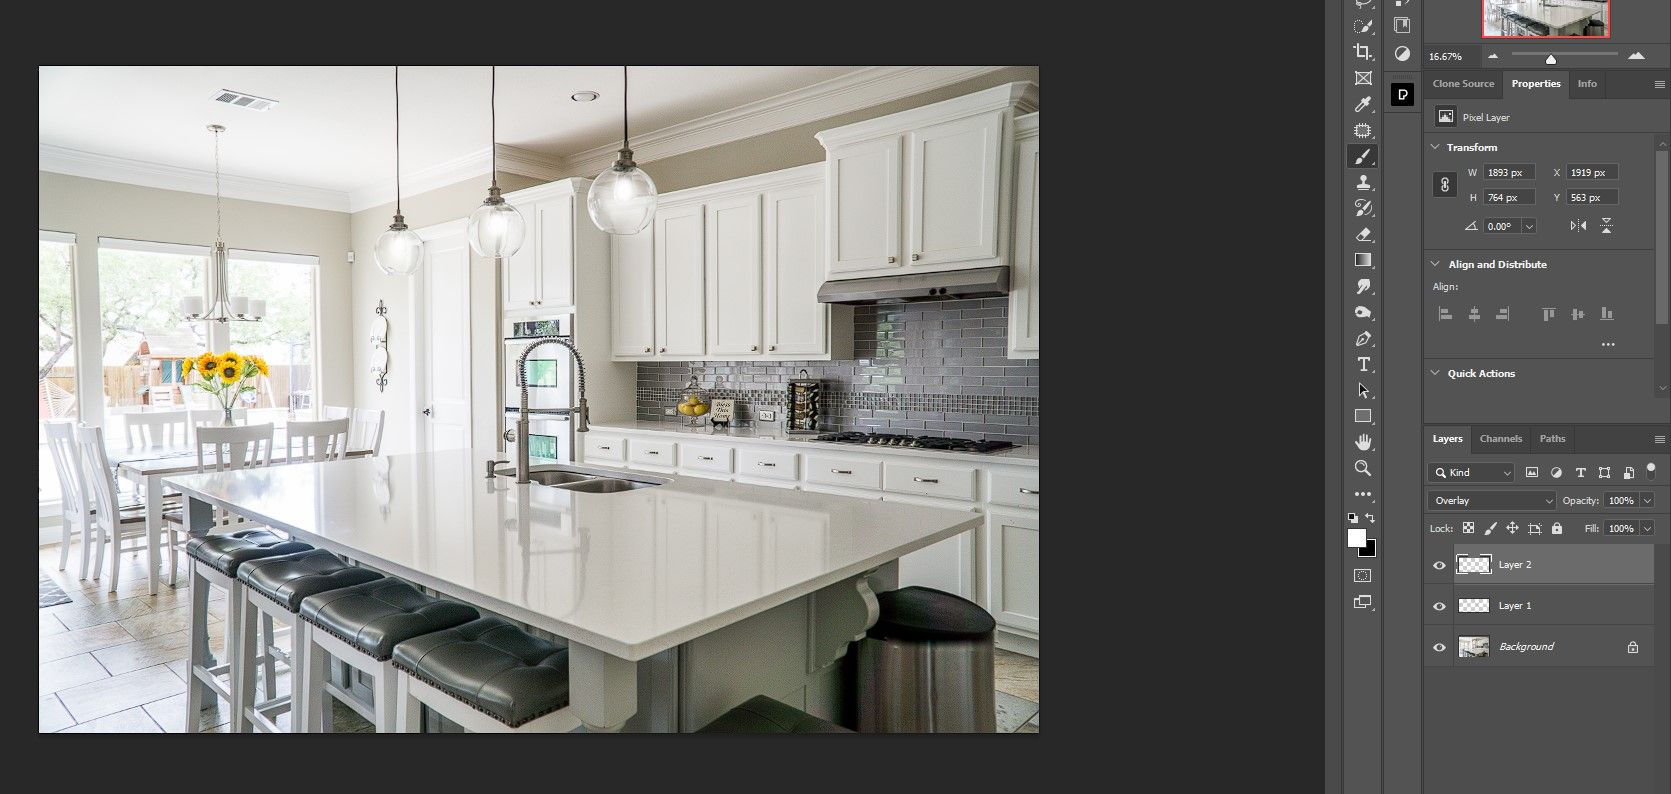
Activate the sunshine in a kitchen
The identical technique could be utilized to many kinds of pictures, together with one in all a kitchen. We can’t repeat the identical steps once more, however you’ll be able to obtain the kitchen picture from Pexels if you wish to attempt it your self.
Right here is our In entrance Image:
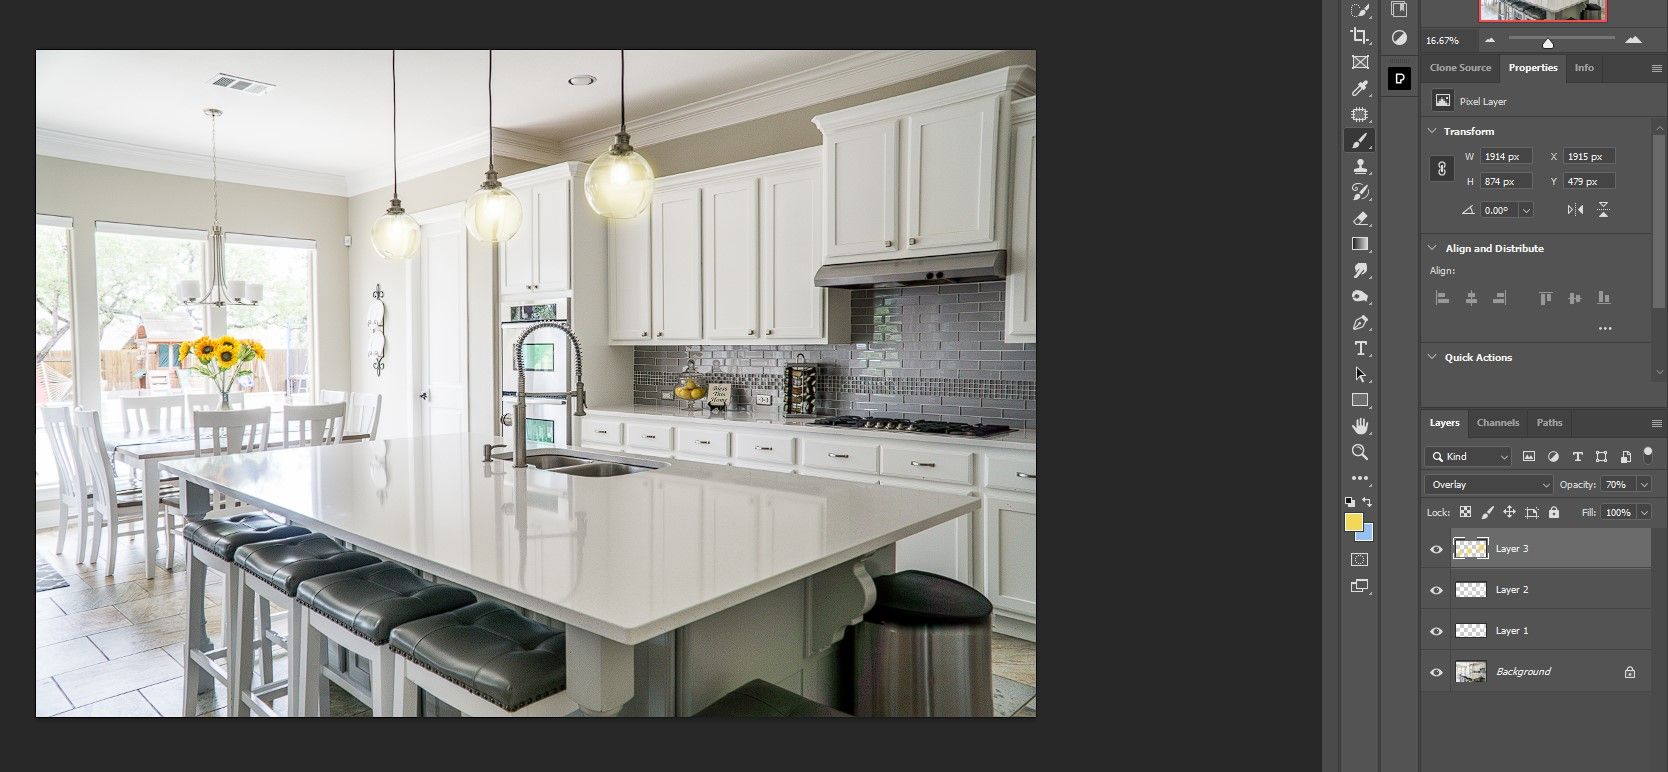
Right here is our After this Image:
The one distinction is that we used white for each empty layers as a substitute of an orange tint for one in all them, giving us a extra practical look on this take. However if you wish to add one other layer of colour overlayyou’ll be able to obtain an identical impact as in our earlier instance.
Within the picture under we have added a little bit of colour:
Moreover, you’ll be able to group the layers right into a folder for organizational functions if you might want to do additional enhancing. All you need to do is click on on the highest stage and layer + click on on the backside stage you need, after which press ctrl + G to group every thing in a single folder.

It’s also possible to apply third-party results from the NIK Assortment to additional improve your pictures.
Activate the lights in Photoshop
All you need to do is add a number of layers in Photoshop to make the lightbulbs glow in every picture. With just a little creativity, you may make any scene with lightbulbs look extra practical by turning them on.
