The right way to Create Puddles in Photoshop

Generally our images may use a artistic enhance. What we have seen in actual life would not at all times translate to digicam — however fortunately, modifying software program might help you create extra attention-grabbing art work.
On this tutorial we’ll present you how you can add puddles to your picture utilizing Photoshop.
The place to get Puddle Maps from
To create puddles from scratch in Photoshop, it’s essential to search on-line for these 3D graphics. Luckily, there are numerous accessible on-line without cost.
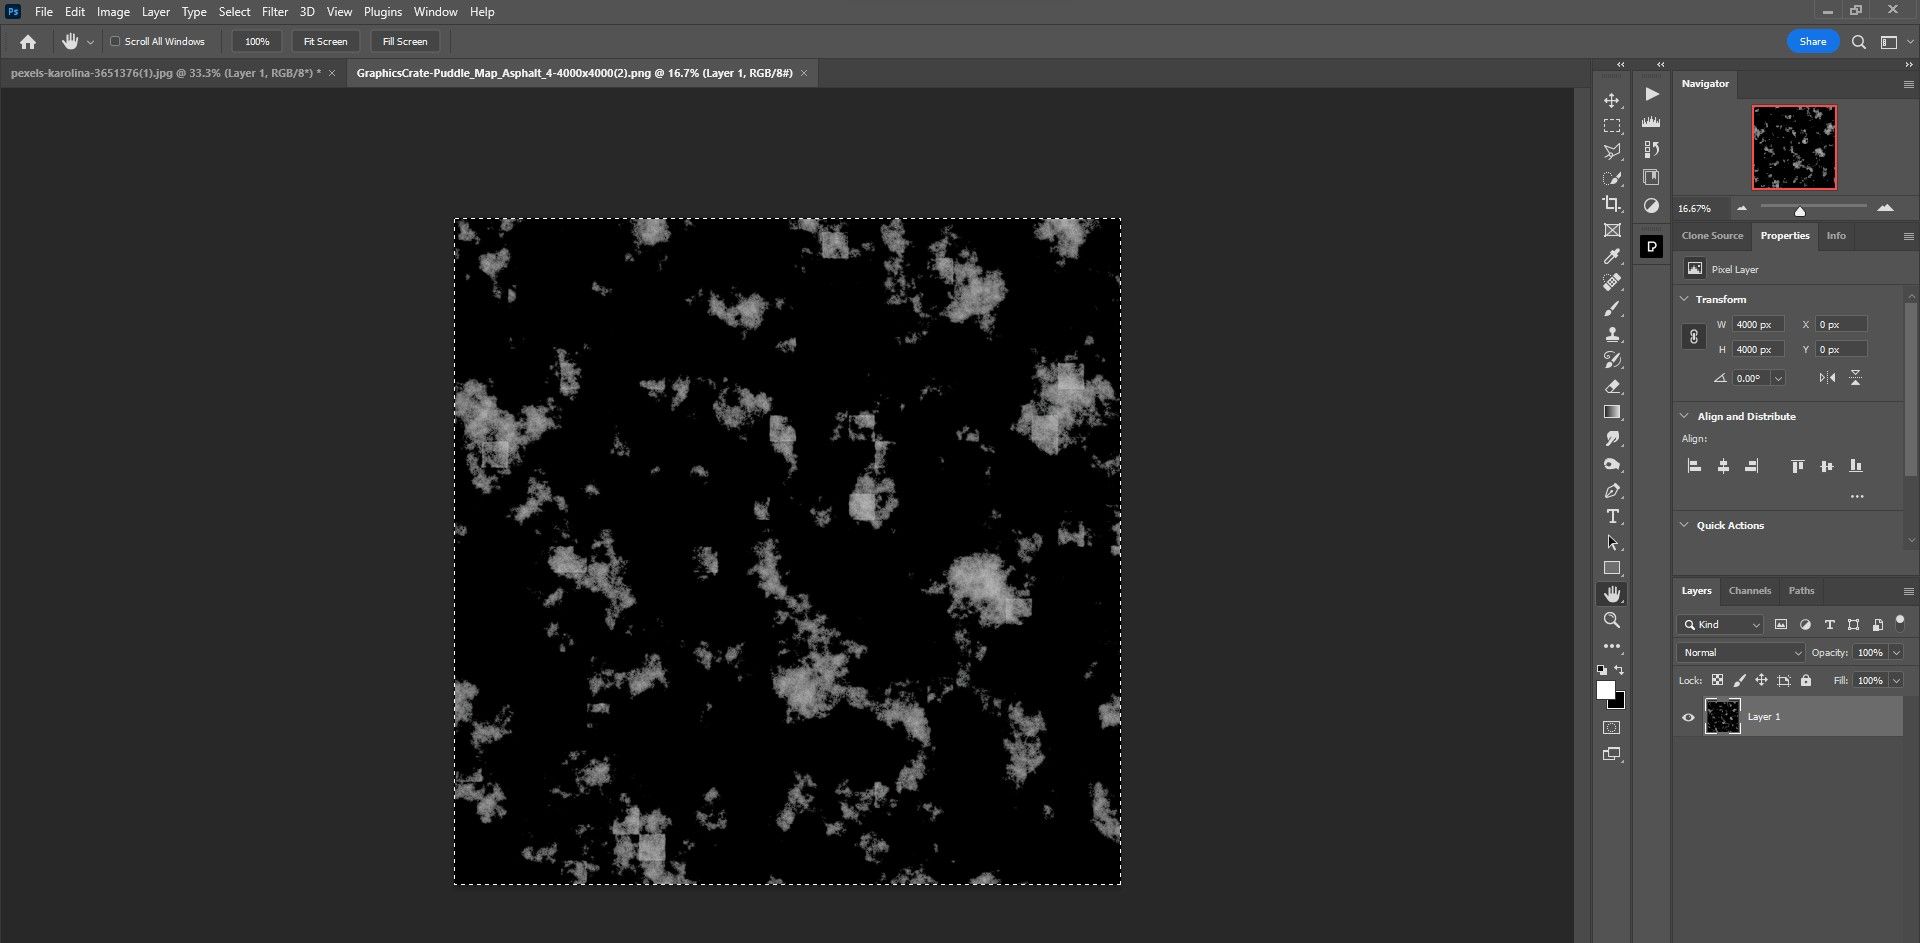
If you wish to observe our tutorial, you may obtain the puddle map we used at GraphicsCrate.
You’ll be able to obtain the principle picture that we’ll be utilizing at Pexels.
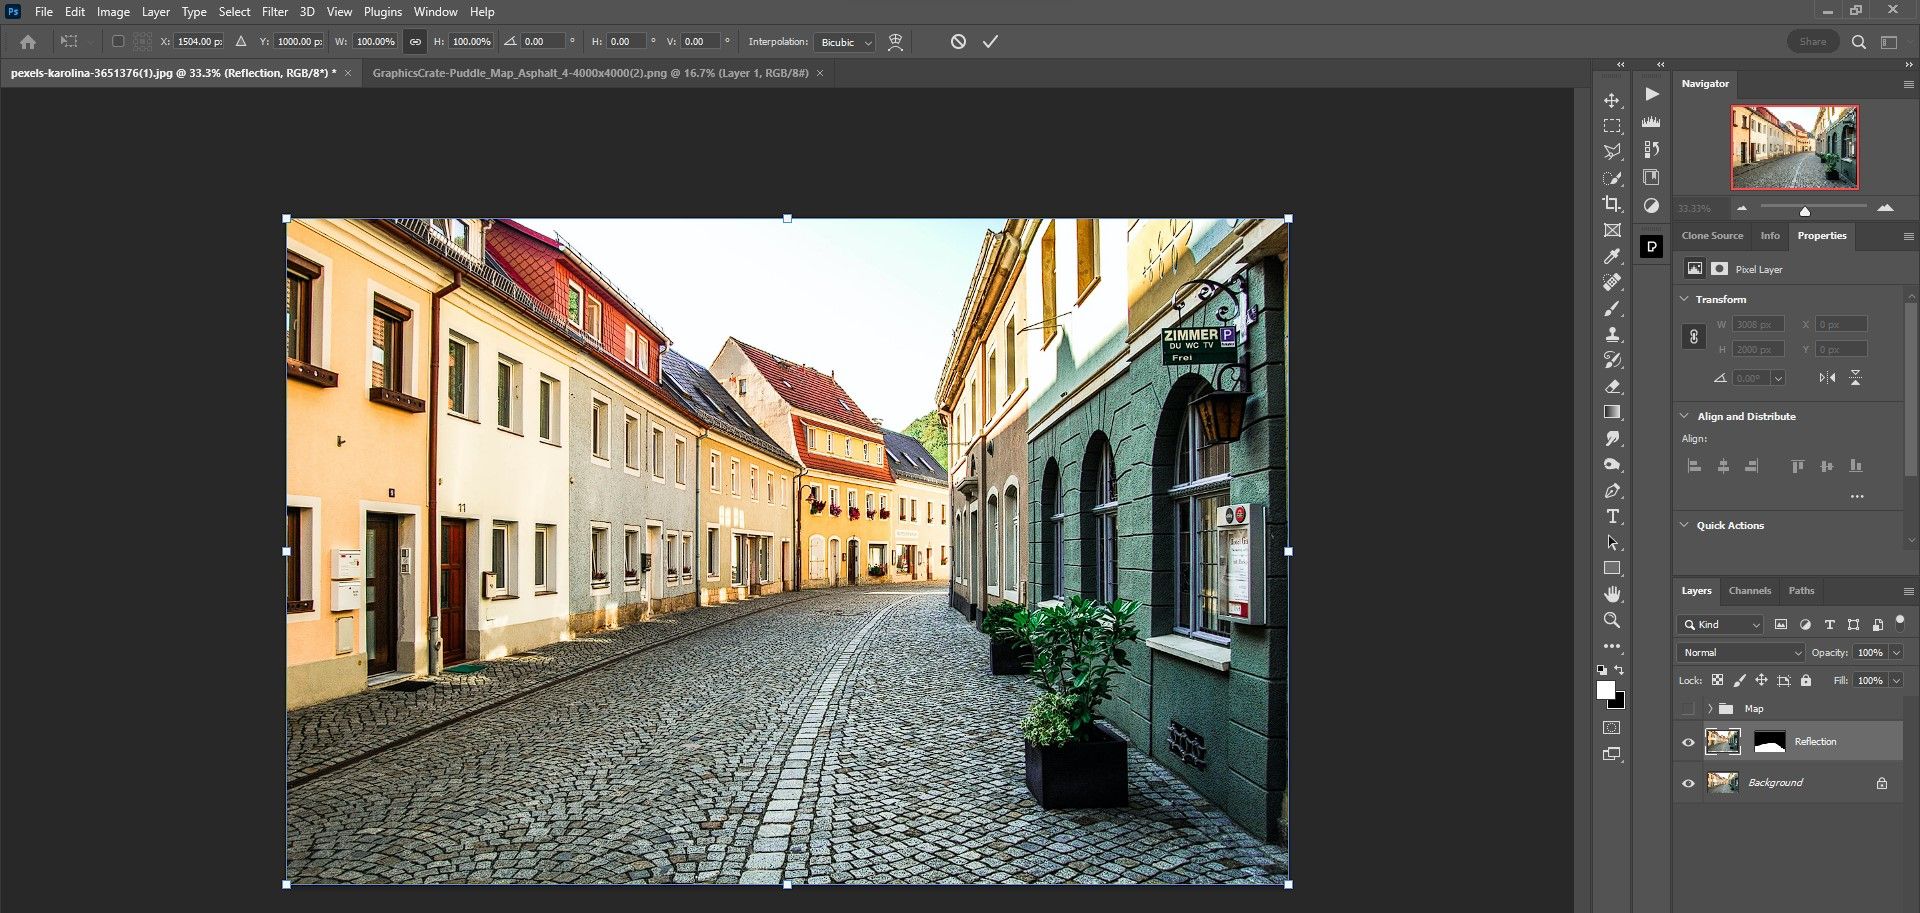
Step 1: Create a vanishing level
Our first step is to create a vanishing level in Photoshop to put the puddle map. Then we prepare a number of variations of the puddle map to replenish a lot of the highway in our principal village picture.
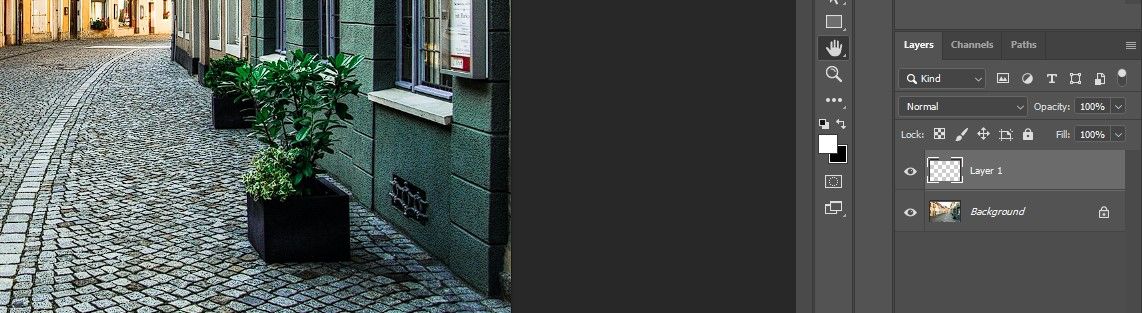
- With the principle picture loaded in Photoshop, create one New shift.
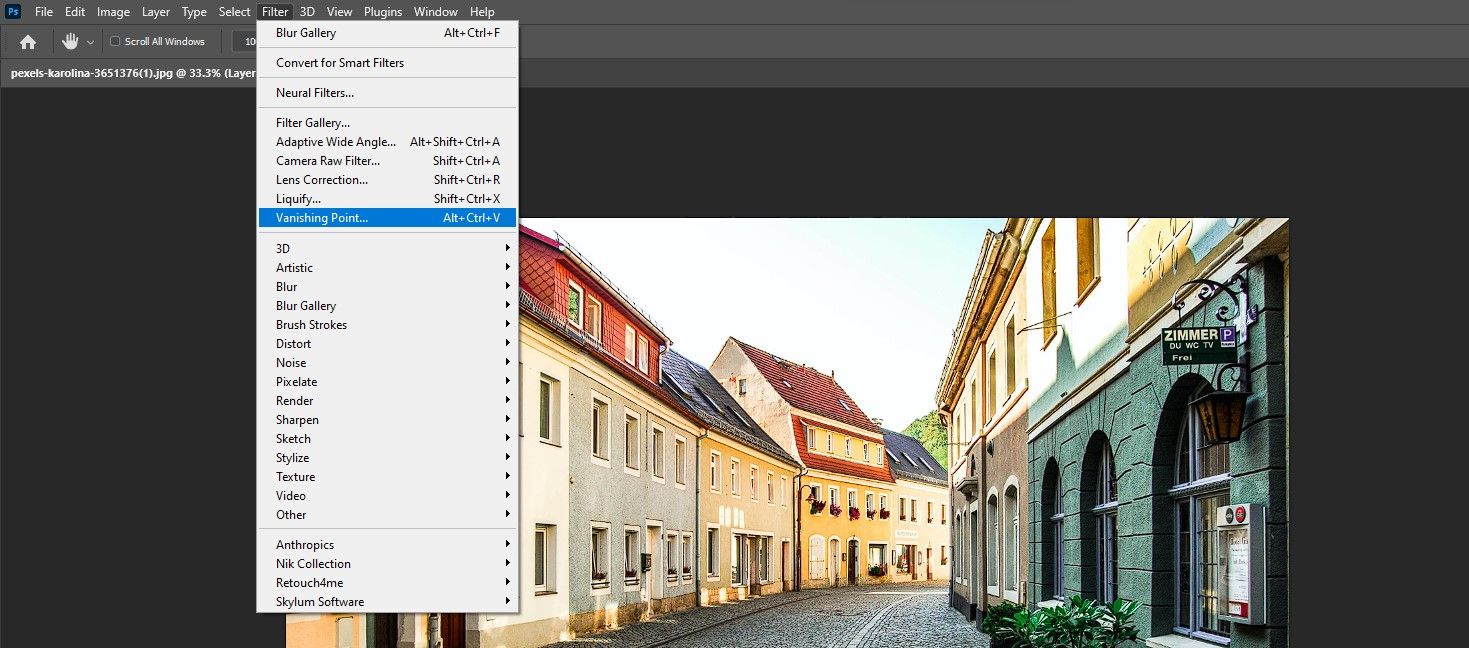
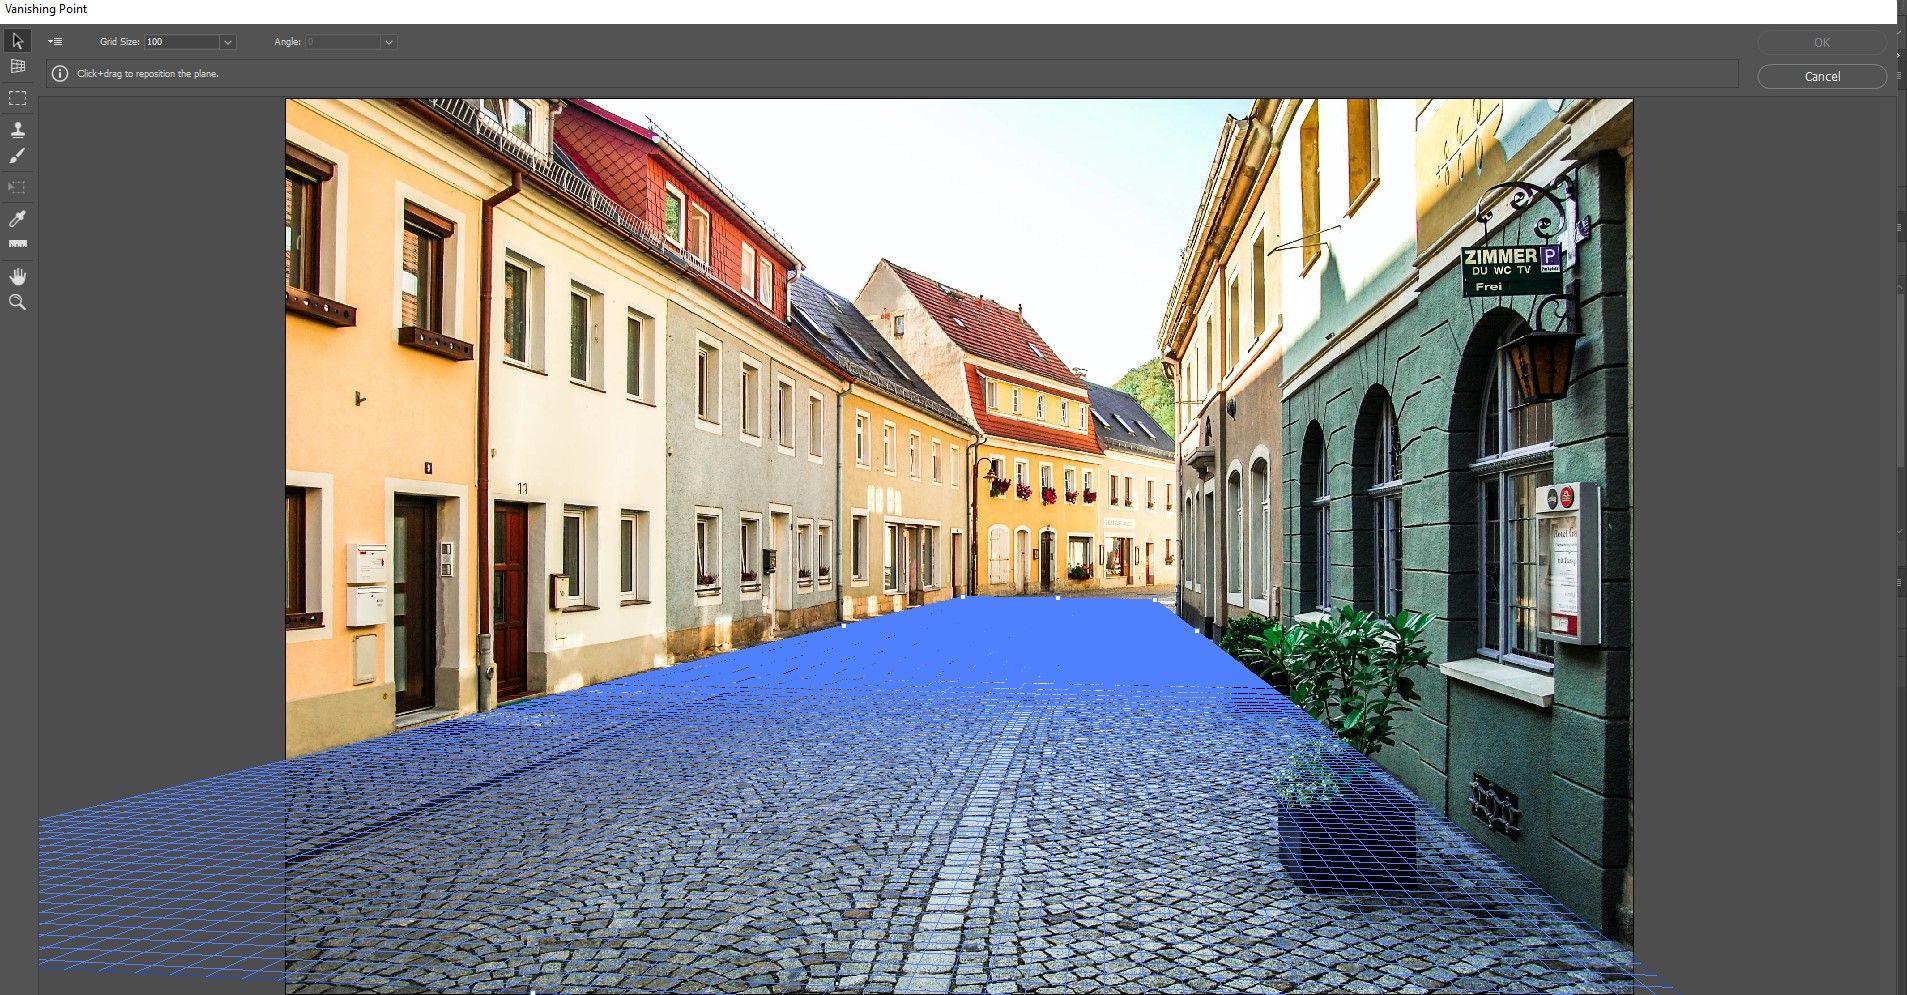
- Go to filter > vanishing level.
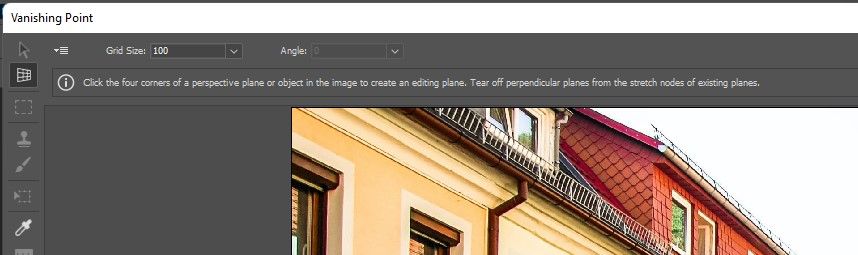
- Select Create Airplane Software (ought to be lively by default).
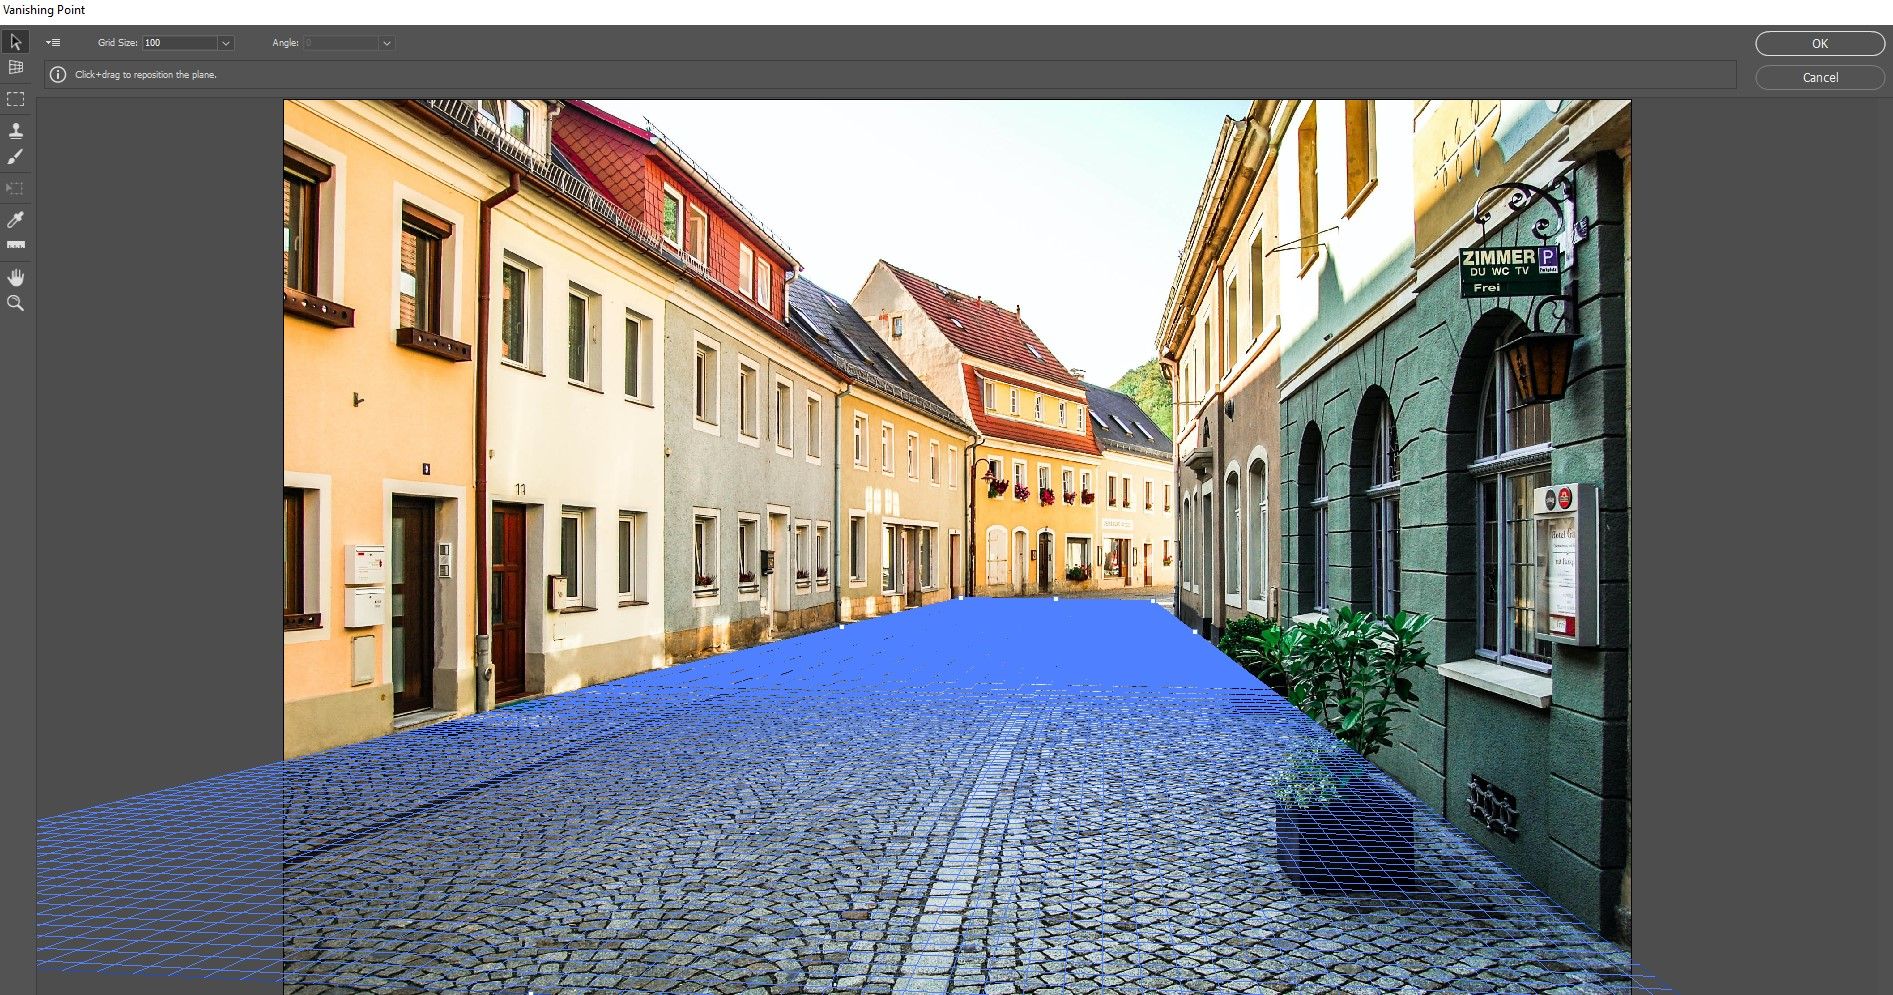
- Create 4 factors that may act as a aircraft as proven.
- Alter the factors in order that they cowl the complete space of the road between the buildings. Press OK.
- Go to the puddle map file. Press ctrl + A to pick out the image. Then press ctrl + C to repeat it.
- Return to the village image. Go to filter > vanishing level. The identical aircraft you created is proven.
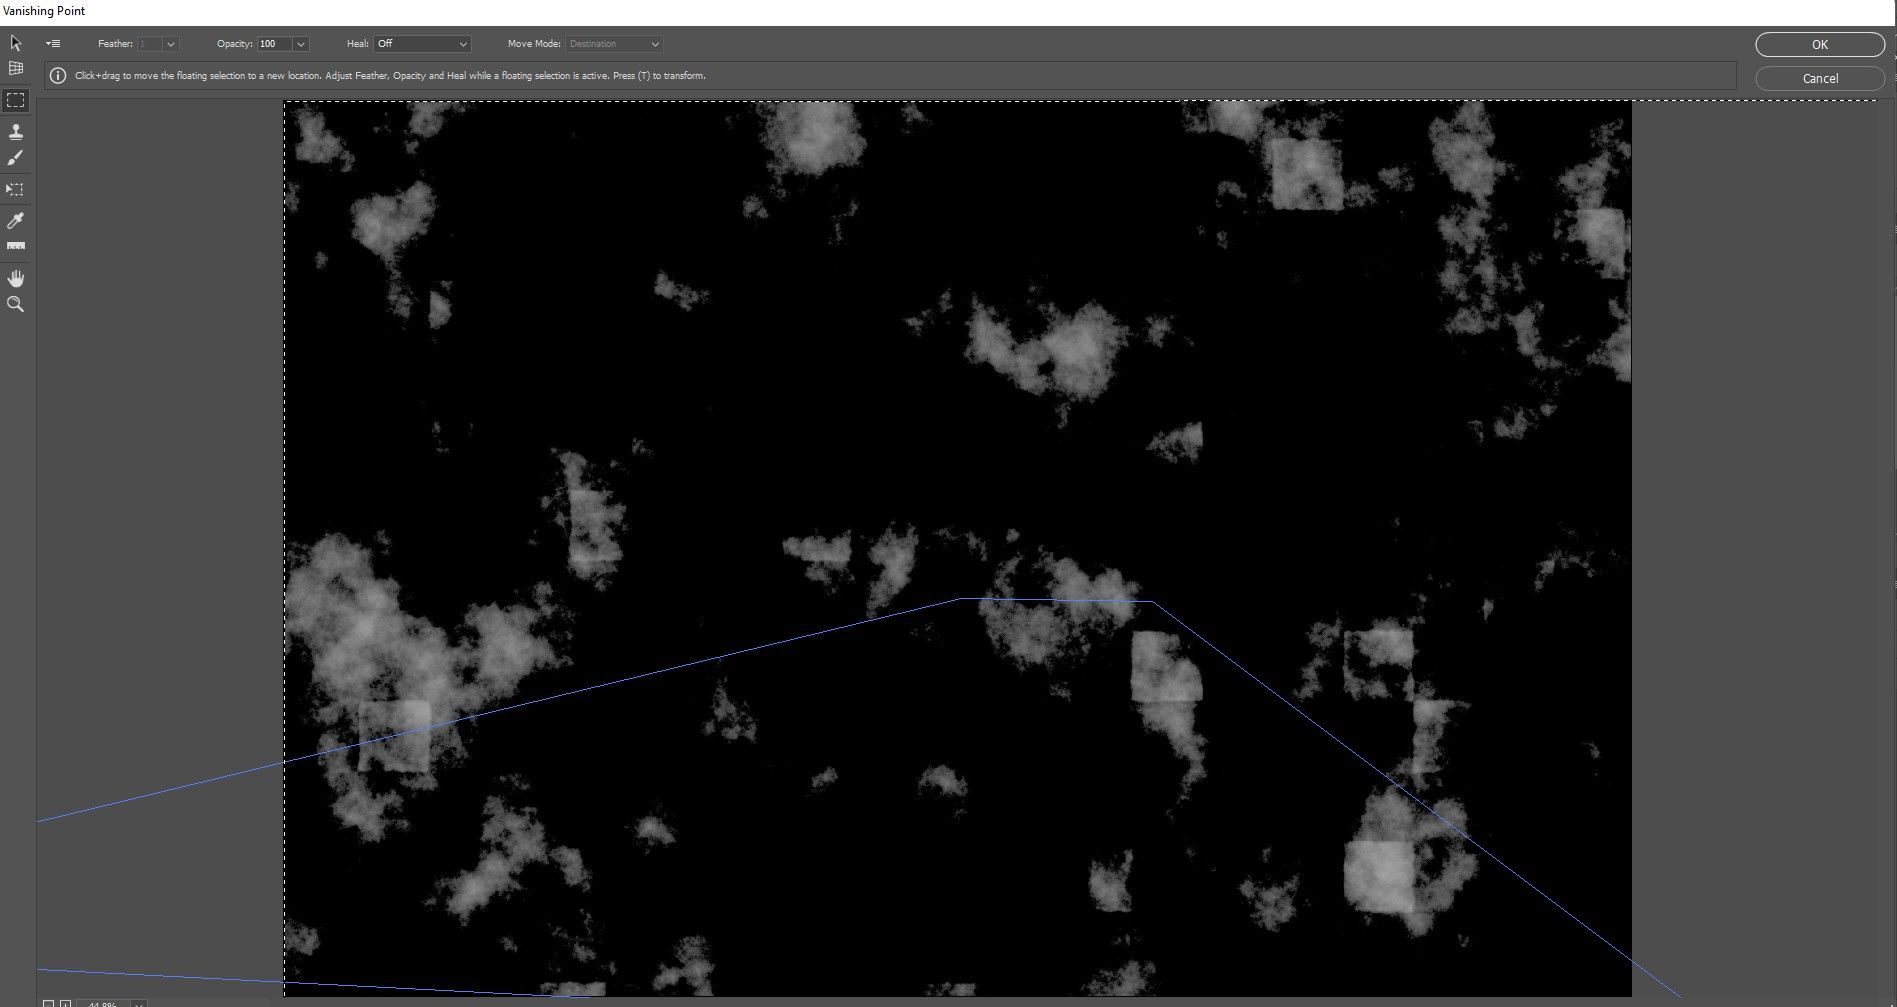
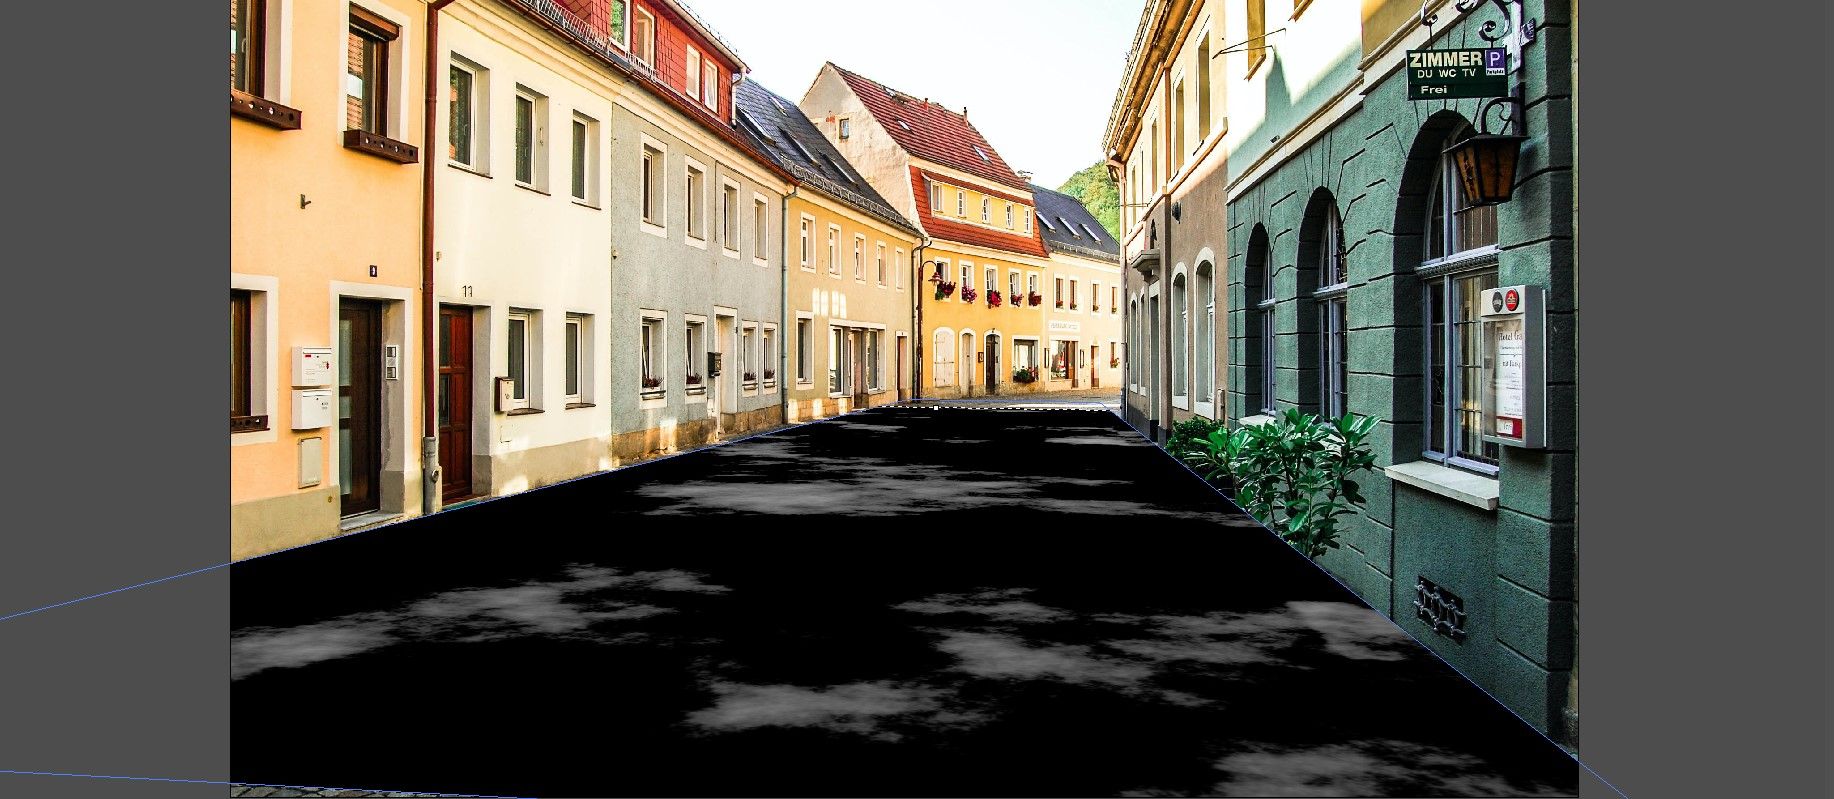
- Press ctrl + v to stick the puddle map into the grid space.
- Drag the picture to match the grid as proven. It would not should be precise.
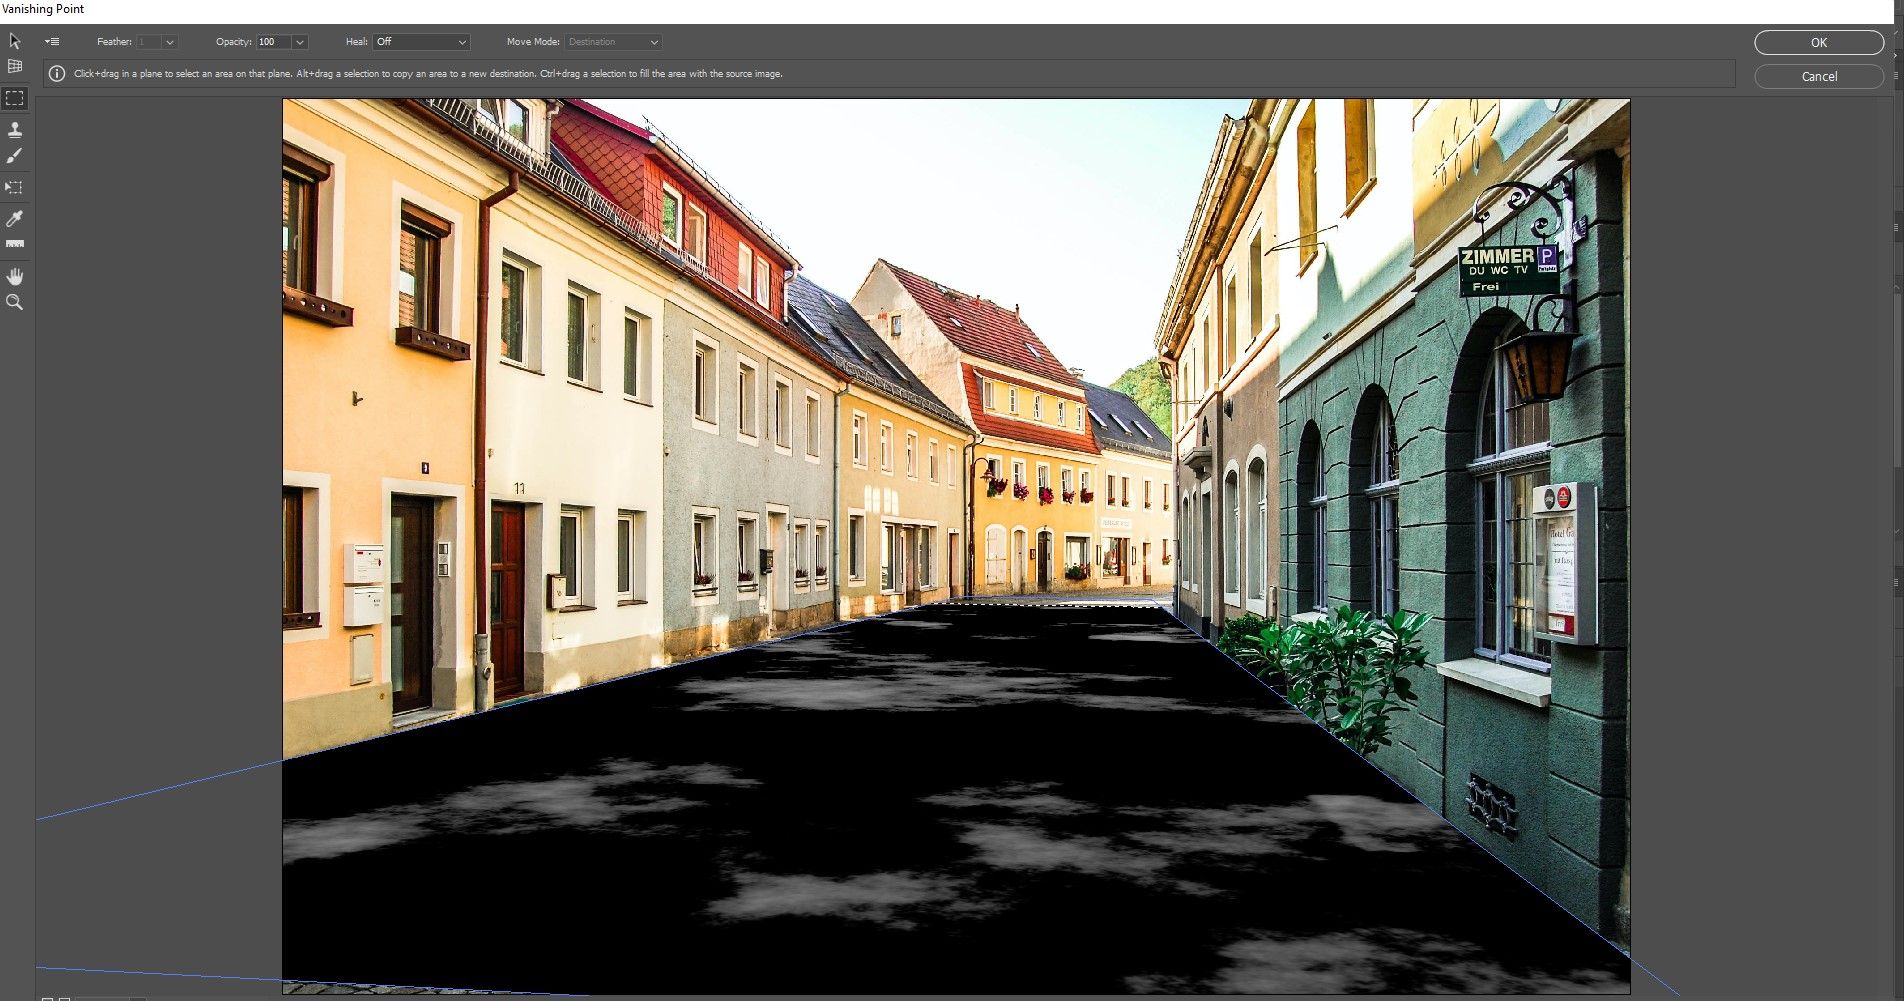
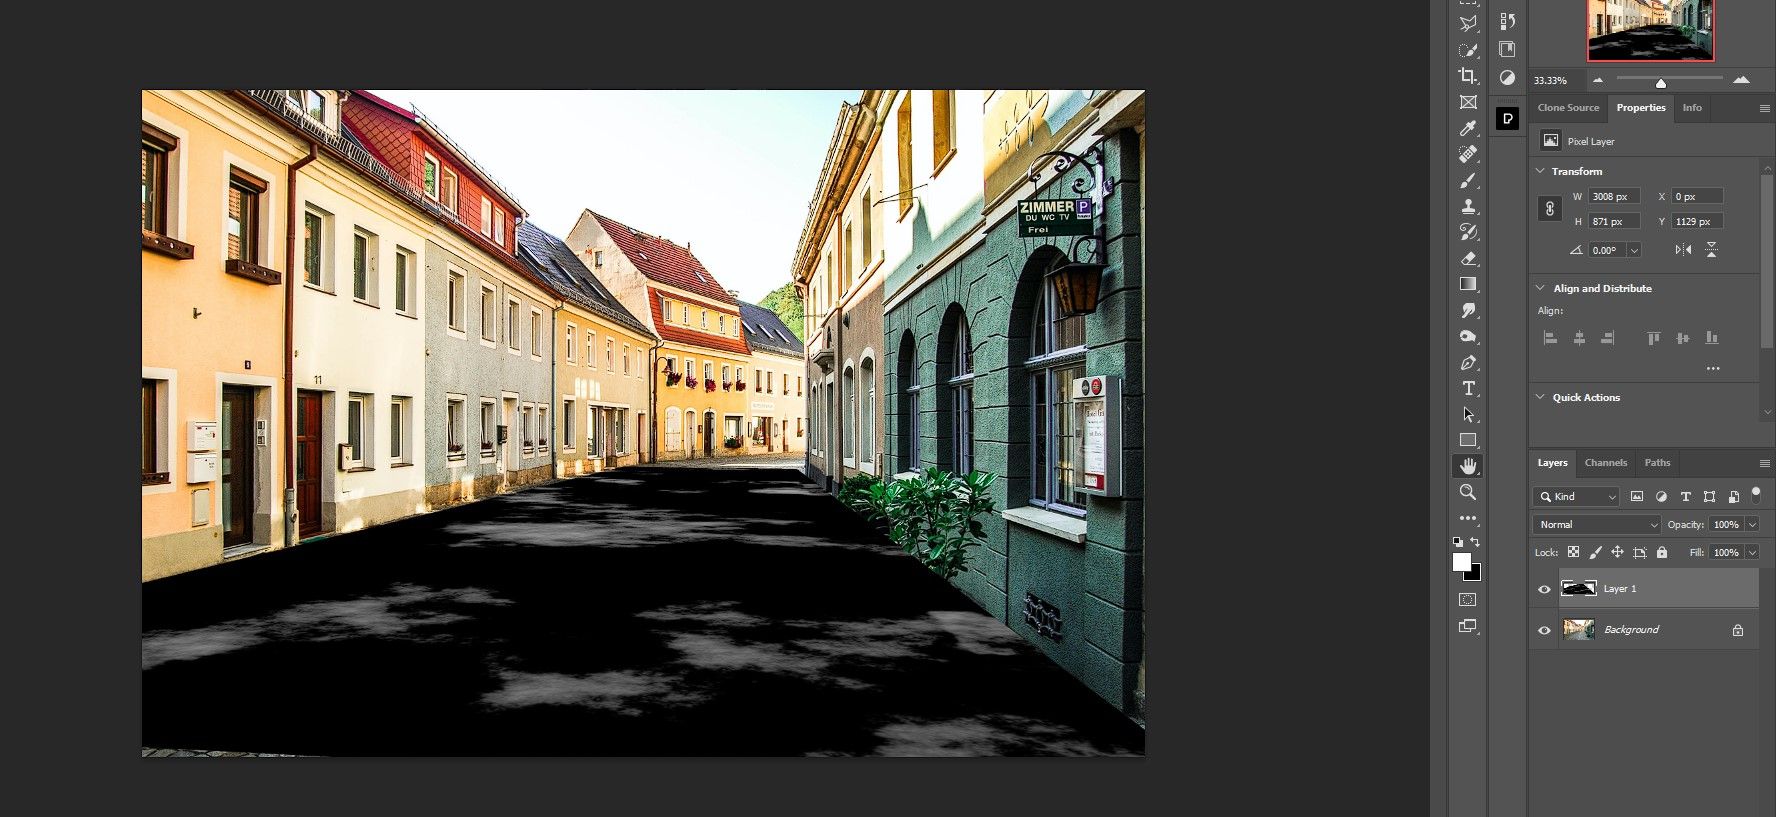
- Press ctrl + T for the remodel Software. Use the handles to regulate the primary map so the puddles are the dimensions you need. You may also drag the map to place it within the foreground as proven.
- Press OK or Enter. You come back to the principle display screen in Photoshop.

Be aware that smaller puddle maps might must be duplicated in step 10. If that is so, simply press it Outdated button to duplicate the puddle map after which you may prepare them wherever on the 3D layer. This course of could be repeated till the complete body is full.
We may even have scaled down our puddle map and made a number of copies to make the puddles smaller. It finally is determined by your artistic imaginative and prescient.
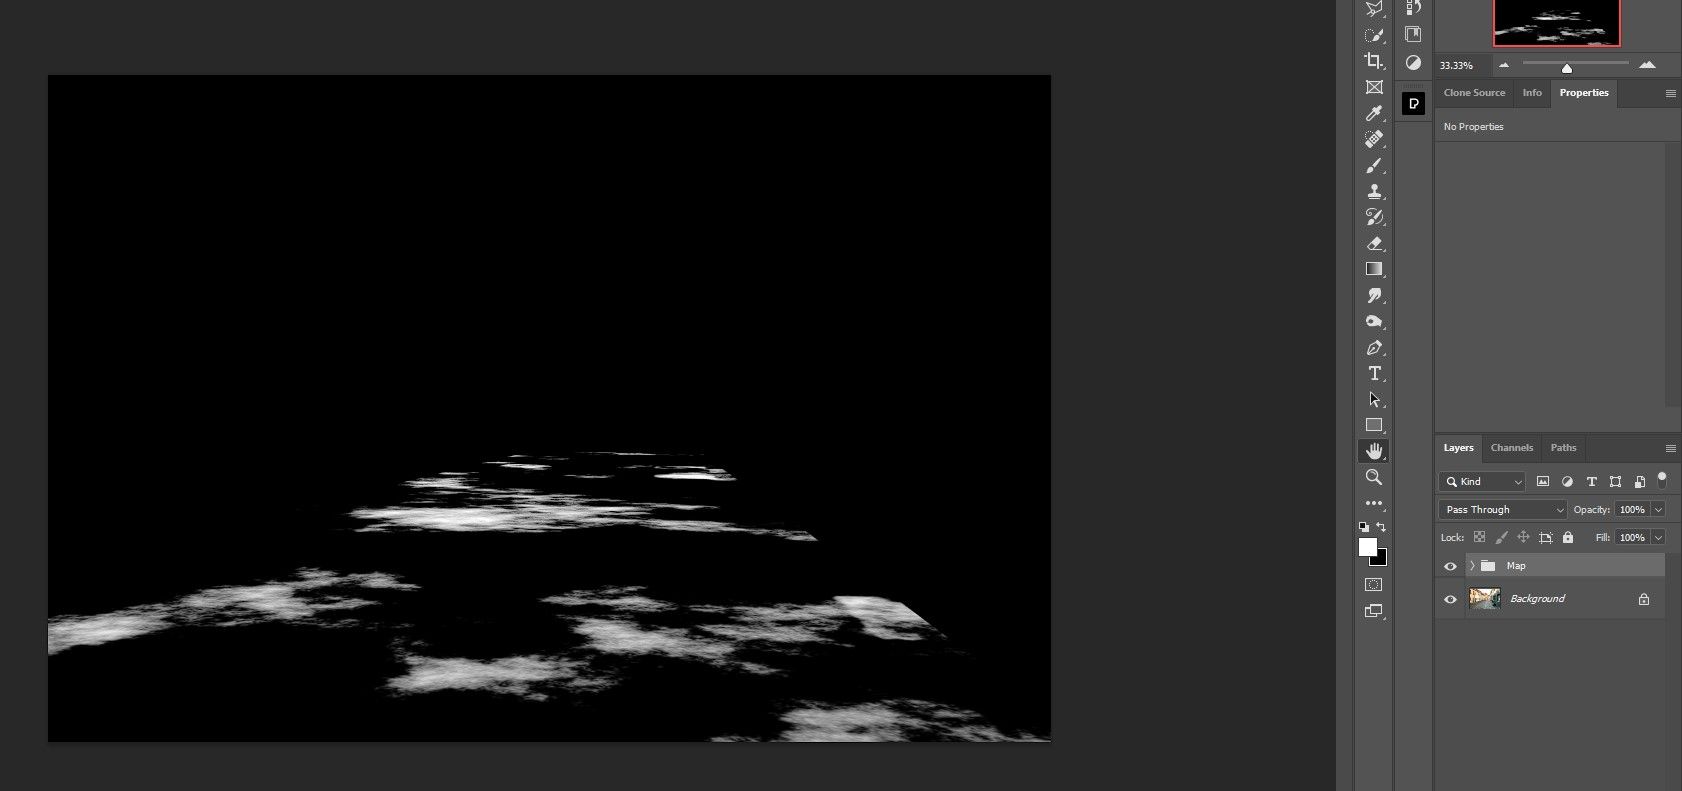
Step 2: Save the puddle map
In our second step we create one black Stable conformation layer in addition to a curve layer to additional enhance the looks of the puddles. We then create one alpha card into Channels to avoid wasting our puddle map as a variety for later use within the subsequent step.
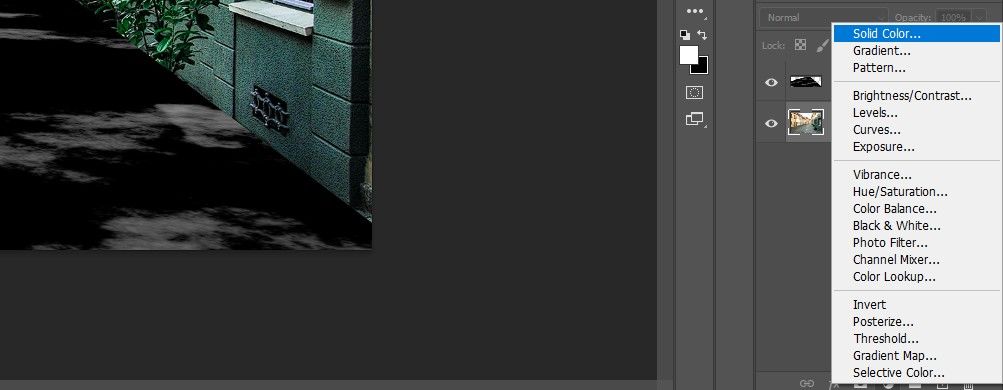
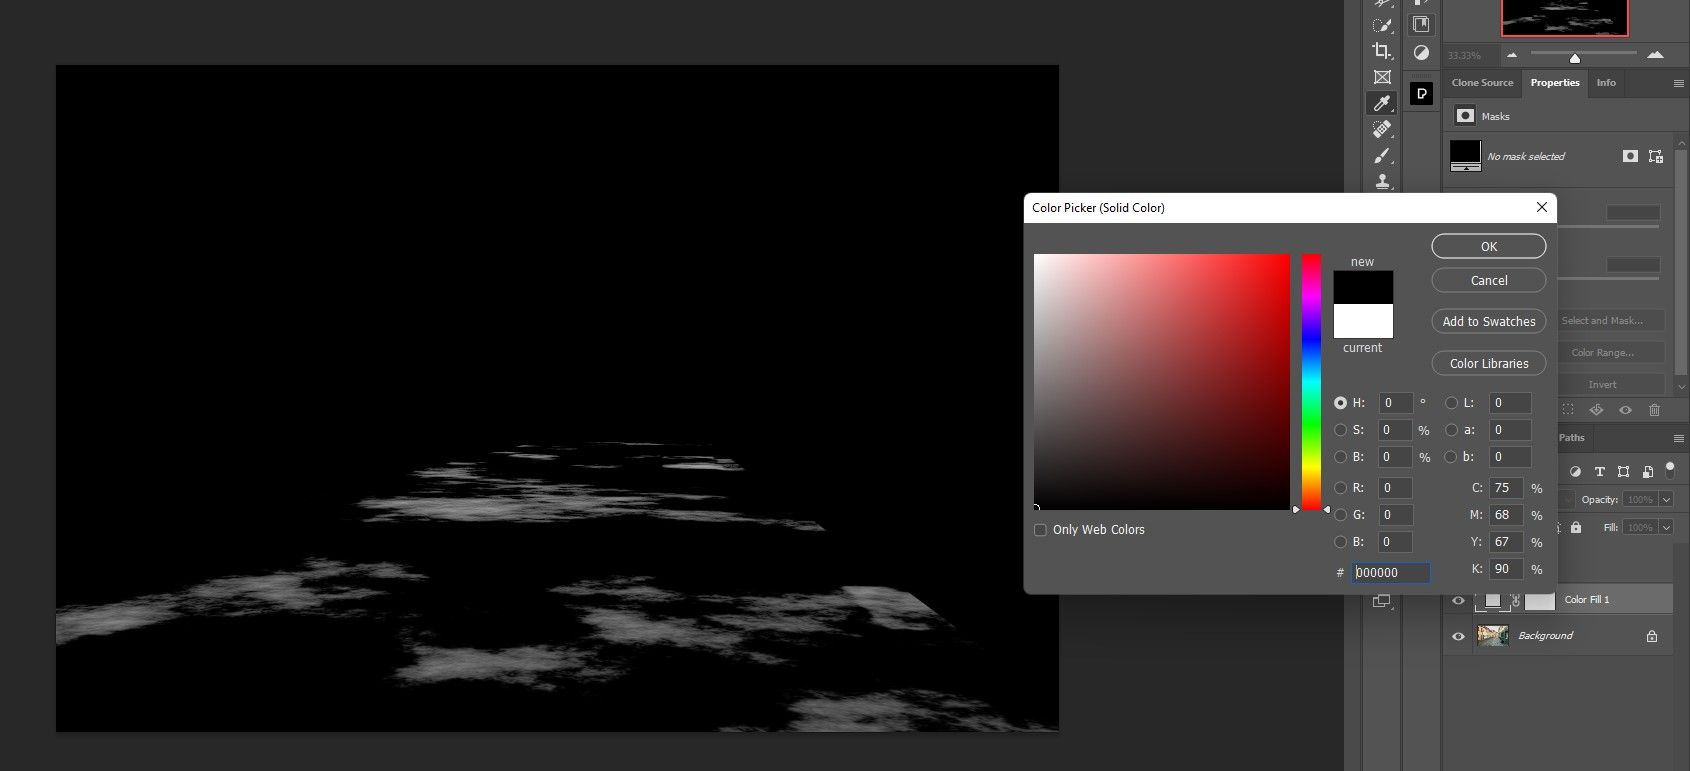
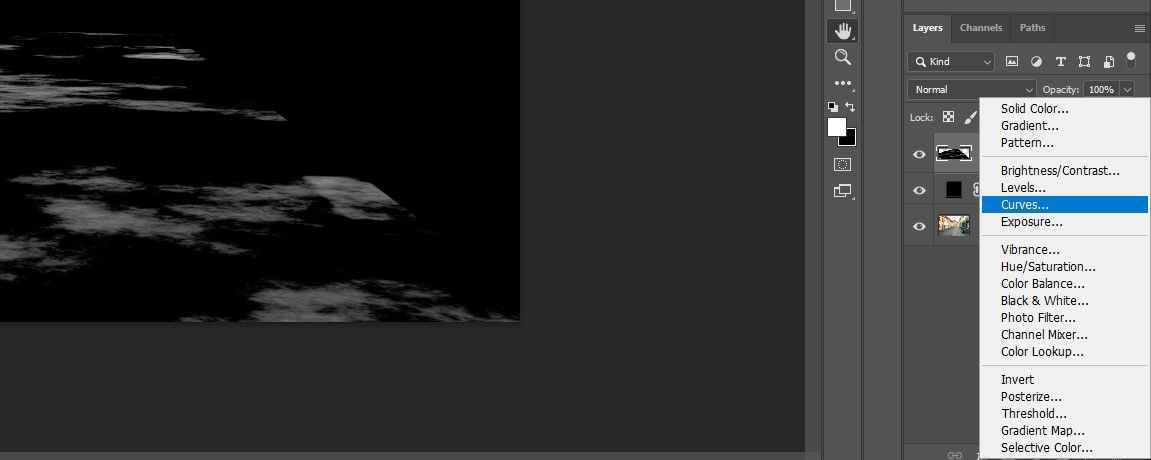
- With the background layer chosen, create one Spot coloration adjustment Layer.
- Select Black through which coloration picker menu and press OK.
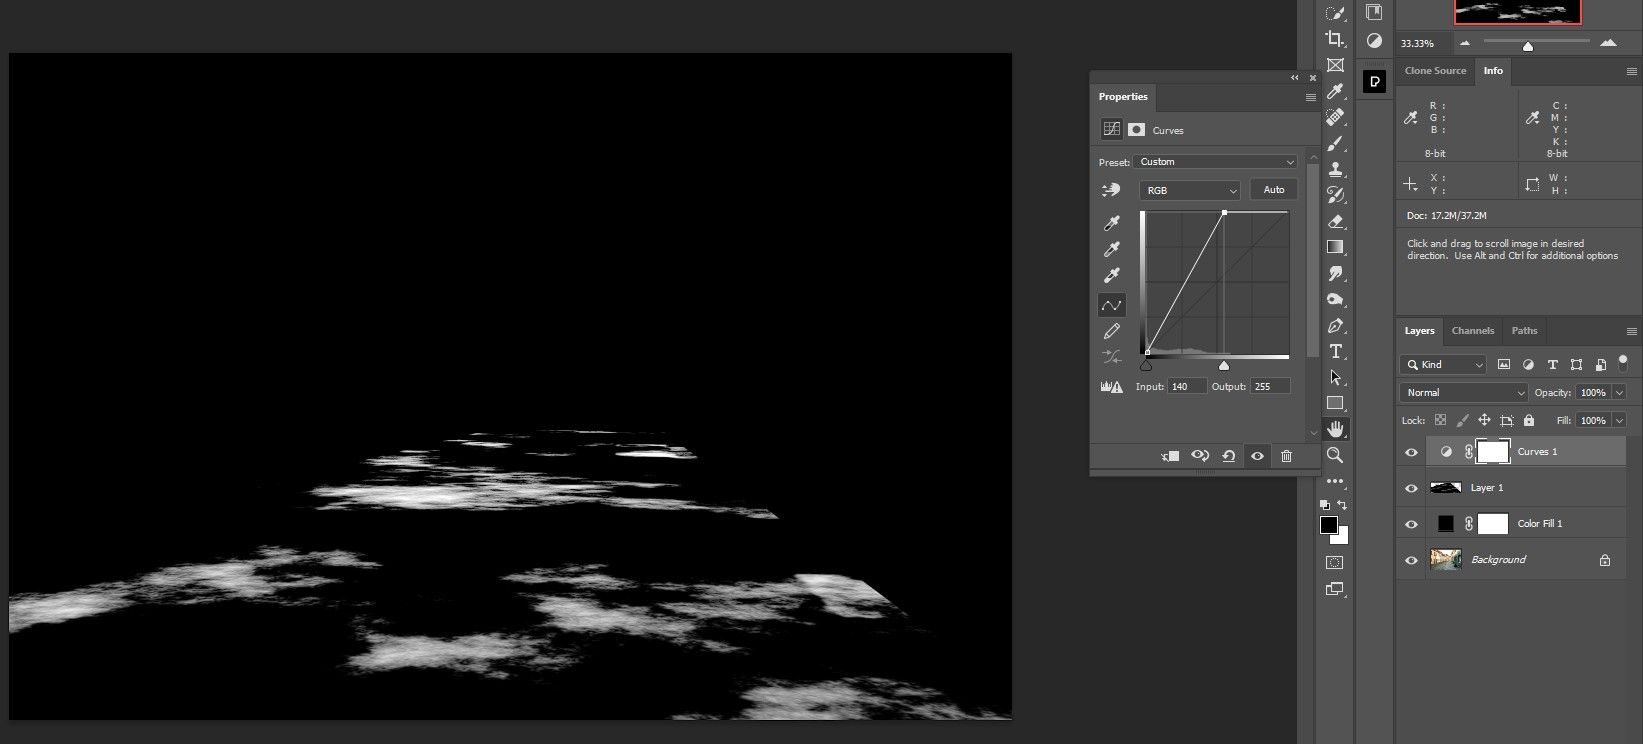
- With the highest degree chosen, create a curves adjustment layer.
- transfer the white left till the puddles are nearly white however not bloated. Use the histogram For reference.
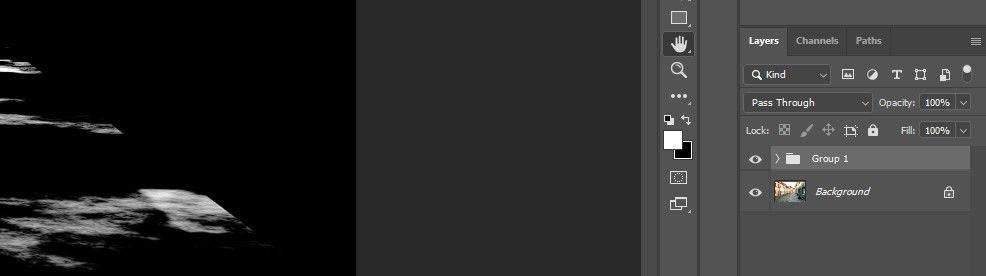
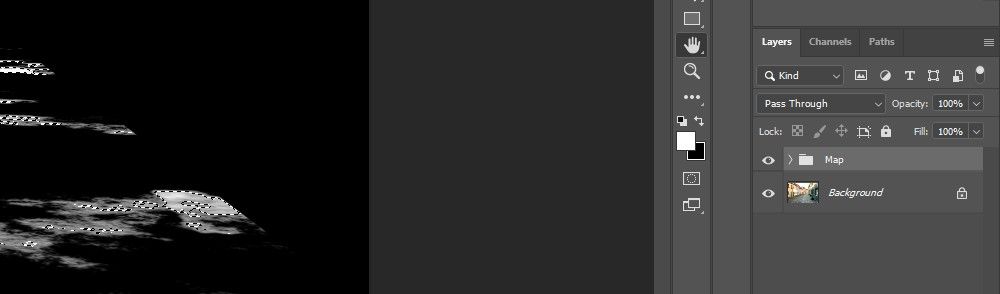
- Choose the highest degree and click on on it coloration fill layer to pick out the highest three ranges. Press ctrl + G to group them in a single folder.
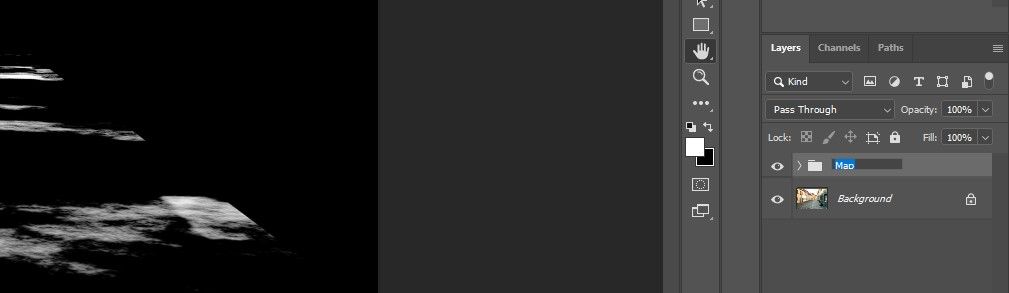
- Double-click the folder layer identify and rename it Map.
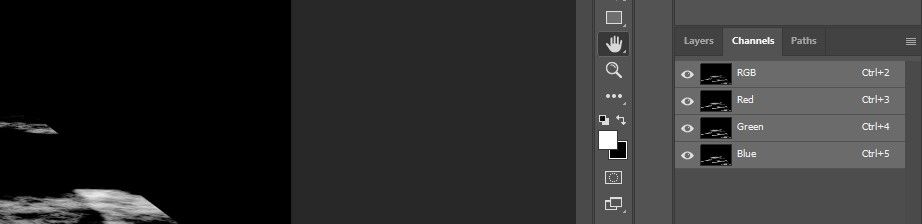
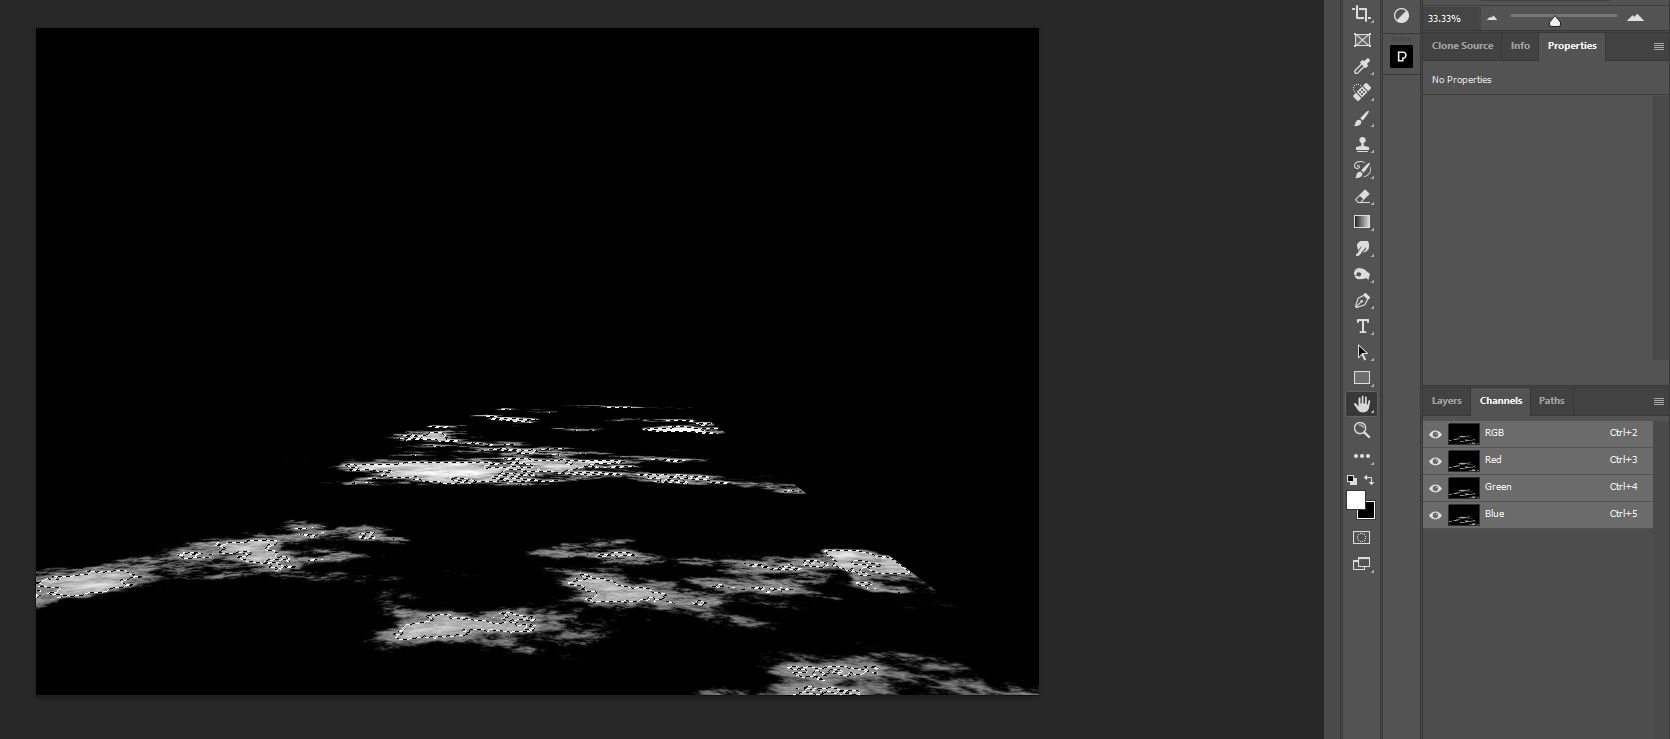
- Go to channels Tab.
- Press ctrl + click on on the RGB channel to choose. That is to pick out the brightest areas of the puddle map.
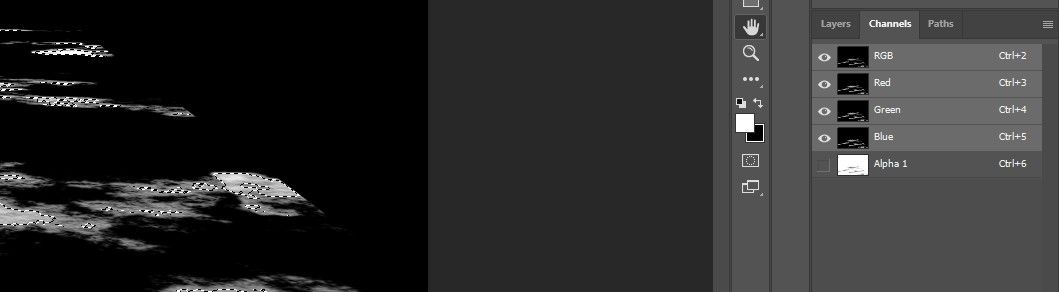
- Click on on that masks icon within the decrease proper nook of Photoshop to create one alpha masks.
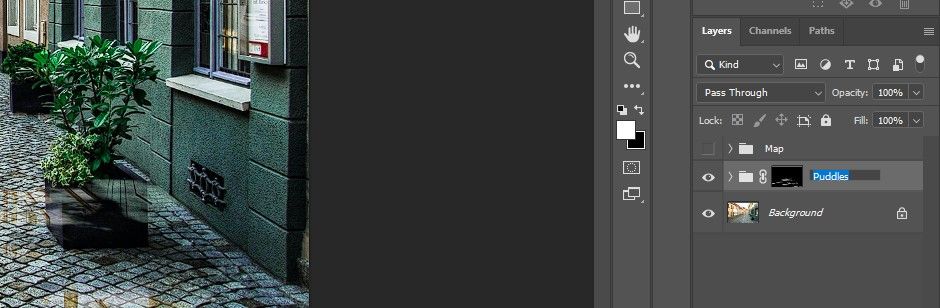
- Select layers Tab.
- Press ctrl + D to deselect the puddle map.
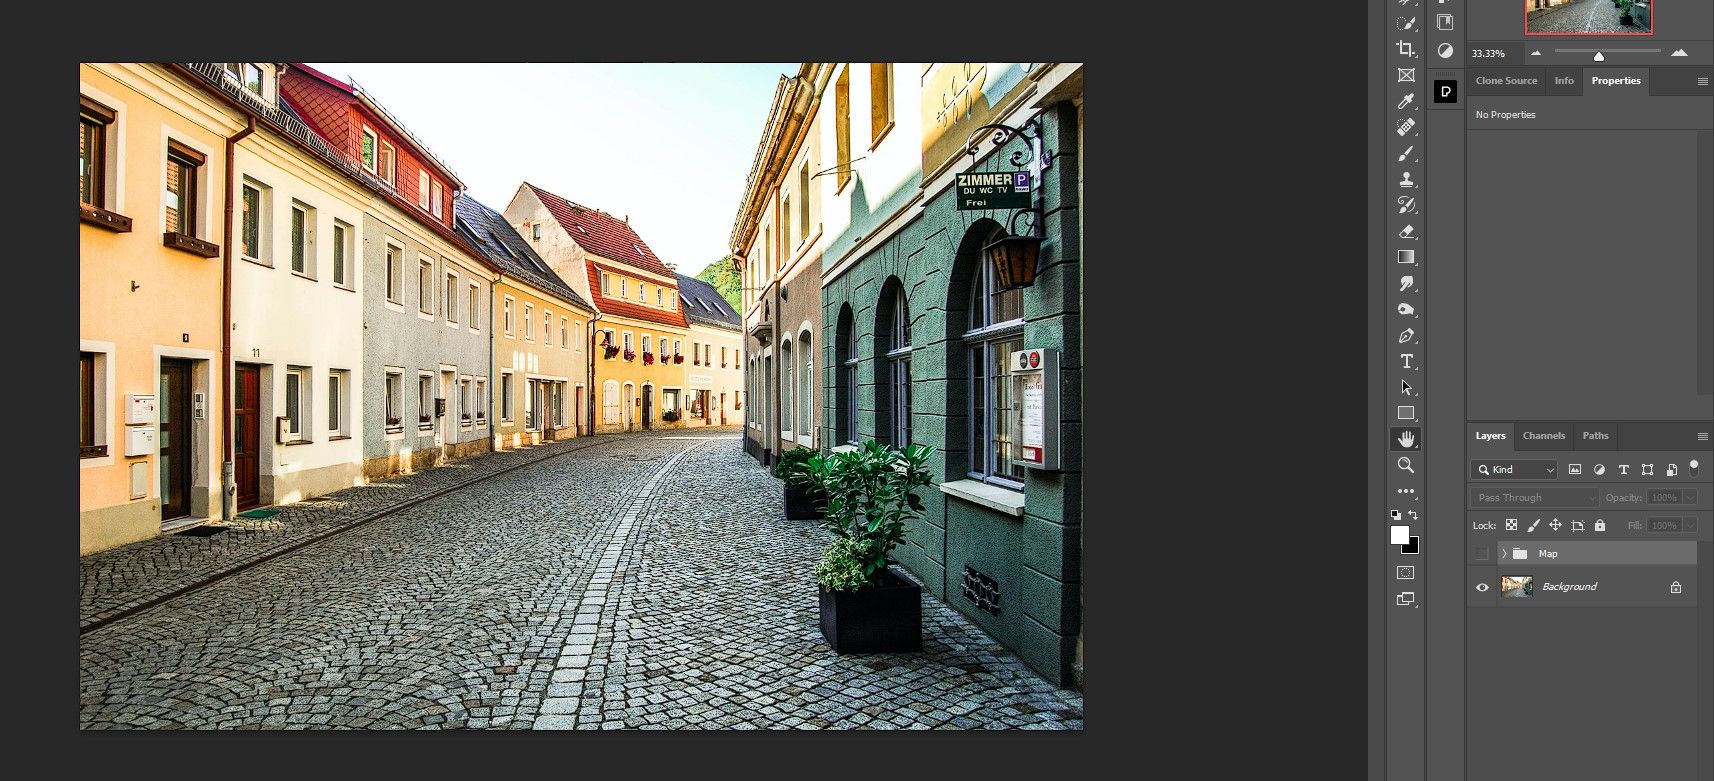
- Swap off Map folder in order that solely the unique picture is displayed.
For those who discover the curves software difficult, now we have an entire information on how you can use curves in Photoshop.
Now we will transfer on to creating the precise puddles.
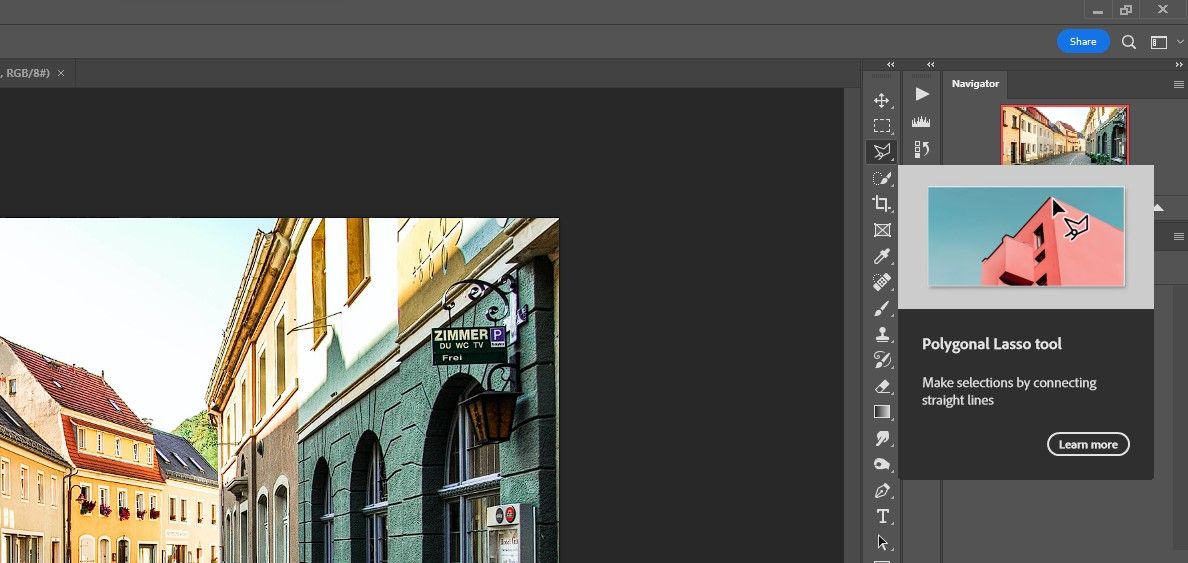
Step 3: Create the puddles
On this step we make a fast choice of the highway once more utilizing Polygonal Lasso Software. Properly Duplicate the background layer and reverse it to create puddles and reflections off the buildings. After that we load it alpha masks choice we saved earlier and use it to create a masks.
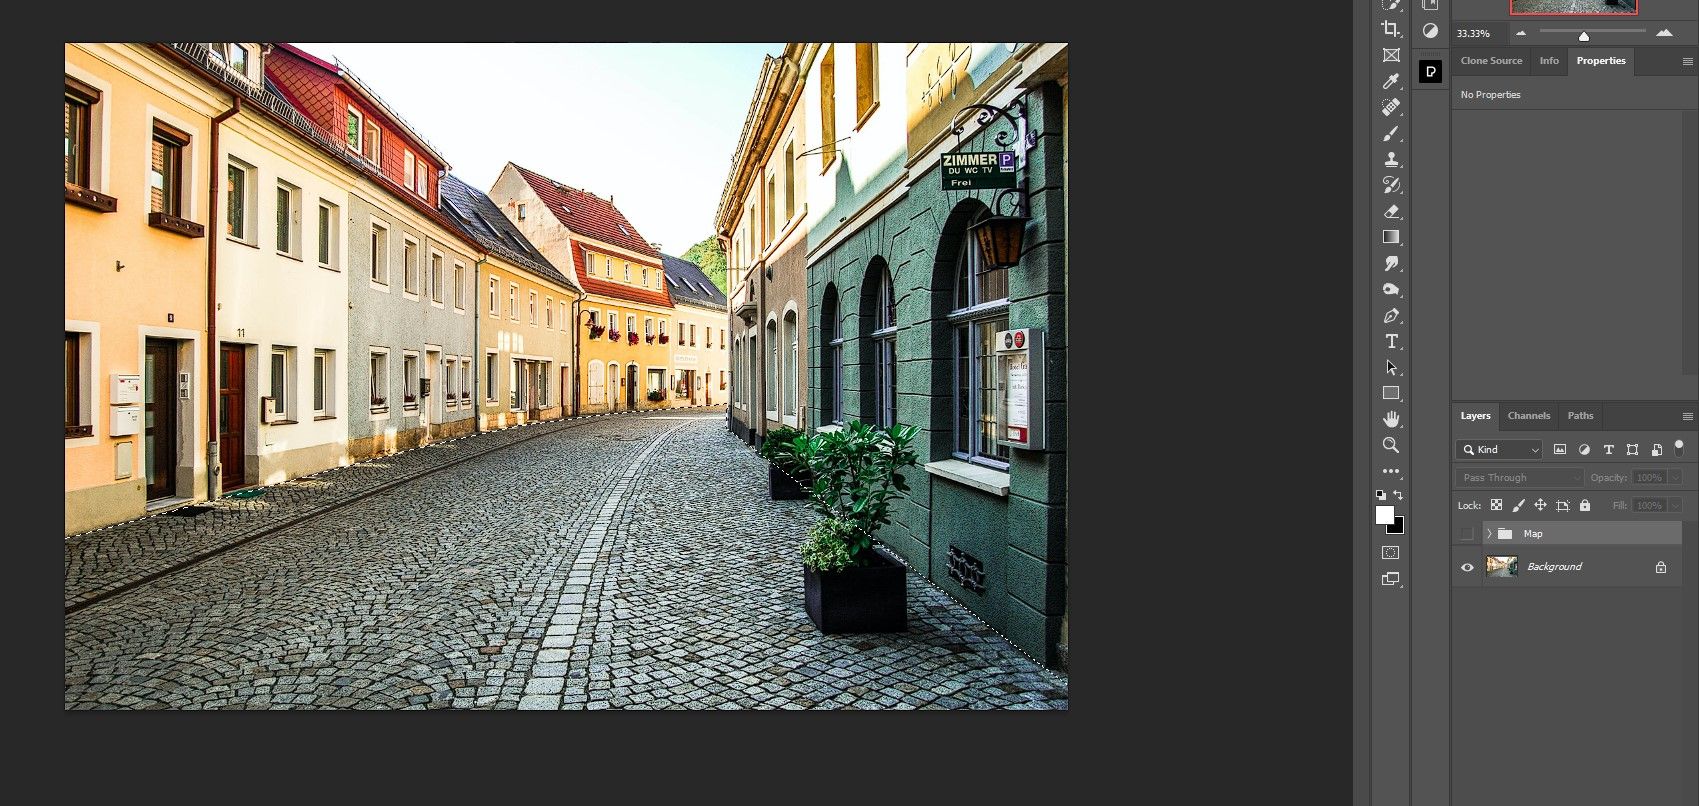
- Select Polygonal lasso software.
- Create dots throughout the road to create a choice of it. Be sure you full the choice by clicking on the primary level on the finish.
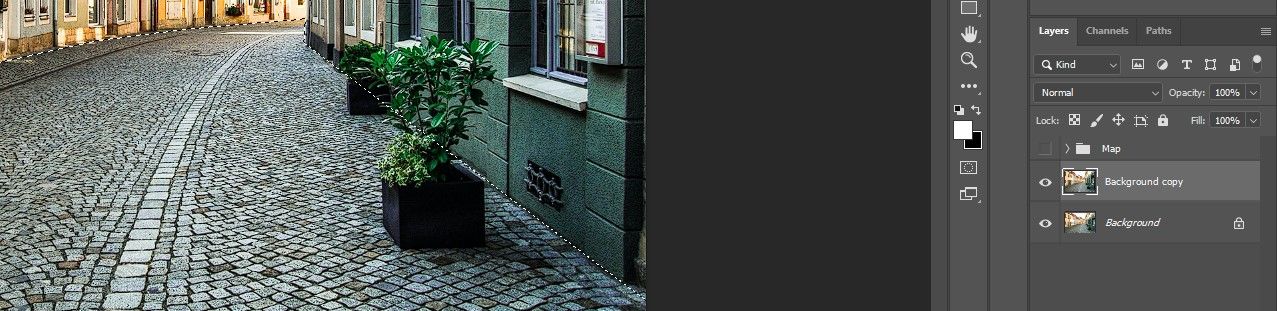
- Duplicate these background layer and its choice by dragging it all the way down to Create New layer icon (+).
- Click on on that masks Icon within the decrease proper nook in Photoshop.
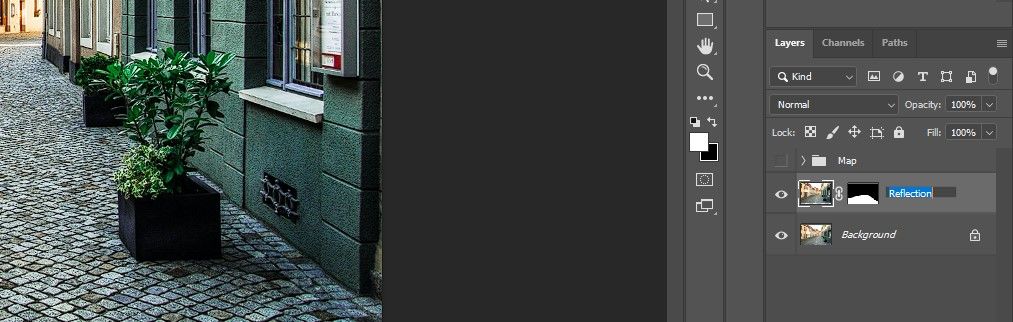
- Double-click the background copy Surname. Title the copy layer Consideration.
- Click on on that chain icon to separate the masks of Consideration layer.
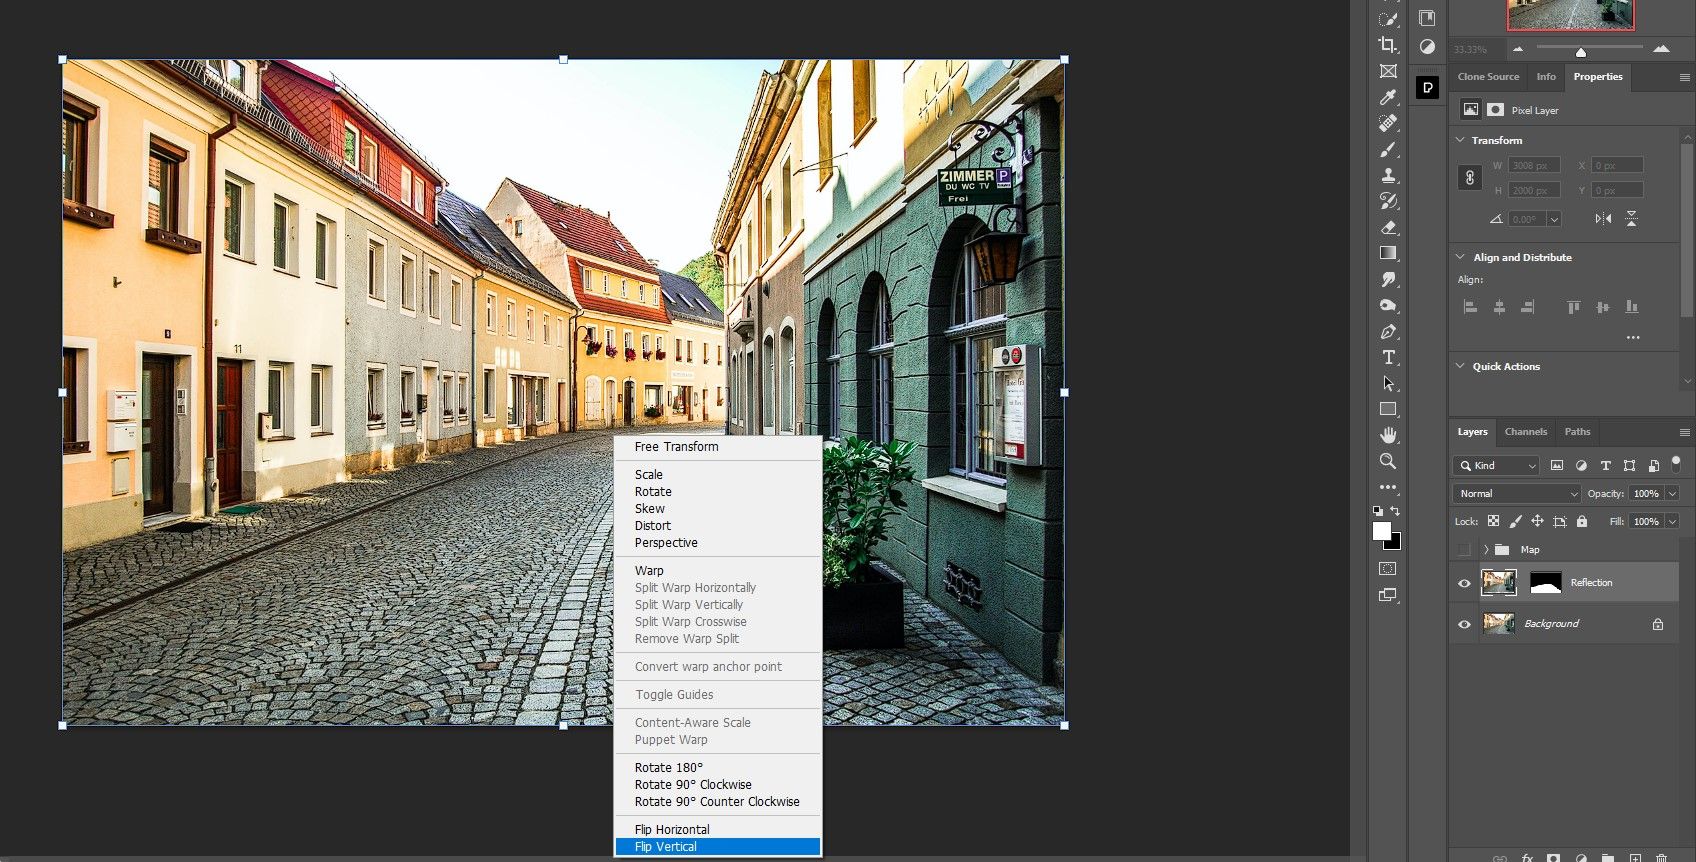
- Press ctrl + T for the remodel Software.
- Proper click on on the picture and choose flip Vertical.
- Alter the picture with the mouse in order that the doorways are mirrored within the distance. Then press Enter or the checkmark above.
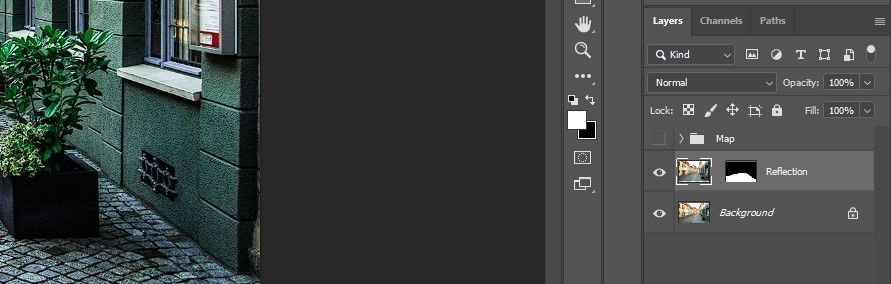
- With the Consideration Airplane chosen, press ctrl + G to group the layer.
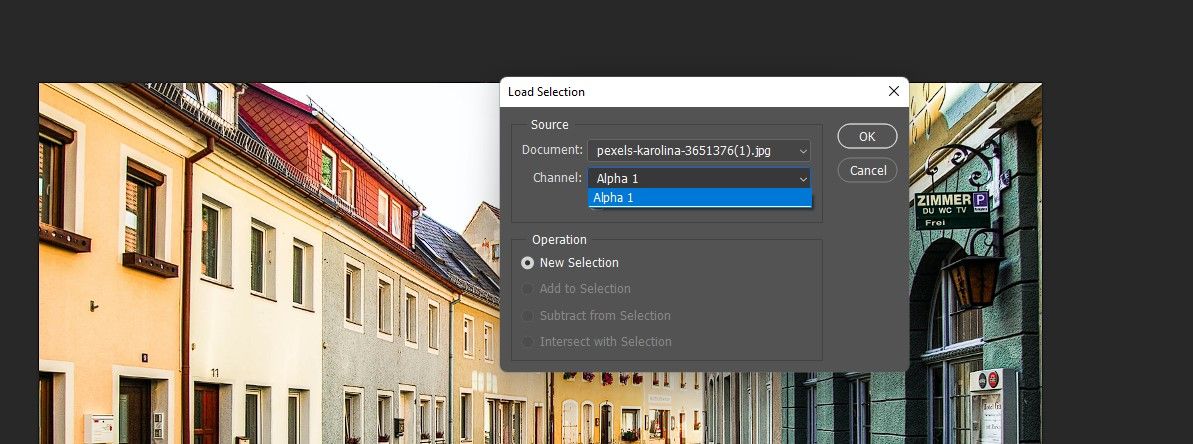
- Go to Select > load choice.
- Select alpha 1 and press OK.
- Click on on that masks Image.
- Title the brand new folder puddles.


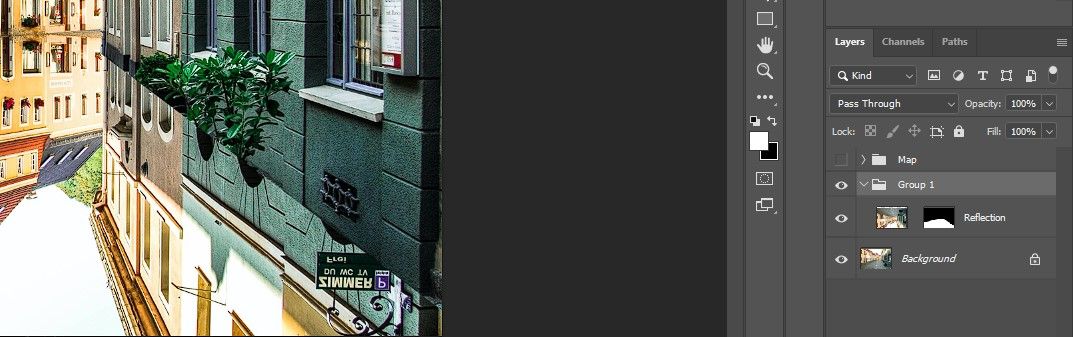

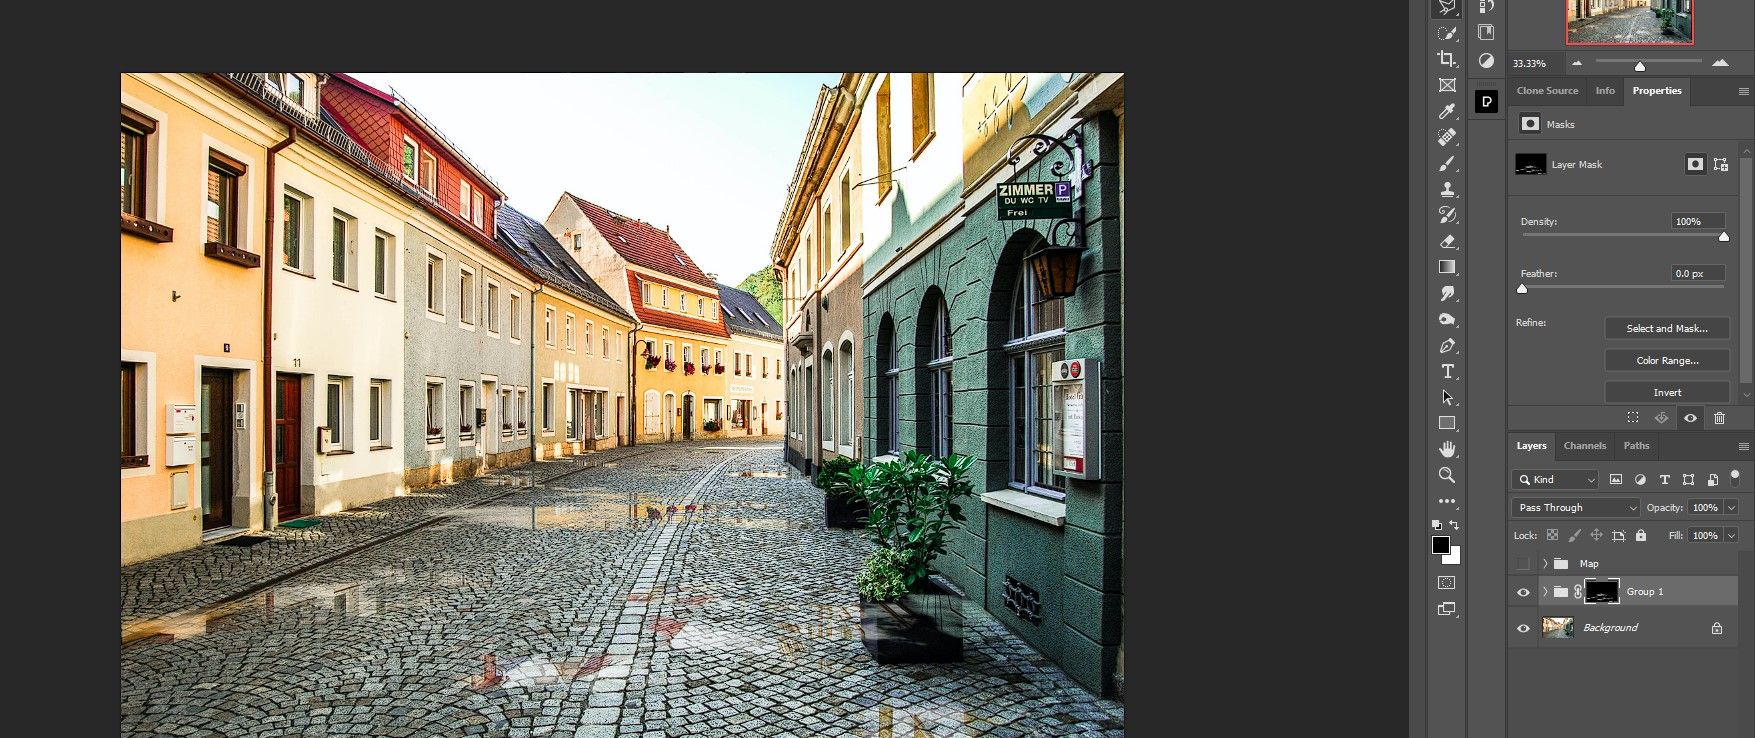
We simply created the fundamental puddles. You may discover that there are some puddles that intersect with some vegetation and different areas that you simply may not need puddles. We are going to conceal these downside areas within the subsequent step.
Step 4: Refine Puddles
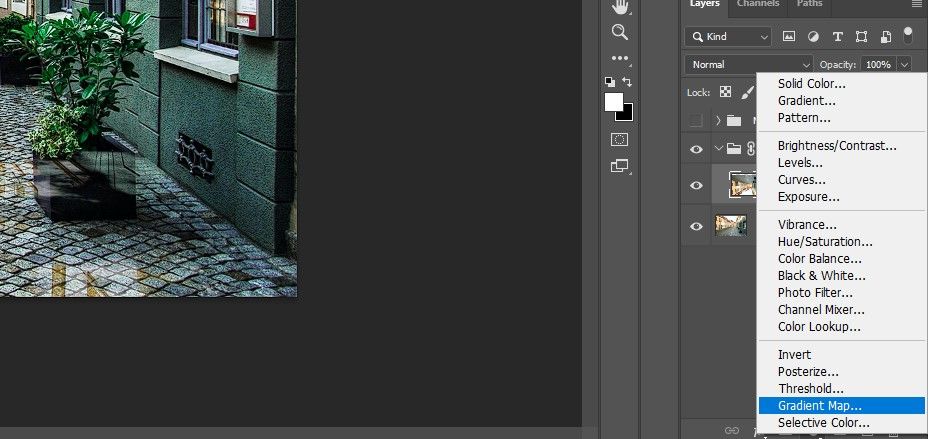
At first look, the puddles look like largely pretty much as good as they’re. However on this step we add a gradient map in order that the reflection colours tackle among the coloration properties of the background. We will even add a blur to the puddles, lighten them and add some liveliness to carry out the colour a bit extra.
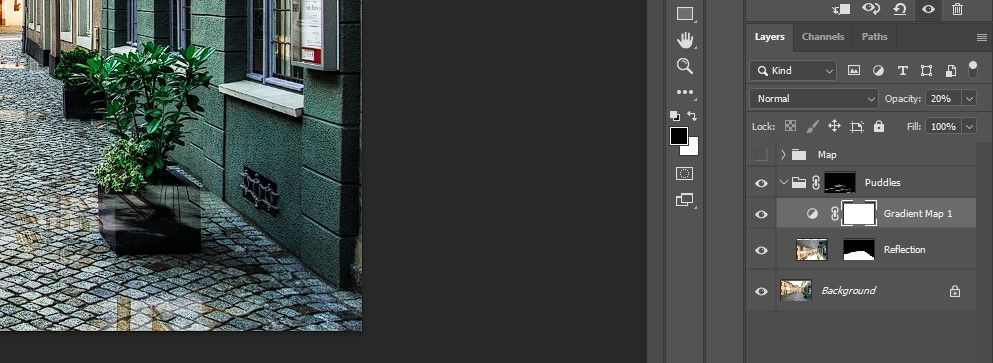
- open that puddles folder and choose that reflective layer. A… create gradient map adjustment layer.
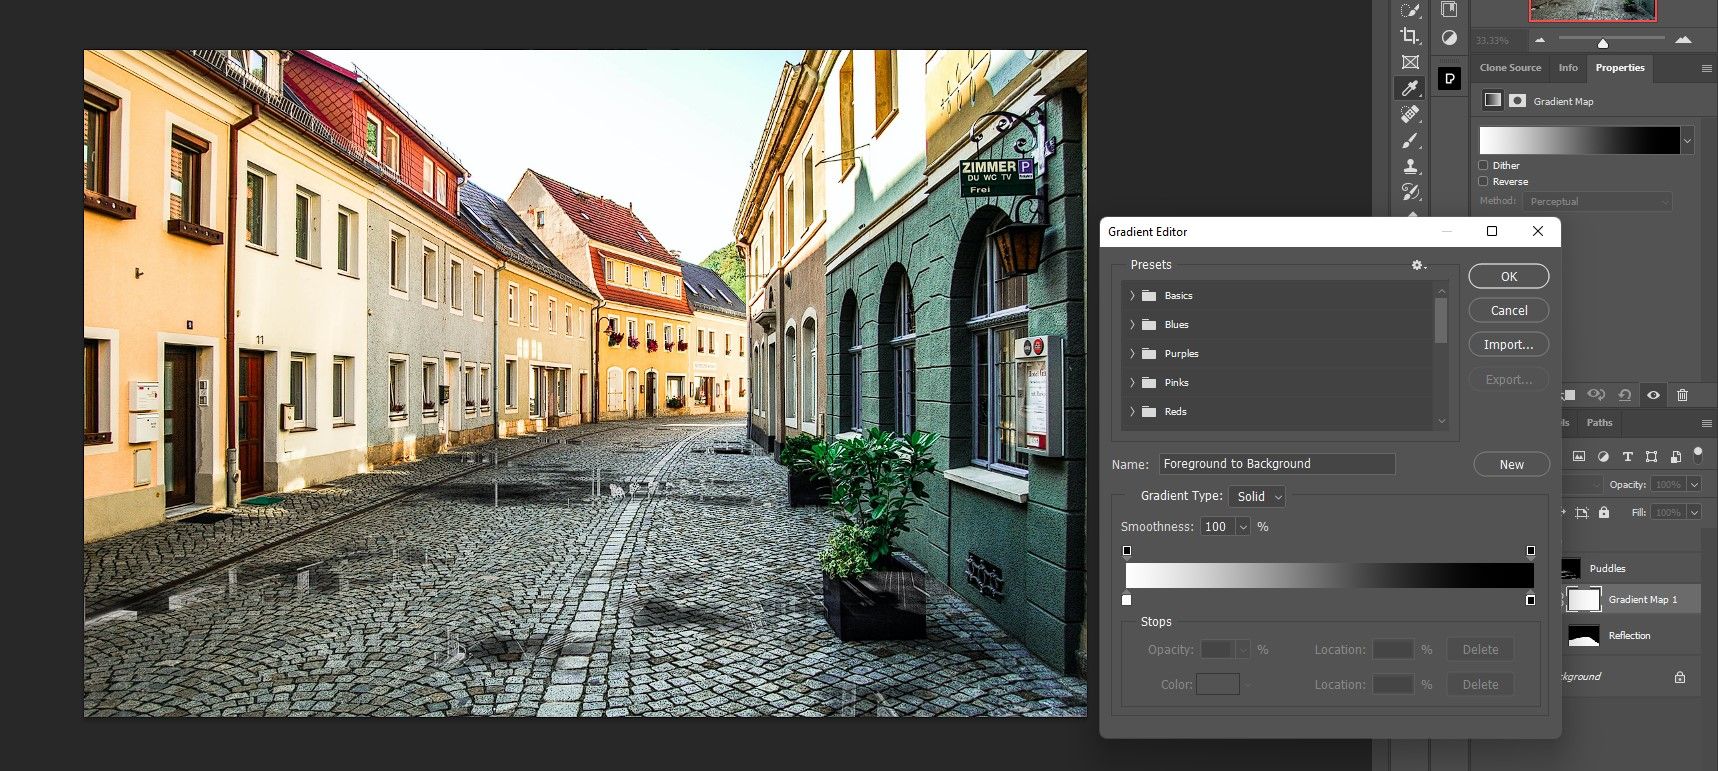
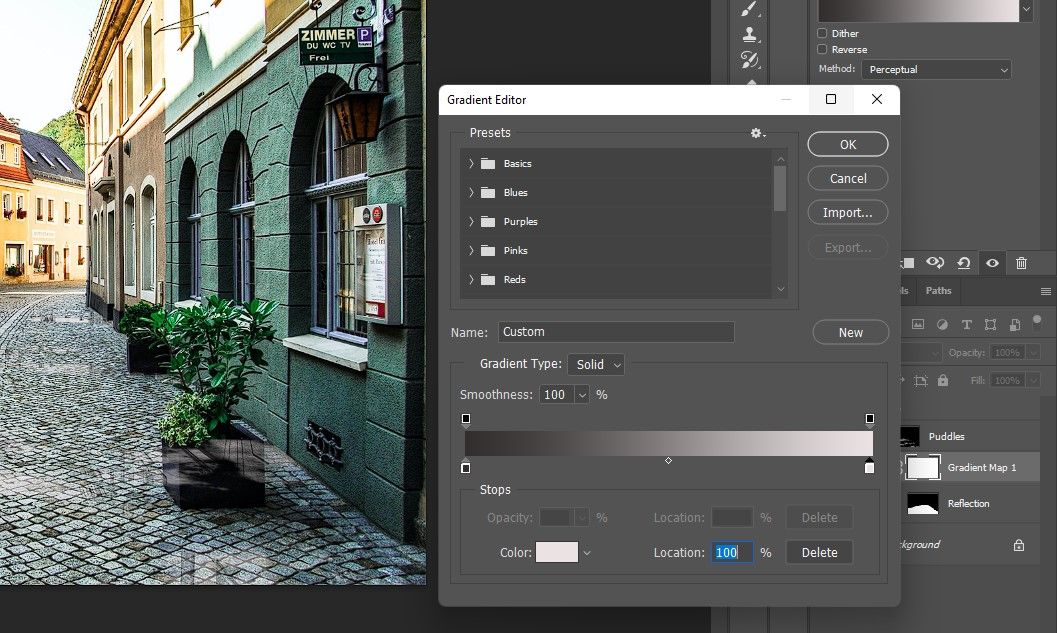
- Double-click the gradient map to summon them gradient editor.
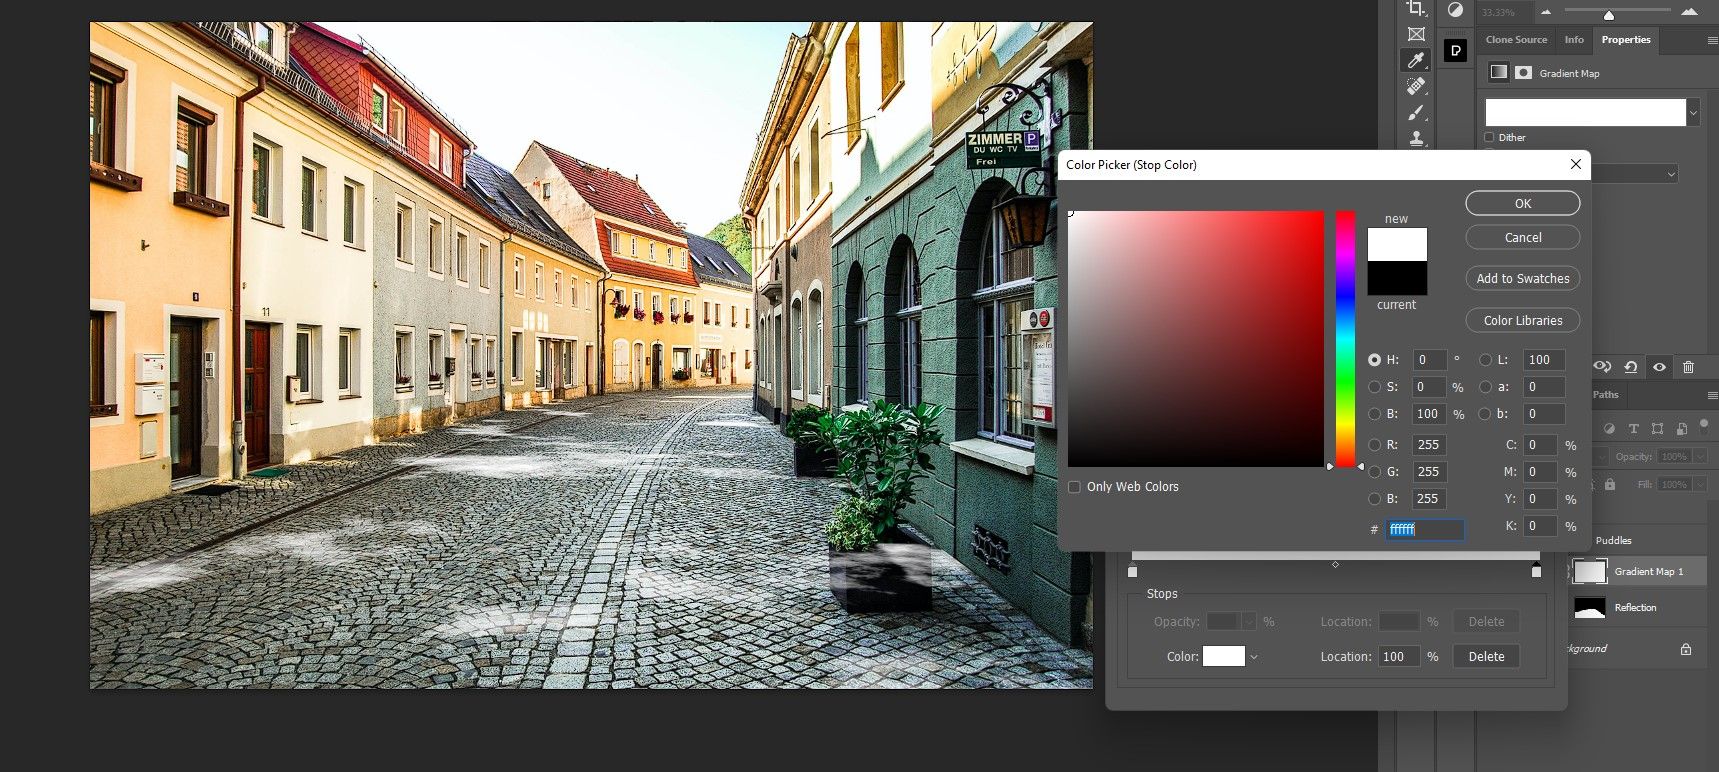
- Click on on the correct field and click on color. Then select a lighter a part of the patch. Then press OK.
- Repeat the method for the left panel. This time, nevertheless, select a darker a part of the patch. Press OK to shut the dialog packing containers.
- Scale back the opacity to carry some coloration again into the puddles. We diminished it to 20 %.
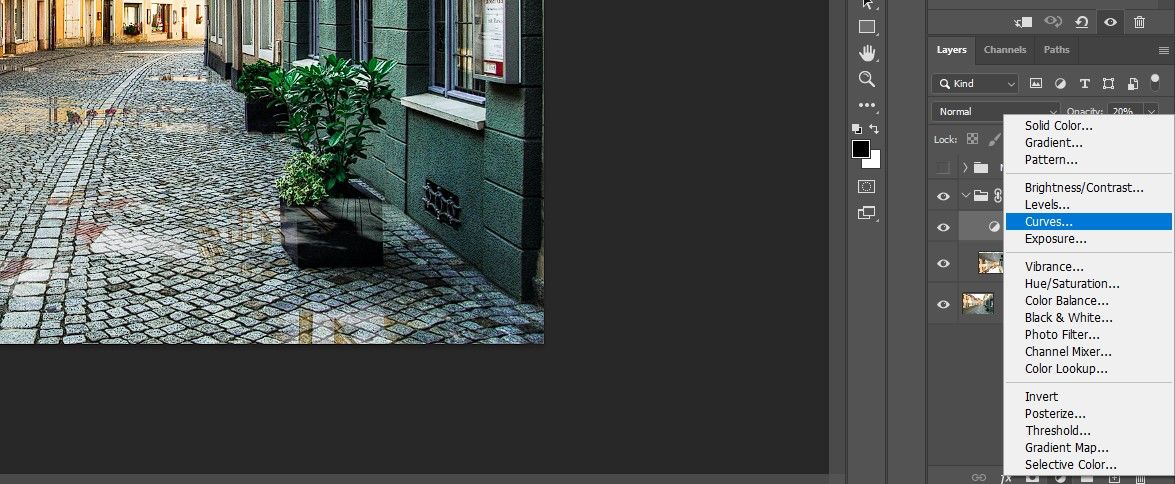
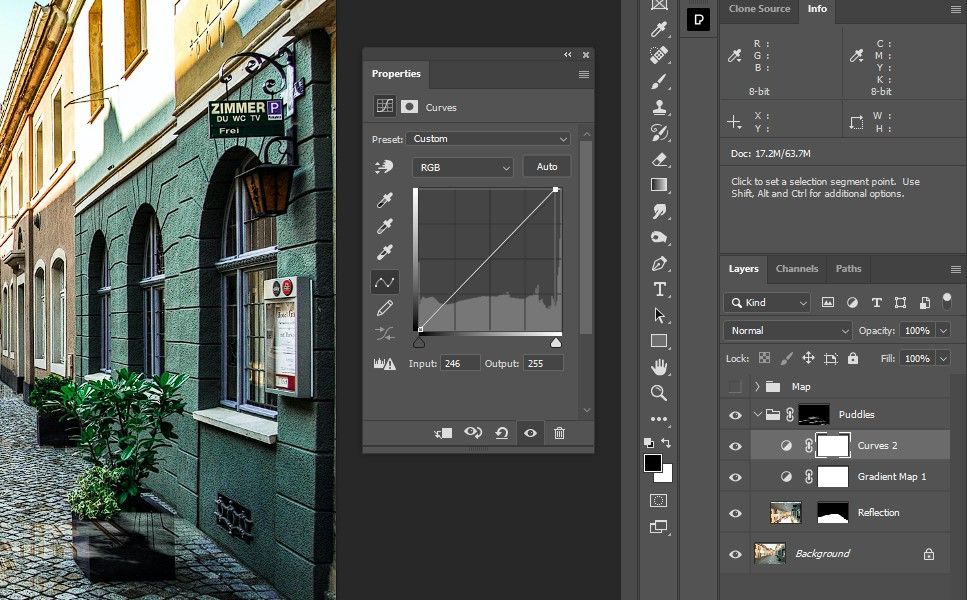
- With the gradient map chosen, create one other curves adjustment layer.
- Transfer the correct deal with to the left to lighten the puddles as proven.
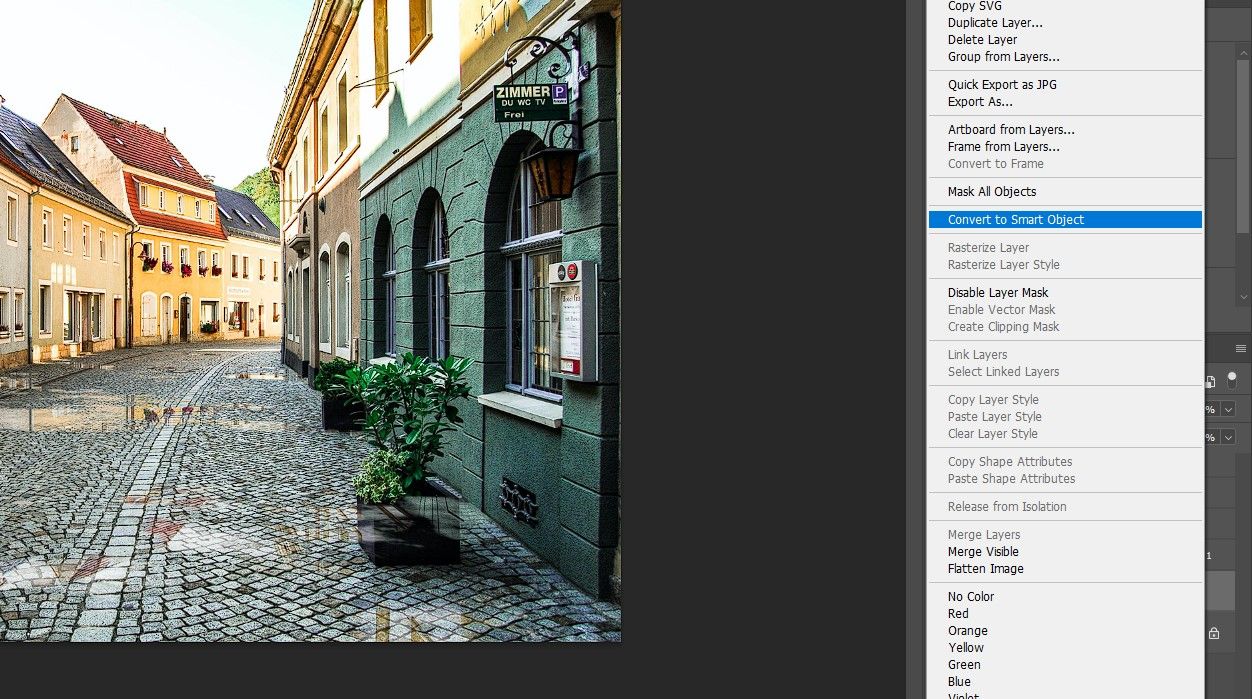
- Select reflections Layer. Proper-click and choose Convert to Good Object.
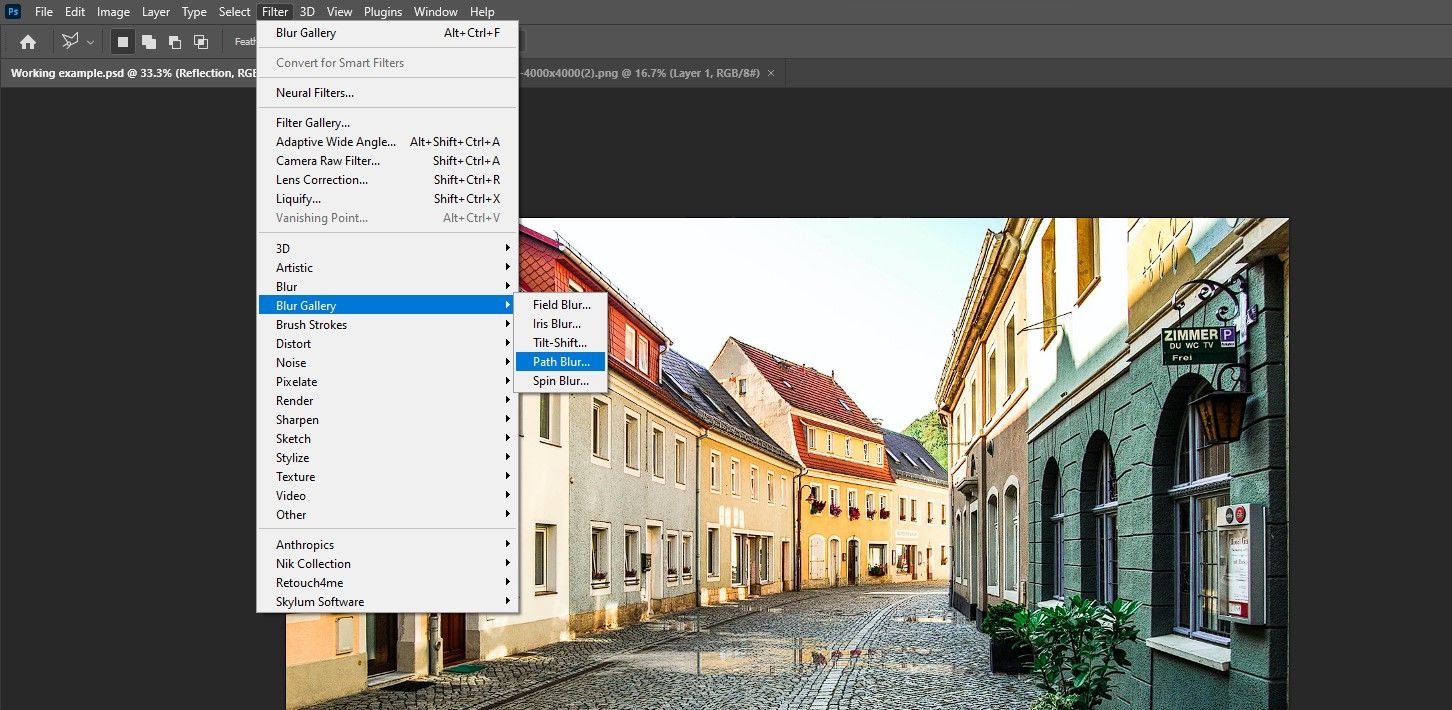
- Go to filter > blur gallery > path blur.
- Drag the arrow so it’s pointing down as proven.
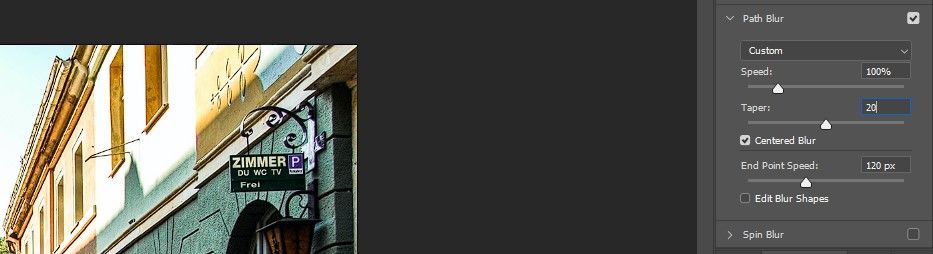
- change that pace to 100% and the rejuvenation to 20 %. Press OK.
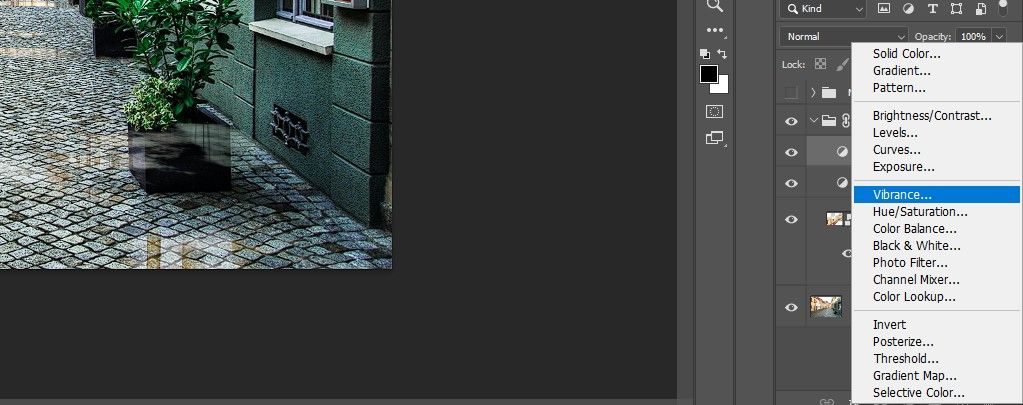
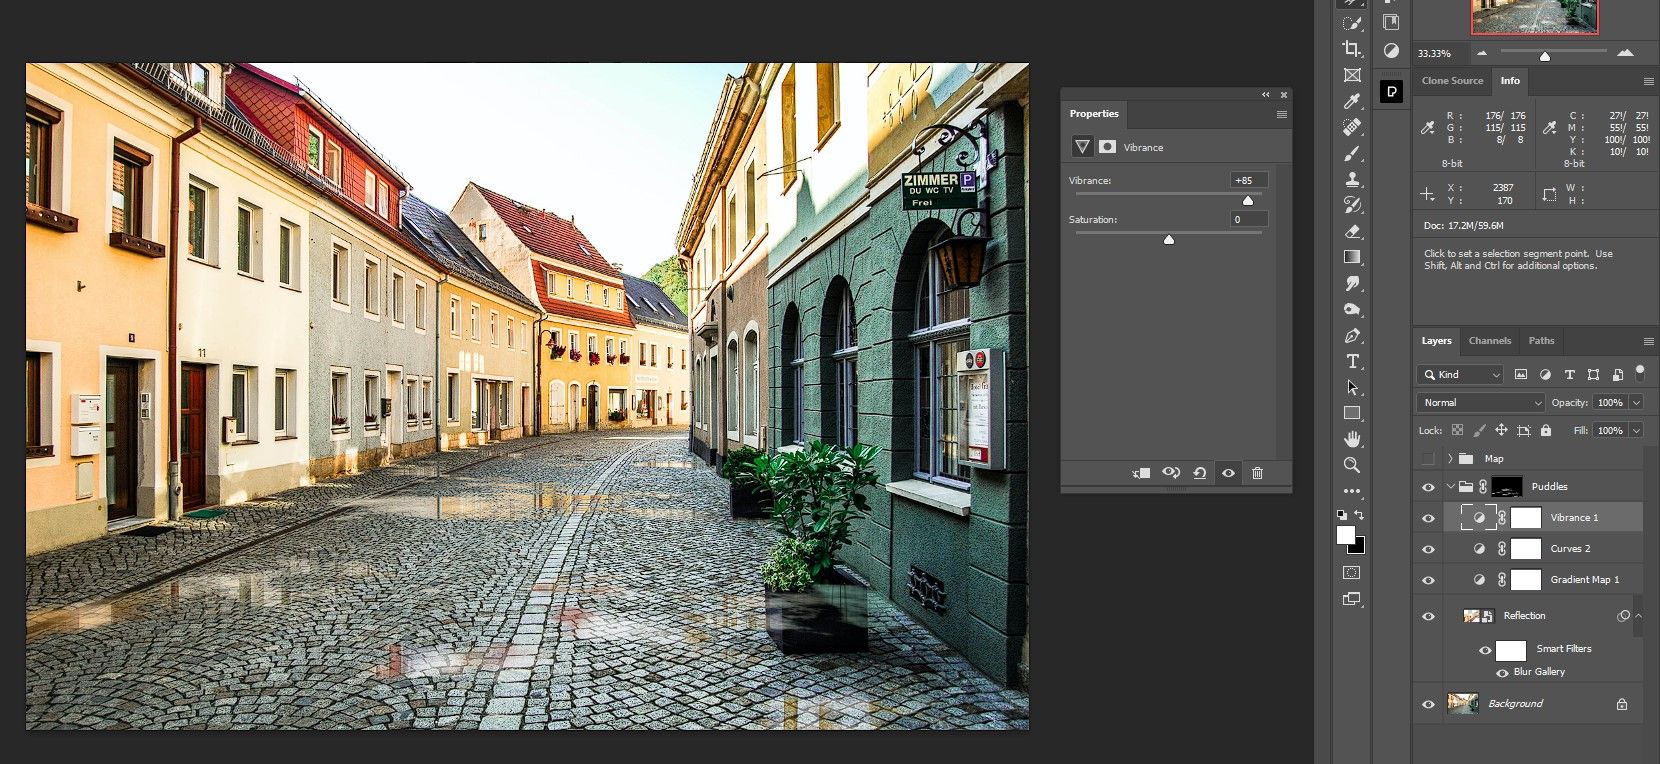
- Choose the Curves layer within the Puddles folder. A… create Vibrance adjustment Layer.
- Enhance the liveliness to carry out the colour within the puddles. We’ve chosen +85.
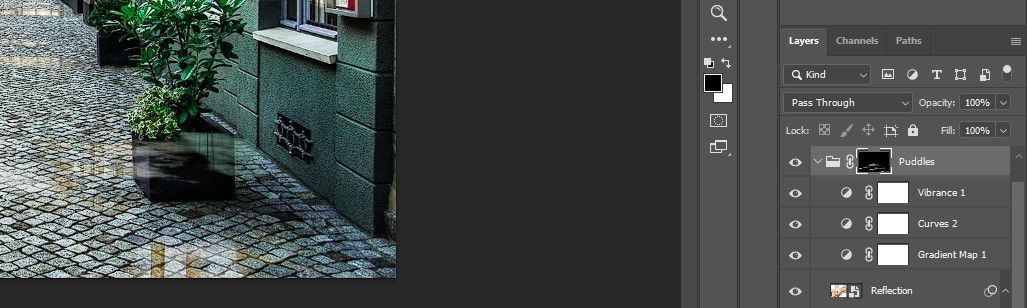
- Click on on that Puddles layer masks.
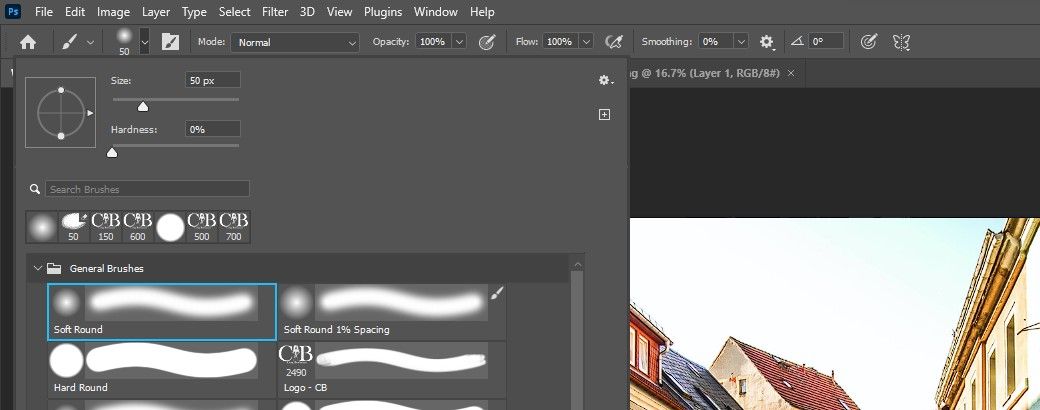
- Press B for the brush software. Then select one Delicate spherical brush from the comb menu above.
- Flip the D and X to make keys Foreground coloration black.
- Brush the puddles off the vegetation and different areas the place they do not look pure. For those who want a refresher, now we have a newbie’s information to the Brush software.
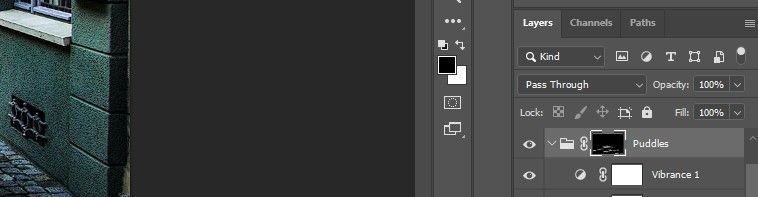
We have made just a few changes to refine the look of the puddles. After all, there are numerous extra choices in Photoshop if you wish to take additional artistic steps.
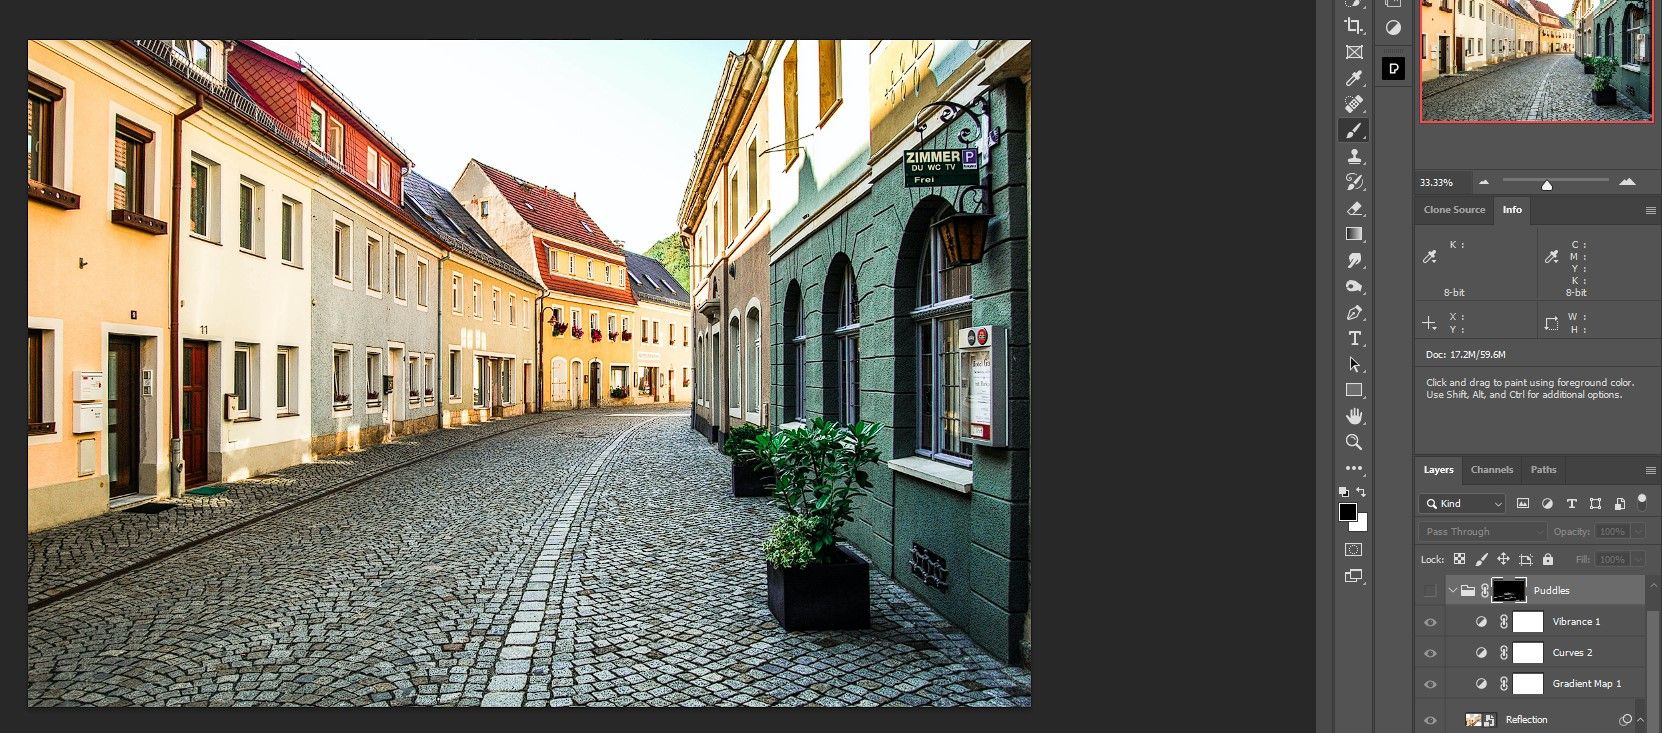
Earlier than:
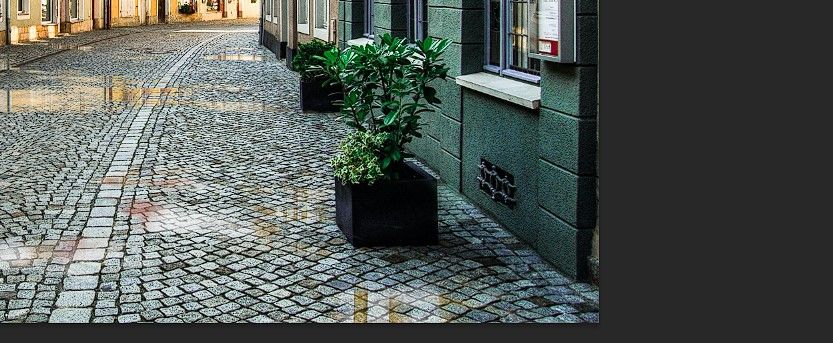
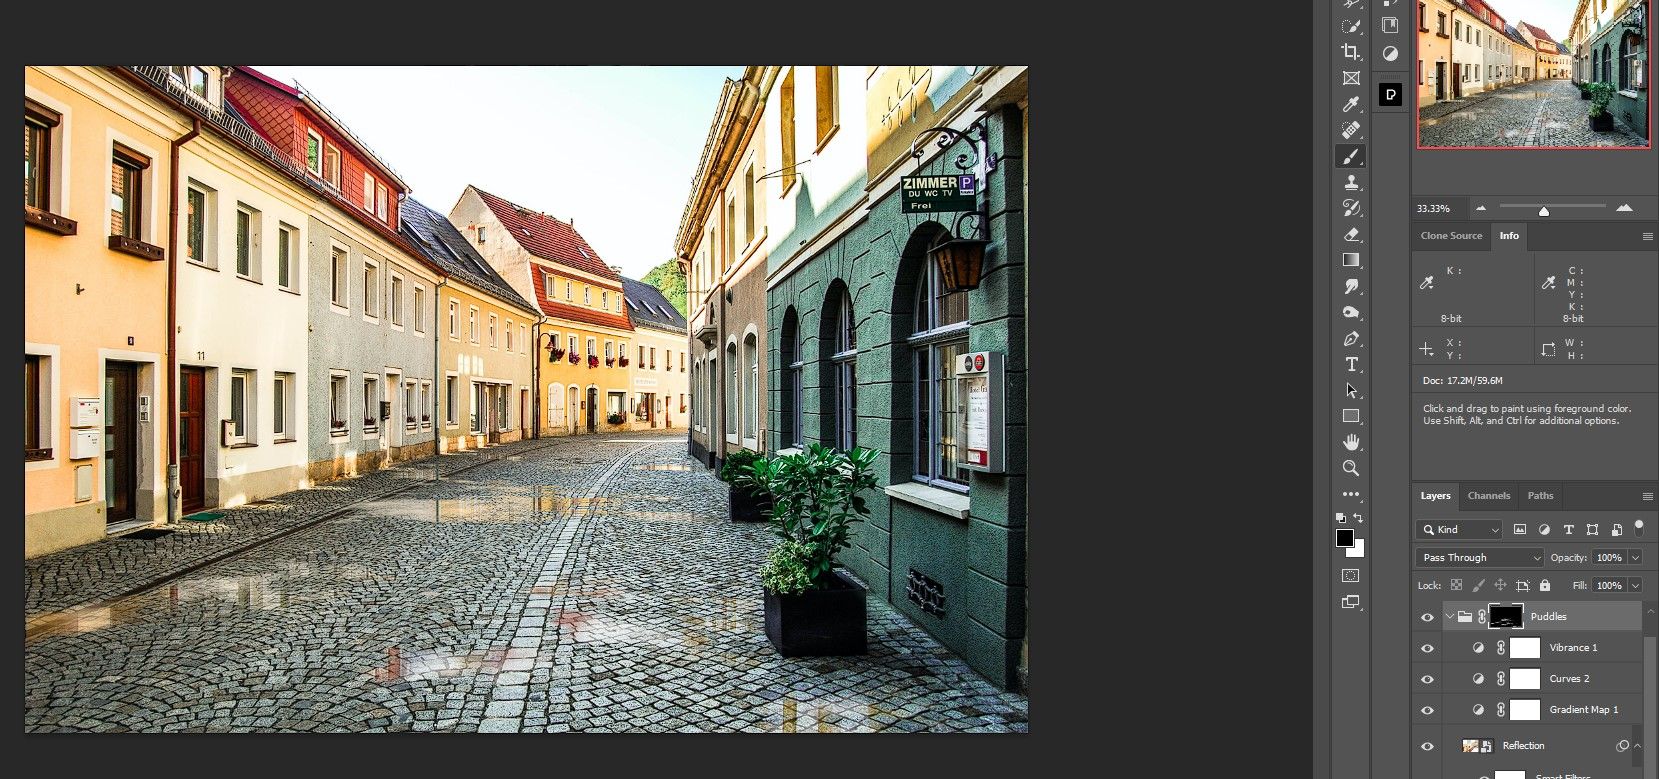
To:
To additional improve your photographs, you should use a free set of third-party instruments from the NIK Assortment.
Creating puddles made straightforward with Photoshop
We hope you have skilled what a pleasure it may be to create puddles from scratch in Photoshop.
Though this was certainly one of our extra superior tutorials, you will probably discover that these steps could be accomplished in a brief period of time with a bit follow. Attempt it out with certainly one of your personal photographs!
