Find out how to Create a Colourful Retro-Fashion ‘Rainbow’ Textual content Impact in Adobe Illustrator
Follow today’s Adobe Illustrator tutorial to create a colorful text effect that consists of a stack of text elements that go through the color spectrum to create a rainbow effect. This text style has a certain retro feel to it. This is the effect you might see on an old VHS tape box or branded identity of a technology or media company from the 70s-80s. Illustrator’s blending tool is a central part of the process. However, I’ll also provide a useful tip that allows you to change the wording of all the text instances at once.
After seeing examples of similar retro text effects on Pinterest, I set out to find the most efficient technique for recreating this colorful text style in Illustrator that didn’t require manual placement of every colored text element or couldn’t easily achieve an effect edited or updated. The process I’m going to share in this tutorial will automatically generate a smooth color transition and keep the live text so the wording and font can be easily changed.
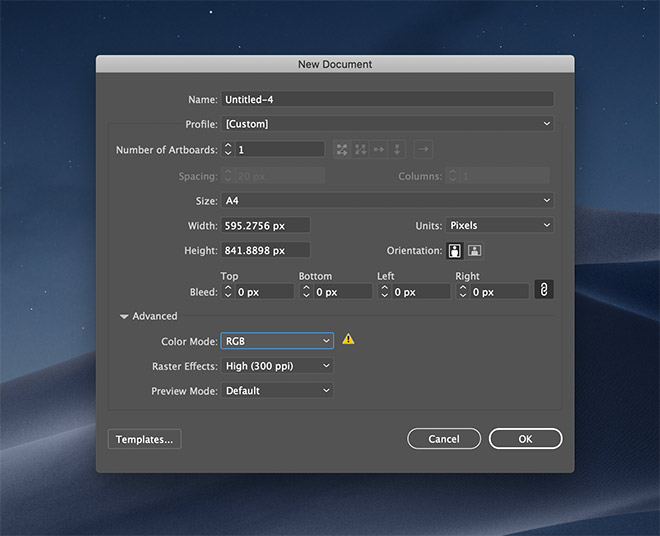
First, open Adobe Illustrator and create a new document. Use any size for your final application. However, make sure that the RGB mode is set so that the most vivid colors are available.
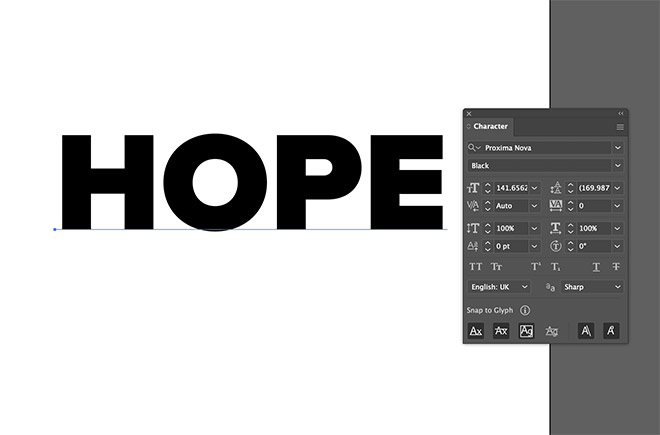
Set the wording you have chosen as a text element with the appropriate font style. I use the Proxima Nova Black font.
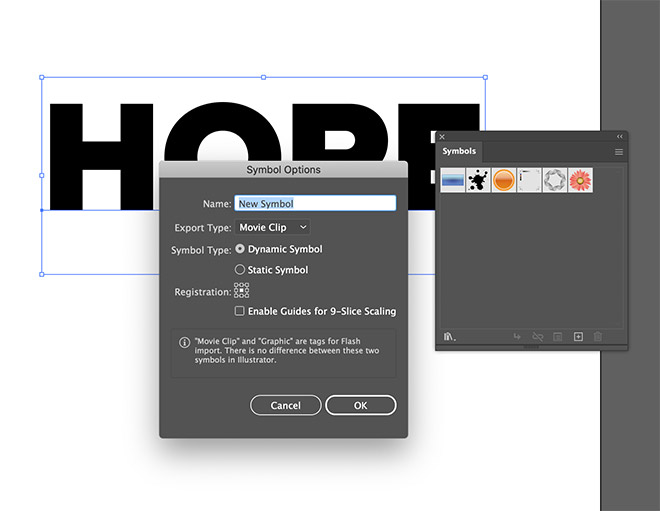
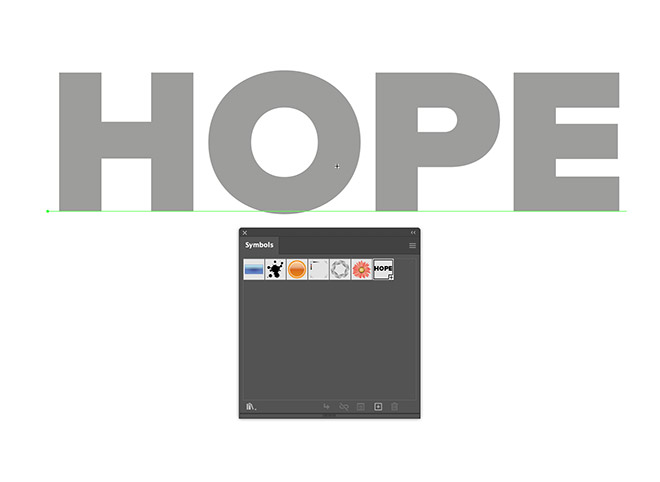
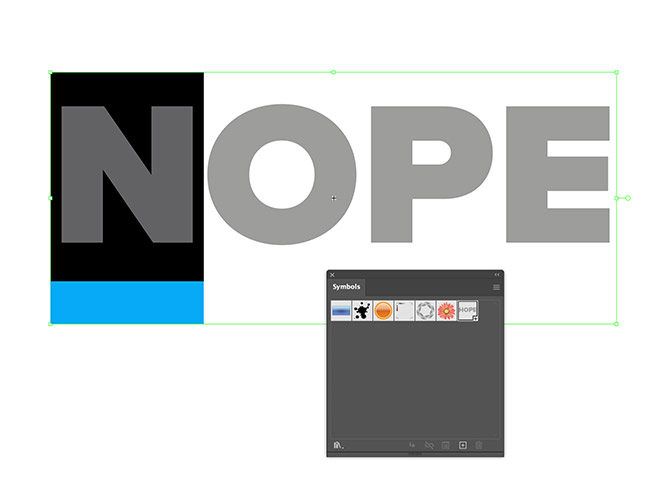
The key to ensuring that the text is editable without having to manually update each and every instance of the text is to convert the element to a symbol. In the Symbols panel, click the New Symbol icon.
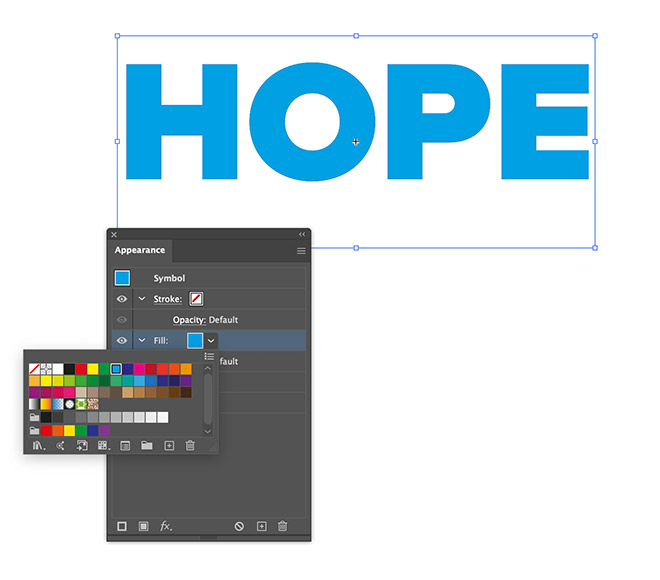
Once the text is contained in a symbol, it can no longer be selected to change the fill as usual. Instead, click the menu icon at the top of the Appearance panel and choose Add New Fill. Choose a light color swatch.
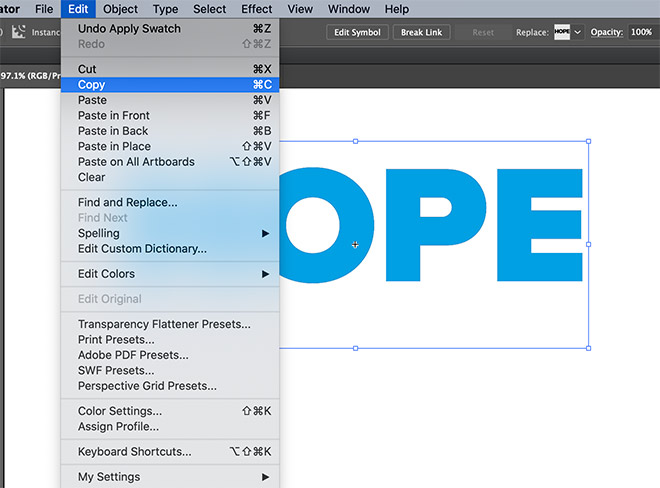
To place an additional copy of the text at the top of the rainbow stack, save a copy to the clipboard in the Edit> Copy menu. We will make use of this later.
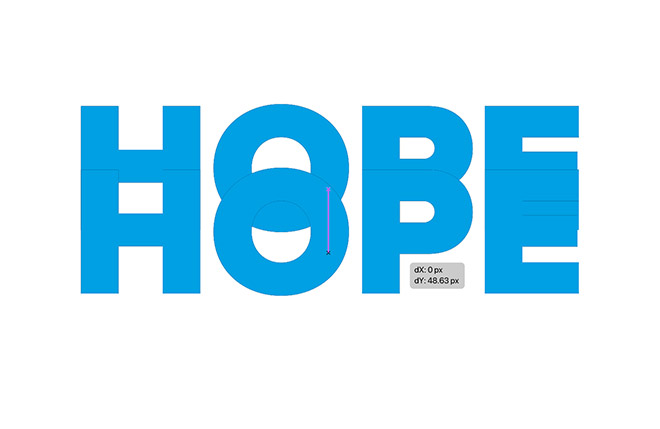
With the Move tool active, hold down the ALT and Shift keys while dragging the text to create a duplicate. Position this copy about halfway up the original.
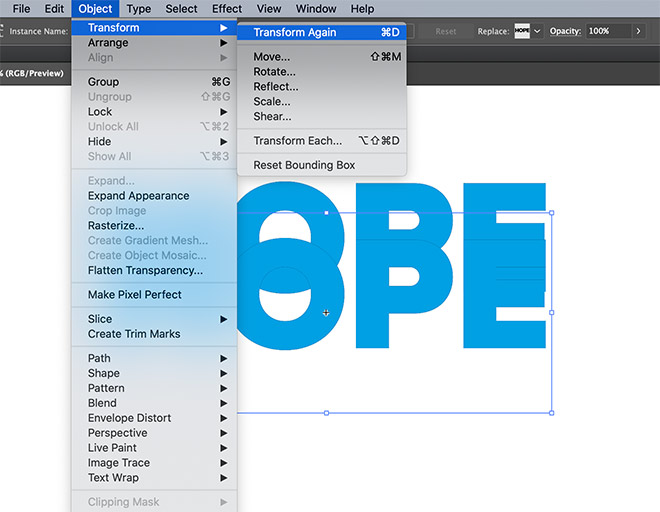
Go to Object> Transform> Transform Again or use CMD + D (or Ctrl + D on Windows) to repeat the duplication and place another copy again at the same distance.
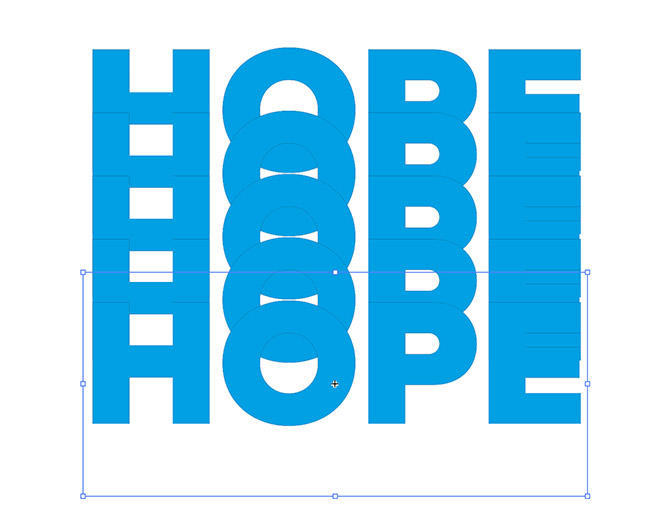
Repeat the CMD + D Transform command a few more times to create a total of 5 elements, all stacked equidistant from each other.
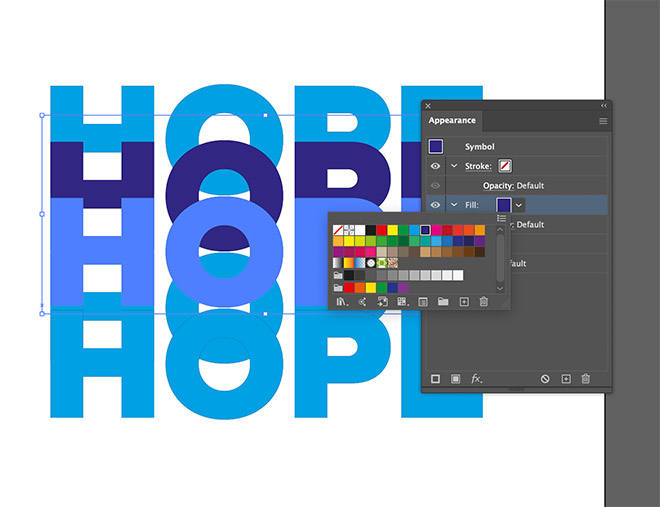
Select the second object and change the fill color in the Appearance panel. Choose the next color in the color spectrum.

Change the fill color for each of the remaining words. For each color, choose the next main color in the spectrum. I only use the standard Illustrator patterns, but interesting effects can also be generated using custom color schemes.
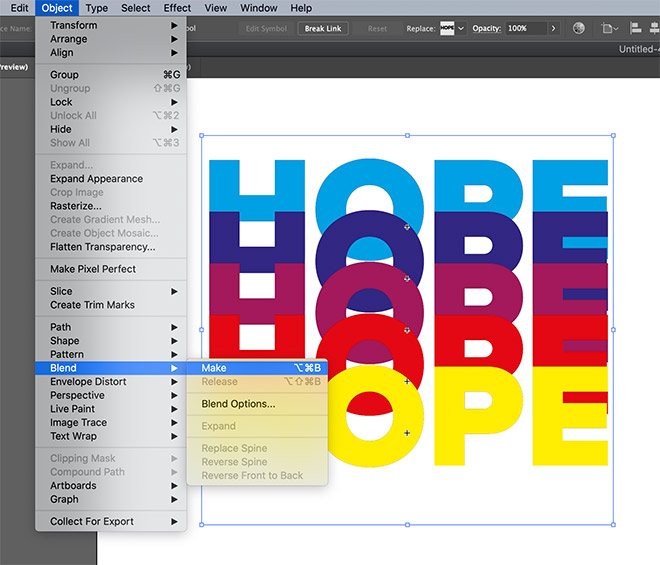
Draw a selection around all of the objects, then go to Object> Mix> Create. Go straight back to the Object> Mix> Mix Options menu.
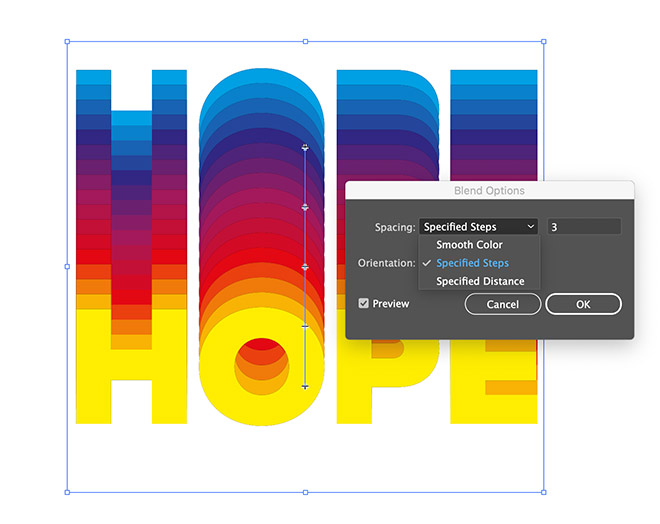
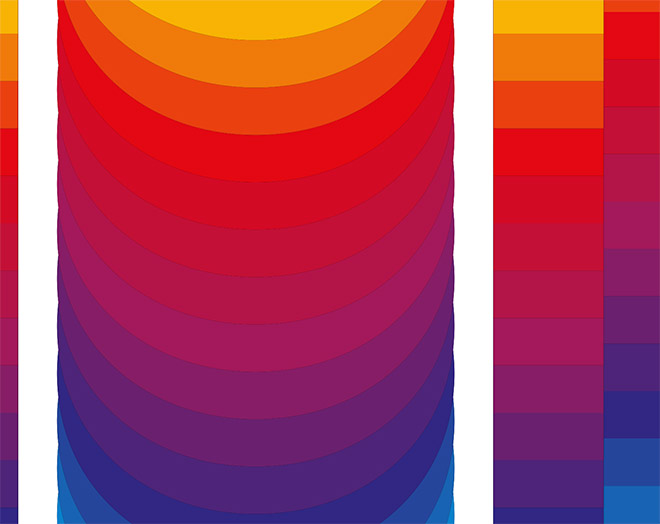
Change the Spacing setting to Specified Steps and adjust the value to determine how smoothly the colors blend.
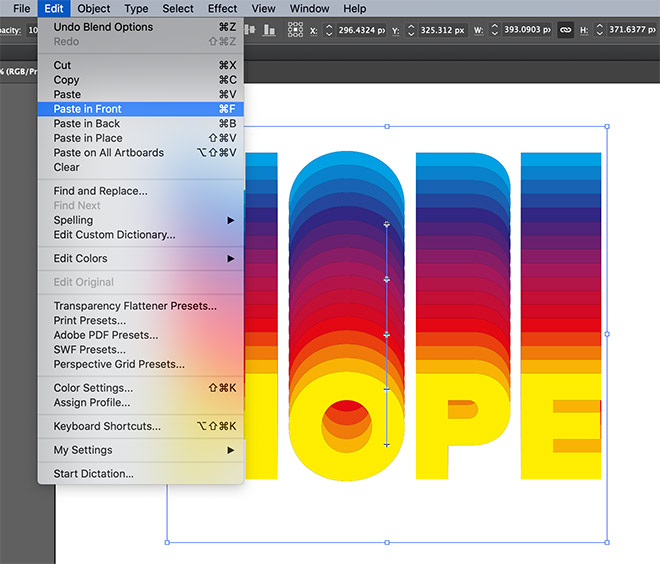
Go to Edit> Paste Front to put the backup previously saved on the clipboard back on the drawing area.
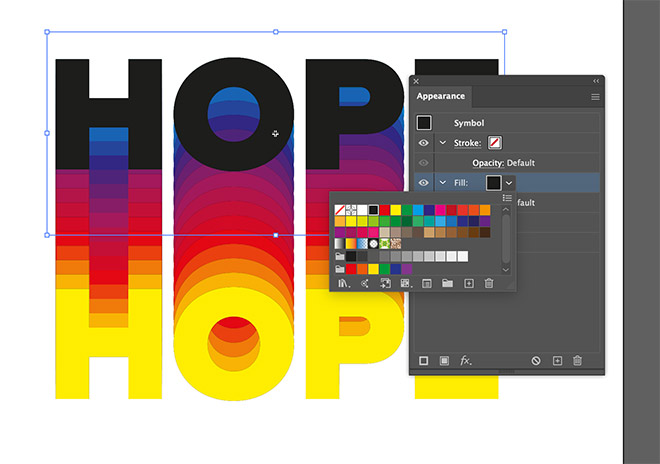
Change the fill of this text object in the “Appearance” panel to “Black”.
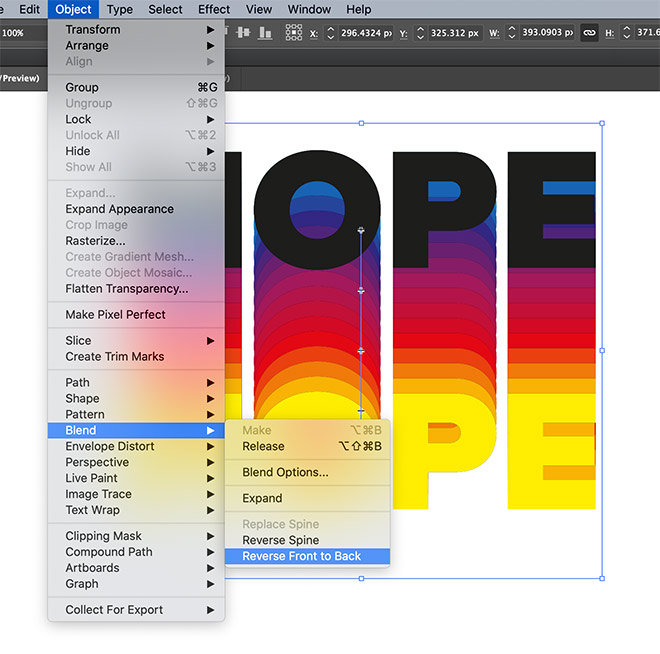
Stacking the rainbow text is upside down. Go to Object> Blend> Flip Front to Back.
The black text is now sitting perfectly on top as the colored instances at the bottom gradually change color.
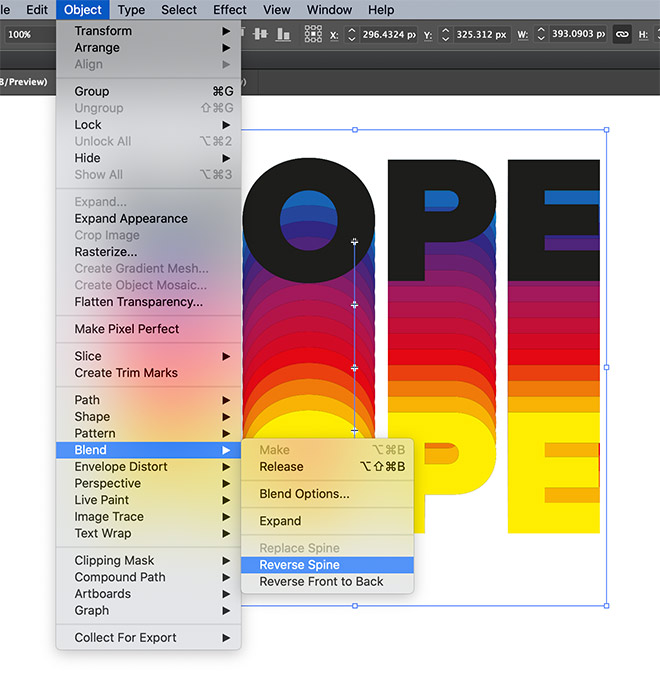
You can also see what the effect looks like with the color spectrum in reverse order. Undo the inversion of the mix and choose Reverse Spine to put the last color in the stack first.
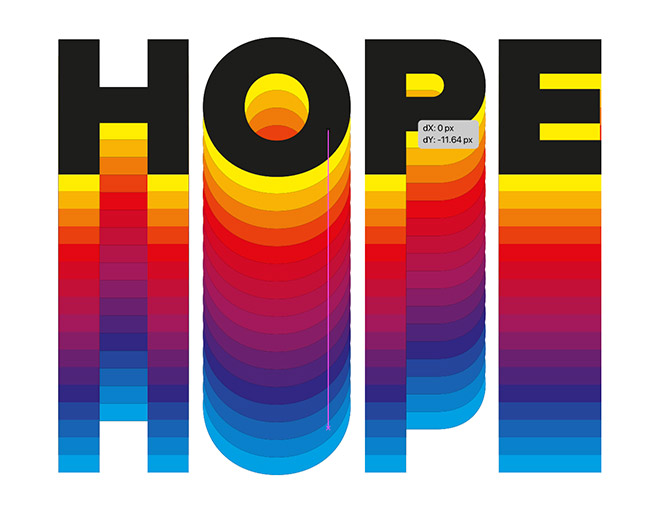
The black text is perfectly aligned with the topmost colored text instance, but this means that it is completely obscured. Drag the black text vertically to match the spacing and bring out the lightest color again.
Because the original text element in the symbol has a black fill, you can spot a subtle flaw that is causing faint black around the colored text instances.
To fix the problem, double-click the icon and change the original text fill to medium gray, or better yet, remove the fill entirely.
Here in the symbol you can also edit the wording and the font of the original text. If you exit the symbol again using the arrow symbol in the top left, the effect is updated.

If you convert the text to a symbol right from the start, all the text instances are updated at the same time instead of having to manually edit them one by one.
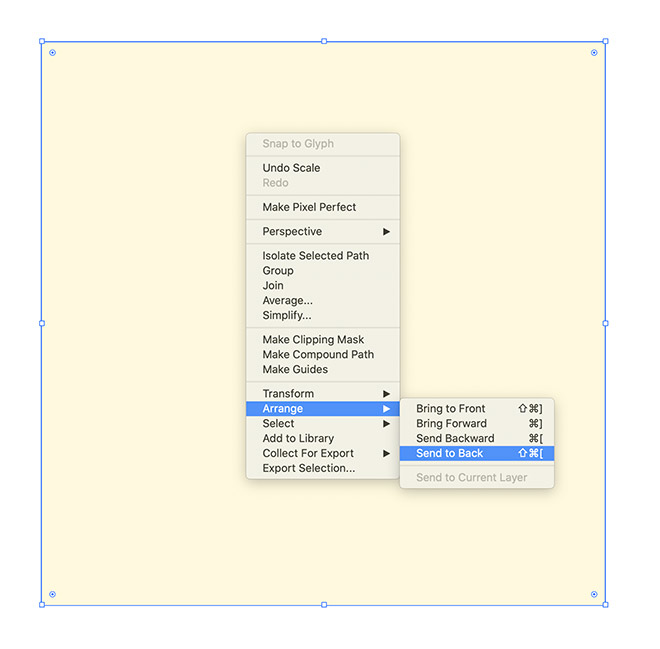
Draw a large rectangle as a background for the design. Enter a light yellow fill, right-click and choose Arrange> Send to Back.
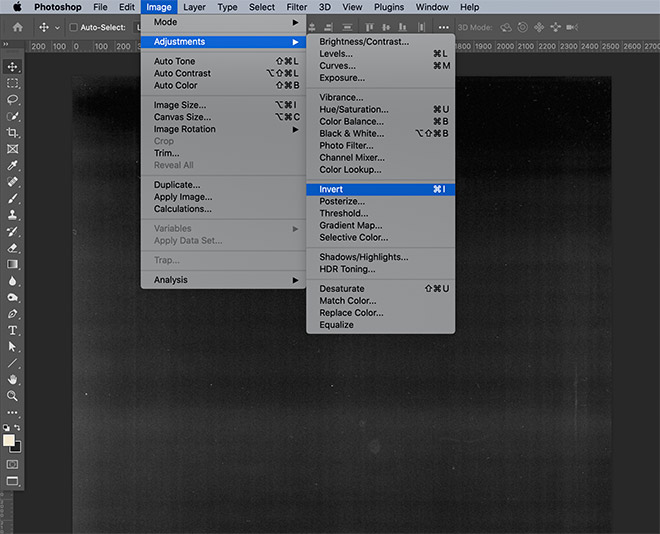
No spoon graphic design would be complete without the addition of a subtle texture! Download and open one of my free photocopy textures in Photoshop. Go to Image> Adjustments> Invert to rotate the texture to black on white.
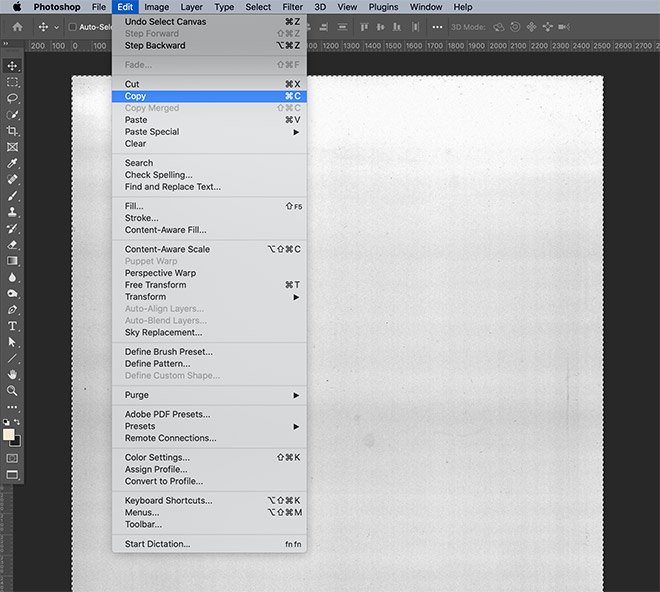
Go to Select> All, followed by Edit> Copy, switch back to Adobe Illustrator and paste the texture artwork.
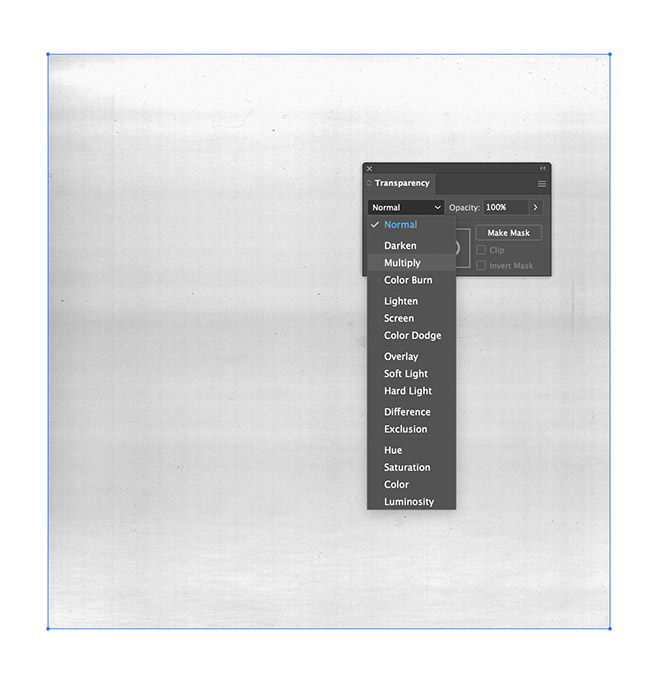
Resize the texture image to fit the background rectangle, then change the Blend Mode to Multiply in the Transparency panel.
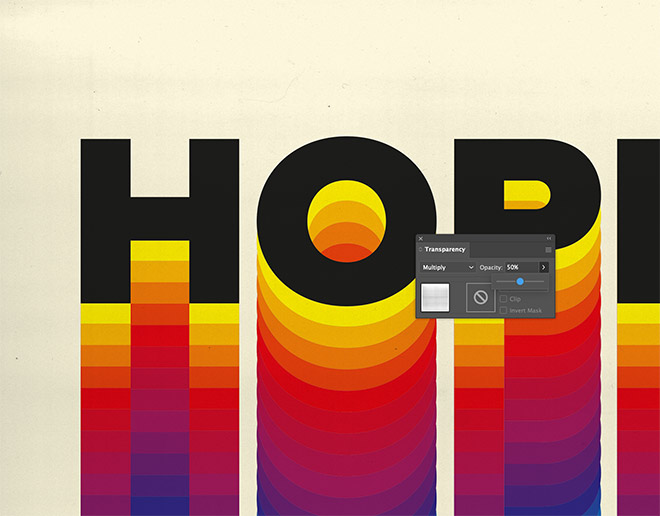
Reduce the opacity of the texture to leave a subtle amount of grit and complete the retro look.
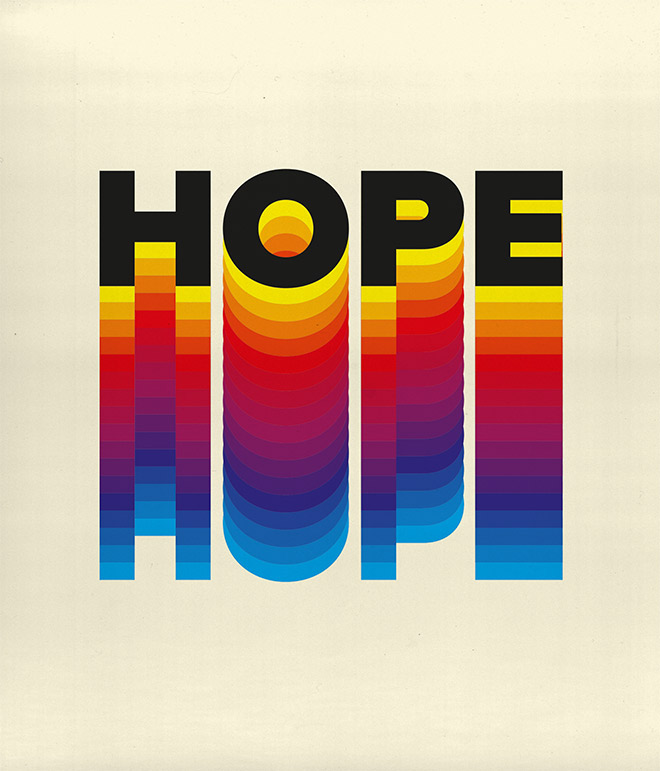
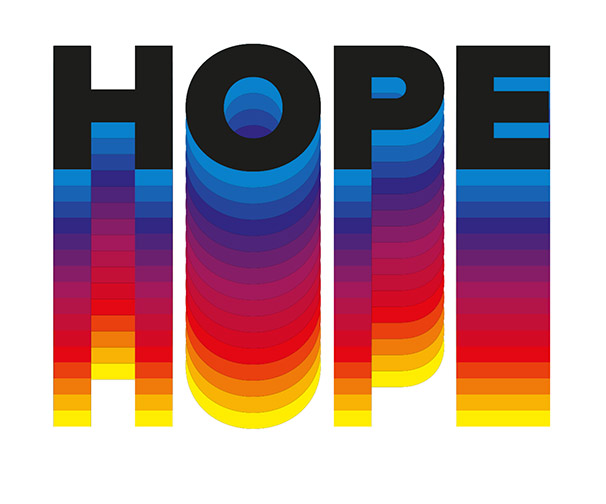
The end result is a colorful, retro-style text effect with a rainbow gradient that’s perfect for poster art, quote designs, and even brand identities.
Access this download
