Create 3D Textual content Results in Photoshop with the “Rework Once more” Approach
The Reshape command in Photoshop, which repeats the previous adjustment each time the link is pressed, has many uses. However, one of my favorites is creating 3D text effects. By overlaying multiple copies of a text element with a basic bevel and emboss layer style, you can simulate a simple three-dimensional appearance with shading effects. Apply some additional layer styles, and you'll soon be able to turn a simple piece of text into colorful graphics that pop off the screen.

Start by creating a new document in Adobe Photoshop. I use dimensions of 3000 x 2000 pixels. To create a background for the text effect, fill in the background layer with # 021a41, then blot a point in the center with a large, soft brush with a light blue paint, e.g. B. # 114570.

Create or place your graphic on a new layer. Text works great, but the effect can also be applied to shapes.
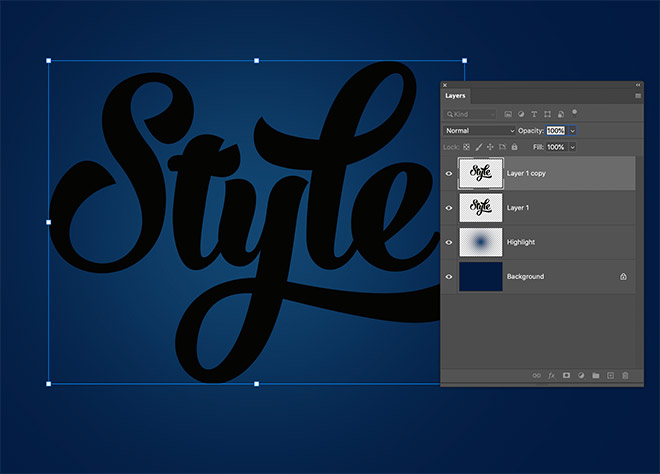
The first step in the Transform Again technique is to set an initial transformation. Use the keyboard shortcut CMD (or CTRL on Windows), ALT & T. Use the keyboard cursor keys to move the duplicated layer left and up and press Enter.
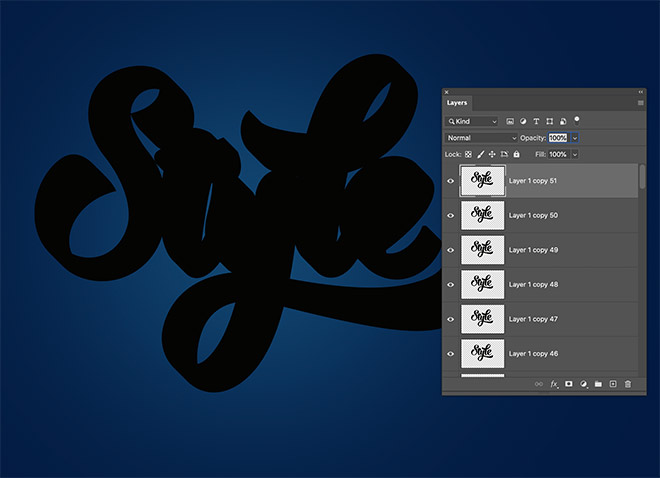
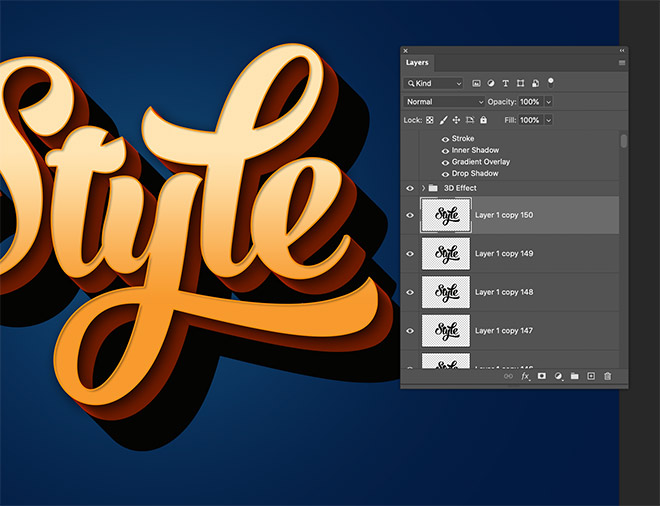
Use the keyboard shortcut CMD + ALT + Shift + T to execute the Transform Again command. Every time the shortcut is used a new layer is created, with the content shifting left and up for an additional time. Use the link repeatedly to generate 51 levels.
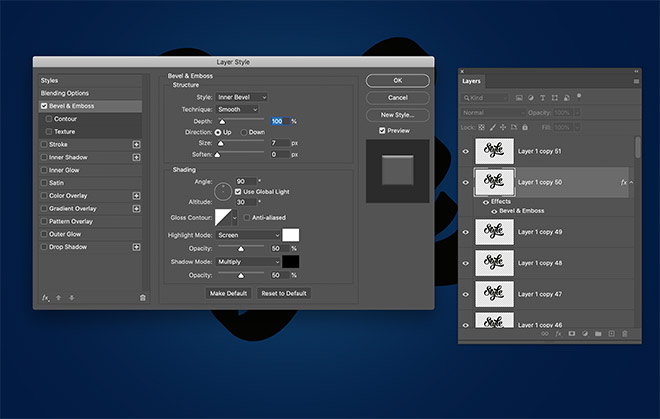
Double click on layer 50 to add some layer styles. Apply a bevel and emboss effect. Click Reset to Default to use the default settings.
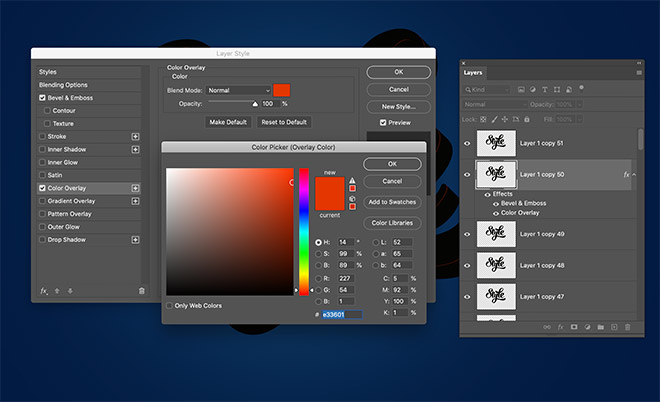
Apply a color overlay to change the color. I am using # e33601.
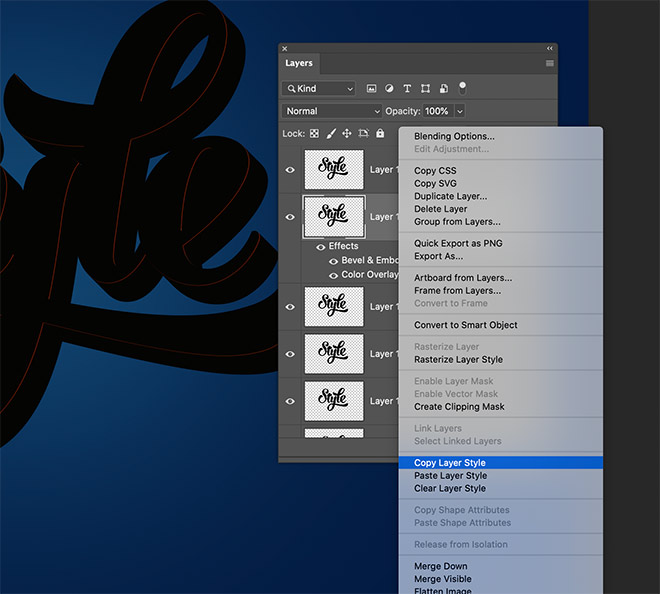
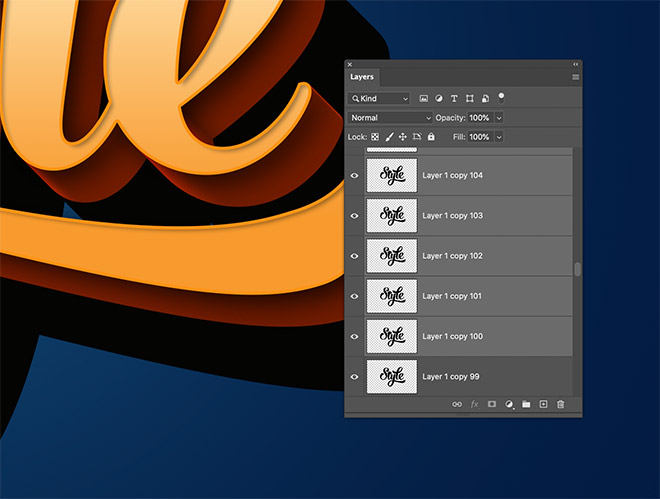
These layer styles are only applied to a slice of the layer stack. Right click and choose Copy Layer Style.
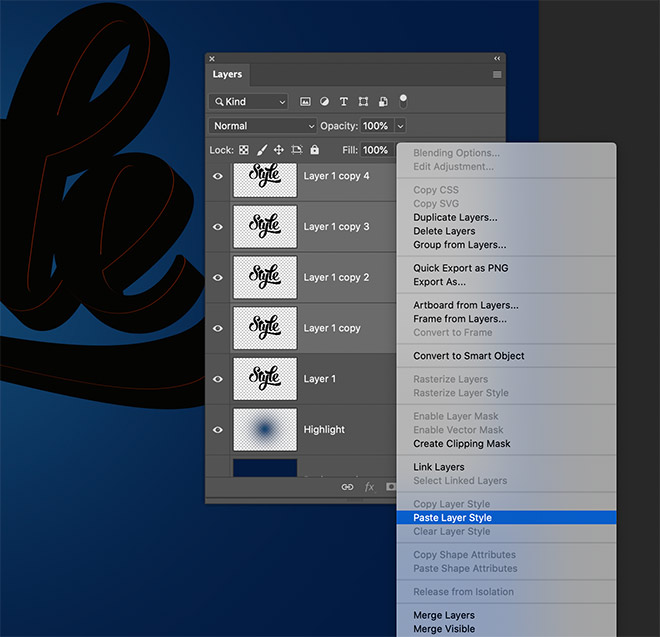
Shift + click the first layer copy to select every single layer in between. Then right click and choose Insert Layer Style.
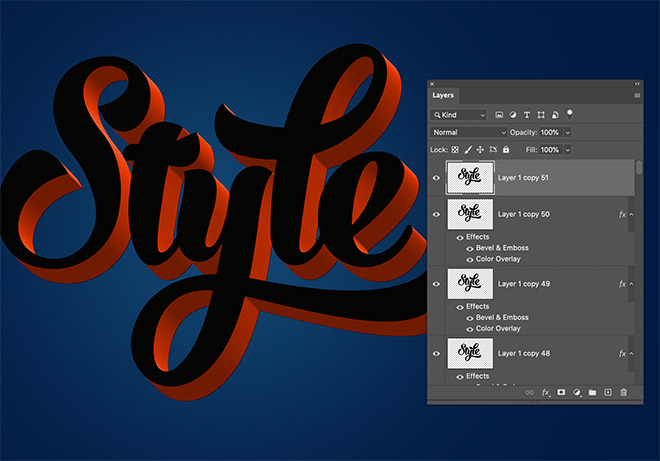
The shading applied by the Bevel and Emboss layer style creates a realistic 3D effect as each layer is built up from the next. Double click on the top layer to apply some layer styles to the text area.
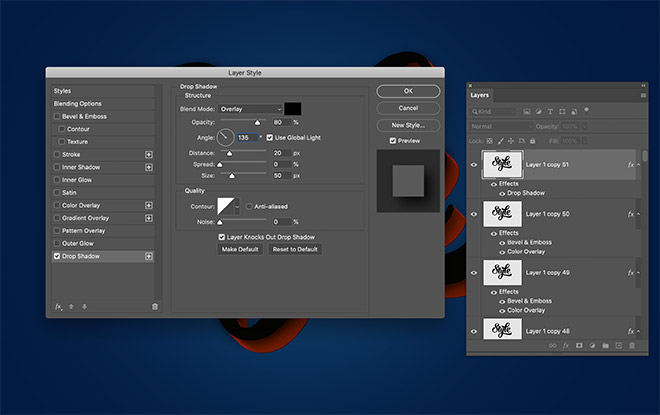
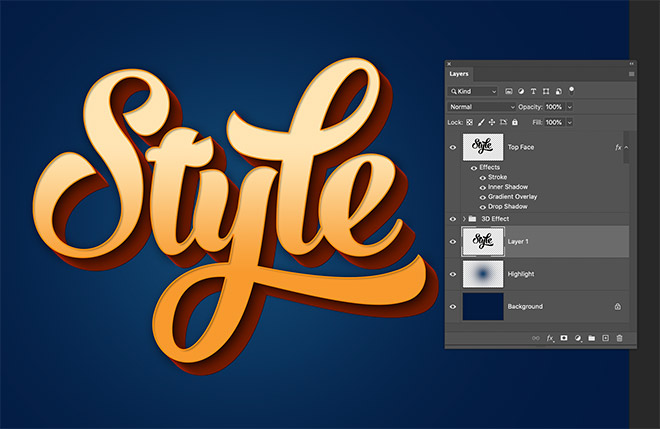
Apply a drop shadow, but set the angle to 135 so that the shadow is cast diagonally across the 3D effect. Configure the Blend Mode to Overlay, then set the spacing and size to 20px and 80px so that the shadow is faded out evenly.

Add a gradient overlay to add color to the text area. I use a gradient from # f89b2e to # ffe5b3.
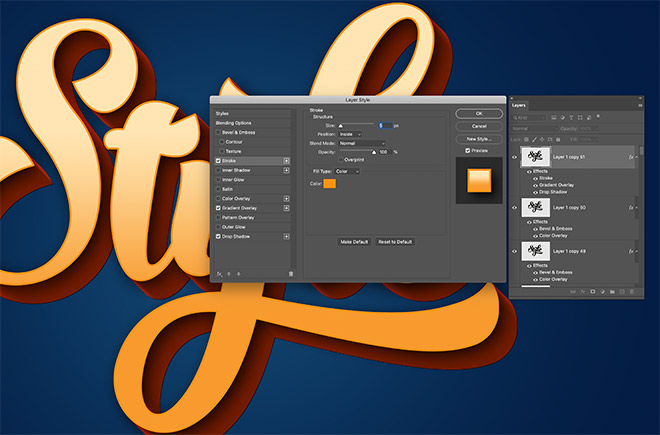
Other interesting effects can be achieved by combining multiple layer styles. Add a stroke with the same # f89b2e from the gradient. Set the page to 5px and position it on the inside.
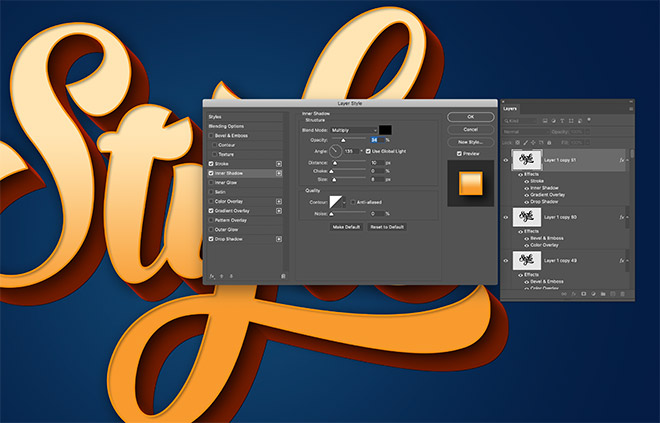
An inner shadow can create a subtle "inset face" effect. Set the angle to 135 degrees, then set the spacing and size to as low as 10px and 8px. Adjust the opacity to reduce the intensity of the shadow.
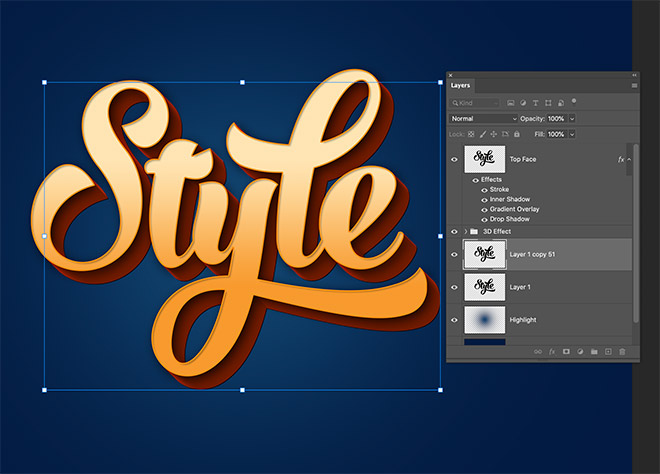
We still have a spare layer at the bottom of the stack that can be turned into a long shadow effect using the same Transform Again technique. To keep the Layers panel tidy, group any duplicate layers that make up the 3D effect.
Use the shortcut CMD + ALT + T to set up a transform. This time, press down and right and press Enter.
Repeatedly press the Transform keys CMD + ALT + Shift + T several times to expand the shadow. Create 100 new levels and increase the number of levels to 150.
Shift + click any new layer copies from 150 to layer 100. Merge them into one using the CMD + E (or CTRL + E for Windows) shortcut.
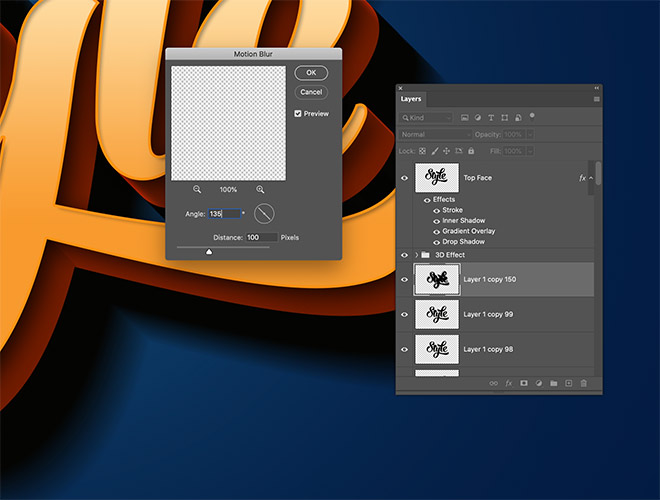
Go to Filters> Blur> Motion Blur. Configure the angle to 135 degrees and set the blur distance to 100 pixels.
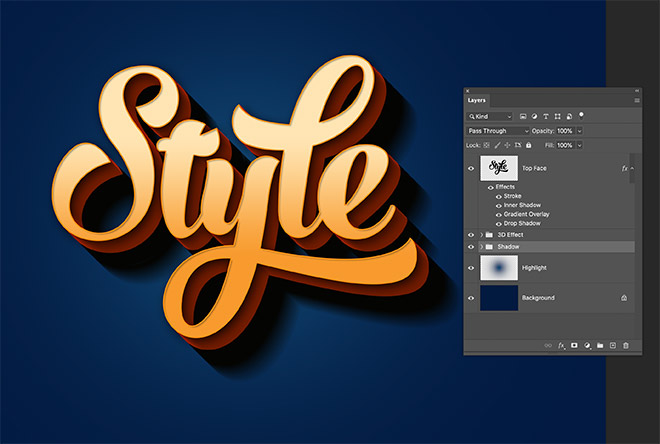
Group all of the layers that make up the shadow effect.
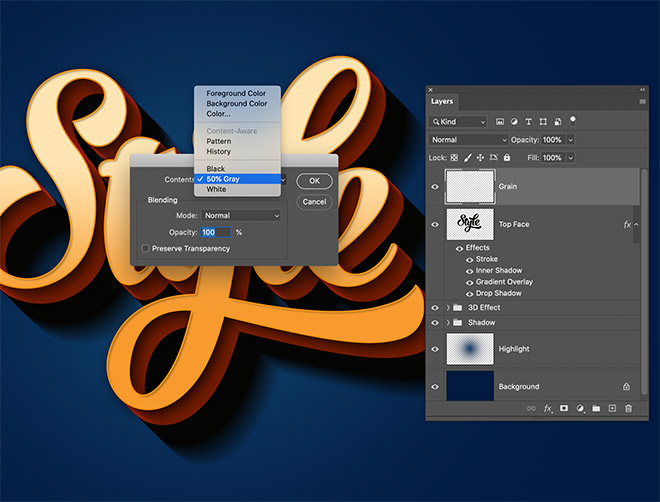
As a final touch, add a new layer on top of the layer stack. Go to Edit> Fill and choose 50% Gray.
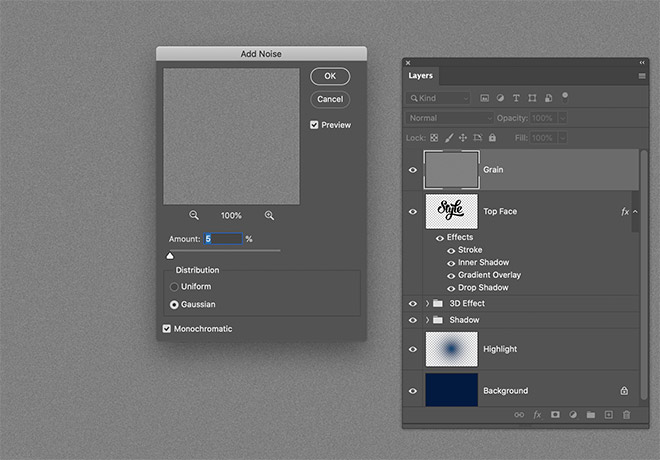
Under Filter> Noise> Add Noise, configure the settings to 5% Gauss and activate the Monochromatic option.
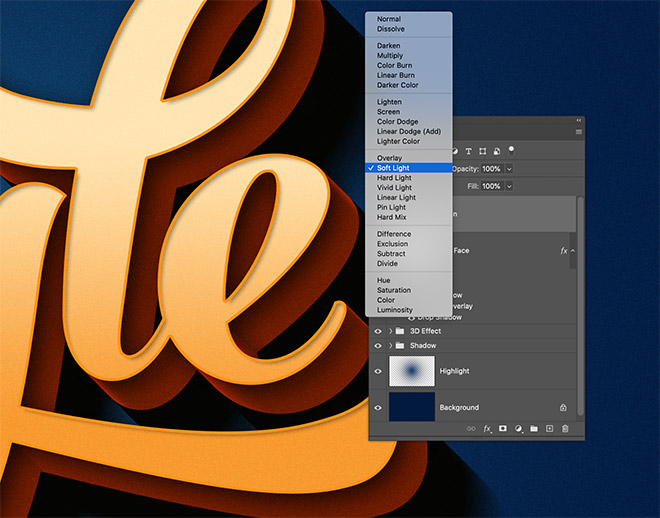
Set the blending mode of this gray noise layer to Soft Light to give the artwork a subtle grain. This will remove streaks from the gradients and give the artwork a nice look!
 Access this download
